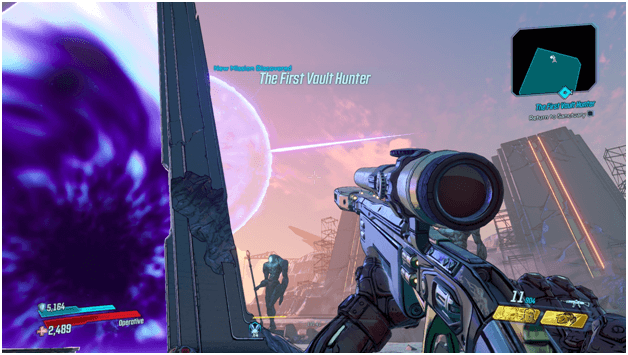
After defeating Troy Calypso, his sister Tyreen Calypso was able to escape and The Destroyer is on the verge of being released which resulted in Typhon DeLeon contacting you via an ECHO device.
You are tasked to make the necessary preparations and set a course for Nekrotafeyo in order to meet up with Typhon DeLeon, the first vault hunter.
Mission Walkthrough
Analyzing The Slab
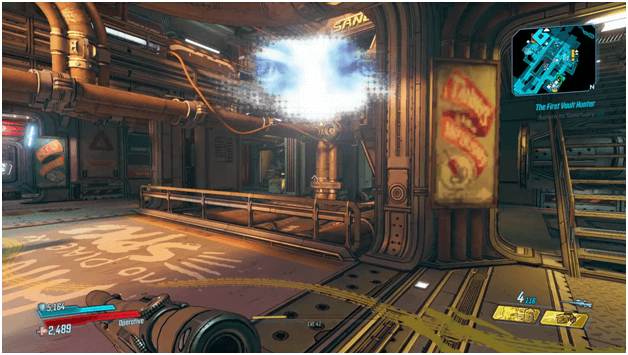
You will need to fast travel back to Sanctuary in order to make use of the Eridian Analyzer to analyze the slab that is inside Tannis’ lab.
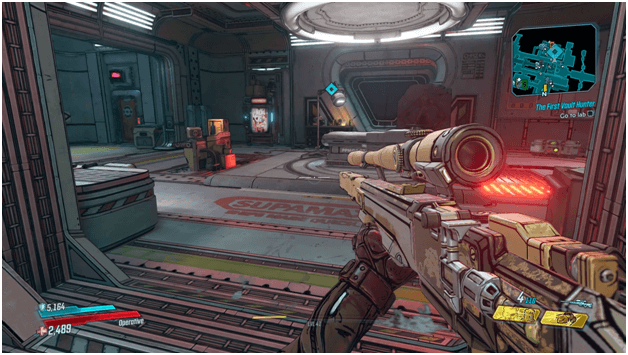
Make your way towards the lab where Tannis has instructed you to analyze the slab that has been stored for some time.
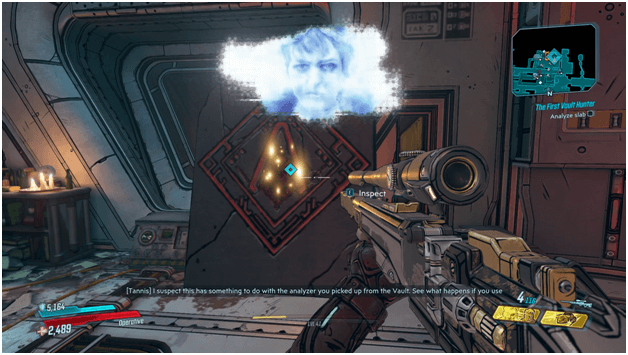
Inspect the slab in the lab which will allow you to decipher it and play a message from one of the ancient Eridian beings who trapped The Destroyer.
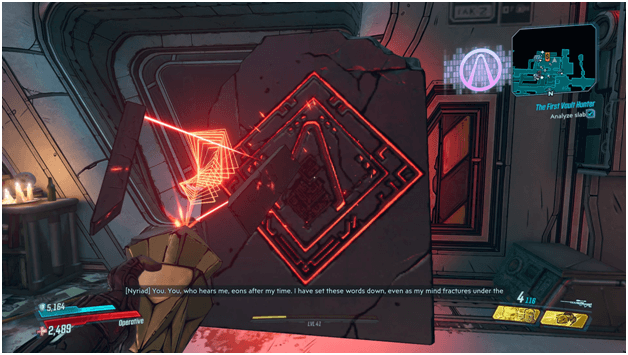
After you interact with the slab, you will take out your device and you will hear Nyriad’s voice telling you about The Destroyer.
Set A Course For Nekrotafeyo
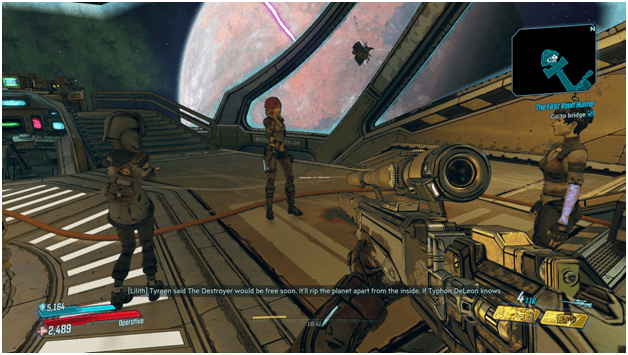
Head over to the bridge to talk with the crew and from there on you will need to navigate to Nekrotafeyo where Typhon DeLeon is waiting.
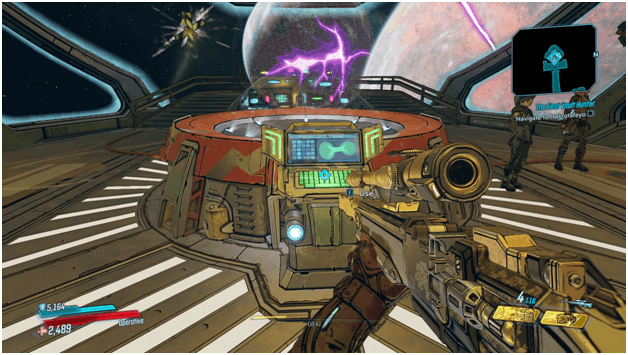
Interact with the navigation console and pick Nekrotafeyo so you and the Crimson Raiders will follow the course heading there.
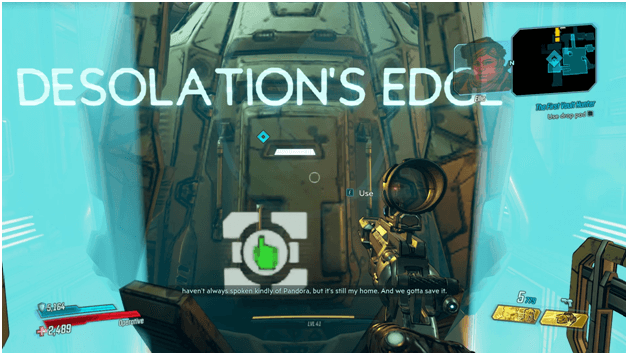
After Sanctuary has reached Nekrotafeyo, head to the drop pod and go down to the surface to find Typhon DeLeon.
Finding Typhon DeLeon
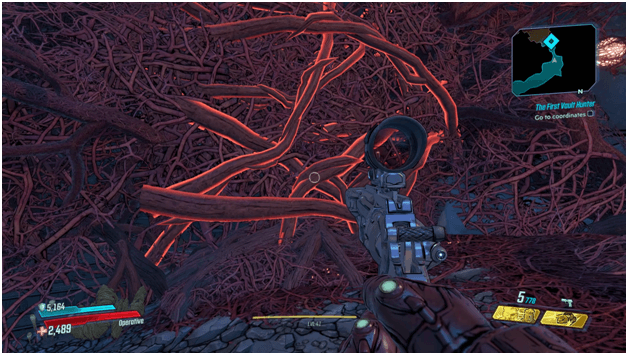
Make your way towards the waypoint on your map which will put you in front of a bunch of vines that are blocking the path.
Destroy the vines with your melee attack and proceed further heading towards the waypoint.
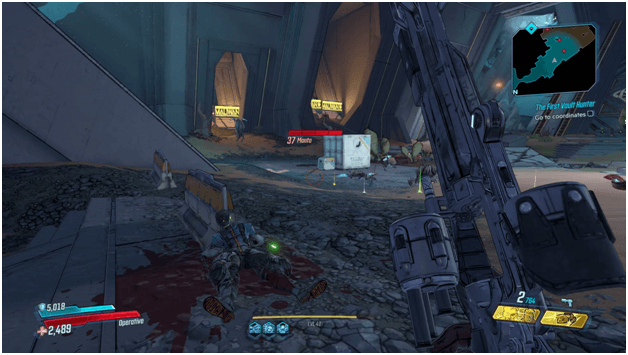
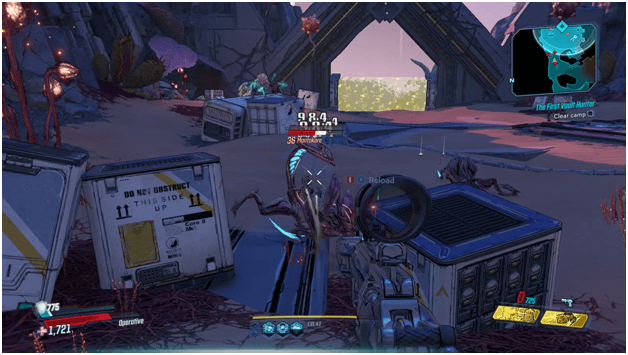
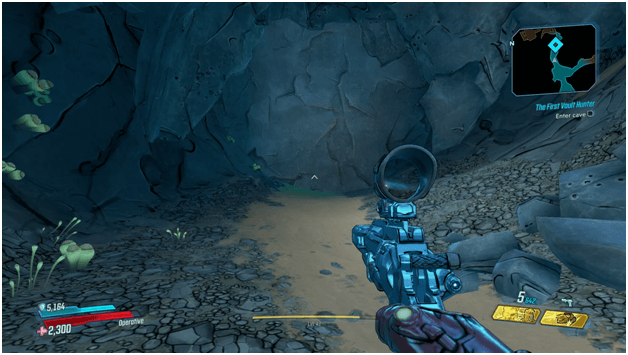
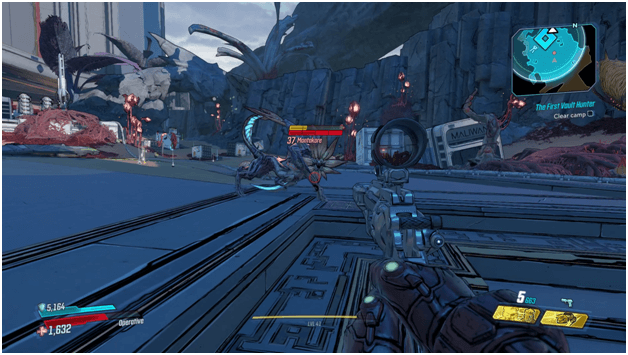
While making your way to the coordinates where you are to meet Typhon DeLeon, you will come across new creatures that you may kill along the way or simply run past.
You will reach a room where there is a barrier blocking the exit which you will need to take down in order to continue towards your waypoint.

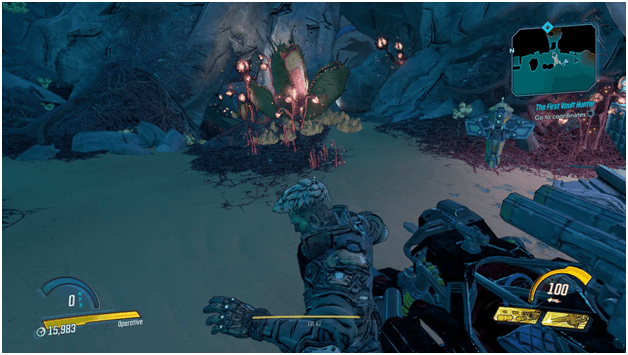
There will be a power unit covered in vines that will require you to use your melee attack to remove them.
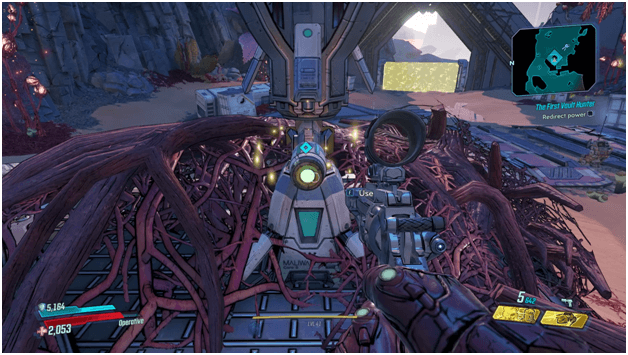
Once you have removed the vines, interact with the power unit to redirect the power, taking down the barrier.
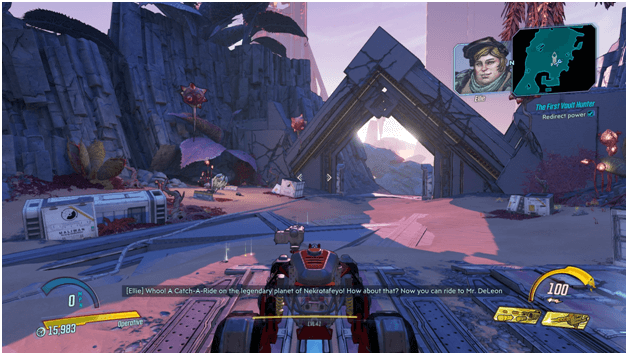
Grab a vehicle from the nearby Catch-A-Ride and make your way towards the coordinates to where Typhon DeLeon is waiting.
When you are near the waypoint, the path will be narrow so you will have continued on foot while you approach the meeting area.
There will be a dead end which you need to approach in order to reveal its real form, a barrier disguised as stone.
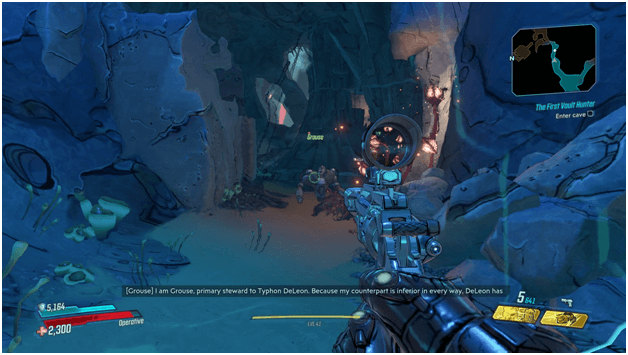
Once you go near the dead end, you will notice the blocked path become transparent and will meet two robots that will later open up the barrier.
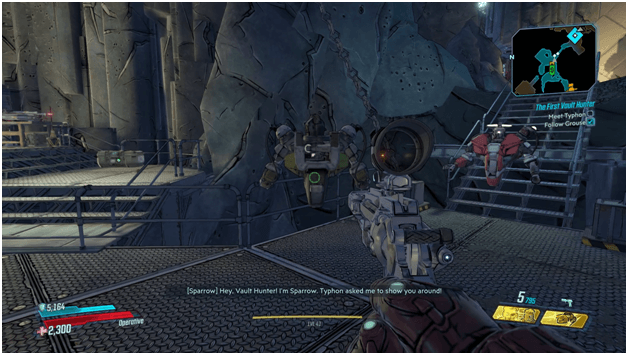
Follow the robots as they will escort you to Typhon DeLeon who is nearby and waiting for you.
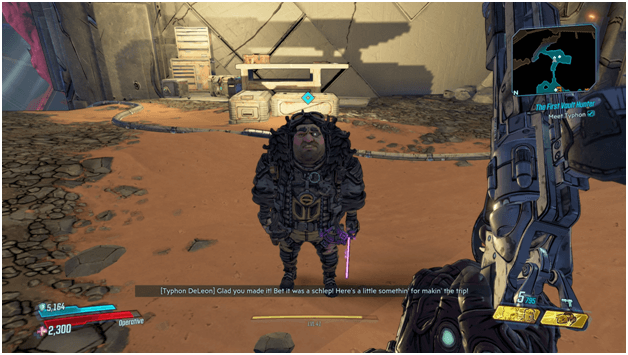
When you reach Typhon DeLeon, he will give a quick introduction and chat a bit before leading you further inside the area.
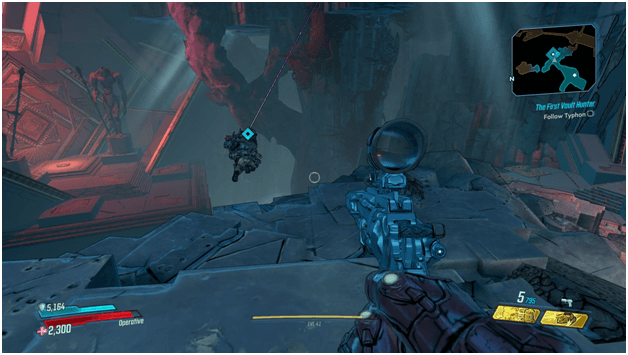
Do not mind that Typhon uses his whip to get around as there will be areas you can move across to meet up to where he heads off to.
Placing The Vault Keys
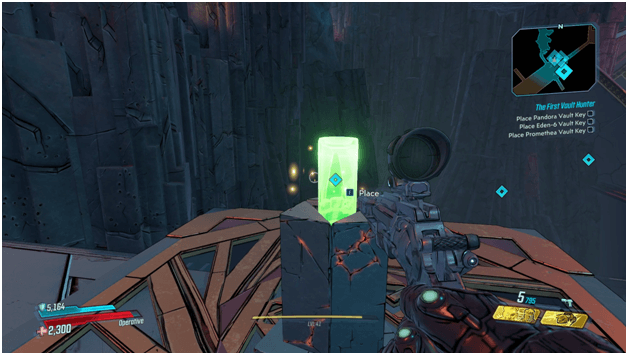
Upon arriving, Typhon will begin to talk about the situation and later on you will need to place each of the vault keys that you have with you in their necessary slots.
This will conclude the preparation for the opening of another vault and will complete the mission.
The First Vault Hunter Mission Rewards
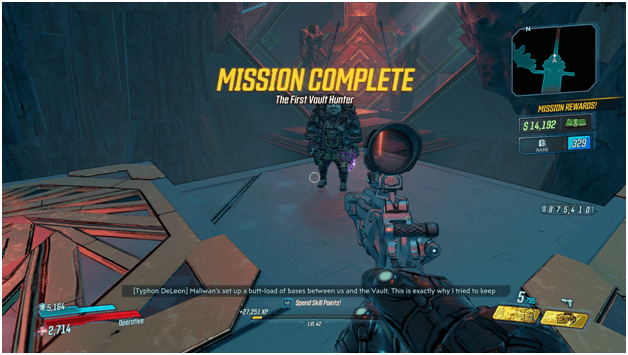
Upon completion of the First Vault Hunter mission, you will be rewarded with around 14,192 cash and a rare cosmetic skin.
Tips
- This mission serves as an introduction to Nekrotafeyo and finally shows you the great Typhon DeLeon that you have been hearing about.
- The enemies are all different from the previous ones you have encountered but can still be taken down easily as long as you have gear that matches your current level and theirs.
- You can continue making your way towards the way points for most of the objectives and avoid confrontation, especially if your level is higher than the enemies in the area.
Other Main Missions Walkthrough
- Children of the Vault
- From the Ground Up
- Cult Following
- Taking Flight
- Sanctuary
- Hostile Takeover
- The Impending Storm
- Space-Laser Tag
- Atlas, At Last
- Beneath the Meridian
- Hammerlocked
- Lair of the Harpy
- The Guns of Reliance
- The Family Jewel
- Cold as the Grave
- Going Rogue
- Blood Drive
- Angels and Speed Demons
- The Great Vault
- Footsteps of Giants
- In the Shadows of Starlight
- Divine Retribution