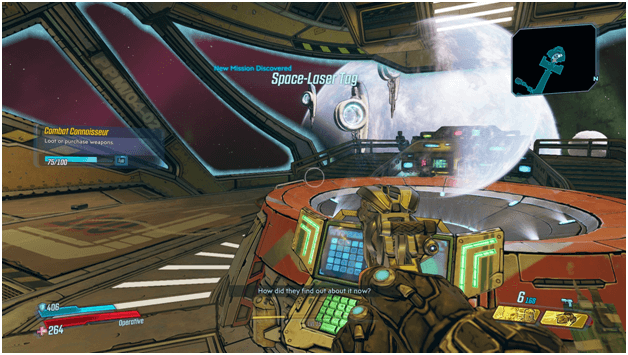
Atlas is in trouble as Katagawa Jr. has an orbital laser targeting them and Rhys asks you to intervene with Katagawa’s plans by disabling the laser through infiltration and sabotage.
Rhys will ask you to meet up with him to plan out your attempt to head to the orbital laser and prevent if rom being used again against Atlas.
Mission Walkthrough
Transport to Orbital Laser
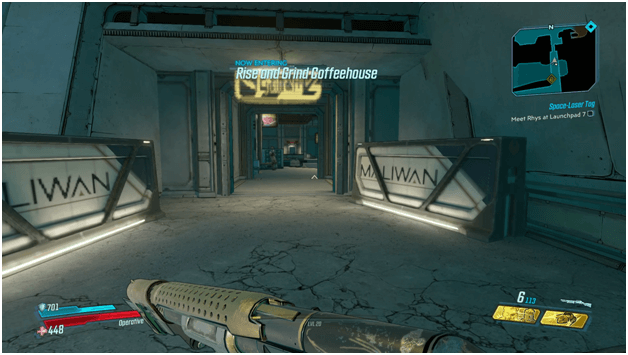
Make your way towards Rhys by either walking on foot or grabbing a vehicle but at some point, you will still need to dismount and run by foot although the vehicle can save some time.
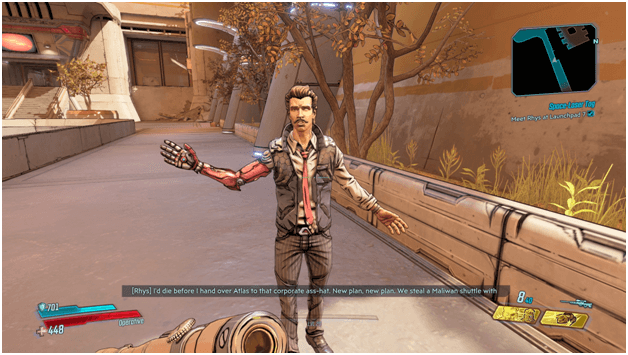
Once you get near Rhys, a quick cutscene will play and you are then to talk to Rhys to come up with a plan to get you up to the orbital laser as his previous plan has just been foiled by Katagawa.
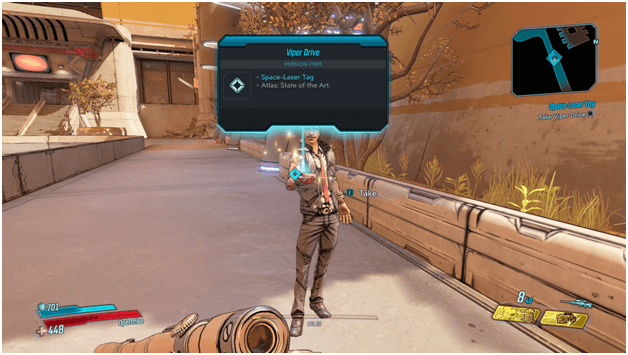
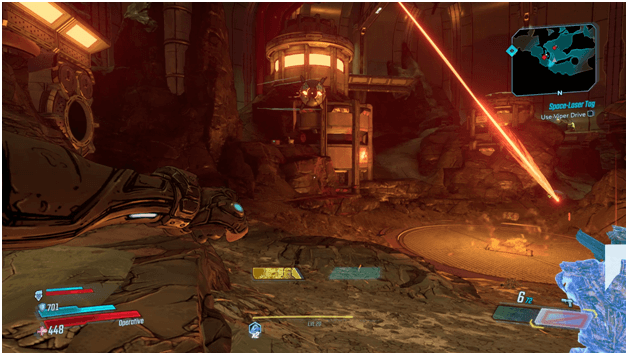
Rhys will hand over his Viper Drive tool which can be used to bypass certain security objects and instructs you to head inside one of the buildings guarded by Maliwan and to hijack one of their vehicles.
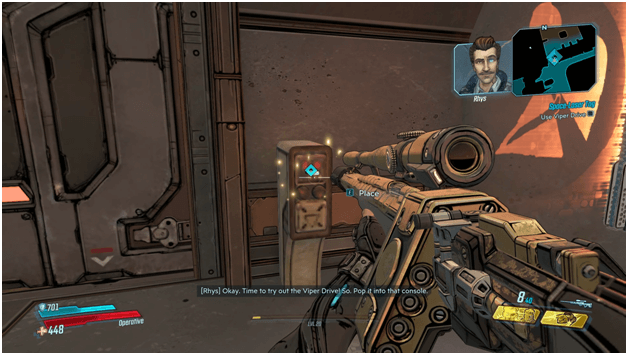
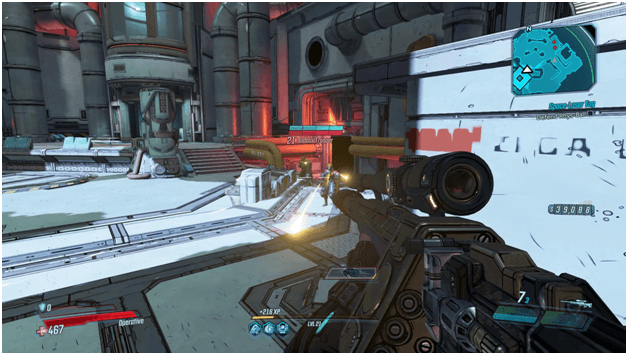
Head over to a nearby scanner to use the Viper Drive to get the door opened which will lead to a ship of Maliwan origin which you may use to get to the orbital laser.
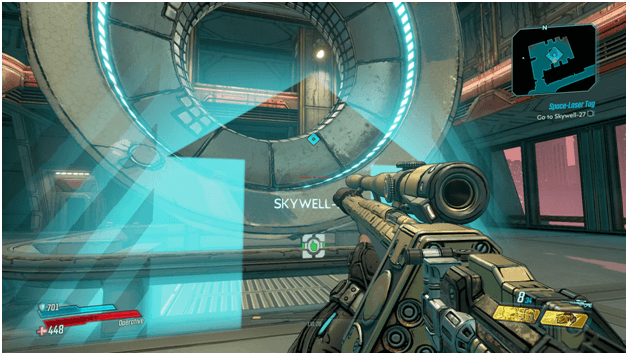
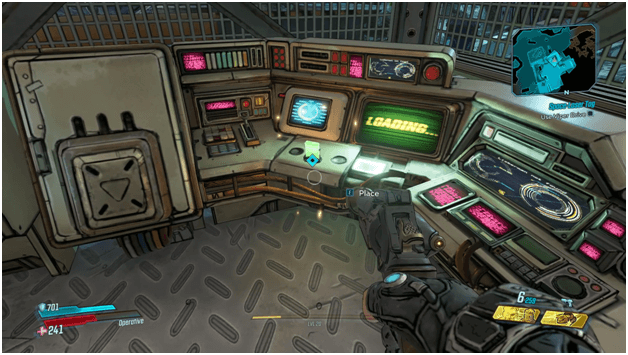
Either clear the room of Maliwan or head straight to the vehicle and interact with it so you can travel to the Skywell-27 which is where the orbital laser has been built.
Infiltrating The Facility
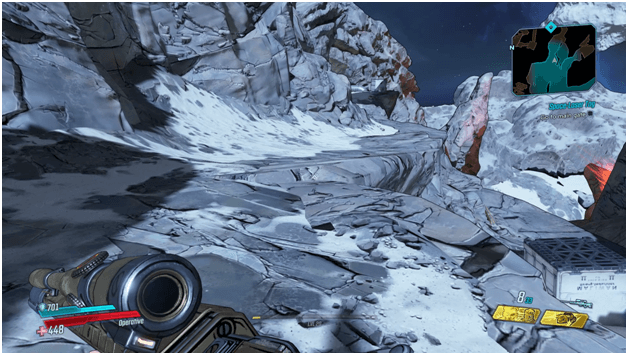
Once you have arrived, may your way deeper within the area so that you can locate the orbital laser as well as a way to disable it.
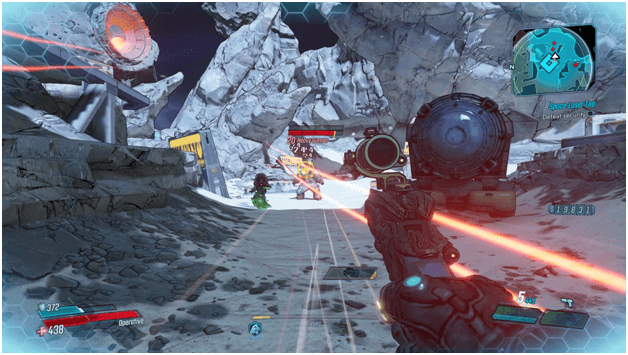
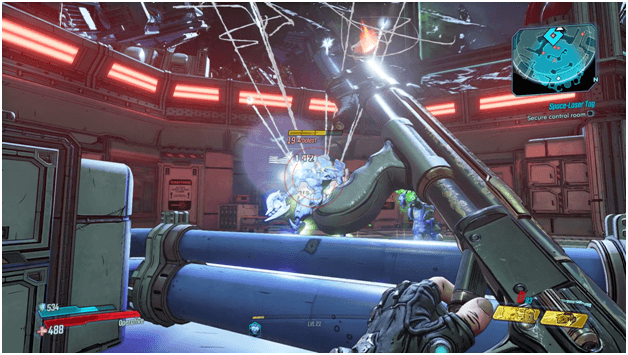
You will face off against a security force which you must take out in order to safely install the Viper Drive in a nearby terminal to give you access to the current area.
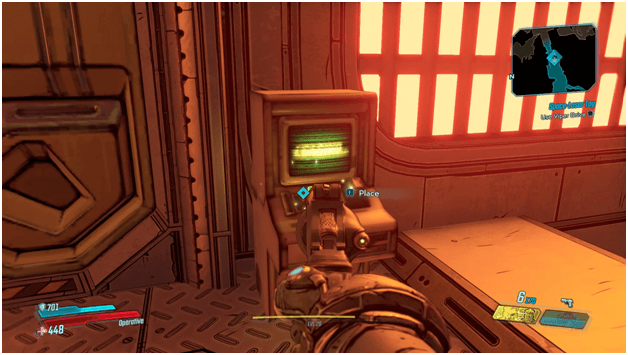
Head over to the terminal marked by your waypoint and use the Viper Drive to proceed with the mission.
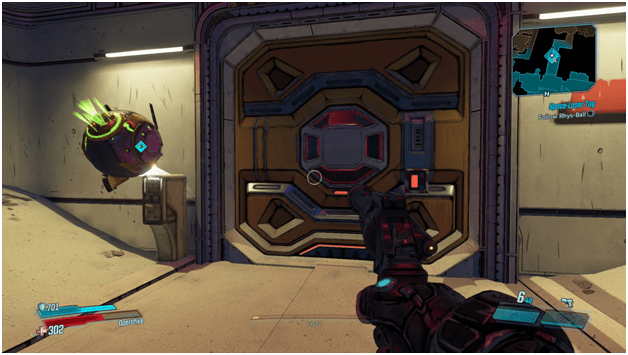
Once the Viper Drive has been installed head over to a gate which Rhys will help open up since the Viper Drive has been used.
There will be enemies waiting on the other side to ambush you so be prepared for a fight.

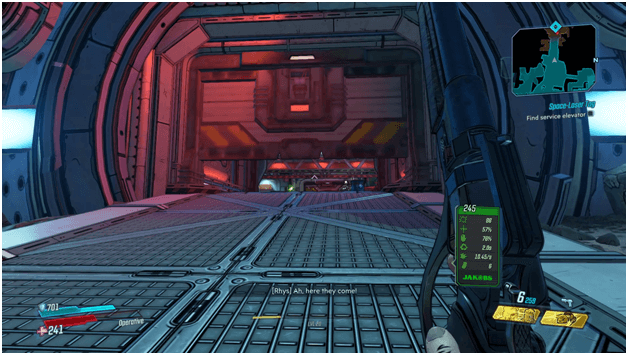
Once you have taken care of the enemies on the other side of the gate, head further inside the base and search for an elevator that you will need to use.

After attempting to activate the elevator, Katagawa will call in some troops to kill you which you must fend off while Rhys comes up with a plan since the elevator will not be usable.
An Alternate Route
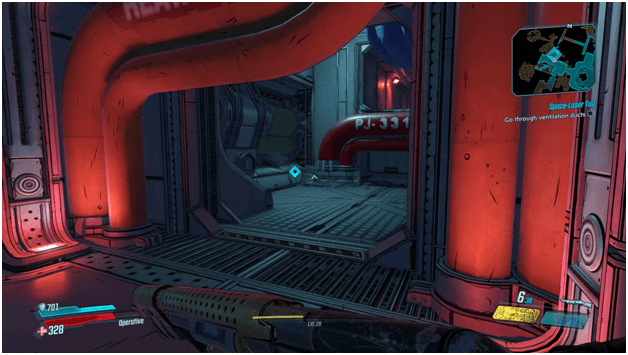
Rhys will reveal that there are ventilation ducts which you may use to gain entry instead of the elevator which you are to head inside and continue moving forward.
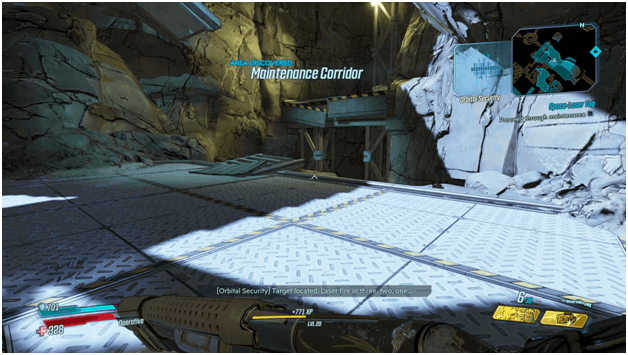
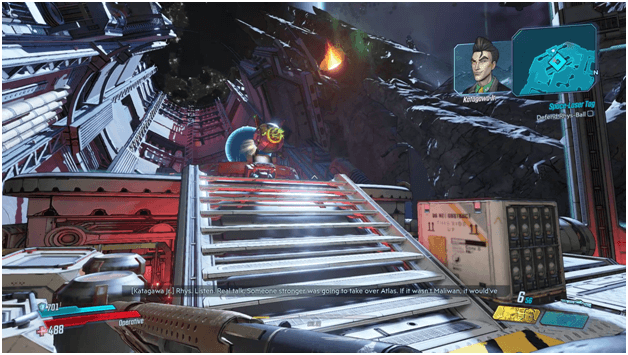
After going through the ventilation ducts, you will find yourself inside a maintenance corridor which has a path that is incomplete which requires that you jump across large gaps.
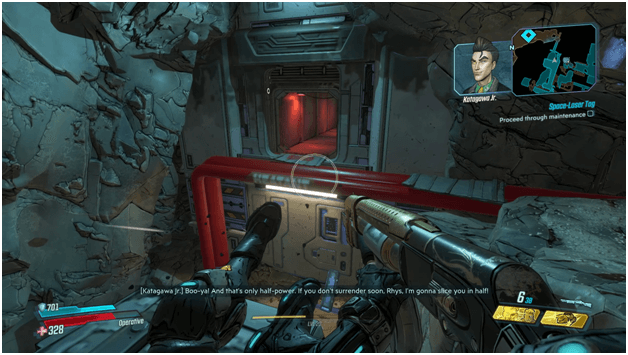
After crossing the large gaps, there will be another ventilation duct nearby which you are to enter and be sure not to mistake this one with the previous one you had just exited.
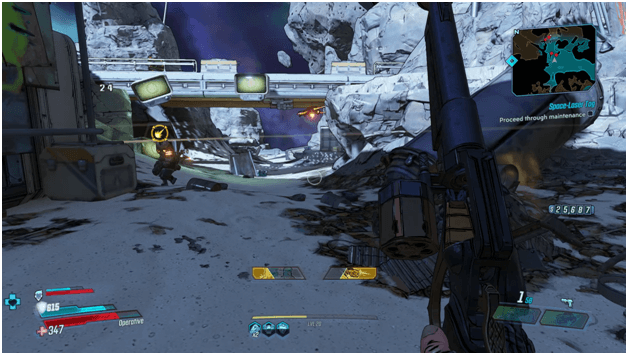
Once you make your way through the ventilation duct, you will be brought to an exterior area and will need to proceed to maintenance which is located nearby past several bandits in the area.
Heading Down The Chute
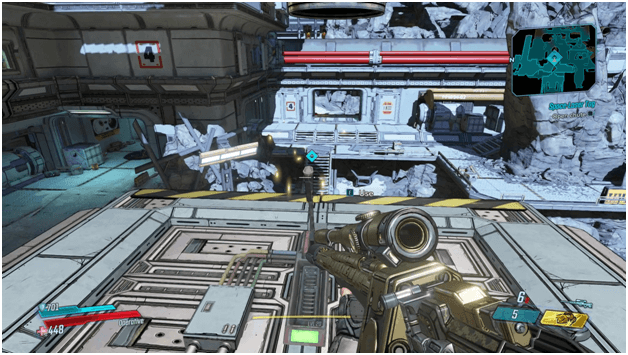
You will need to clear the area of enemies and open the chute which can be done by head to the upper floor and activating a lever.
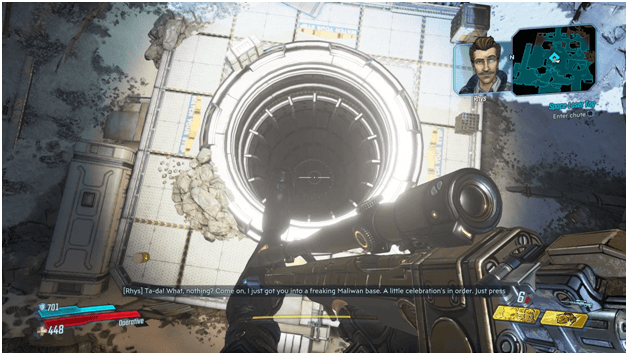
Once the chute is opened, jump down to infiltrate the facility and bring yourself closer to your goal.
At the bottom of the chute you will encounter death spheres which Rhys mentioned early but did not give full detail about.
Creating Rhys Ball
Defeat the death spheres and head over to a nearby console so that you can use the Viper Drive once more.
Unlike before, the Viper Drive will not work as Katagawa has found a way to foil the plan which leave Rhys wishing he was down there with you so he could hack the console manually.
Rhys will get the idea of using a death sphere so he will be able to hack as if he were down with you which requires you to go find him a sphere that he can use.
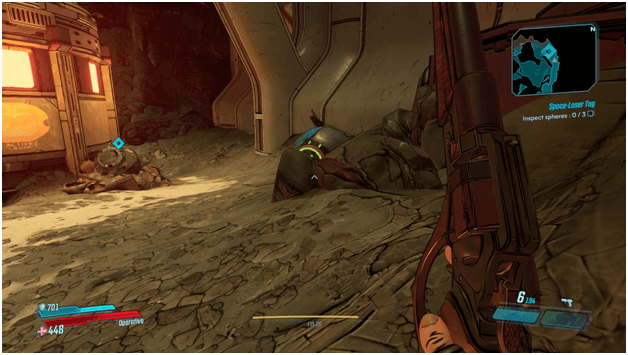
Head over to each sphere that is marked by a waypoint and interact with each of them until you reach the third one.
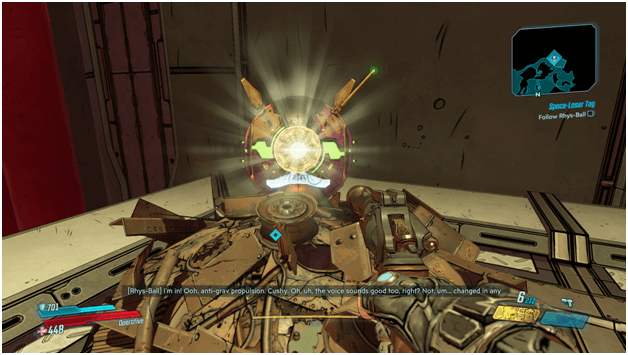
After reaching the third one, Rhys will accept the sphere you have chosen and will ask you to insert the Viper Drive so he can access it.
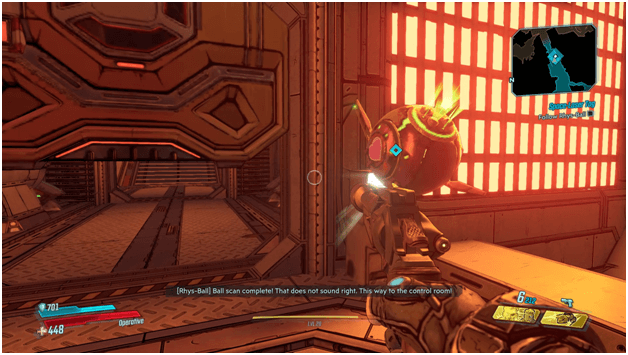
Once Rhys has a sphere which he now calls “Rhys Ball”, he will open the way to the control room which you will need to later fight through along with Rhys Ball just following closely.
Disabling The Facility
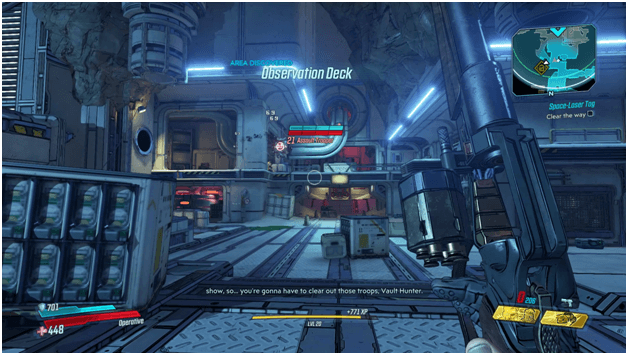
Clear the area of enemies to proceed further through the mission so that Rhys Ball can safely maneuver around the area.
Rhys instruct you to find the servers and destroy them and he will open up a door for you to proceed through.
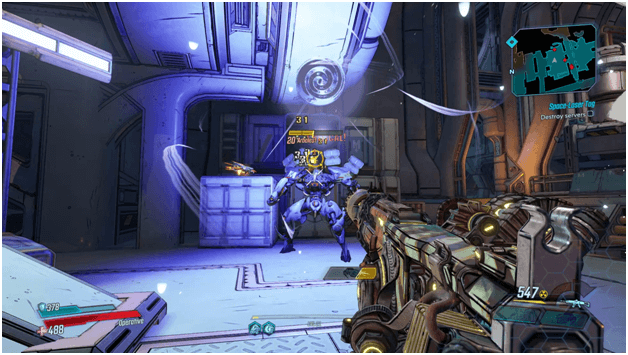
Fight your way through the area and follow the waypoint which shows the location of the servers.
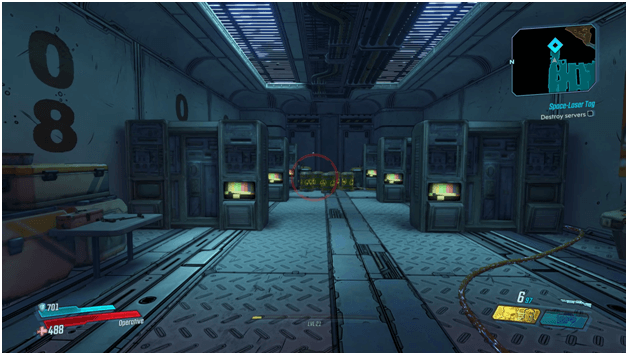
There will be barrels in the spot which you simply need to shoot which will destroy the servers instantly.
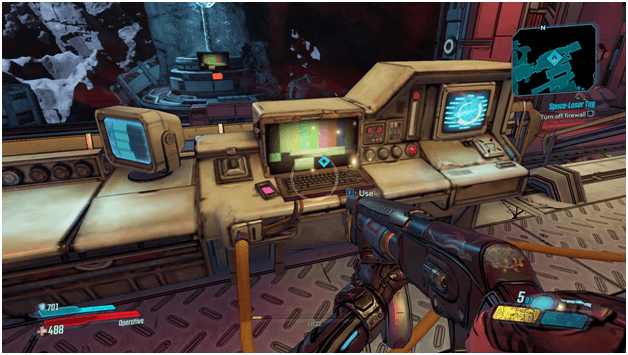
Once you have destroyed the servers, proceed near to the nearby console in order to turn off the firewall.
Finding The Vault Key Fragment
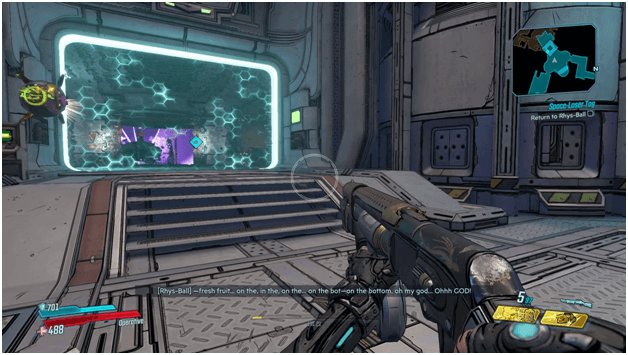
Once you have destroyed the servers and turned off the firewall, Rhys will be able to have better access and will later on open up an area which has a barrier so you can pass through.
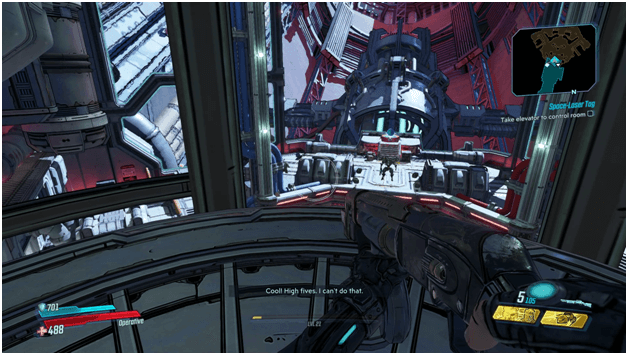
Head through the barrier and take an elevator which leads down to the control room where the orbital laser may then be controlled.
Clear the area of enemies so that Rhys will be able to access the room properly in order to manipulate the orbital laser.
As Rhys begins to hack into the orbital laser control panel, you will need to defend him as enemies will spawn and come for both of you.
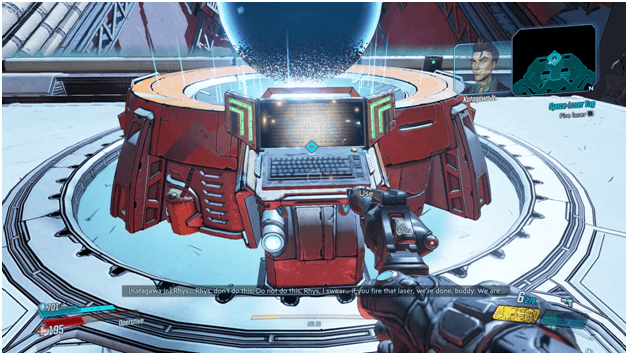
Fight off all the enemies and when the last one is killed; you are to fire the laser which Rhys has set to target the Zanara.
Killing Katagawa Ball
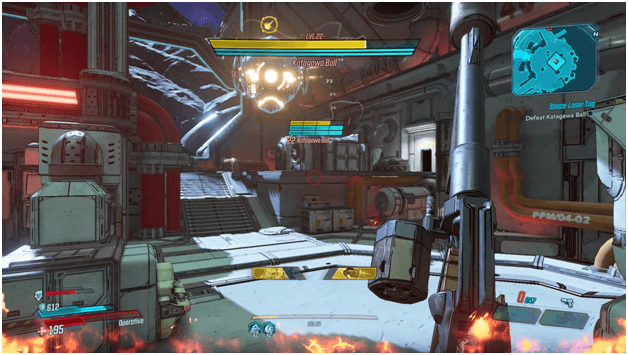
After destroying the Zanara as well as have taking control of the orbital laser, a cutscene will show a Katagawa Ball being deployed which destroys Rhys Ball.
Fight the Katagawa Ball which until you completely deplete its health and shields.
Back To Sanctuary
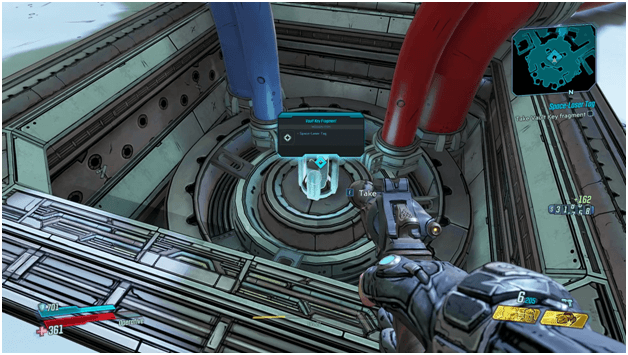
After you defeat Katagawa Ball, head to the waypoint which shows the location to a vault key fragment which you will then pick up to be brought back to Tannis.
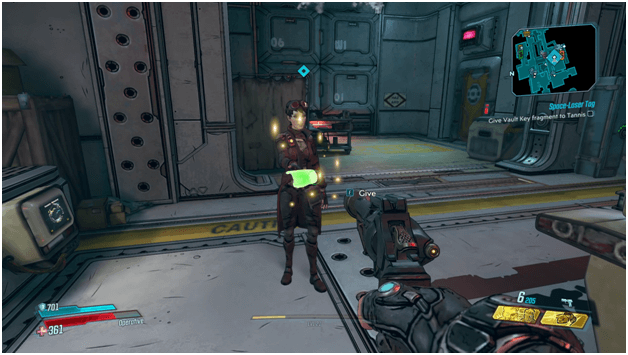
Fast travel back to Sanctuary and head over to giver her the vault key fragment before going to Lilith.
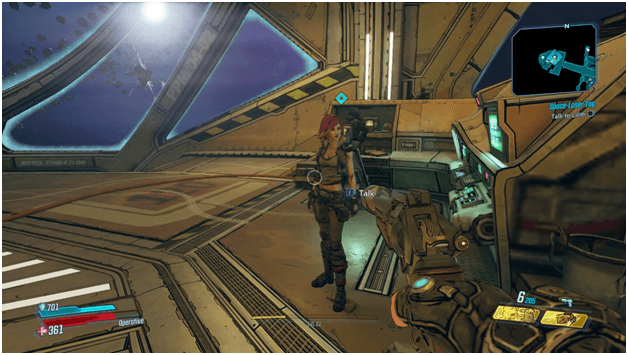
Talk to Lilith to complete the mission after you have delivered the vault key fragment to Tannis which will end the mission and activate the Atlas, At Last mission.
Space-Laser Tag Mission Rewards
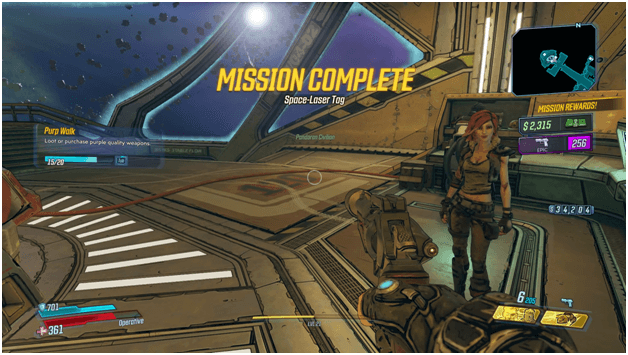
Upon completion of the mission, you will be rewarded with around 2,315 cash as well as an epic pistol called “Refined Starkiller”.
Tips
- This is basically part of the games tutorial and you will mostly be able to test out a few different guns if you do some proper looting.
- It would be a good idea to stick to one weapon so that you can later on earn rewards from the manufacturer for killing enemies with their weapon.
- Try not to rush into enemies too early when you do not have shields as you can get downed really quick and will have to resort to killing enemies during “Fight For Your Life”.
Other Main Missions Walkthrough
- Children of the Vault
- From the Ground Up
- Cult Following
- Taking Flight
- Sanctuary
- Hostile Takeover
- The Impending Storm
- Atlas, At Last
- Beneath the Meridian
- Hammerlocked
- Lair of the Harpy
- The Guns of Reliance
- The Family Jewel
- Cold as the Grave
- Going Rogue
- Blood Drive
- Angels and Speed Demons
- The Great Vault
- The First Vault Hunter
- Footsteps of Giants
- In the Shadows of Starlight
- Divine Retribution