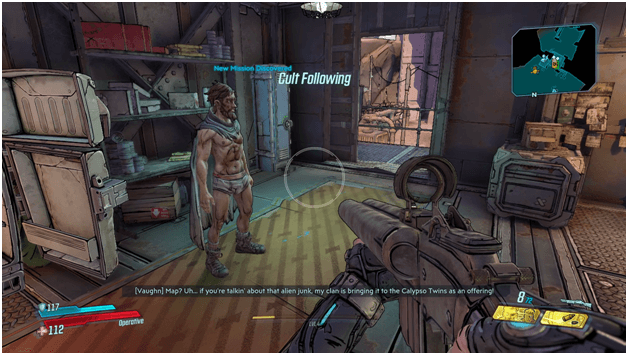
Cult Following continues the main story revealing that Vaughn’s Sun Smashers had decided to take the vault map device that Lilith is looking for to the Calypso Twins as an offering.
In this mission your goal is to head to the meeting place where the Sun Smashers have brought the map device and intercept this before it gets into the hands of the evil twins before they can make use of it.
This mission unlocks the usage of vehicles and will introduce you to how you can get, take and deploy them to use at your own disposal.
Mission Walkthrough
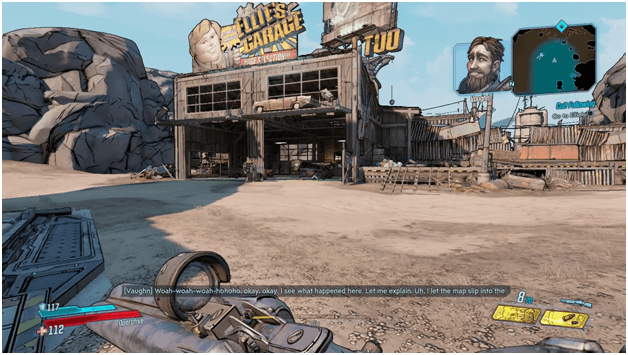
Heading To Ellie’s Garage
You begin by being tasked by Lilith to obtain a vehicle that you can use for transportation which will indeed be necessary as your destination later on is pretty far and will be a pain to walk to.
Head over to Ellie’s Garage which is a good walking distance from the propaganda center and go inside and out to the back where you will find Ellie.
Meeting Ellie
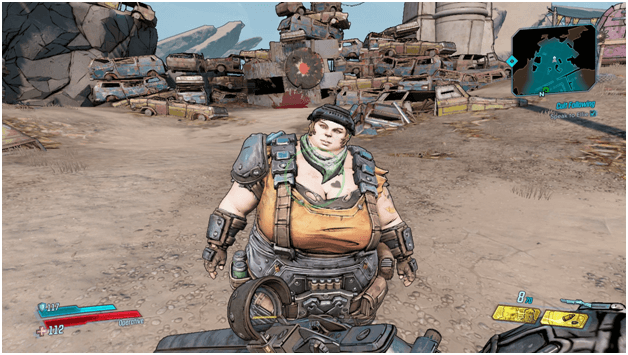
After entering the garage and heading into the back, a short cutscene will play and after that you need to head up to Ellie and talk to her.
Ellie will tell you that you need to get her a vehicle which will be used at the Catch-A-Ride for scanning and so you can have your own vehicle to use whenever you need it.
Getting a Vehicle
Move towards the waypoint indicated leading to the area behind the garage which will lead you through groups of bandits which you have to fight along the way.
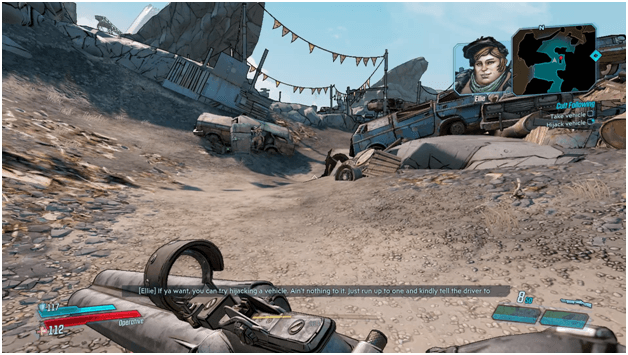
After fighting the bandits and making your way towards the waypoint, you will find yourself at a track where bandits are driving vehicles as well as there will be a vehicle parked nearby.
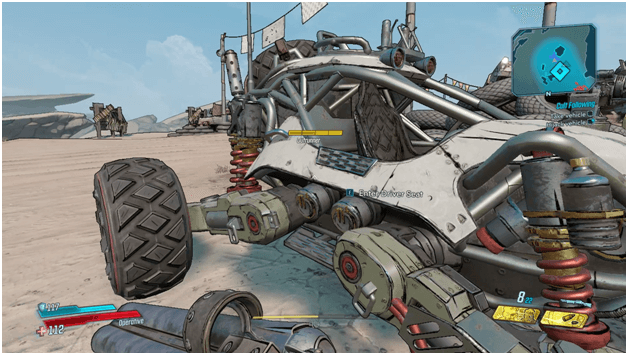
You have 2 choices for completing this mission, either grab the vehicle that is parked around the center of the track or hijack a vehicle that is being driven by bandits.
To hijack a vehicle, simply run up to an enemy vehicle which has a side that you can enter through, this will allow you to pull an enemy out and take the vehicle when you press the use key from that side.
Further along the game you will encounter other vehicles, you will not be able to hijack vehicles if a side is blocked by a door so you must always aim to hijack from the side where there is an opening.
Bring The Vehicle Back
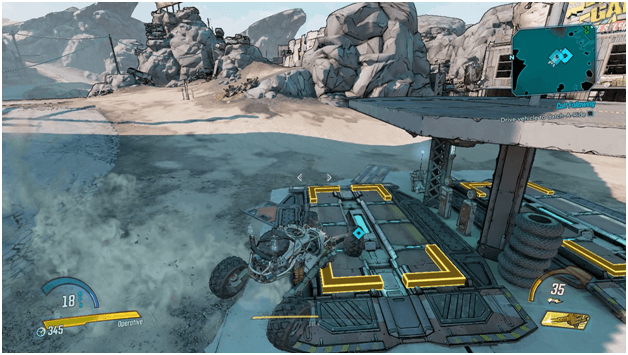
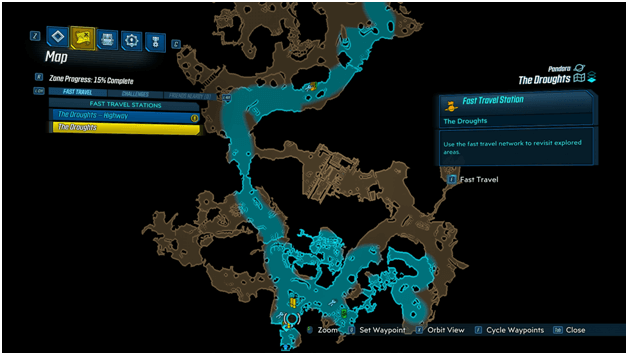
After you obtain a vehicle, follow the marker by heading around and driving back to a Catch-A-Ride which Is near Ellie’s Garage.
Drive over to the highlighted area and stop the vehicle inside it, you will automatically dismount the vehicle and it will disappear, later to be added to your list of usable vehicles.
Head to the console nearby and deploy a vehicle for you to use so you can drive it going to your next task.
Heading To The Holy Broadcast Center
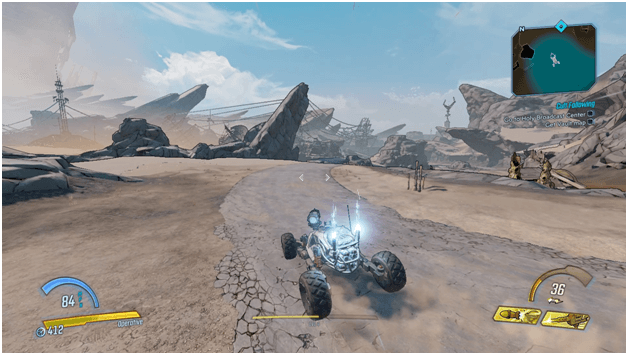
Your next step is to drive over to The Holy Broadcast Center which is a few minutes away when you use a vehicle.
It’s a good idea to follow the road if you want to get there right away but you can also make a few stop overs to loot places and kill enemies along the way for loot and experience.
You will come across the passage leading to Ascension Bluff which is the area where The Holy Broadcast Center is located.
Making Your Way Inside The Holy Broadcast Center
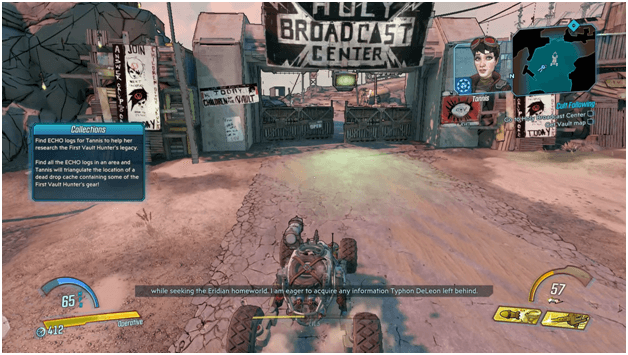
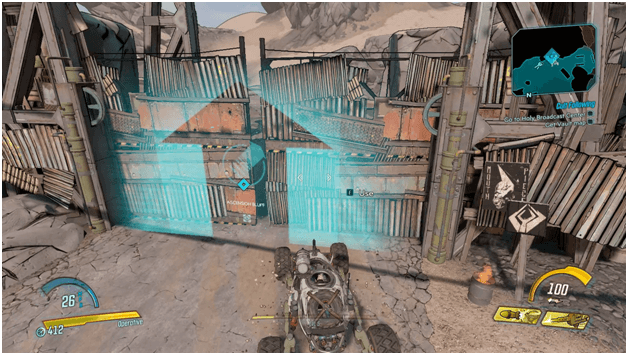
Follow the waypoint on your map and head to the entrance to The Holy Broadcast Center and exit your vehicle at the gate as you will not be able to drive beyond this point.
Enter the gate and make your way along the path but be prepared for a fight as there will be a lot of enemies in your way.
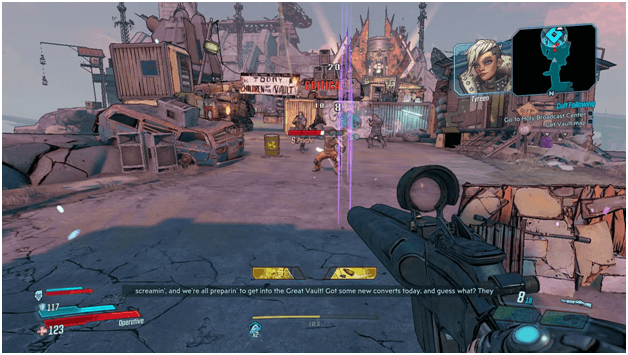
Fight past the enemies and be sure to use cover and explosive objects such as barrels to deal damage to enemies that are close to each other.
Fight your way across the long road and keep pushing forward until you reach The Holy Broadcast Center building.
Along the way you will be able to loot a few storages and may even come across some weapons to replace your current ones.
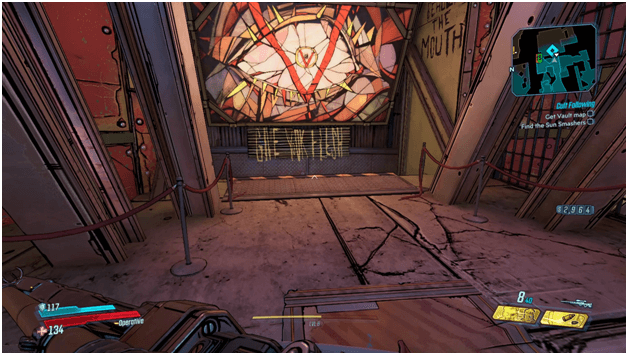
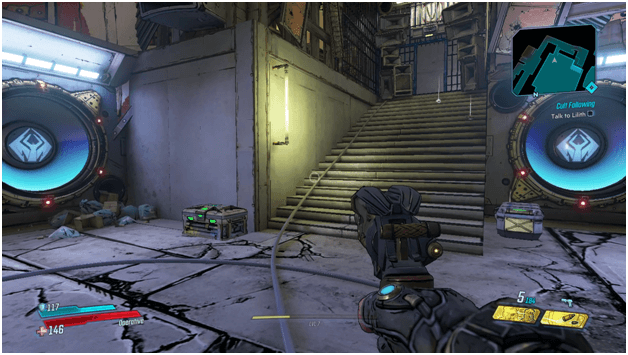
Head inside the building and wait for a short announcement to be played which will then be followed by a gate opening up, allowing you to venture further inside the building.
Finding The Sun Smashers
Your next tasks are to find out where the Sun Smashers are and what happened to them along with also finding the Vault Map.
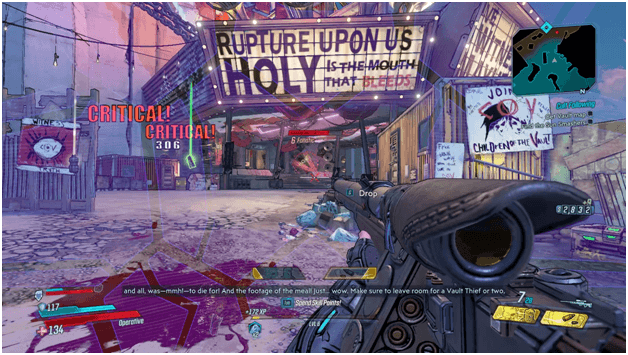
Fight through the bandits that are guarding the inside area of the building and make your way towards the waypoint pointing you further inside.
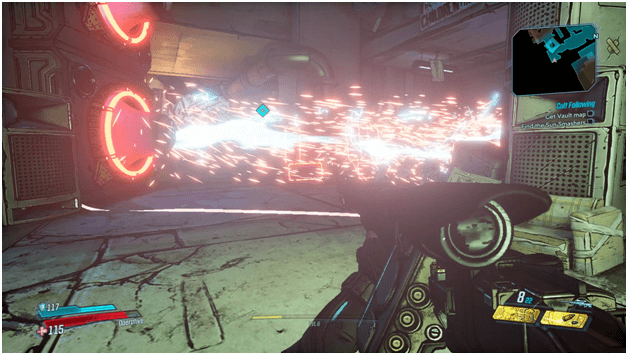
Watch out for large speakers that have neon-like glowing wires around and do not stay in front of them when you hear a charging noise.
These will emit a blast which will deal damage to you as well as knock your around, possibly downing you which can be troublesome if no allies are around to revive you or enemies to help you get back up via “Fight For Your Life”.
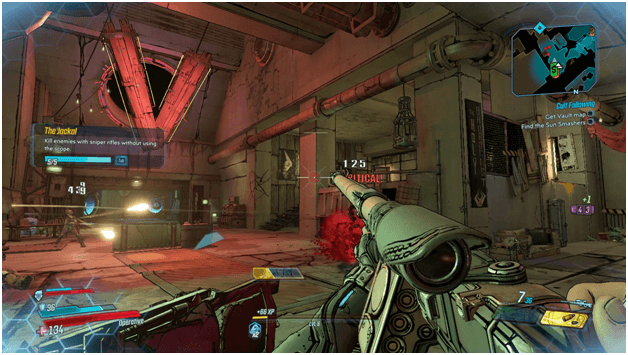
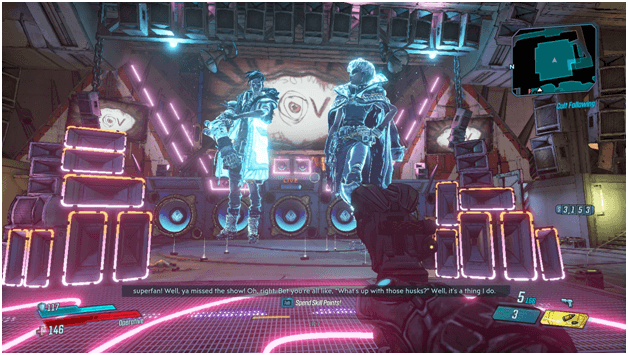
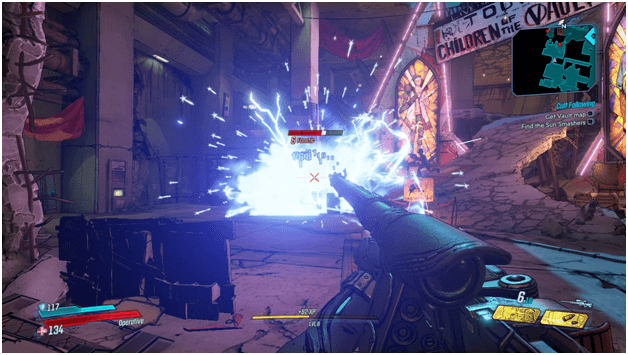
Facing Mouthpiece
You will find yourself near a drop once you reach the waypoint, heading down will bring you to the area where you will fight Mouthpiece.
Be sure that you have enough ammunition and that you are prepared for a fight as it may be a bit challenging for lower levels and those who do not have enough ammunition.
You can purchase ammo, grenade mods and shields at the vending machines to the left before dropping down into the boss fight area.
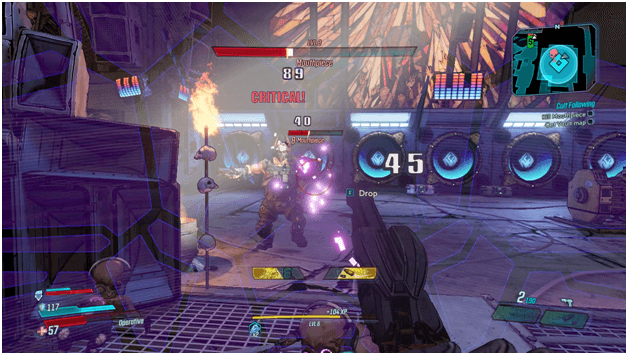
Engage and fight Mouthpiece until you kill him and be sure to watch out for the speakers when they light up as they will blast you and can end up with you getting downed.
Take The Vault Map
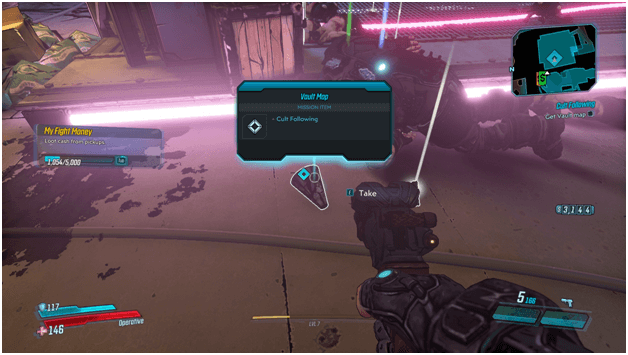
Once defeated, Mouthpiece will drop loot as well as the Vault Map which you need to pick up to proceed with the mission.
The Calypso Twins will then have a message for you before your next task is revealed and a gate on the left will open up, allowing you to access a path leading out of the area.
There will be some storage containers lying around which you may loot as well as some side missions that you can start if you go into the back.
Bringing The Map To Lilith
Once the Calypso Twins have finished their message, either head to the gate that has been opened and head loot what you want or make your way back.
You may fast travel to your vehicle to go back faster or simply fast travel all the way back to the propaganda center.
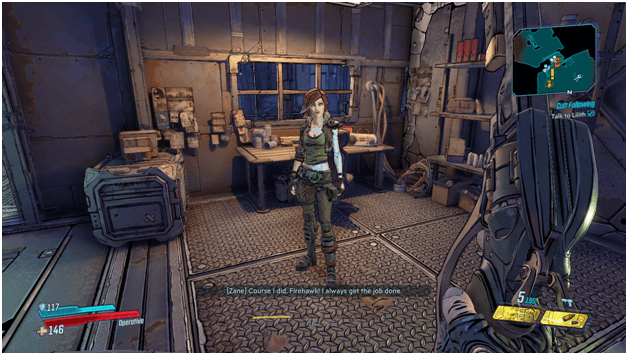
Once you arrive to the propaganda center, speak to Lilith to finish the mission which will begin the start of the Taking Flight mission which follows the main storyline.
Cult Following Mission Rewards
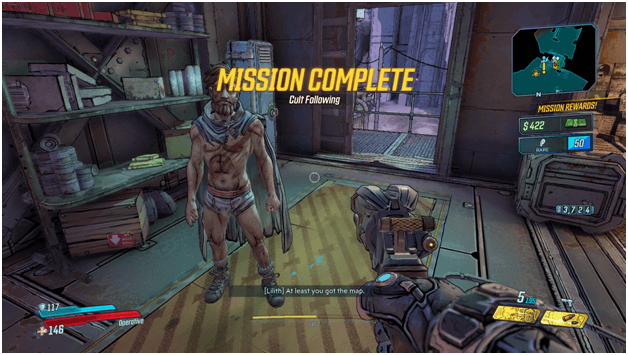
Upon finishing the Cult Following mission, you will be rewarded with 422 Cash and a rare head cosmetic item which can be equipped at the Quick-Change machine.
Bonus rewards will be given if you hijacked a vehicle earlier instead of taking the one that was parked in the center.
Tips
- It’s a good idea to get familiar with the vehicle controls and a good idea to collect enemy vehicles along the way until no parts are unlocked so that you can configure your vehicle early on.
- A good way to prepare before the fight with Mouthpiece would be to do some side missions as well as purchase a better grenade and shield mod for an extra edge in the fight.
- Taking on Mouthpiece is quite challenging so it’s a good idea to try to get a good weapon before fighting him.
- When fighting Mouthpiece, try focusing on him, rather the enemies around so if ever you get downed, you can kill an enemy during “Fight For Your Life” to revive yourself.
Other Main Missions Walkthrough
- Children of the Vault
- From the Ground Up
- Taking Flight
- Sanctuary
- Hostile Takeover
- The Impending Storm
- Space-Laser Tag
- Atlas, At Last
- Beneath the Meridian
- Hammerlocked
- Lair of the Harpy
- The Guns of Reliance
- The Family Jewel
- Cold as the Grave
- Going Rogue
- Blood Drive
- Angels and Speed Demons
- The Great Vault
- The First Vault Hunter
- Footsteps of Giants
- In the Shadows of Starlight
- Divine Retribution