After rescuing Tannis from Carnivora, you are told to talk to Lilith where Tannis will also reveal that the Children Of The Vault are amassing in order to carry out something big.
Your task is to head over to Roland’s Rest and have Vaughn assemble the troops to assault the Children Of The Vault in order to prevent them from carrying out their plans.
Mission Walkthrough
Preparing For The Assault
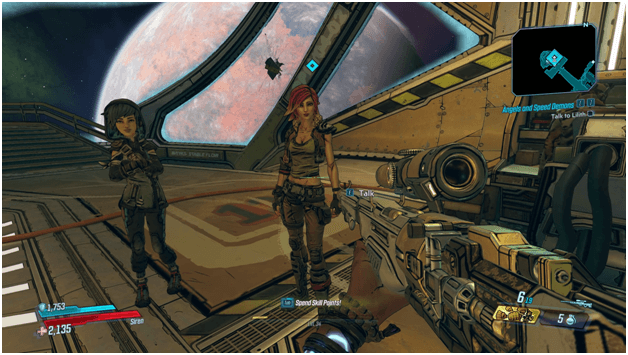
After rescuing Tannis, you will need to head over to Lilith in Sanctuary to get your next briefing which will end with you needing to head over to Roland’s Rest to tell Vaughn to assemble the troops.
Defending Roland’s Rest
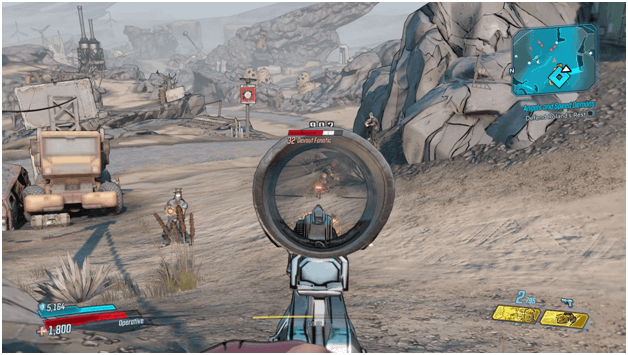
Upon arriving at Roland’s Rest, the Children Of The Vault will already be set up outside the base and will start attacking the area.
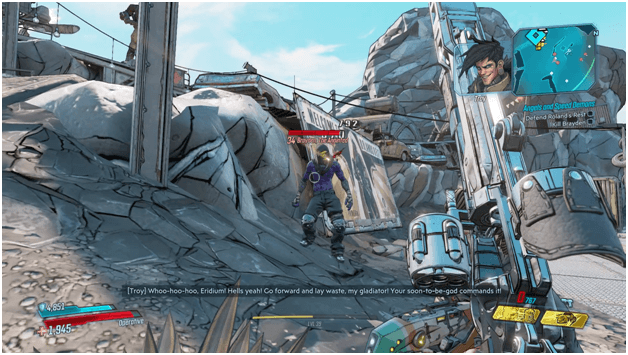
You will need to defend Roland’s Rest and fight back all the forces which also includes an anointed enemy called Brayden, The Anointed.

Once you have successfully defended Roland’s Rest, Vaughn will say that it is time to initiate the attack on the Children Of The Vault.
Assaulting The Children Of The Vault

You along with other Crimson Raiders will then begin the assault on the Children Of The Vault defenses nearby where you will be accompanied by other Crimson Raiders that are riding in vehicles.
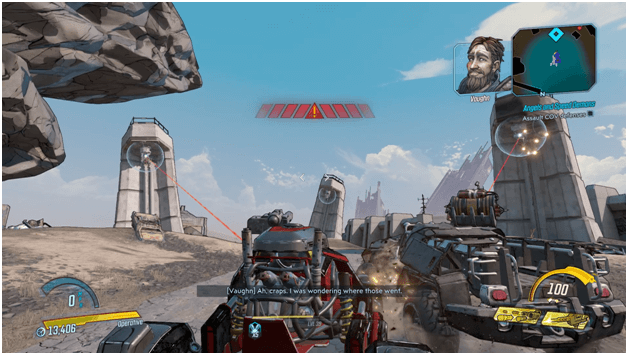
When you reach the Children Of The Vault base there will be defenses set up which include turrets that have been stolen from Vaughn, making your attack futile.
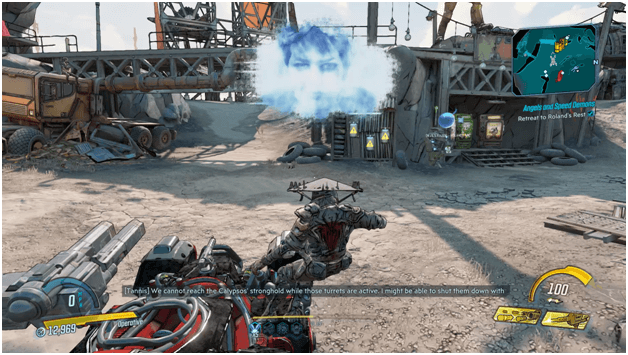
You will need to retreat back to Roland’s Rest as the defenses are too much to handle but Tannis will have a plan on how to take down the defenses but she will need you to acquire her Eridium amplifier.
Resorting To The Backup Plan
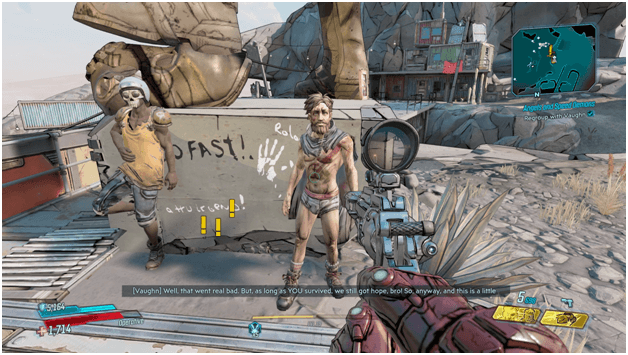
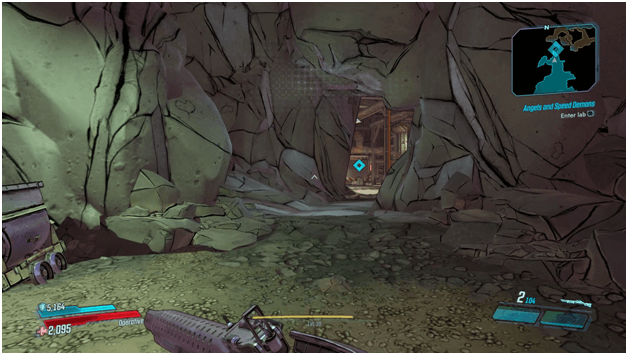
You are then to talk to Vaughn so he can open up the way that leads to Tannis’ secret lab which is located under an abandoned Dahl mine.
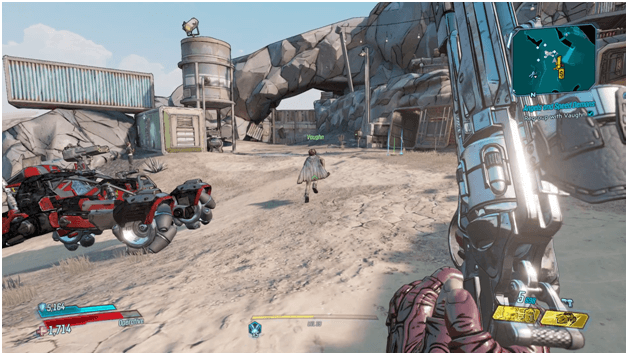
Vaughn will lead you to the entrance which will allow you to head over to the abandoned Dahl mine and he will open up the gate.
Finding The Secret Lab
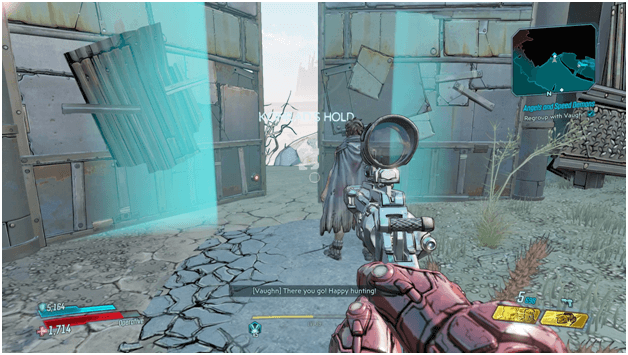
After arriving at the gate which Vaughn opens, head over to Konrad’s Hold which is the next zone where the mission will continue to take place.
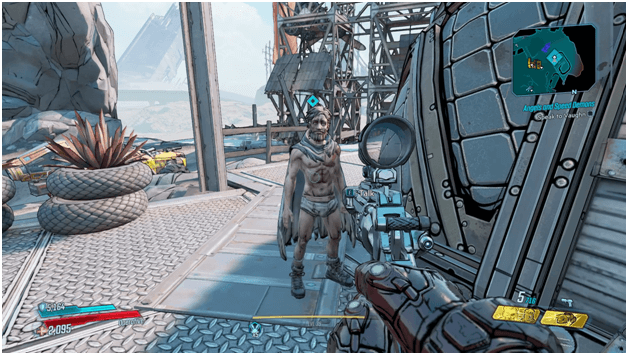
Once you are in Konrad’s Hold, head over to the waypoint where the entrance is located but take caution as there will also be other enemies in the area that will attack you.
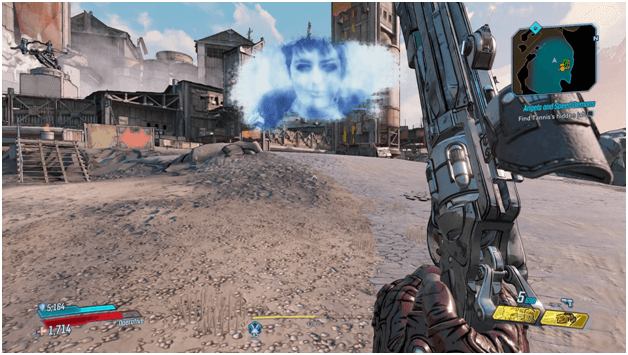
Fight through the enemies and head to the waypoint which will later on reveal that the entrance to the lab can no longer be reached this way, resulting in you needing to go the long way to go to the secret lab.
Going The Long Way
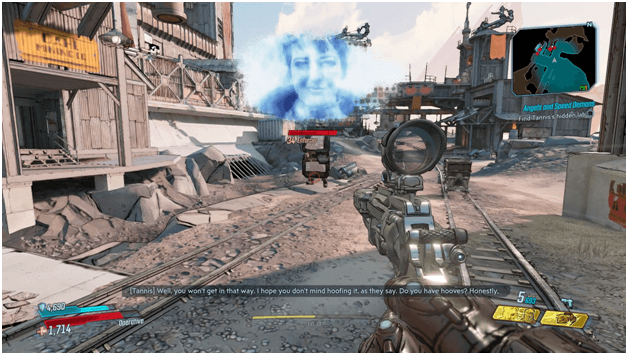
Resorting to the long way, you will need to follow a series of waypoints which will bring you to the alternative entrance to the path that leads to the secret lab.

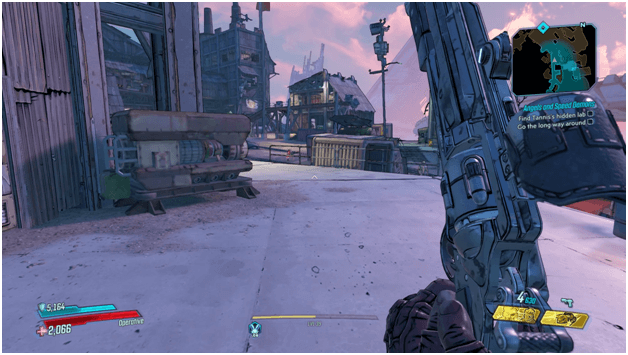
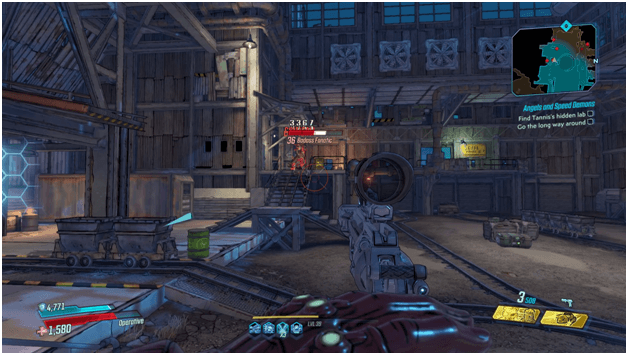
You will reach an area with three gates that need to be opened in order to for you to enter the path to the secret lab.
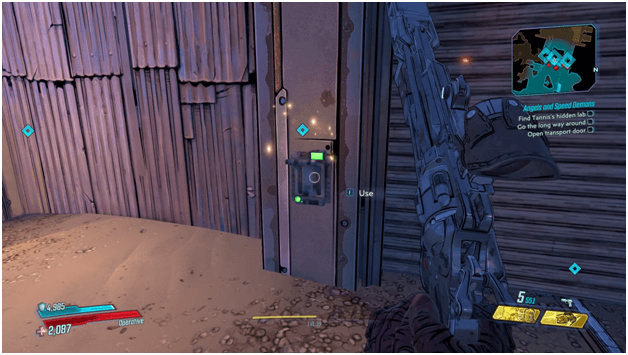
Head over to each of the switches which should have opened up the gates but later on they wont work and you will need to find another way.
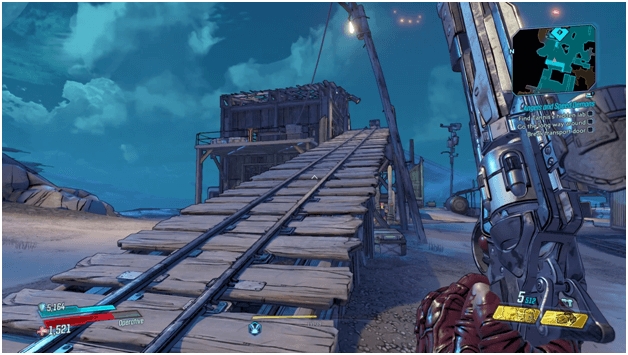
You will then need to head up a railed ramp which will have a cart that has a gas cylinder which will propel the cart to the gate, causing it to explode and open up a path.
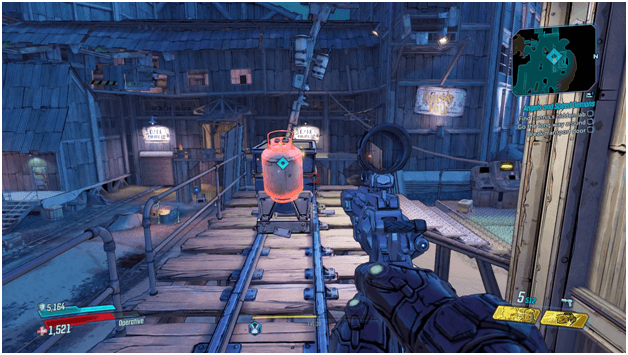
Shoo the gas cylinder to cause the cart to blast forwards heading towards the gate in order to proceed.

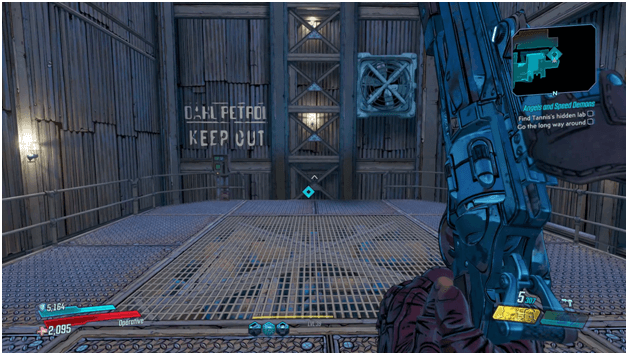
Once you have shot the gas cylinder, head towards the gate as the path will soon be opened once it explodes.
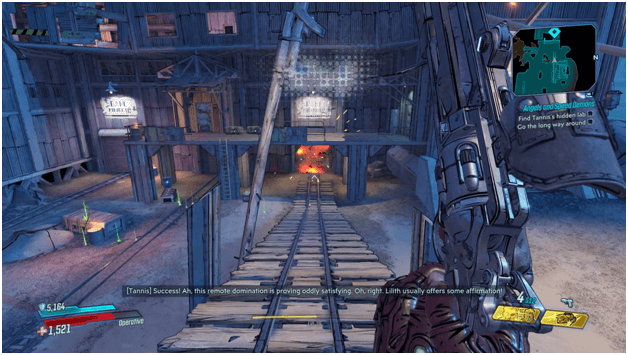
After the gate explodes, head inside and continue heading towards the waypoints that are marked on your map which will lead you to the secret lab.
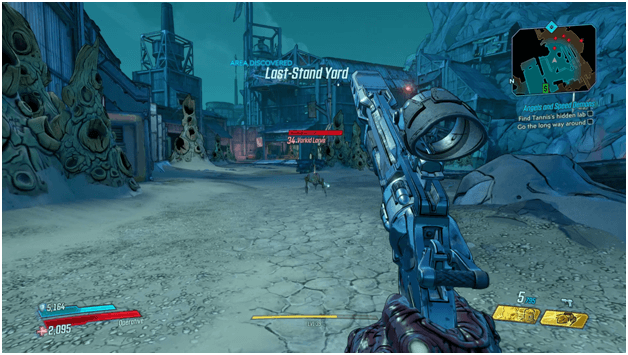
Fight your way through all the enemies and continue along heading to each of the waypoints which will lead you through different areas.
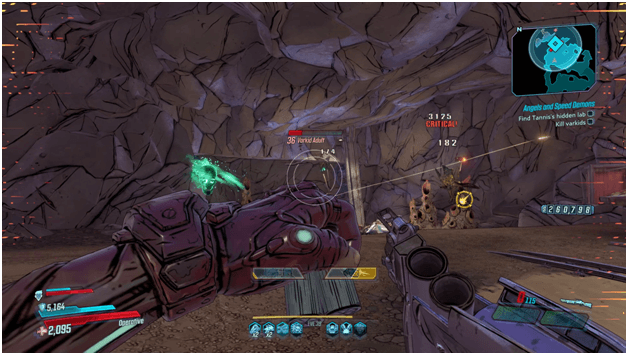
Eventually you will reach an elevator which you will take that leads you to an infested area crawling with varkid enemies.
Fight your way through the varkids and continue making your way towards the waypoints leading you towards the secret lab.
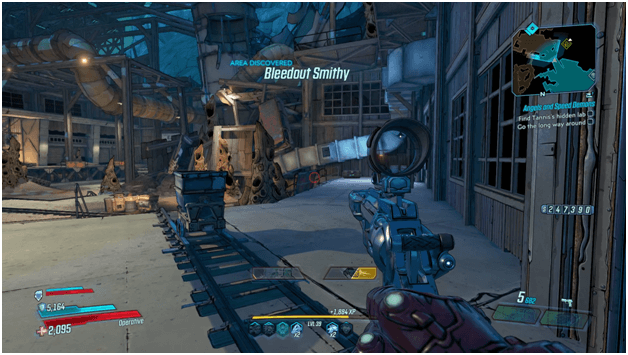
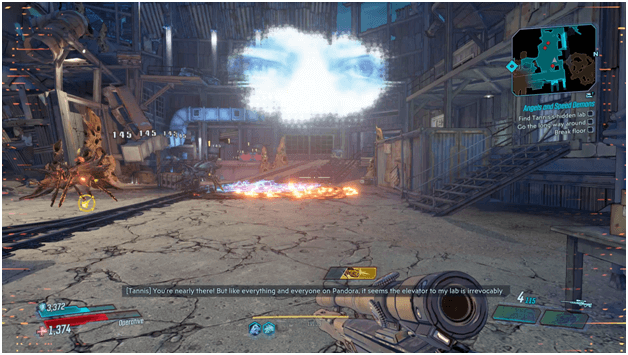
You will later arrive at the Bleedout Smith and need to make your way towards an area with an almost destroyed floor which you will need to destroy.
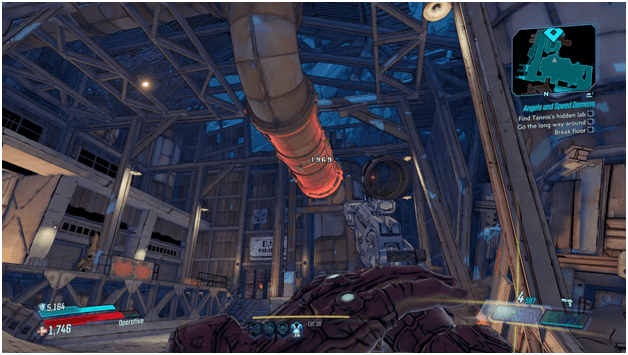
Head to the waypoint and you will see a pipe marked by a red glow which you must shoot in order to make it fall.
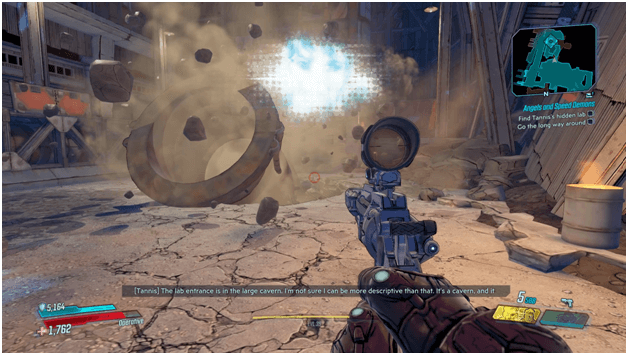
The pipe will fall to the damaged floor and will destroy it, creating an opening for you to enter the underground area.
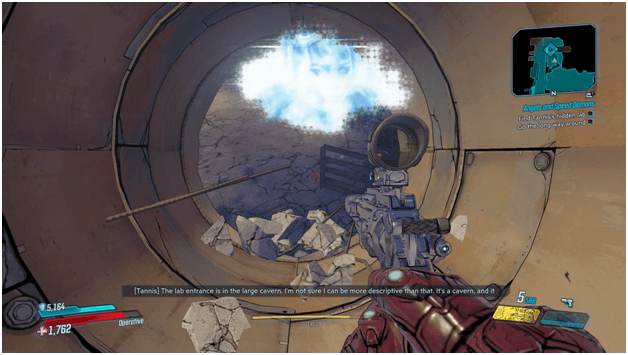
Proceed underground and continue making your way towards the new waypoint as well as the following waypoints when you reach each one.
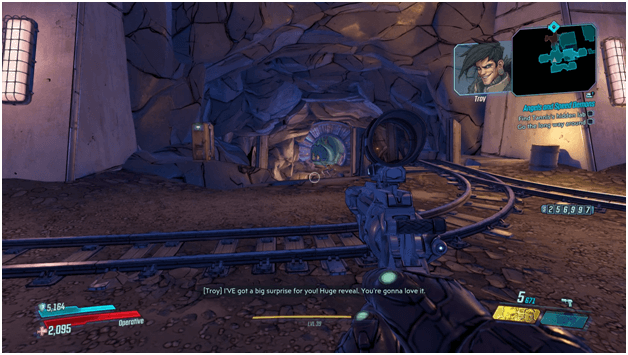
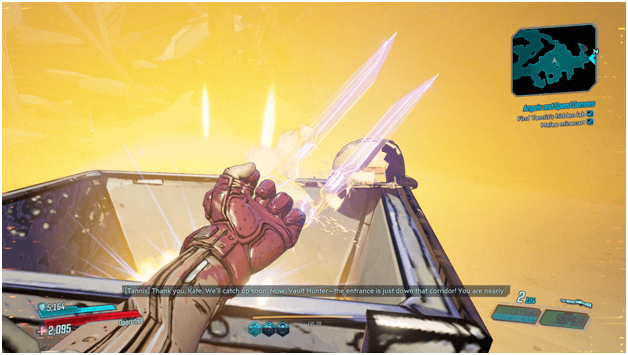
You now be inside the underground Dahl mine and need to make your way towards a cart that Tannis calls “Kate” which serves as a secret passage opener that will open a new path that leads to the secret lab.

Use your melee attack on the cart in order to open the hidden entrance but be prepared as there will be varkids that will come out and attack you.

As the secret entrance opens, the varkids will come out and you will need to clear them out before you can open up the second hidden entrance.
Kill all of the varkids in the area to prevent them from entering the lab and destroying anything valuable inside.
Hit the cart named “Kate” once more to open up the second entrance so you can finally enter the secret lab.
Once the entrance has been opened head to the waypoint which will now bring you into the secret lab where the Eridium amplifier is stored.
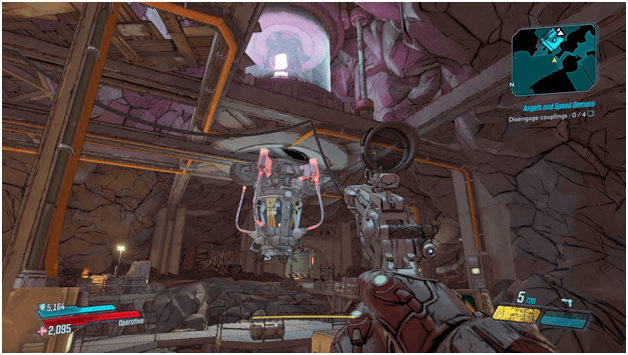
In order to transport the Eridium amplifier you will need to first disengage the couplings which are glowing red.
Shoot the couplings to disengage them and after words head over to the switch which will allow you to transfer the Eridium amplifier.
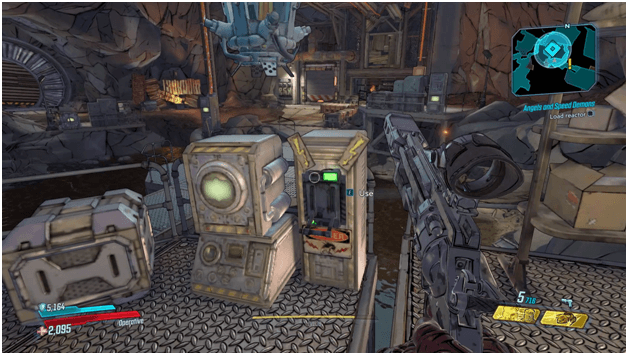
Activate the switch and the Eridium amplifier will begin to be transported to the next area where Vaughn will be waiting.
Bringing Back The Eridium Amplifier
Head into the next zone where the Eridium amplifier will be on Vaughn’s Technical, a vehicle that you will need to drive back to Roland’s Rest.
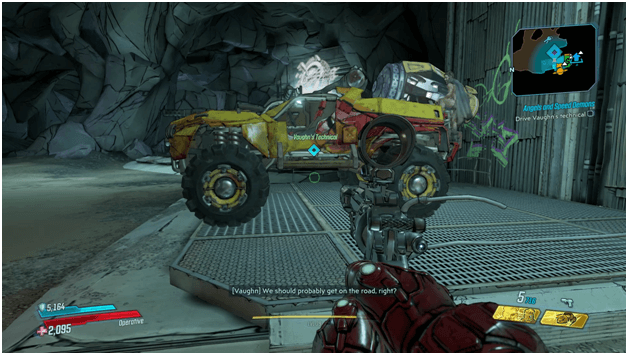
Get inside the truck which Vaughn is already holding on to and drive it back to Roland’s Rest so Tannis will later on be able to use it.
Follow the exit which will take you out of the secret lab and make your way towards the waypoint so you can reach Roland’s Rest.
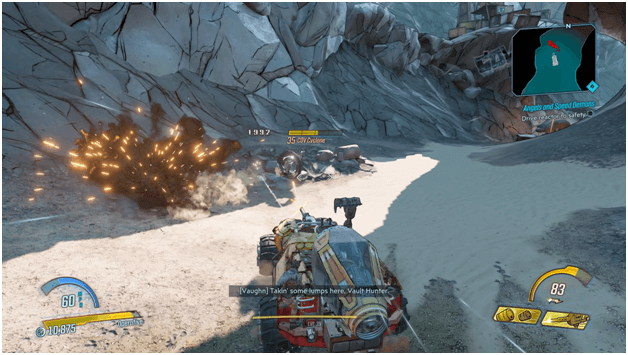
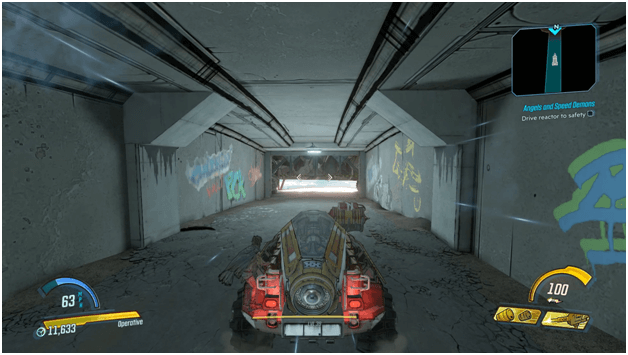
Along the way you will encounter Children Of Vault vehicles which will attempt to destroy your vehicle which means you need to either escape or fight them on your way towards Roland’s Rest.
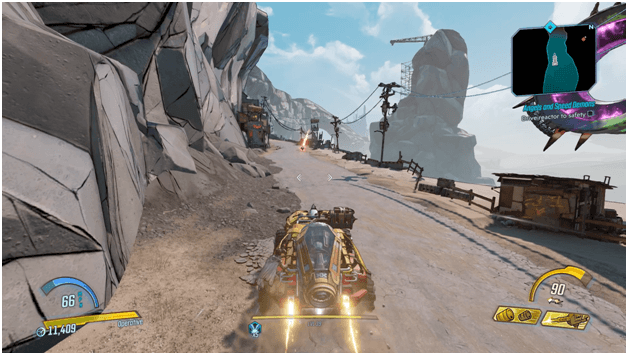
Keep heading towards Roland’s Rest and try to avoid stopping so you do not take so much damage as the vehicle may be destroyed if you are too slow.
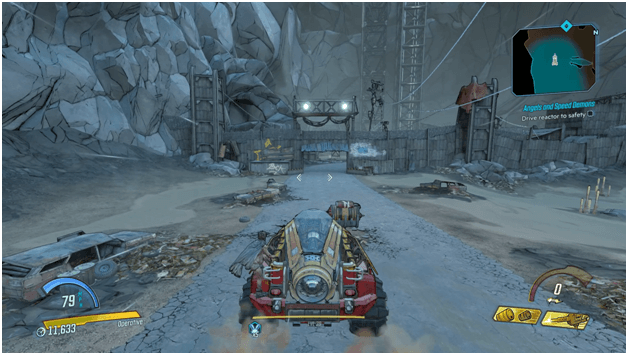
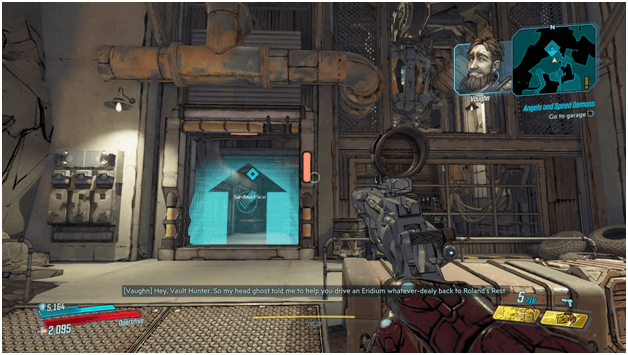
Once you reach the waypoint, there will be an lift that will bring the vehicle up which will bring it to Roland’s Rest.
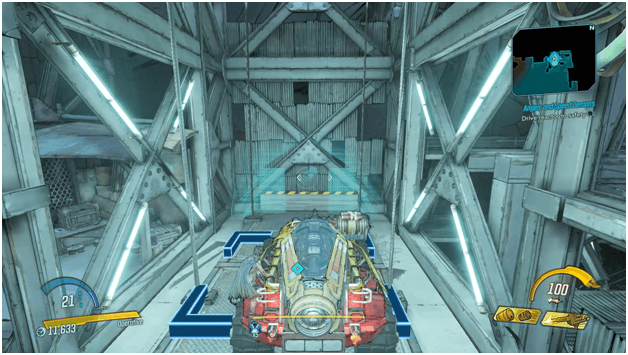
Park your vehicle in the parking area marked by a blue rectangle which will cause you to exit your vehicle.
Once the vehicle is parked, head into the next zone which will bring you to Roland’s Rest.
When you are back in Roland’s rest, head to Vaughn and speak with him in order to complete the mission.
Angels and Speed Demons Mission Rewards

Upon completion of the Angels and Speed Demons mission, you will be rewarded with around 12,671 cash and the “Red Suit” legendary shield mod.
Tips
- You do not necessarily need to kill all of the enemies along the way but it would be good if you pick some off for extra experience if you are on the same level or lower than the enemies in the mission.
- You will be fighting both bandits and varkids so it would be wise to have a different assortment of weapons that can deal a good amount of damage.
- If you intend on killing all of the enemies along the way for extra experience, be sure to upgrade you ammunition SDUs so you don’t run out.
- While driving the Vaughn’s Technical back to Roland’s Rest, try to avoid stopping and just shoot enemy vehicles along the way back to avoid getting damaged since stopping can make you a sitting duck.
Other Main Missions Walkthrough
- Children of the Vault
- From the Ground Up
- Cult Following
- Taking Flight
- Sanctuary
- Hostile Takeover
- The Impending Storm
- Space-Laser Tag
- Atlas, At Last
- Beneath the Meridian
- Hammerlocked
- Lair of the Harpy
- The Guns of Reliance
- The Family Jewel
- Cold as the Grave
- Going Rogue
- Blood Drive
- The Great Vault
- The First Vault Hunter
- Footsteps of Giants
- In the Shadows of Starlight
- Divine Retribution