The Crimson Raiders now head for Promethea where Atlas is under assault by both the Children Of The Vault as well as from Malawan.
You will attempt to respond to the distress call and find out what is going on in Promethea, assisting Atlas and figuring out more about the vault that the Crimson Raiders are searching for.
Mission Walkthrough
Transport To Promethea
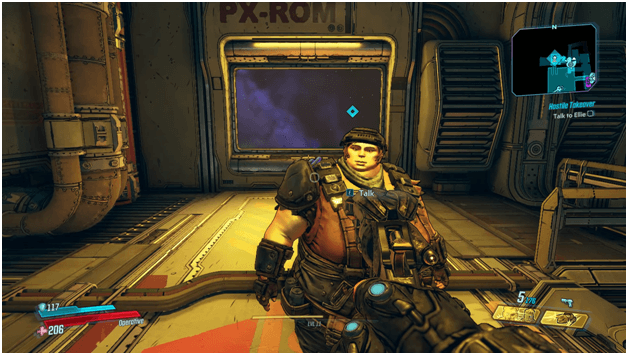
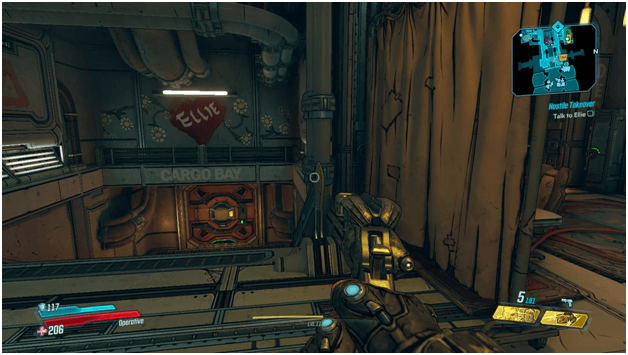
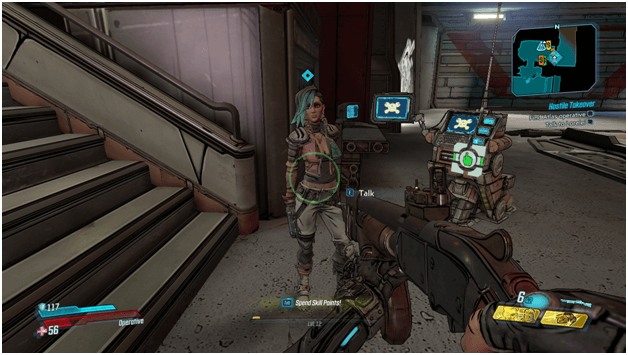
As the mission begins, you will need to talk to Ellie before being transported down to Promethea in an attempt to get you as close as possible to the distress call.
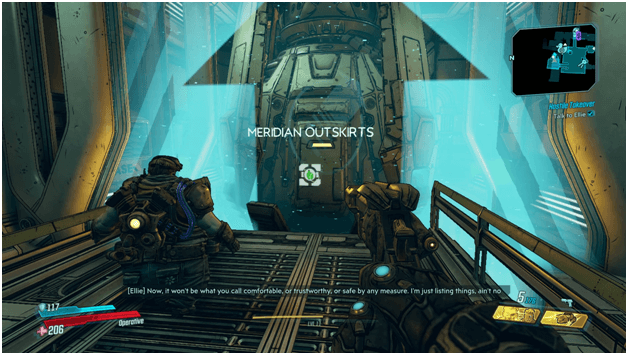
After talking to Ellie, you will be allowed to head to the Meridian Outskirts by using a pod which will make your character have a funny reaction.
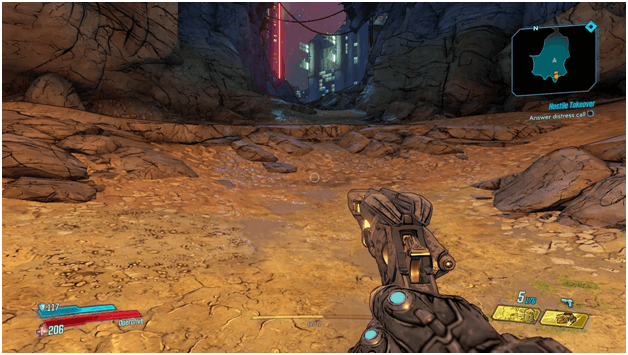
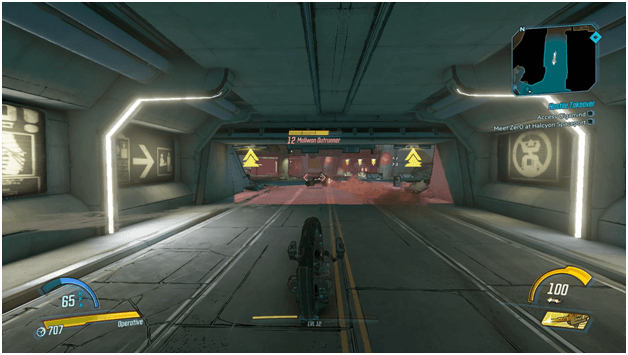
Once you have been transported down to Promethea, head towards the waypoint where the distress call had been sent from.
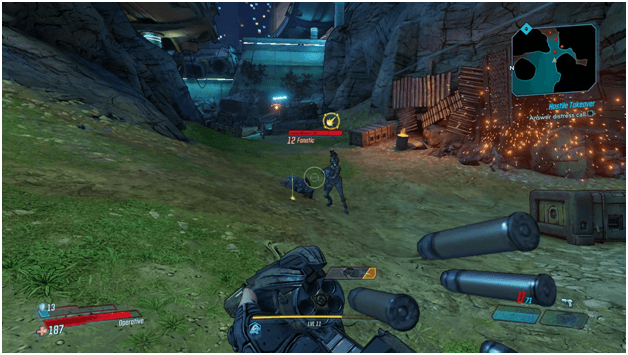
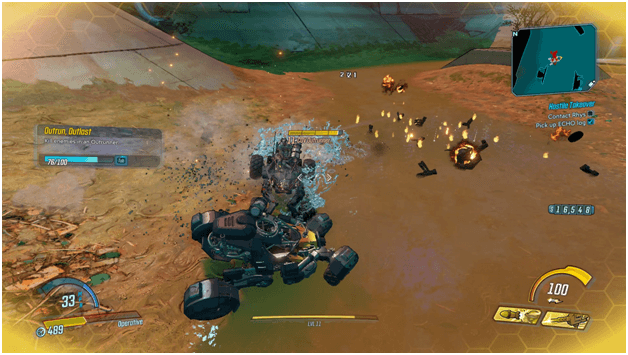
Bandits will already be on Promethea when you arrive so you will find yourself fighting through several enemies and after the recent event of Lilith’s siren powers being stolen, more will be teleported to you as her teleporting ability has been mimicked by Tyreen.
Once you reach the waypoint a cutscene will play, introducing Lorelei who you will then follow back to their base of operations.
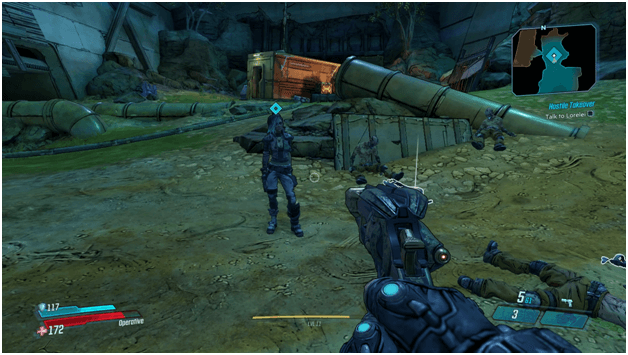
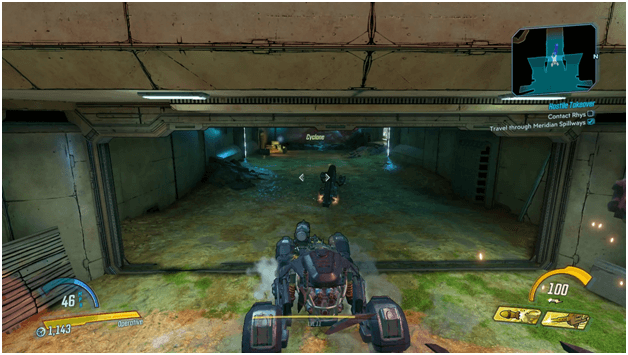
Lorelei will digistruct a cyclone and drive off so be sure to digistruct your vehicle as well and follow her to the next waypoint.
You will come across some bandits using vehicles that have Maliwan technology which makes Lorelei curious and causes her to task you with destroying the vehicle while also acquiring any information you can from the remains.
An ECHO log will drop and you will have to pick it up but regardless if you are in a vehicle or dismount, it will automatically be collected as long as you are within range.
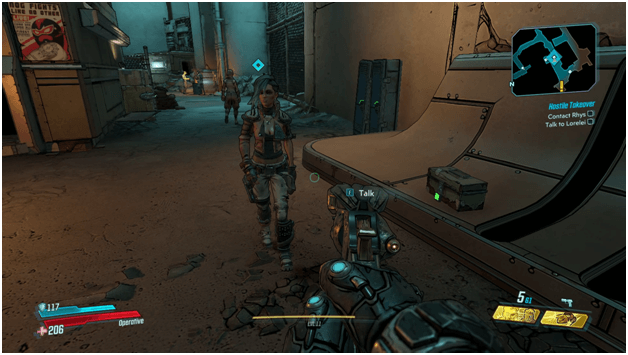
Continue by following Lorelei to the base where you will need to dismount and continue on foot as you both enter the base where Atlas along with civilians are hiding from the enemies around them.
Follow Lorelei on foot and wait for her to finish talking before talking to her again to proceed with the mission.
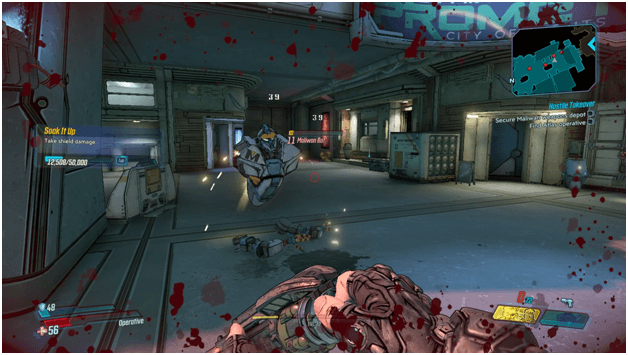
After talking to Lorelei, there will be a huge explosion nearby so you need to rush to the area which later on shows that the Atlas hideout has been found and a Maliwan assault team will be attacking the area.
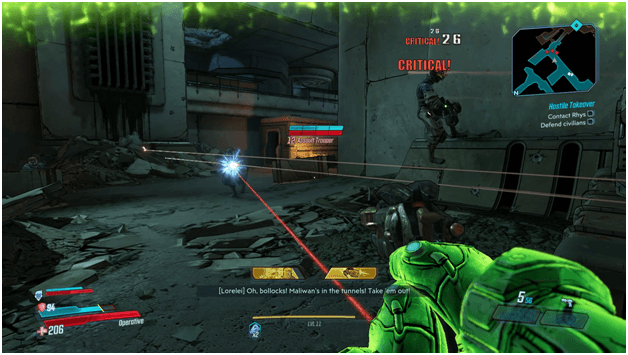
You will need to fight back against the Maliwan forces before being able to proceed with the mission and after all the enemies are killed, head with Lorelei towards the waypoint.
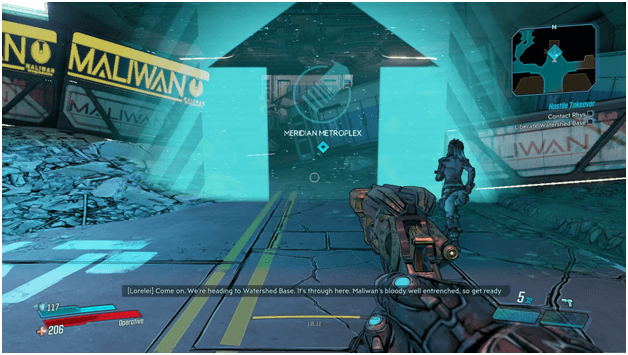
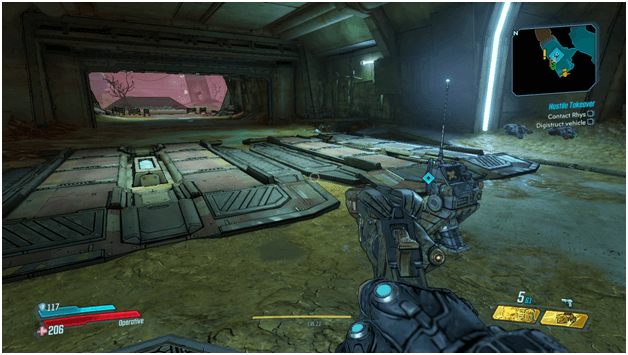
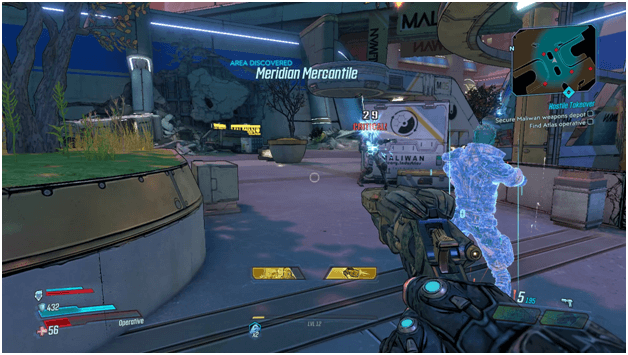
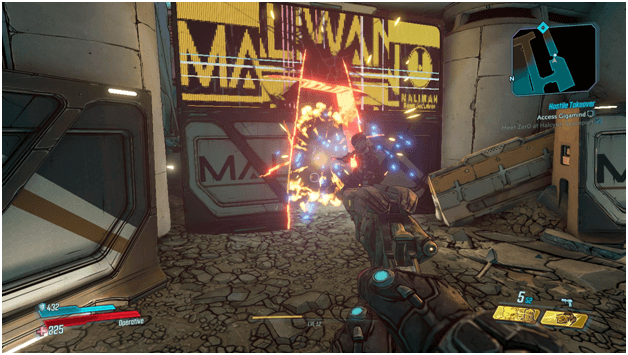
There will be a passage to the Meridian Metroplex which you and Lorelei will need to enter as you make your way to the Watershed Base.
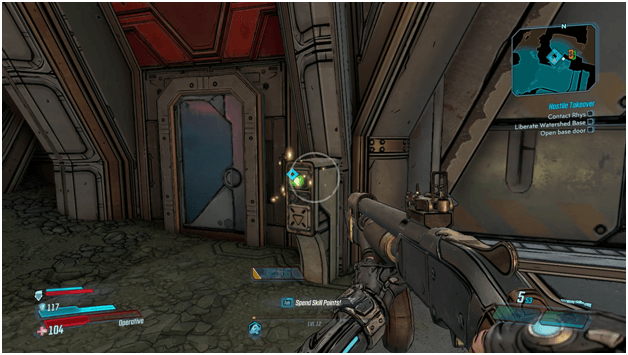
The entrance to the Watershed Base will be closed so after clearing up the enemies, head to the button at the side and activate it.
Be ready to fight enemies inside as well and pick up ammunition and health before opening up the entrance.
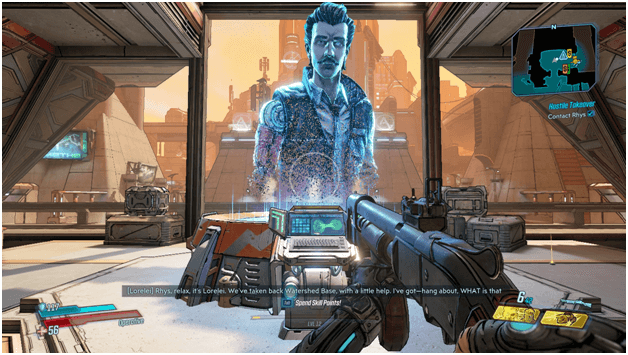
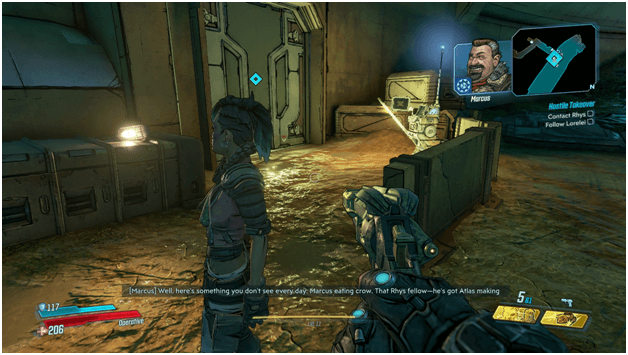
After clearing up the Watershed Base, you will be able to access a console which will allow you to contact Rhys when you activated it.
There will be a conversation ongoing which ill point you in the right direction where you will then set out for a few tasks in order to assist Atlas.
Follow Lorelei to the Watershed Base Garage where she will then enable you to digistruct a cyclone which will then permanently be added to your usable vehicles.

Your task will be to meet up with an operative working for Atlas who later on will be very familiar if you have played the previous borderlands title.
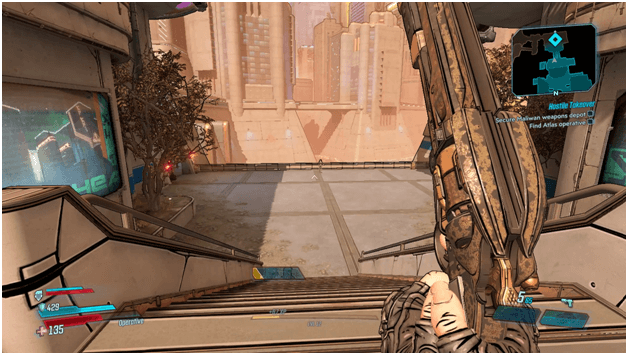
You will have to continue by foot once you reach the waypoint, leading you further inside Maliwan territory.
A lot of Maliwan forces will be guarding the area so you will have to fight your way past them while you search for the Atlas operative.
You will need to take out the enemies in the area, securing it before heading to the operative’s location which you can do by either taking them out while heading there or by rushing to the end of the area and kill them later on when they are all close together which can be easier for some players.
While heading for the Atlas operative’s location you will see him at a distance standing alone, waiting for you.
Head over to the operative and once you reach a certain distance to him, a cutscene will show him getting ambushed by Maliwan forces.
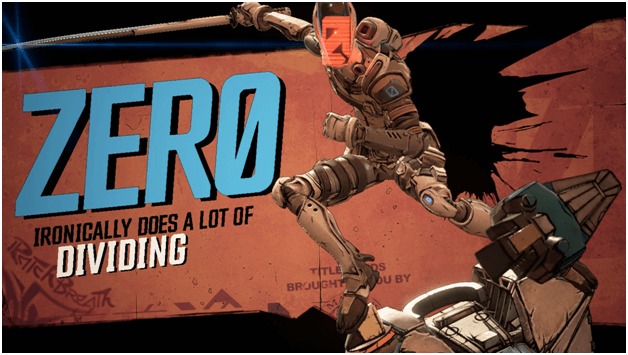
The operative will easily fight them off and will be introduced as Zer0 who is a previous playable character from borderlands 2.

Talk with ZerO to continue on with the quest where he will briefly introduce himself and then head off with you to secure the Maliwan weapons depot as you will be searching for an upgrade that he needs for his sword.
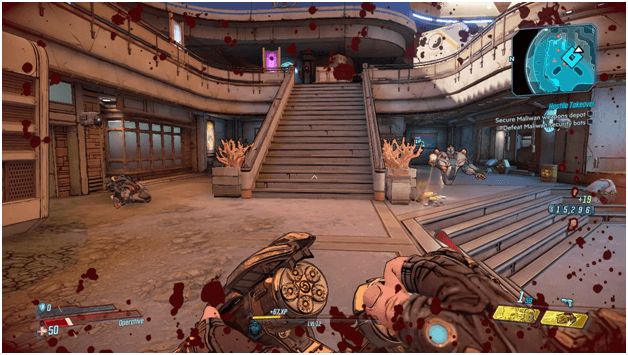
Head towards the waypoint and fight the Maliwan forces along with Zer0 and take out the security guarding the area.
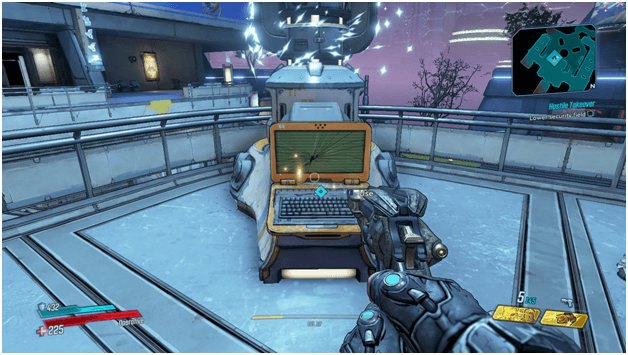
Once you have cleared out the forces guarding the area, head for the security field console which is up a flight of stairs and deactivate it to allow Atlas to have more access to the area.
A group of Maliwan forces will then arrive to counterattack you and Zer0 which you will need to fight off before proceeding further with the mission.
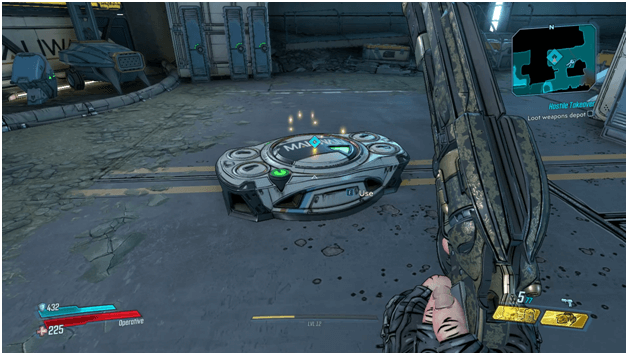
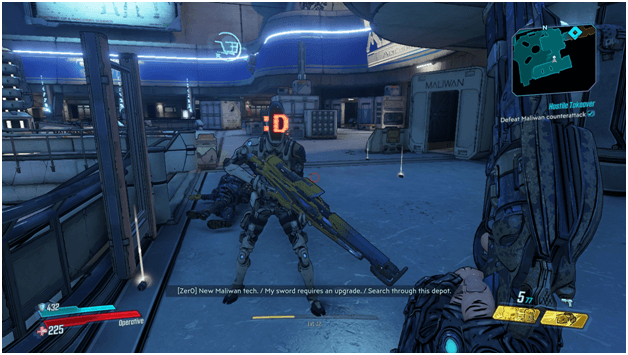
After defeating the enemies that have been sent to counterattack you and Zer0, go deeper inside the Maliwan weapons depot and search the Maliwan chests for Zer0’s upgrade and loot a few items as well for yourself.
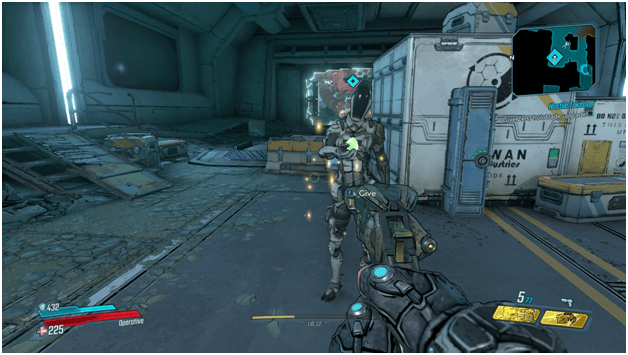
After you find the weapon upgrade for Zer0’s sword he will request to trade you for it where he will give you a rare weapon, reported to be a sniper rifle and you will then hand over the upgrade to him.
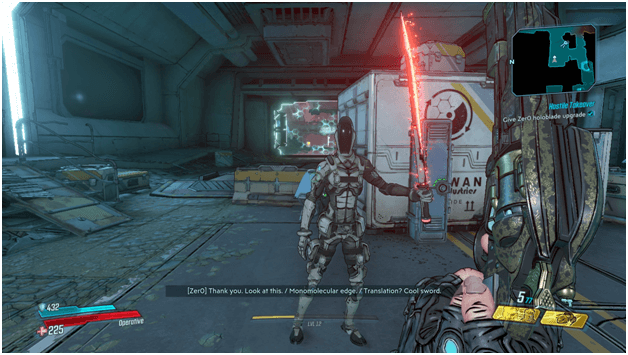
Zer0 will use the upgrade for his weapon which allows his sword to cut through Maliwan shield barriers, giving easier access to Maliwan locations.
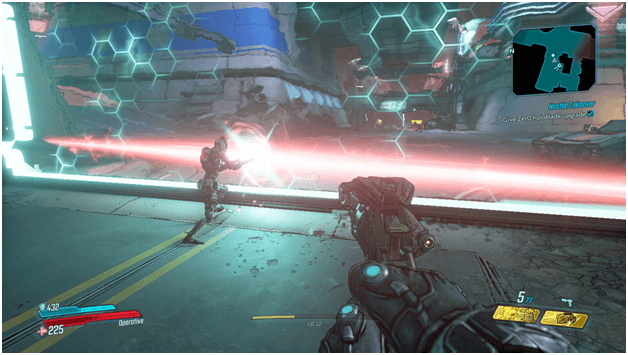
Follow Zer0 to the barrier that is located nearby where you traded with each other and wait for him to destroy the shield blocking your path.
After Zer0 destroys the barrier, you will meet up later at the location where Gigamind is and attempt to take his brain to get information that Atlas needs.
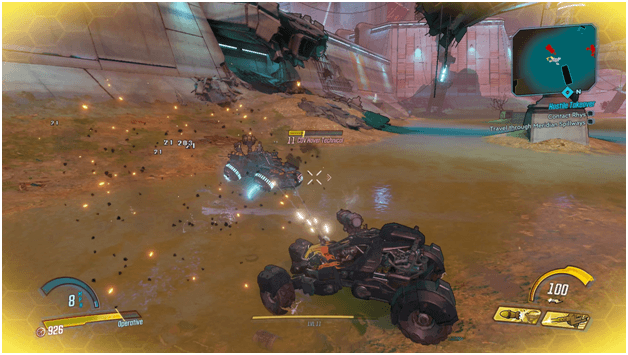
Use a vehicle to get there faster and make your way to the waypoint where Zer0 will be waiting for you.
Once you reach Gigamind’s location, Zer0 will cut open a path for you to get inside and will tell you that he will be watching as this is a test of your skill.
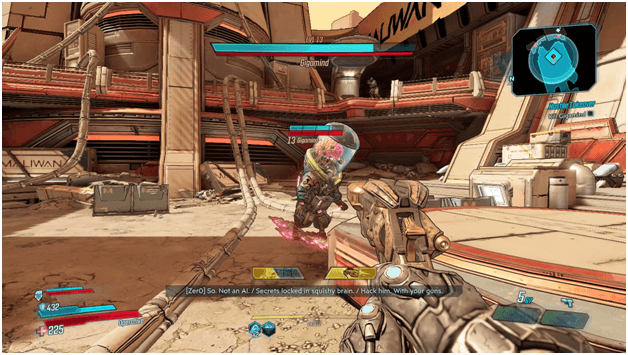
Head to the waypoint where you will find Gigamind waiting along with other Maliwan forces which you must kill.
Fight Gigamind and kill him so that you may collect the information that Atlas needs you to retrieve.
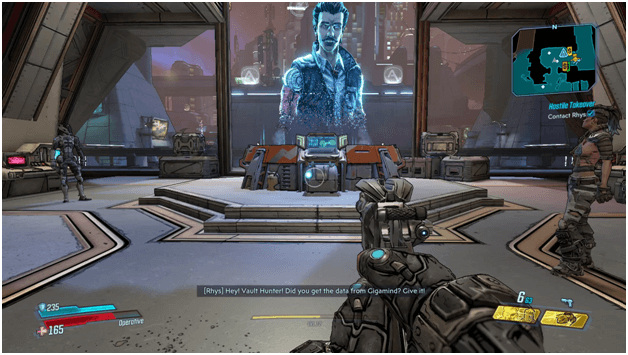
After Gigamind has been defeated, head back to the Watershed Base and contact Rhys via the console that you used earlier.
Rhys will hold back on his part of the deal which had you get the information but your character will then threaten him by making a statement about not giving the brain to Atlas.
After you character makes a threat, Rhys will give in and carry out his part as best as he can and you will hand over the brain.
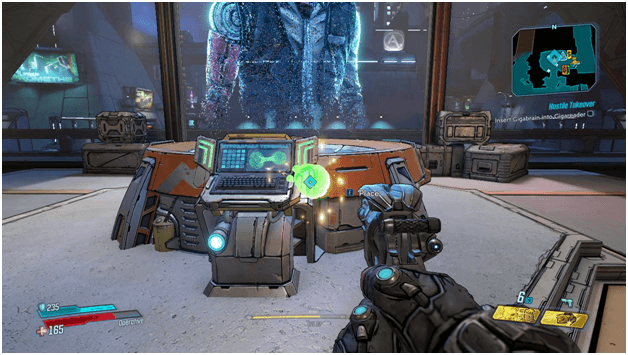
Insert the brain at the side of the console so that its information will be accessed by Atlas and the mission will be complete.
After finishing the Hostile Takeover mission, the Impending Storm Mission will be active and your next task will appear.
Hostile Takeover Mission Rewards
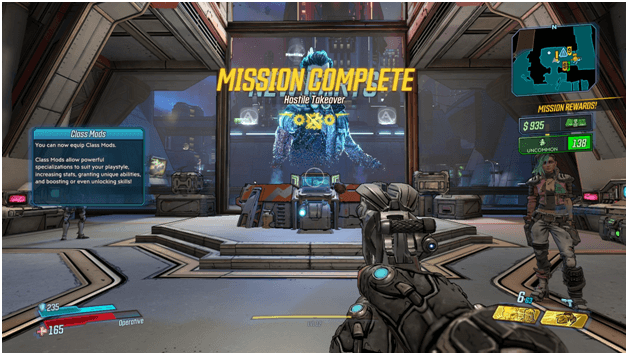
After finishing the Hostile Takeover mission, you will be rewarded for 935 cash and an uncommon class mod.
You will then be able to equip class mods after the completion of this mission.
Tips
- Your character will become stronger during this mission since it unlocks the ability to use class mods once completed.
- Be sure to loot as much as you can and check the whole area when you are in the Maliwan weapons depot so you don’t miss out on good loot.
- Zer0 will be fighting alongside you with some areas so be sure to stay close to him when you will get downed so he can revive you.
- Restock ammunition before heading to other waypoints to make sure that you don’t run out when fighting off groups of enemies.
Other Main Missions Walkthrough
- Children of the Vault
- From the Ground Up
- Cult Following
- Taking Flight
- Sanctuary
- The Impending Storm
- Space-Laser Tag
- Atlas, At Last
- Beneath the Meridian
- Hammerlocked
- Lair of the Harpy
- The Guns of Reliance
- The Family Jewel
- Cold as the Grave
- Going Rogue
- Blood Drive
- Angels and Speed Demons
- The Great Vault
- The First Vault Hunter
- Footsteps of Giants
- In the Shadows of Starlight
- Divine Retribution