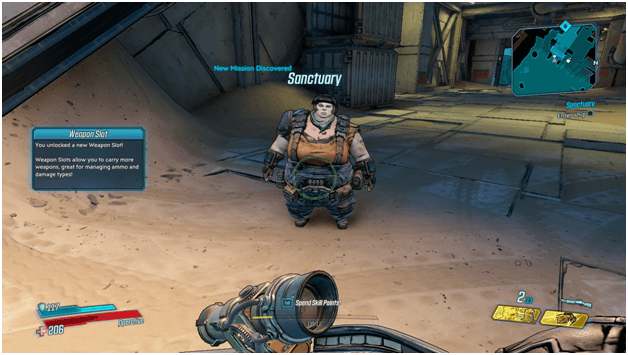
Following the events of the Taking Flight Mission, you have saved Lilith from an ambush after successfully helping Ellie prepare the ship for take-off.
You, Lilith, Ellie and all the other Crimson Raiders now set off to depart from Pandora to make your way to Promethea as guided by the Vault Map and whatever hints Tannis was able to find within it.
Things don’t go entirely smooth at the beginning after a slight incident and its up to you to make sure everything gets back on track on the way to Promethea.
Mission Walkthrough
Head To The Ship
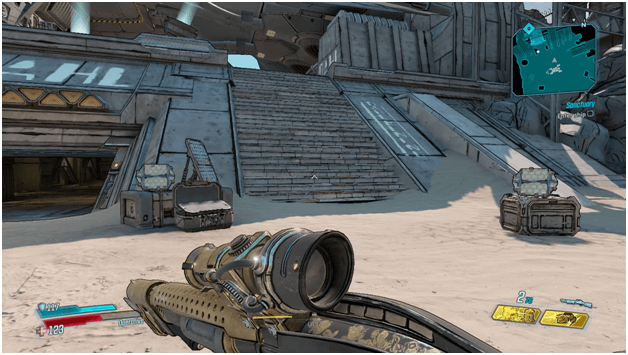
After helping Lilith up and receiving the Astronav from Ellie, head up to where the ship is and make your way to its entrance.
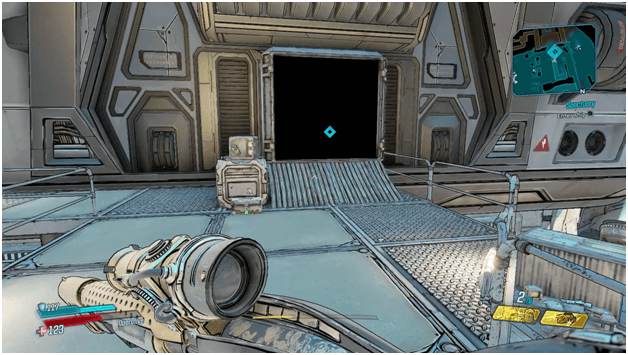
Once you reach the ship, head into the darkened entrance where the waypoint is which will then cause a scene to play, showing the ship leaving Pandora.
Installing The Astronav
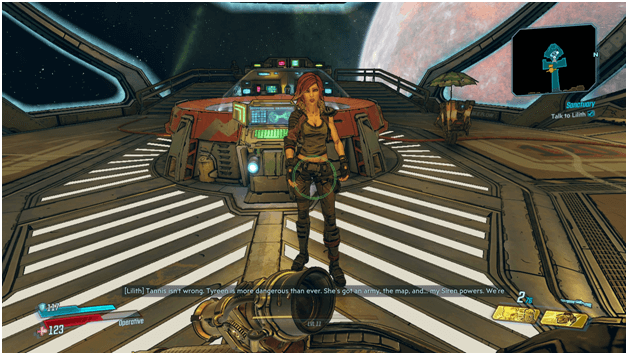
Once the ship has departure from Pandora and all of the Crimson Raiders are on space aboard the ship, later known as Sanctuary, talk to Lilith to continue with the mission.
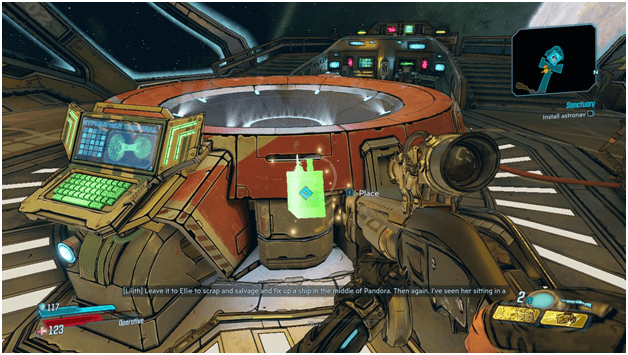
After a quick talk with Lilith, she will have you install the Astronav which will allow the ship to begin venturing to different planets.
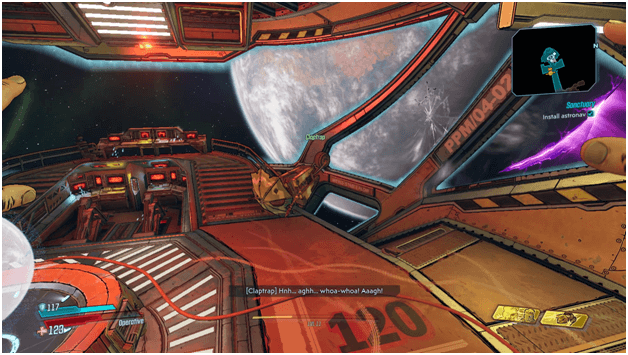
As Ellie says that caution is advised due to the fact that a simple mistake can cause problems, Claptrap finds this boring and decides to start pushing a bunch of buttons.
The ship will suffer from damage and a hull breach will occur but luckily Claptrap’s ass plugs the hole and covers up the hull breach.
Ellie will fix the gravity system of the ship and Lilith asks you to go check on the crew and see if anyone needs help.
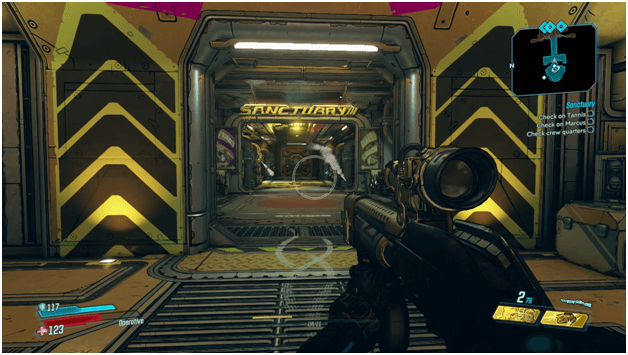
This is pretty much an easy task and more like a tour of the ship which you will need to be familiar with since you will always find gear matching your level in the vending machines and you have access to stores and storage along with being able to use golden keys.
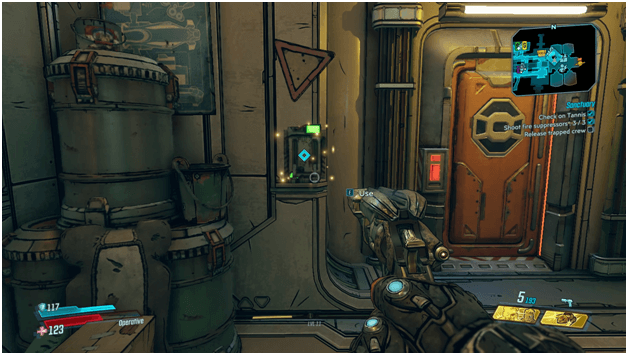
Checking On Tannis

As you head to Tannis you will notice that the room is all frozen over and Tannis will start asking for help but you won’t immediately figure out where she is, unless your good at guessing the obvious.
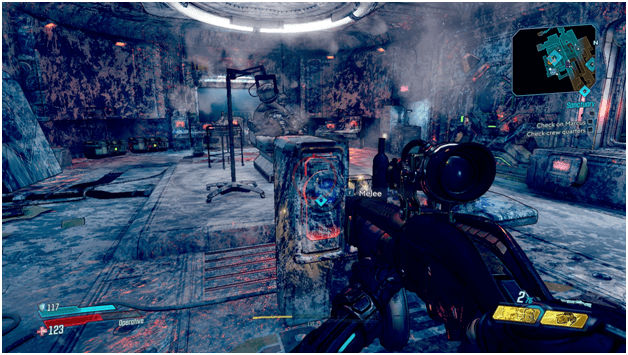
Tannis will ask you to reboot the thermal control for the room which you will then do a melee attack on which pretty much does the trick.
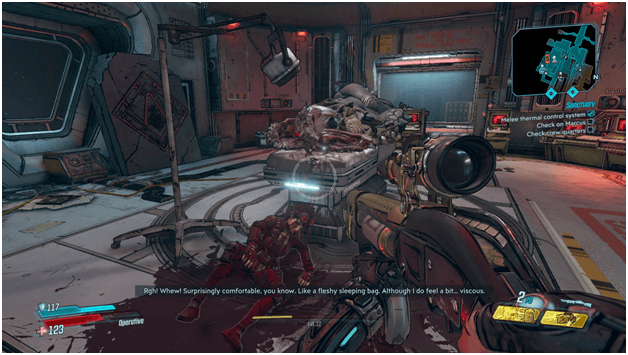
Tannis will then climb out of the corpse that it in the middle of the room and thank you while also instructing you to check on the others.
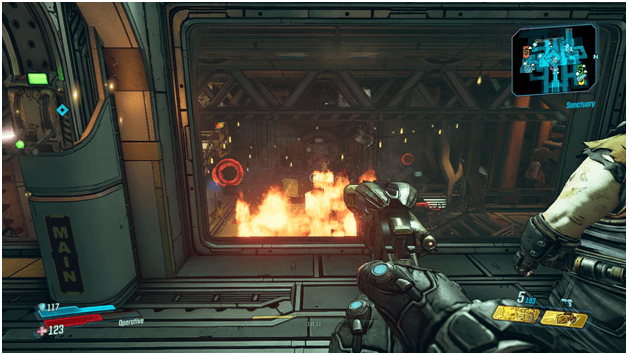
Checking On Marcus

Head to Marcus next as his store and gun range have caught on fire and you will need to put them out before they burn everything.
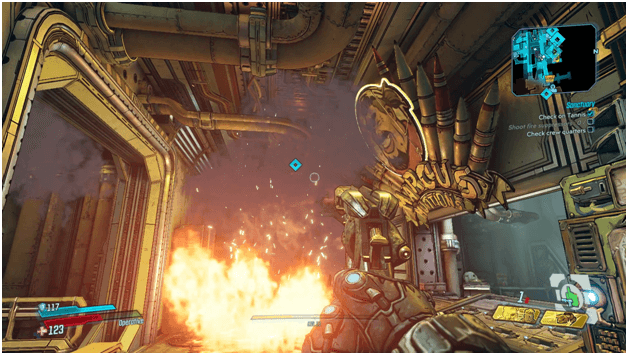
Enter his shop and shoot the fire suppressor above you on the left to douse the first fire and proceed going further past the shop.
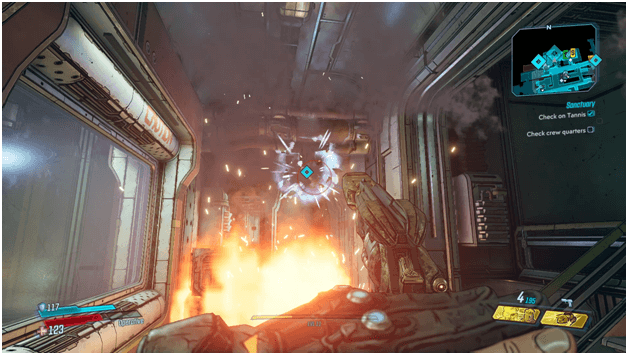
A corridor will also be burning so shoot the next fire suppresser to put out the flames once against and continue along until you reach the firing range.
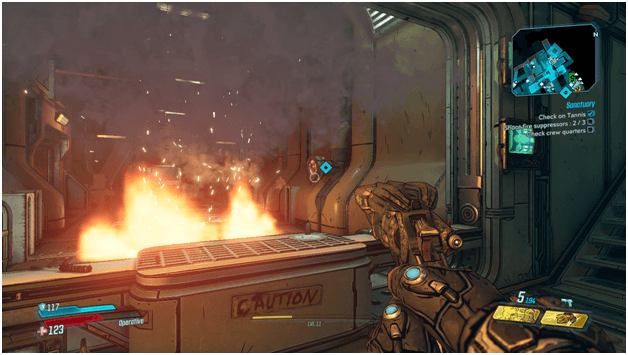
Shoot the last fire suppressor at the side of the firing range then head back out and that will be all the help that Marcus needs which leaves you with the crew quarters.
Checking The Crew Quarters

As you head to the crew quarters you will hear voice crying for help and Ellie will mention that it looks like someone locked them inside since the ship left Pandora.
After Ellie talks, you will be able to open up the room by accessing the release on the left side of the door if you are facing it.
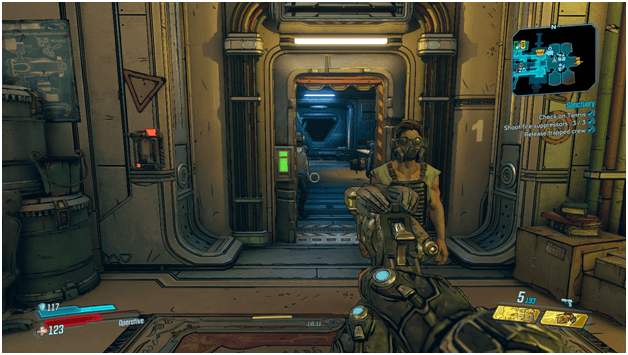
The crew will run out while one mentions “crazy robot” which causes Lilith to have a brief talk about imprisoning crew members.
The Entropy Accelerator
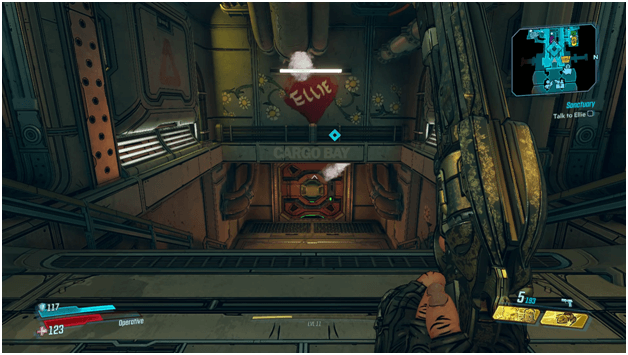
After taking care of the first 3 tasks, Ellie will have figured out the problem with the ship and will need your help installing an Entropy Accelerator which should be in the cargo bay.
As a view to the cargo bay is revealed, you and Ellie will see that most of the equipment in the cargo bay is on fire and Ellie will need you to release the “losses” into space.

Since the Entropy Accelerator was among the items that were vented out into space, you and Ellie will ask Crazy Earl for one.
Crazy Earl will refuse to give it to you without something in exchange and Ellie will tell you to head to Moxxi for some Eridian to trade with.
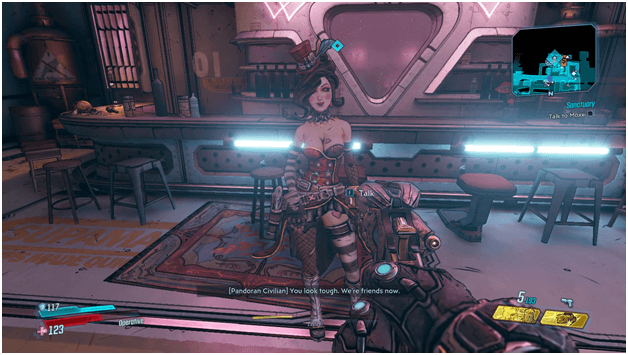
Head up the stairs on the left side of the cargo bay as you walk away from Crazy Earl’s shop and follow the waypoint leading you to Moxxi who you will need to talk to.
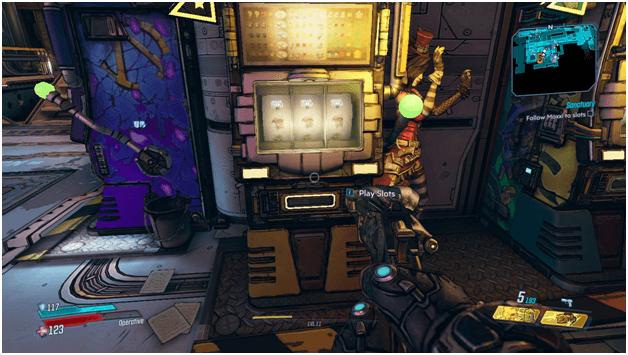
Moxxi will then suggest that you try one of her slot machines which she tampers with, releasing Eridian for you to use when trading with Crazy Earl.
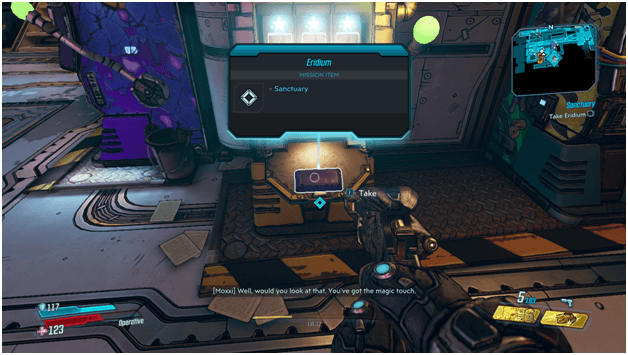
Grab the Eridian and head back to Crazy Earl in the cargo bay and initiate a trade with him just like you would a vending machine.
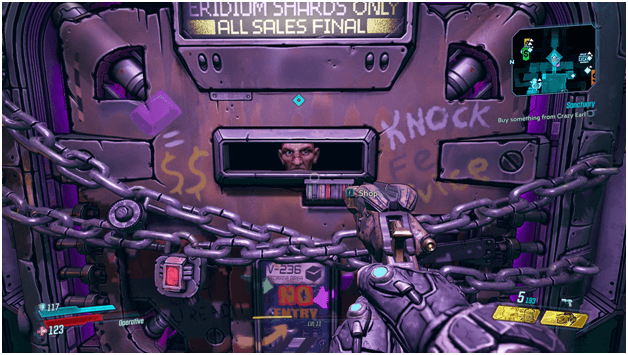
You do not necessarily need to buy anything from him and can exit the menu at anytime which will still end up with him giving the Entropy Accelerator.
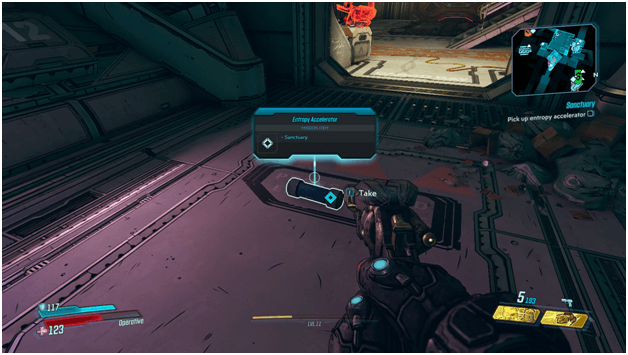
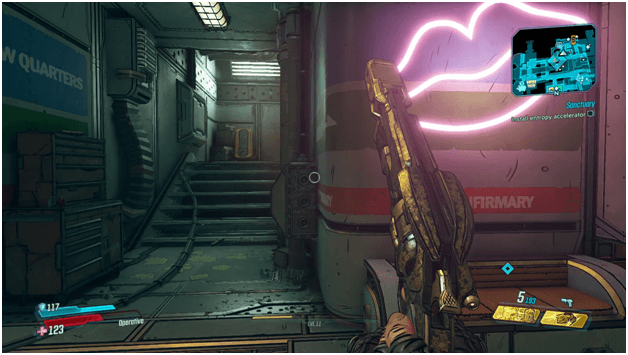
Pick up the Entropy Accelerator and head to the waypoint which leads you to the area where you will need to install it in.
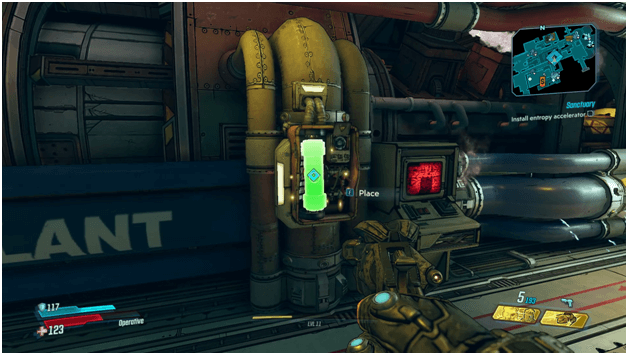
Install the Entropy Accelerator and make your way back to Lilith so that you may now continue your travel to Promethea.
Setting a Course For Promethea
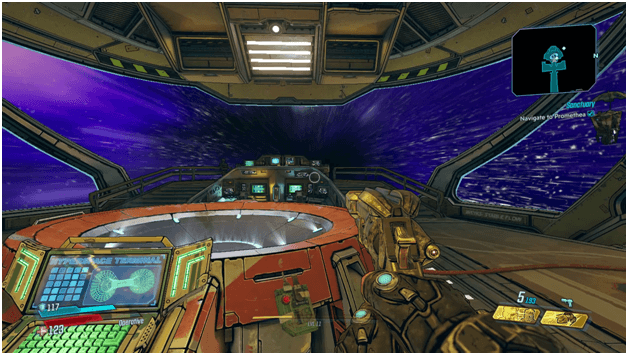
Once everything is in order, you will set the destination and then Sanctuary will finally have reached Promethea.
Upon arriving, the mission will be completed, giving you a new mission called Hostile Takeover.
Sanctuary Mission Rewards
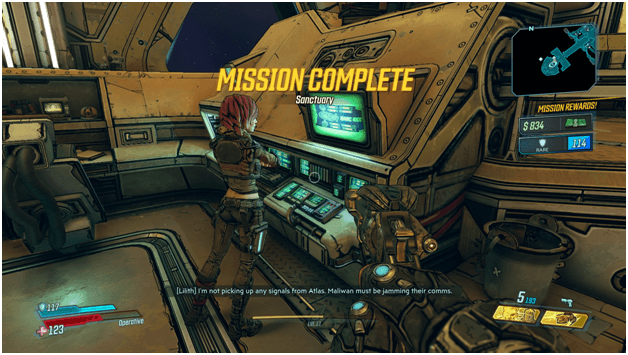
After completing the Sanctuary mission, you will receive around 834 Cash and a rare shield mod along with now having access to the Sanctuary at any time you want.
Tips
- There will not be any combat in this mission and the only shooting you will need to do is just to take care of the fire in Marcus’ shop.
- It’s a good idea to keep certain areas in mind such as Tannis’ lab and Marcus’ shop so you can head over to them when you need to buy gear that will always match your level.
- Follow the waypoints and start with the nearest ones as the ship may be a bit confusing at first for newer players to get used to.
Other Main Missions Walkthrough
- Children of the Vault
- From the Ground Up
- Cult Following
- Taking Flight
- Hostile Takeover
- The Impending Storm
- Space-Laser Tag
- Atlas, At Last
- Beneath the Meridian
- Hammerlocked
- Lair of the Harpy
- The Guns of Reliance
- The Family Jewel
- Cold as the Grave
- Going Rogue
- Blood Drive
- Angels and Speed Demons
- The Great Vault
- The First Vault Hunter
- Footsteps of Giants
- In the Shadows of Starlight
- Divine Retribution