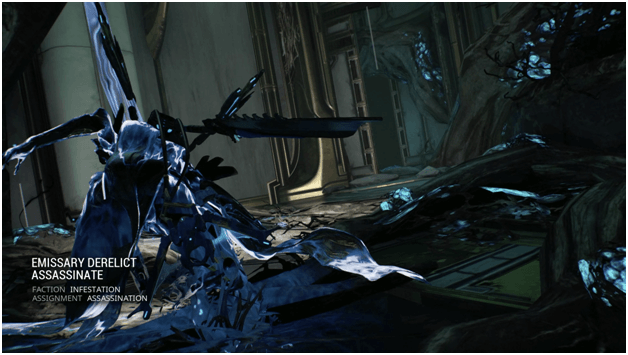
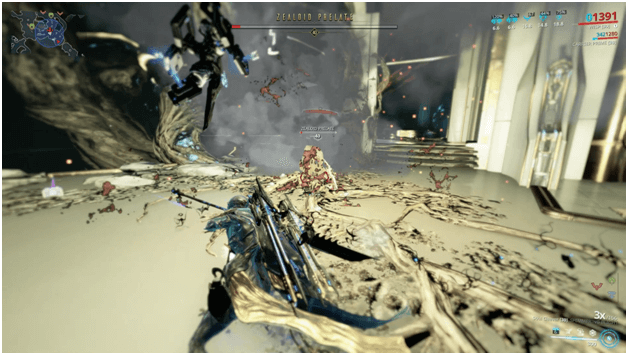
The Zealoid Prelate is an infested humanoid boss that you can face in a special mission related to The Emissary Nightwave events.
To fight the Zealoid Prelate you will need to follow a few steps to be able to enter the mission where he can be faced and defeated.
Location
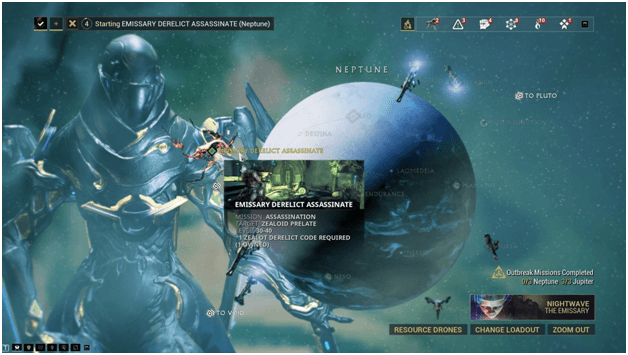
The Zealoid Prelate can be encountered in Emissary Derelict Assassinate missions which are found on random planets that have outbreak missions.
An Emissary Derelict Assassinate mission is a type of Infested Derelict mission which involves the encounter with a Zealoid Prelate.
These are basically assassination missions tied to planets that have invasions which allow you to collect Zealot Derelict Codes which are then used to enter the Derelict Assassinate Mission.
Zealot Derelict Code
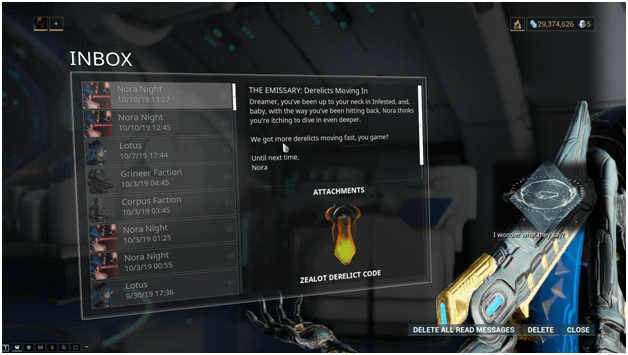
A Zealot Derelict Code acts as a key which allows you to enter Infested Derelict missions and is a requirement to enter the Emissary Derelict Assassinate mission.
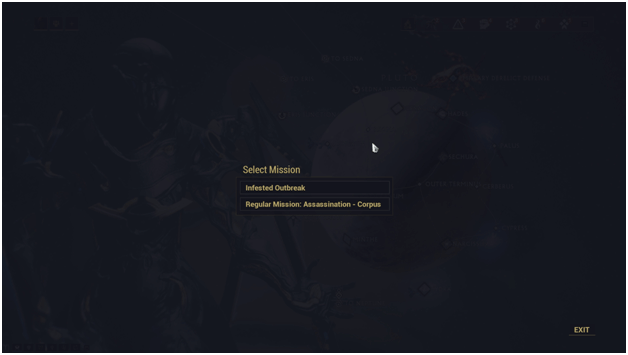
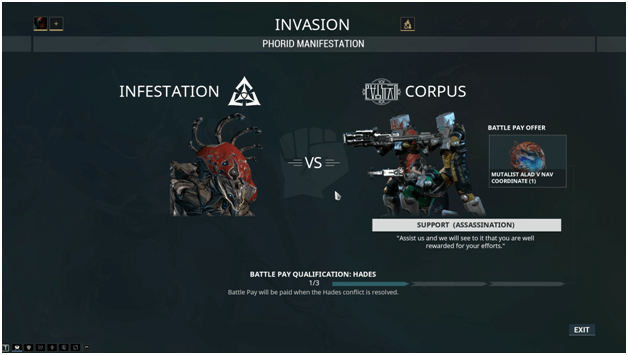
To acquire these, you need to complete 3 invasions, which are usually listed as Infested Outbreak missions which will reward you with a Zealot Derelict Code after the third mission.
Most of the Infested Outbreaks will pit you against the infested, making missions such as Phorid Manifestations, Mobile Defenses against the Infested and similar missions.
Aside from the battle pay from invasion you will also get the Zealot Derelict Code at a ratio of 3:1 since all 3 invasions need to be done to get a code.
Zealot Derelict Codes will be sent through mail which are usually opened after the third Infested Outbreak that you finish.
Fighting The Zealoid Prelate
Begin fighting the Zealoid Prelate, make sure you have a Zealot Derelict Code which will be consumed after the mission and is required to start it.
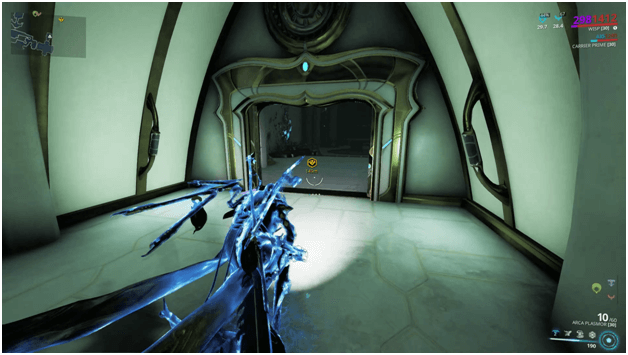
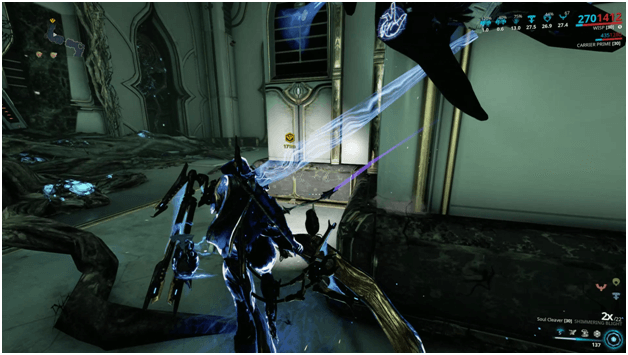
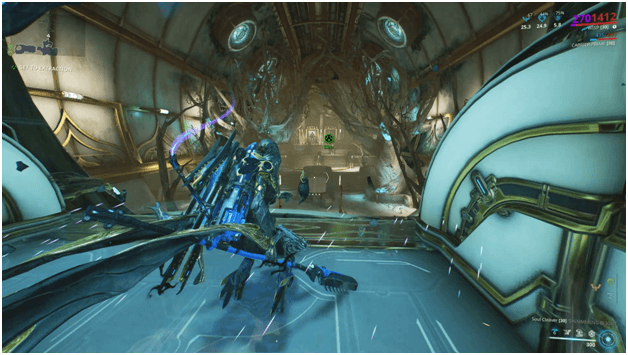
Make your way towards the waypoint where you will meet the Zealoid Prelate for the first time during the mission.
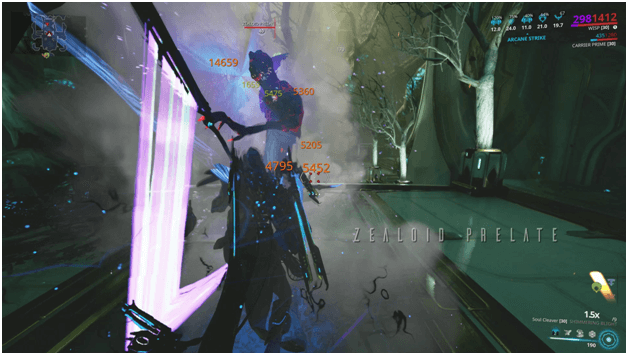
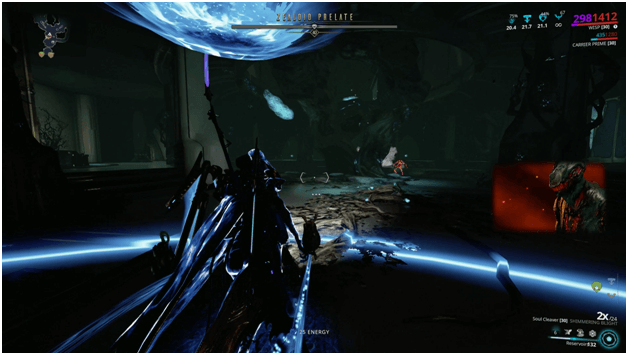
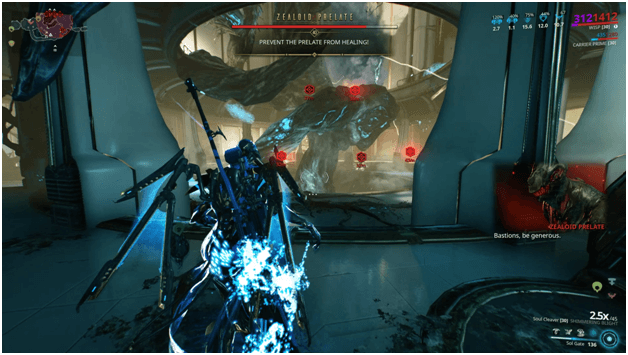
After a short scene plays where you encounter the Zealoid Prelate, begin attacking him as you would any enemies until you deliver a specific amount of damage to it.
Once you deal a certain amount of damage the Zealoid Prelate will channel its energy and release a blast that will cause all of the infested enemies to become invulnerable.
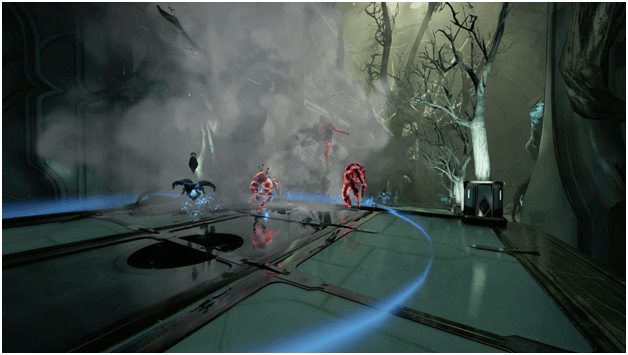
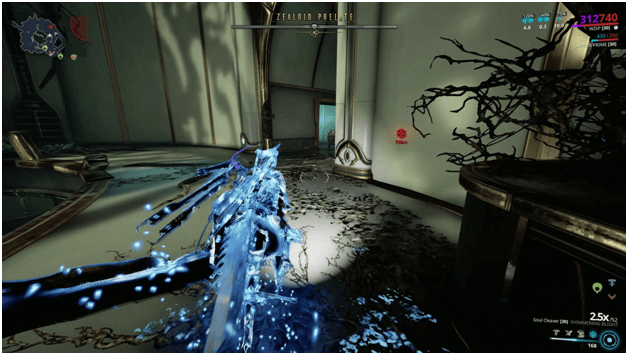
Head towards the next waypoint and ignore any infested along the way as you won’t be able to deal any damage to them until you reach the next phase.
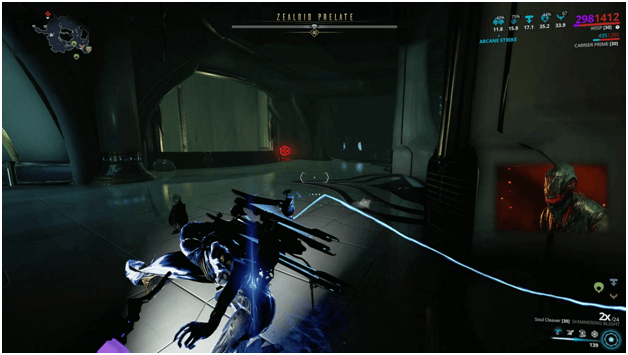
You will reach a circular room where you will mainly be fighting the Zealoid Prelate and you will notice that its health bar is shown but it is invulnerable.
The next part is for you to head towards a red waypoint which appears once you reach the circular room which will lead you to a Zealoid Bastion.
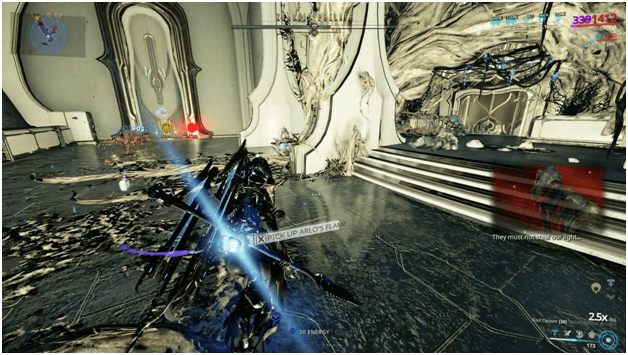
Once you reach a Zealoid Bastion, you need to kill him which is pretty easy and after it is killed a lantern like object called Arlo’s Flame will be dropped which you will need to pick up.
You will notice that a light is emitted from the lantern, this serves as a way for you to damage all the invulnerable enemies, including the Zealoid Prelate which are inside the radius of the lanterns light.
Killing infested enemies will keep the light’s radius at a larger range and will sustain the light which will be enough for you to reach the Zealoid Prelate so you can fight it.
Be sure not to drop the lantern as this can happen if you swap weapons or equip something that requires both hands.
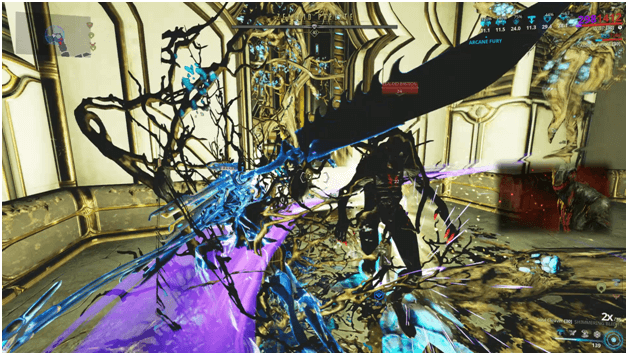
Head back to the Zealoid Prelate and fight it until you once again until you reduce its health by a certain percentage.
The lantern will then be destroyed and the Zealoid Prelate will attempt to drain the life of infested enemies around it to regenerate its health.
When the lantern is destroyed, a blinding flash will appear and will temporarily disrupt your vision so it’s best to drop the lantern after dealing significant damage to the Zealoid Prelate.
A good way to fight the Zealoid Prelate is to avoid killing the infested enemies around you when it is about to absorb life so that the infested are positioned much closer and are easier to kill, making you finish the phase faster.
After this phase, the Zealoid Prelate will repeat what it initially did the first time you fought with it, becoming invulnerable and rendering all the other infested invulnerable.
Head to the waypoint where you will find another Zealoid Bastion and repeat the steps until you finally defeat the Zealoid Prelate.
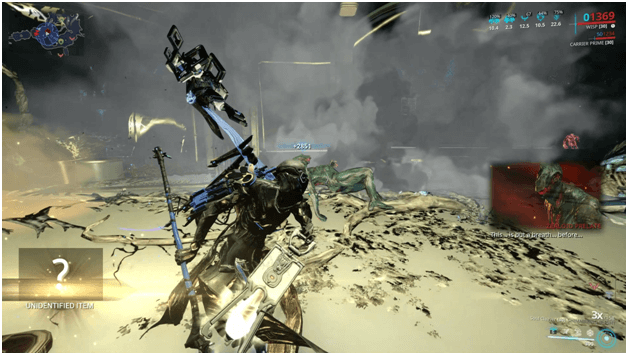
Once you have repeated the steps and depleted the Zealoid Prelate’s health and killed it, an unidentified item will be dropped which will be revealed later on when you finish the mission.
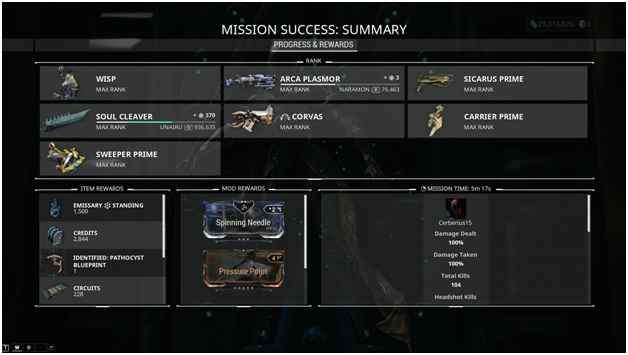
After the Zealoid Prelate is defeated you may then extract from the mission to finish it and check what reward you have received after completing the mission.
Emissary Derelict Assassinate Mission Rewards
Upon completion of the Emissary Derelict Assassinate mission, you will receive 1,500 Emissary Standing, a blueprint or part for the Pathocyst and resources from the mission itself.
Zealoid Prelate Drops
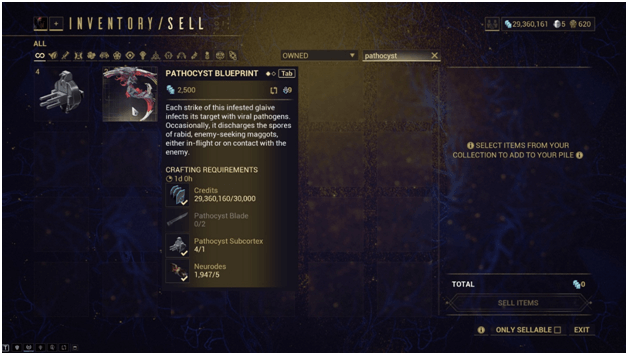
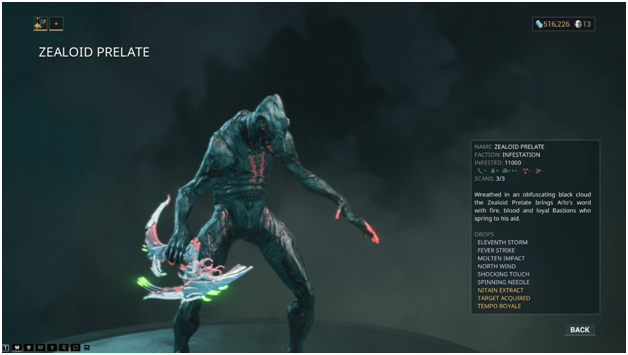
The Zealoid Prelate is known to drop Pathocyst Blade, Pathocyst Subcortex and The Pathocyst Blueprint.
There is also a chance for the Zealoid Prelate to drop the following:
- Eleventh Storm
- Fever Strike
- Molten Impact
- North Wind
- Shocking Touch
- Spinning Needle
- Target Acquired
- Tempo Royale
- Nitain Extract
Tips
The Zealoid Prelate can be quite powerful if you are not properly equipped, it is advisable to take a Warframe that can withstand some damage and deal it as well.
As it is an infested enemy, the Zealoid Prelate takes additional damage from gas, heat and slash damage which can help you and your team defeat it faster.
Taking weapons with a good area of effect and elemental capabilities such as an Ignis can help clear enemies quickly to increase the Arlo’s Flame range and take out enemies fast while the Zealoid Prelate is absorbing life from them.
Overview
The Zealoid Prelate is not really hard to kill and by following the steps to defeating it, you can pretty much finish the mission in about 4 to 5 minutes.
A Warframe with a good amount of survivability will help speed up the process to avoid getting downed and doing the mission with a squad can certainly make things finish up much faster.
For those that aim to get all the parts for the Pathocyst, you may need to do more runs than expected but getting the weapon is another accomplishment and can give you the pleasure of enjoying more once you craft it.
