The Children Of The Vault mission is the first mission you get in the game and basically serves as a tutorial for when you first play.
You have answered the call of The Siren and eventually meet up with Claptrap who gets you started out and eventually meet with the one that summoned you and bring the help get the Crimson Raiders back on their feet.
Mission Walkthrough
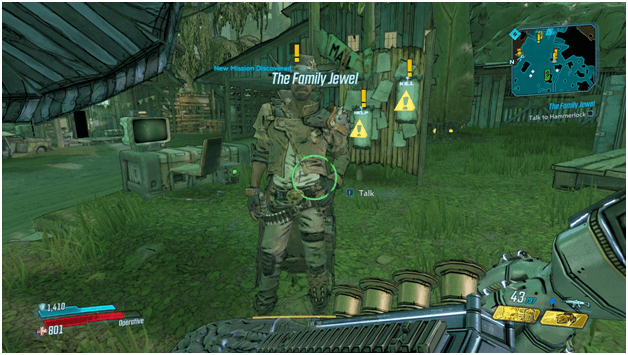
Playing The Record
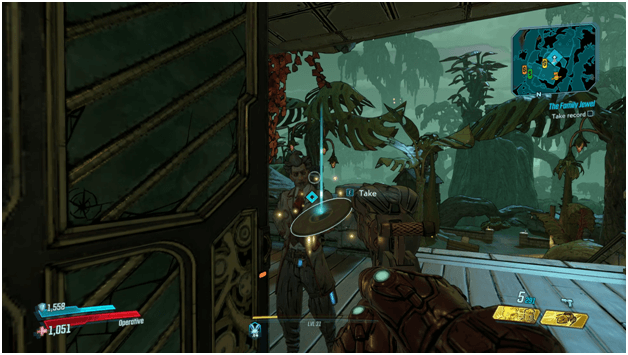
Get the record from Wainwright which you will then play in his record player to find out what message was left about the vault and its vault key fragment.
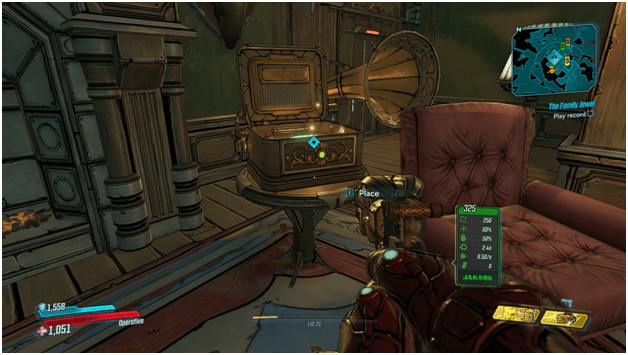
Head over to the waypoint and play the record to proceed with the mission which will direct you to another zone.
Heading To The Voracious Canopy
Make your way towards the waypoint which leads to the Voracious Canopy zone which will be a whole other map.
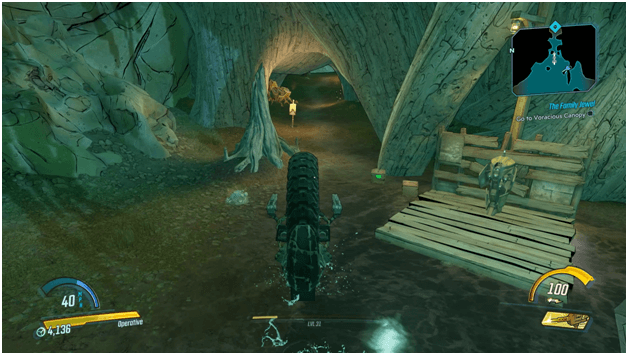
You will have to leave any vehicle you have behind as the map does not support the use of vehicles and you will be continuing on foot.
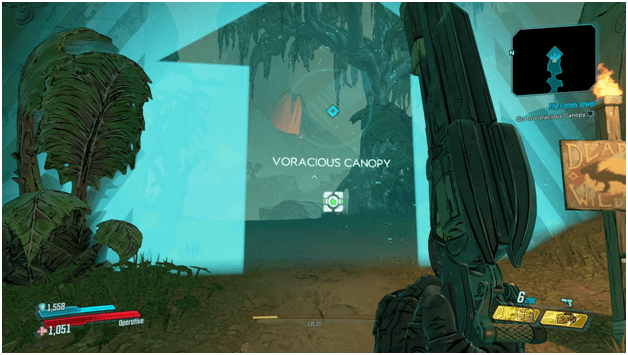
Enter the Voracious Canopy to proceed with the mission which leads you to a large crashed ship as described in the record that was played.
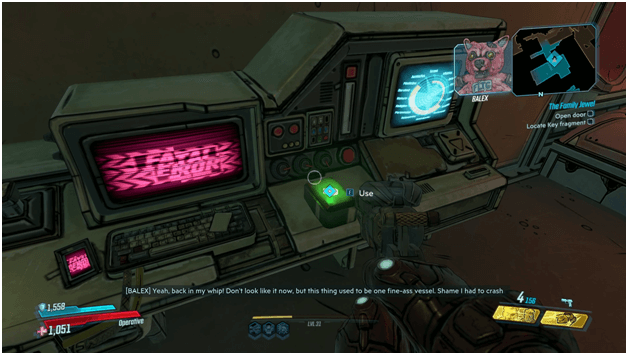
Meeting BALEX
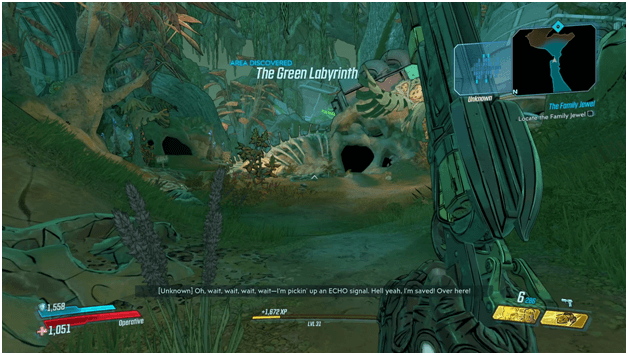
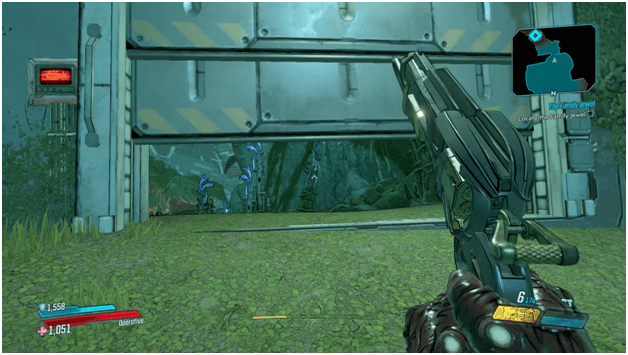
Continue exploring the Voracious Canopy and make your way towards the waypoint that sends you to the direction of The Family Jewel.
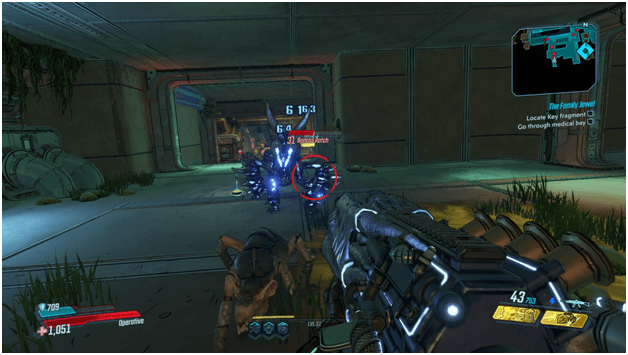
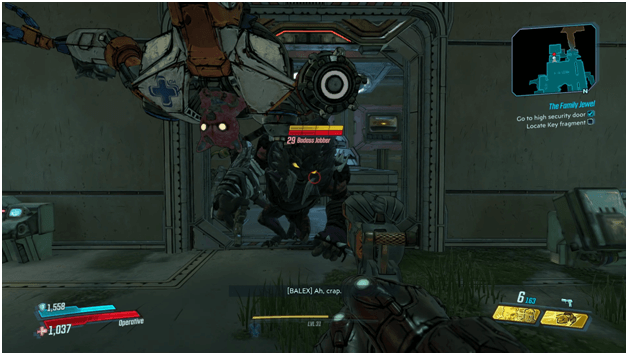
You will encounter saurian along the way and while you are headed towards the waypoint, someone will begin to contact you and ask you for your help.
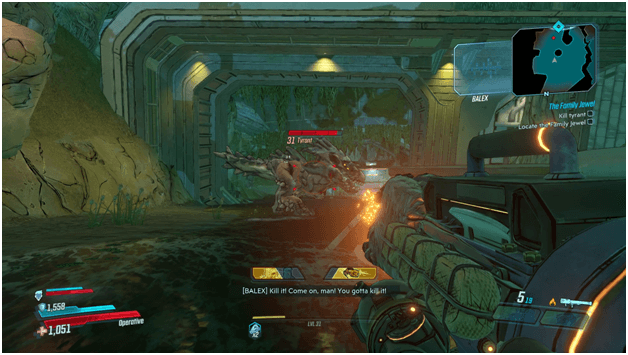
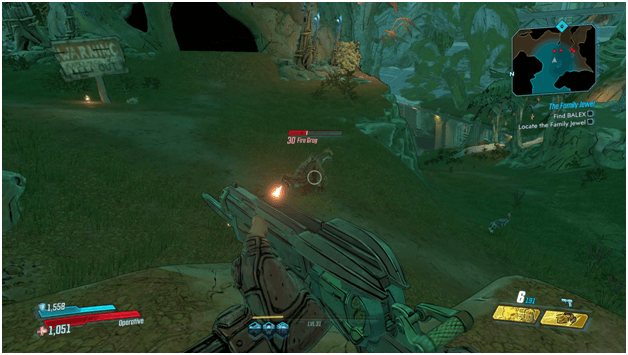
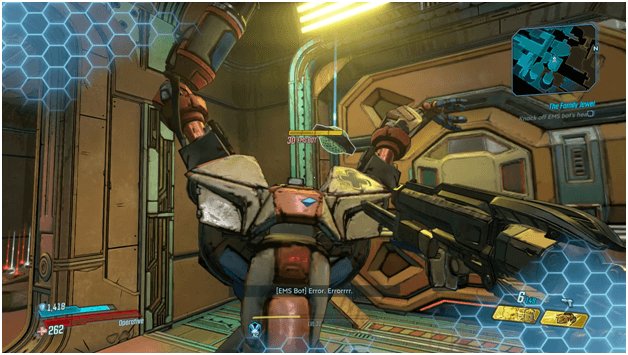
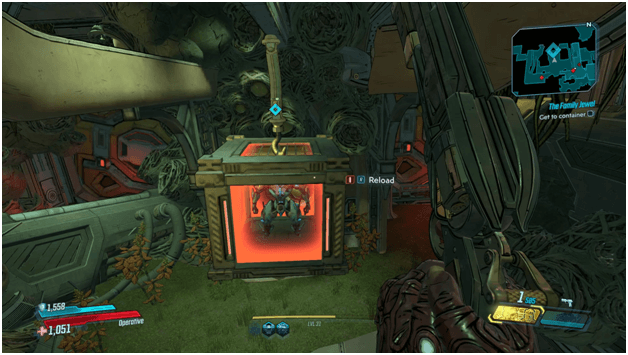
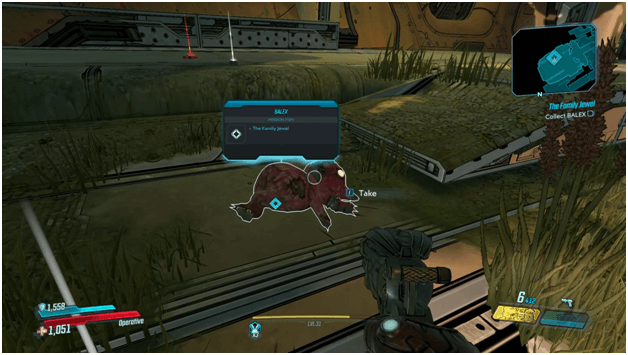
The voice is coming from someone that is apparently stuck with a large tyrant which you must kill in order to proceed with the mission.
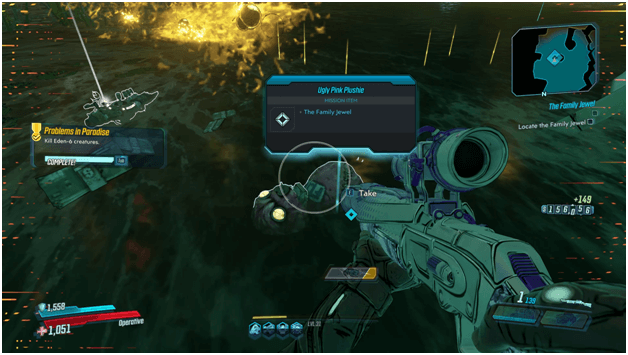
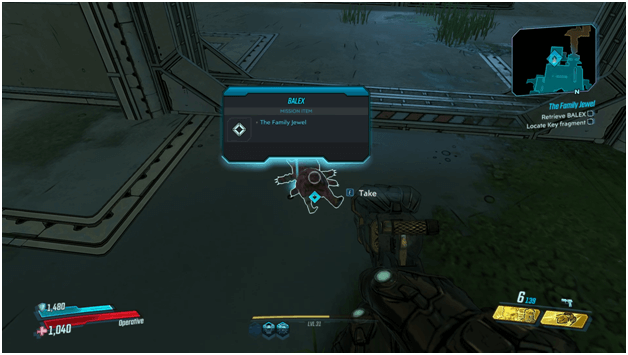
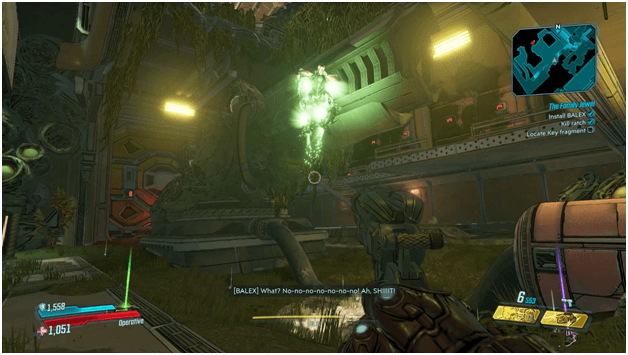
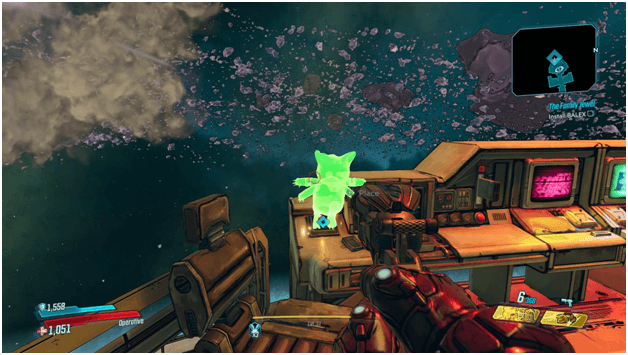
After killing the tyrant, a ugly pink plushie will drop and the voice tells you to pick it up, revealing that BALEX is actually the pink teddy bear.
Heading For The Jewel
BALEX will help “navigate” going to The Jewel and tell you what actually happened, shedding some light on how the ship crashed in the first place.
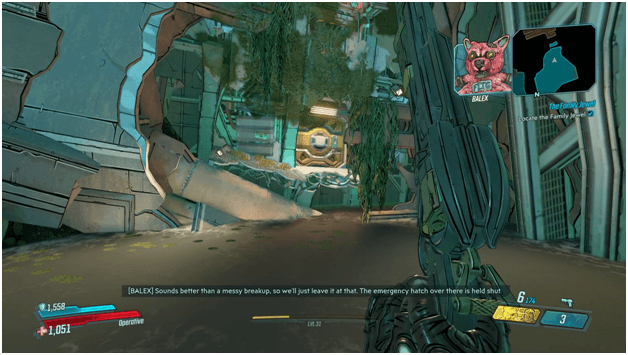
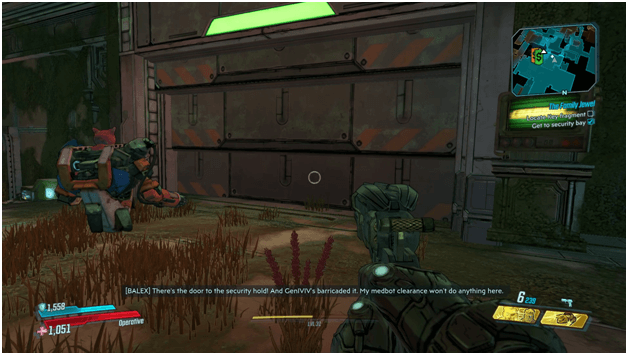
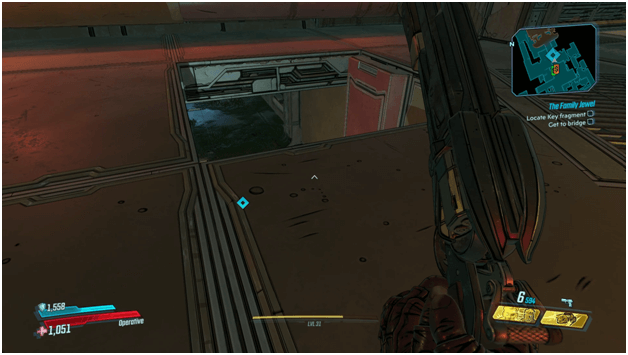
You are to head to an entrance to the side which is locked but BALEX will soon give you instructions on how to make your way inside regardless of it being shut.
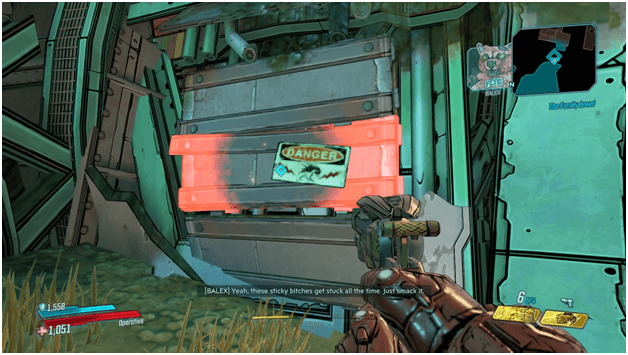
Smash the panel on the side to reveal wires that are hidden which you will then destroy to unlock the door on the side.
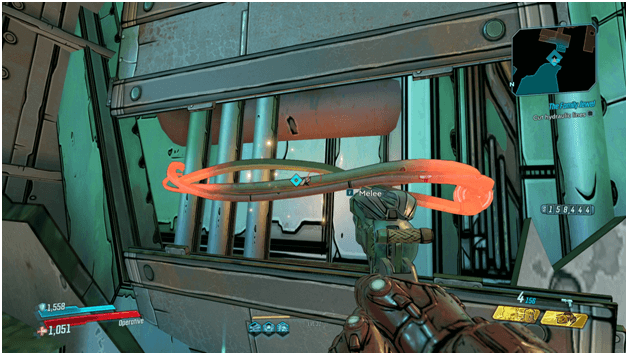
Once you removed the panel, destroy the wires and the door will be opened and you may then enter The Jewel.
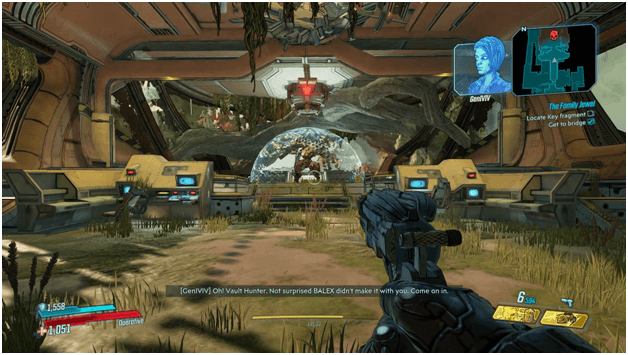
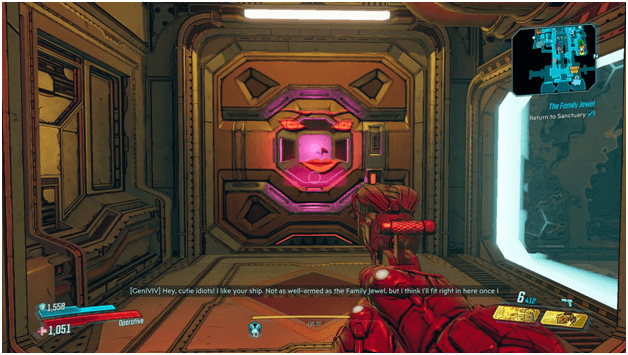
Meeting GenIVIV
As you try to enter and head towards the location of the vault key fragment, another AI will begin to speak known as GenIVIV, BALEX’s current nemesis and former partner.
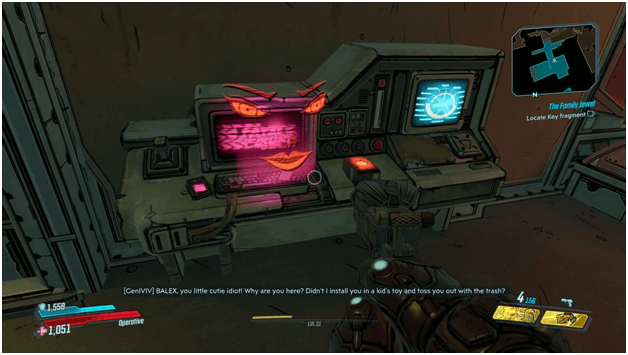
GenIVIV will deny you and BALEX access and will basically focus on preventing you from reaching the vault key fragment at all costs.
Navigating Through The Jewel
Head towards the waypoints and listen to the instructions BALEX gives as he knows the ship inside and out.
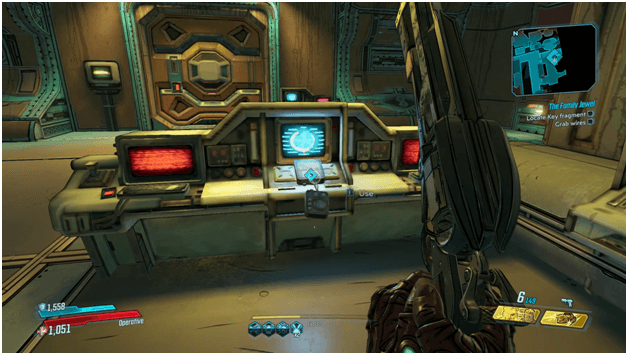
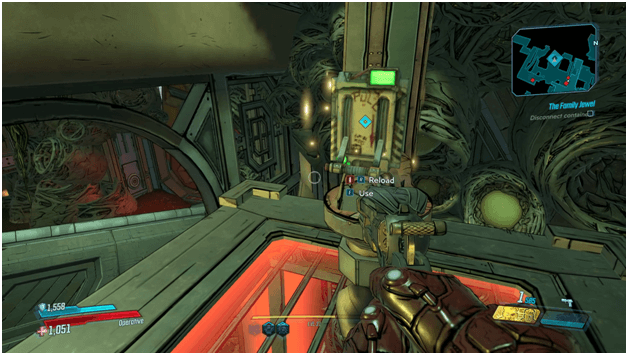
One of the locked doors are inaccessible to BALEX and he will tell you to hotwire one of the consoles.
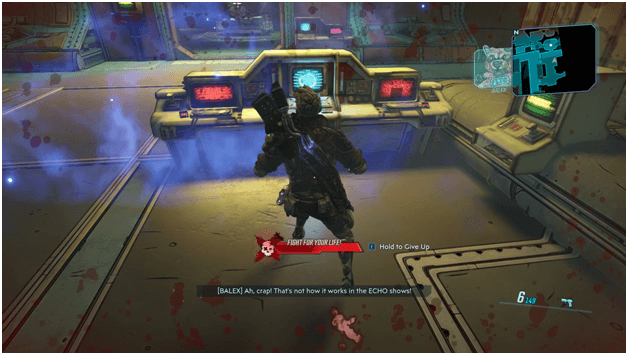
You will immediately become downed, regardless of how much health and shield you have and BALEX will tell you not to worry.
Do not panic and do not force respawn as help will soon be on the way.
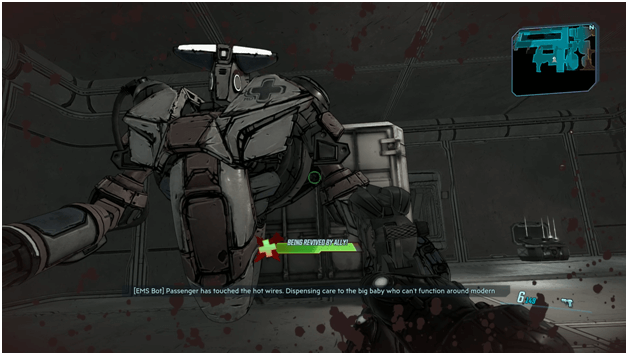
A robot will come to revive you which later you will attempt to go with so it can give you access to one of the doors.
BALEX will be denied entry which both angers him as well as gives him an idea for you to remove its head so you can place him instead.
BALEX’s New Body
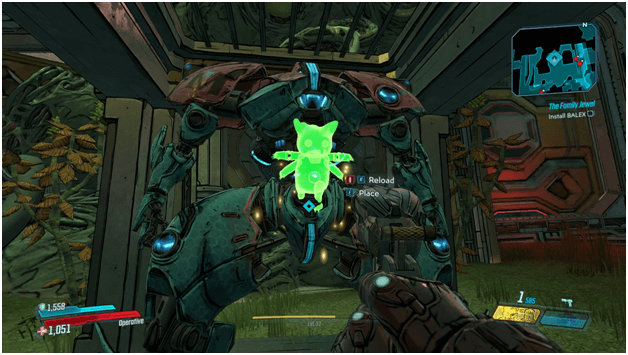
Take of the robot’s head, preferably with a melee hit and it should come clean off, causing the headless robot to panic.
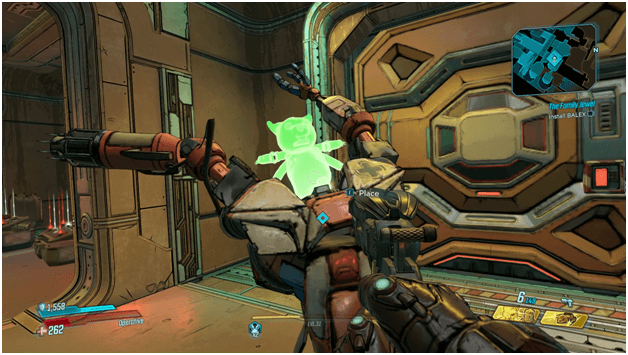
Quickly place BALEX on the beheaded robot so he may assume control of the body and help open up the door.
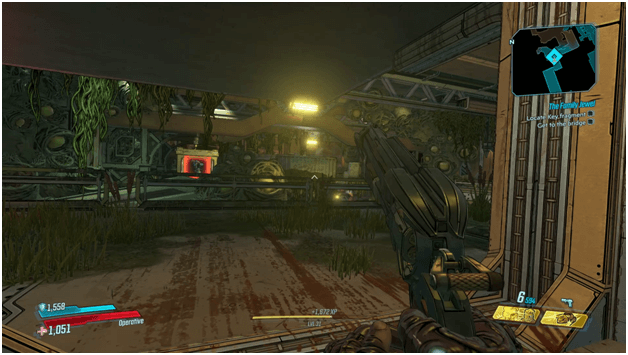
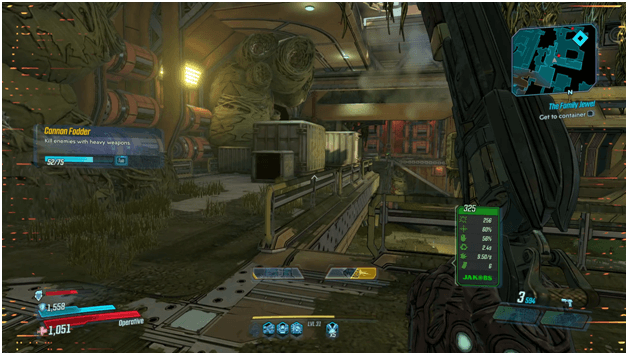
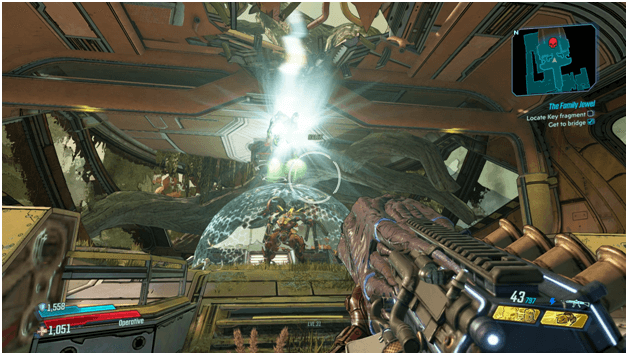
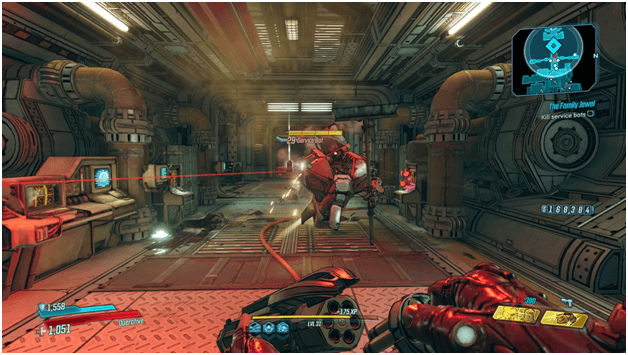
Continue along with BALEX as you navigate from room to room until you reach the next waypoint where the vault key is supposedly being kept.
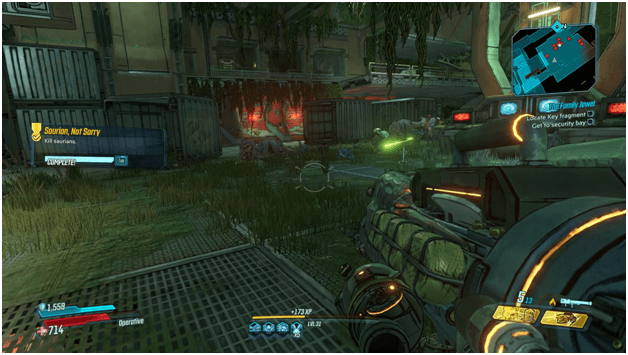
You will encounter different enemies, especially saurian in one area which you may ignore but would still be a good source for experience and good to kill to reduce trouble.
GenIVIV will lock down one of the paths which should give you and BALEX easy access which results in the two of you needing to take a detour.
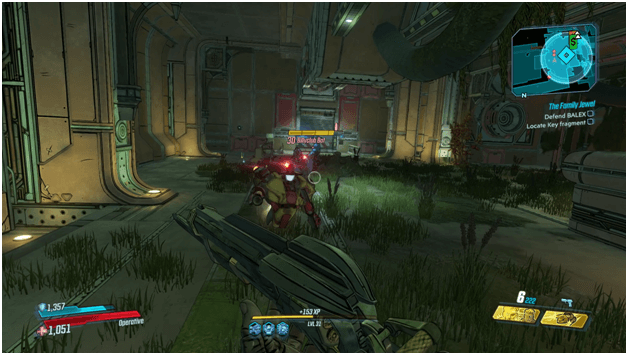
BALEX will attempt to access the console and you are to hold off enemy robots that GenIVIV sends out to stop you.
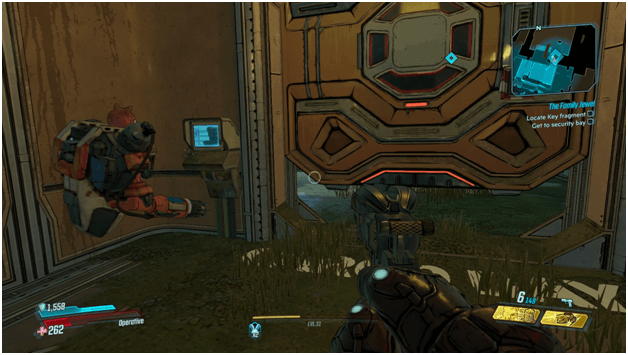
Heading To The Security Bay
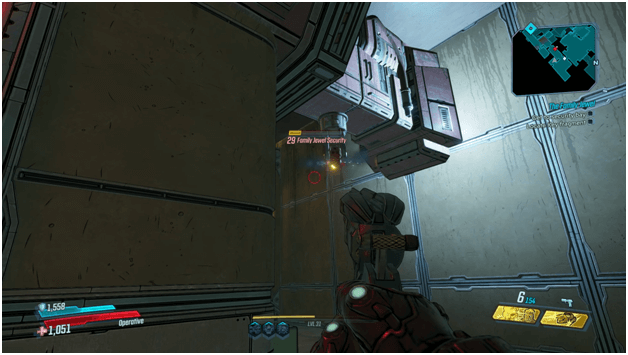
You and BALEX are to make your way to the security bay where the vault key fragment should be held.
BALEX will attempt to open up the doors of the vault key fragment’s holding which can take quite a bit of time.
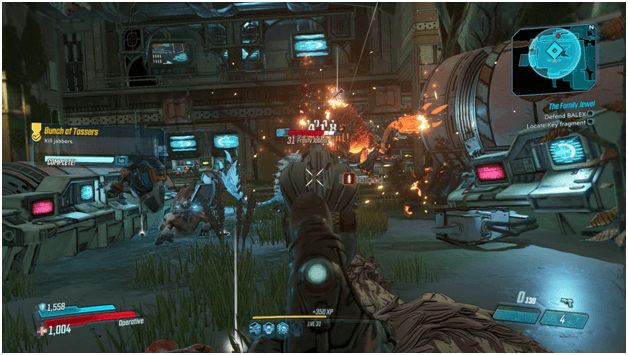
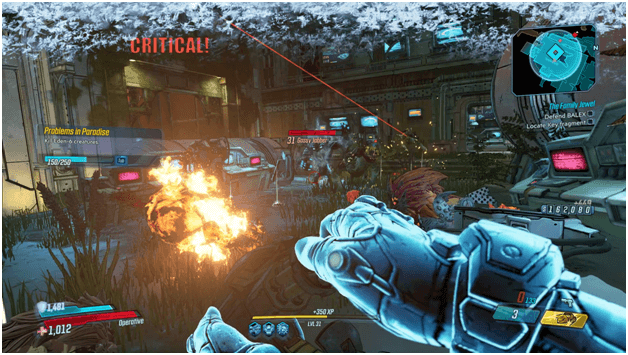
During this time, GenIVIV will imitate the mating sounds of jabbers which will causes a extremely large amount of jabbers to come and attack you.
Hold off the enemies until BALEX has unlocked the door which occurs after you clear all the jabbers.
When the two of you open the door, a badass jabber will knock BALEX off of the robot he is using and disable it.
Kill the jabber so that you can proceed with the mission regardless of BALEX not having a body.
A New Body For BALEX
Pick up BALEX and make your way to the bridge where BALEX has come up with an idea of acquiring yet another body, this time to counter GenIVIV who has inserted herself into a Maliwan mech.
As you enter the bridge, the mech will be locked up and held on a crane which you need to reach.
Fight through the enemies and make your way towards the other side where there will be crates that you must climb to jump across to the mech that BALEX intends on using.
Jump your way across until you reach the mech that BALEX is going to take control off.
Once you are on top of the container, activate the switch on top to force the mech container to drop.
As the container drops, it will open up and you are then to place BALEX on the mech so he can control it.
Apparently, you are not tall enough to reach the head so you will instead place it in a more, private section of the mech.
Confronting GenIVIV
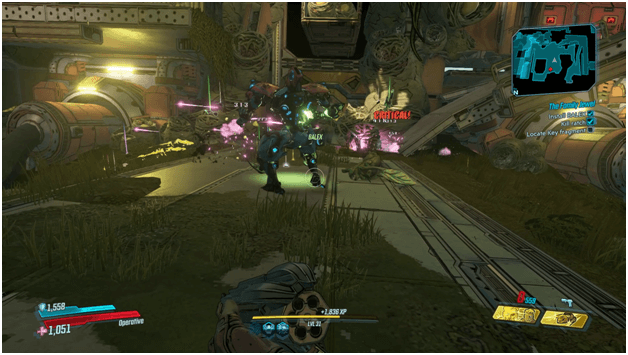
After BALEX gets into his new body, he will display some of its power and start killing some enemies.
Unfortunately, BALEX will accidentally fly off and tell you to just meet him where GenIVIV is so the two of you can fight her together.
Make your way towards the waypoint which will lead you to the fighting area where you will have to destroy GenIVIV.
There will be vending machines in the area which will allow you to restock on ammunition and health.
GenIVIV will welcome you and start blabbering more about BALEX and how he won’t be able to arrive as usual.
To GenIVIV’s surprise, BALEX comes blasting through a hole in the roof of the ship and knocks out her shield which allows you to engage in combat.
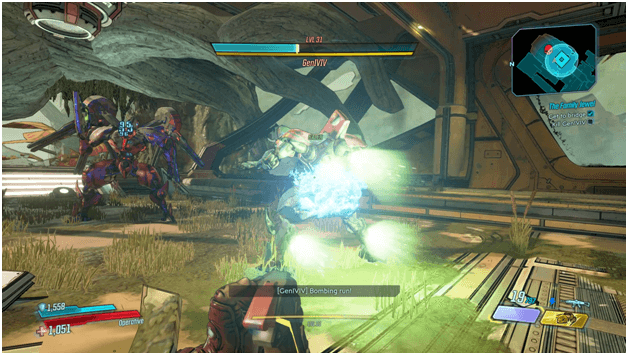
You and BALEX will then fight GenIVIV until her shields are out and once they are out, she will knock BALEX off of his mech, leaving you to fight her alone.
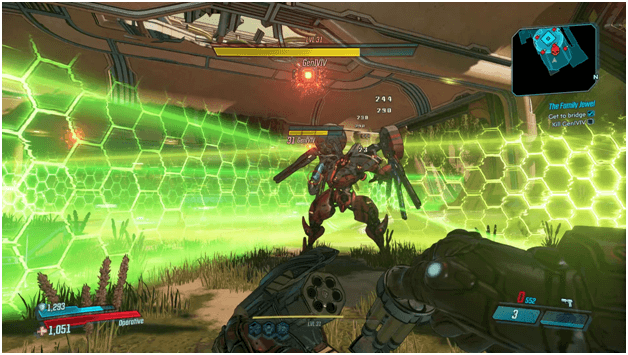
Destroy GenIVIV so that you can carry on with your mission which may prove hard since she is very durable.
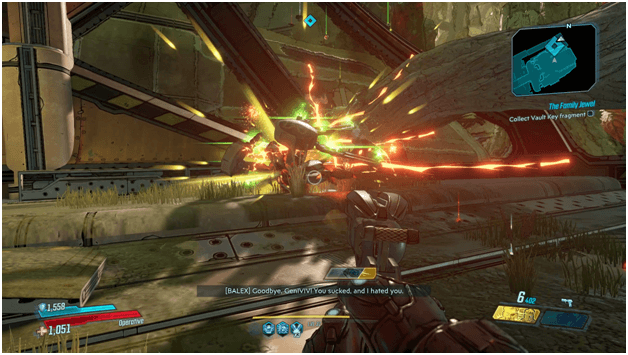
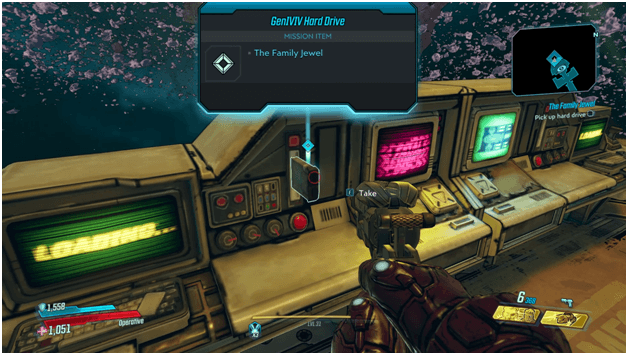
Once you have destroyed GenIVIV, a lot of loot will drop, along with the vault key fragment.
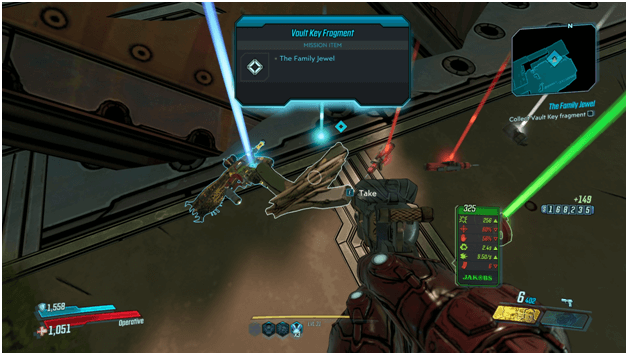
Pick up the vault key fragment and any other loot then look for BALEX who will be somewhere on the ground.
Pick up BALEX and get ready to head back to Sanctuary so you can give the vault key fragment to Tannis.
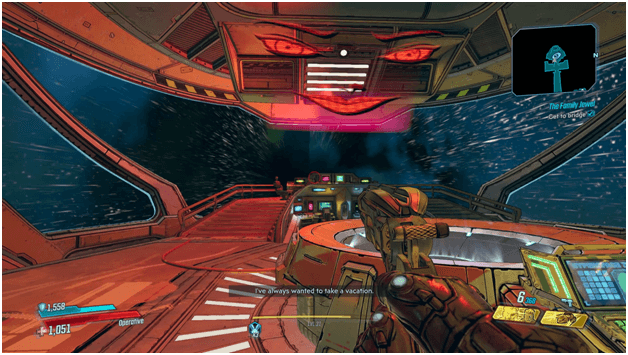
Returning To Sanctuary
As you arrive on Sanctuary, GenIVIV will have taken control of the ship and plans to navigate all the way to bring you to Aurelia in exchange for her very own dreadnought.
GenIVIV will force the service bots aboard Sanctuary to turn on you and the crew which you must destroy as you make your way towards the bridge.
GenIVIV will begin to send the ship back to meet up with Aurelia when BALEX suddenly gets an idea on how to take her out.
You are to head to the console and plug BALEX in so he can fight GenIVIV to stop her from controlling the ship and booting her out once and for all.
BALEX will force GenIVIV into a hard drive so she won’t be able to cause anymore damage and so he can take control of the ship.
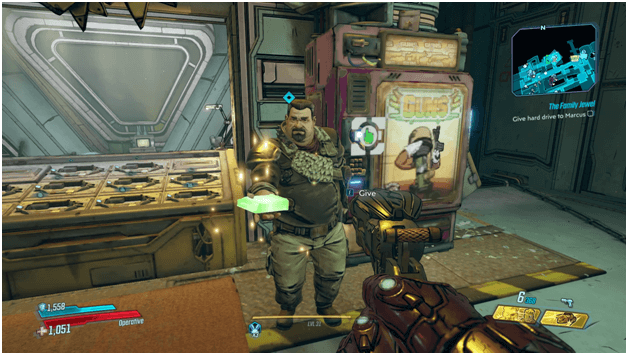
Marcus on the other hand, asks you to bring the hard drive to him as he has a plan on where to use it.
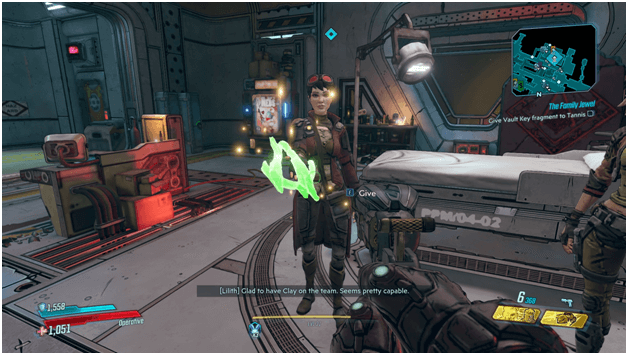
After handing over the hard drive to Marcus, make your way to Tannis and give her the vault key fragment.
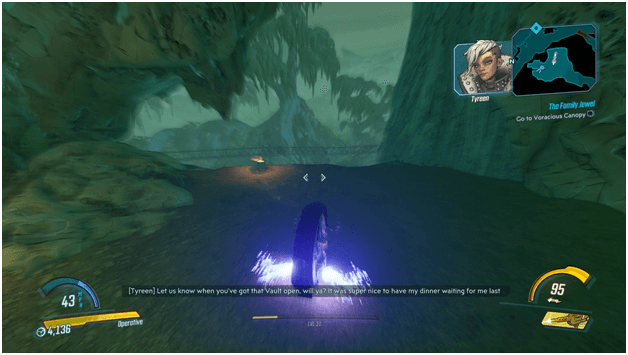
This will bring the mission to an end and begin the Going Rogue mission.
The Family Jewel Mission Rewards
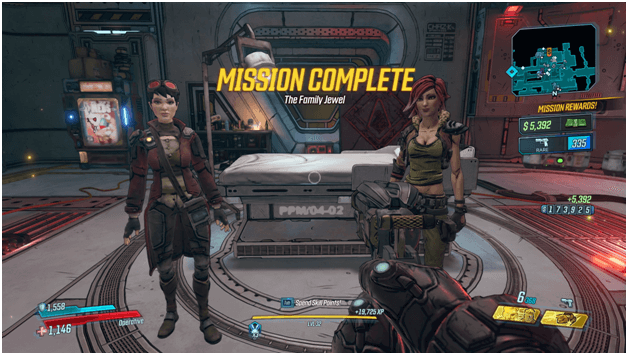
When The Family Jewel mission is finished, you will receive around 5,392 cash and the “Omniloader” rare pistol.
Tips
- This mission can take quite some time as the two AI have their own squabble and its good to loot the area while they do this.
- Restock every time you get the chance as there will be many enemies inside the ship.
- Bring a shock weapon and corrosive weapon with you to easily deal with GenIVIV as she has shield and armor.
Other Main Missions Walkthrough
- Children of the Vault
- From the Ground Up
- Cult Following
- Taking Flight
- Sanctuary
- Hostile Takeover
- The Impending Storm
- Space-Laser Tag
- Atlas, At Last
- Beneath the Meridian
- Hammerlocked
- Lair of the Harpy
- The Guns of Reliance
- Cold as the Grave
- Going Rogue
- Blood Drive
- Angels and Speed Demons
- The Great Vault
- The First Vault Hunter
- Footsteps of Giants
- In the Shadows of Starlight
- Divine Retribution