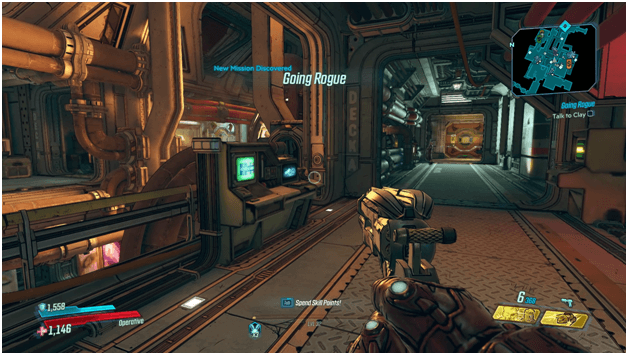
A smuggling crew that clay tasked to infiltrate the Children Of The Vault and acquire the vault key fragment have suddenly stopped responding.
Your task is to find out what happened to them and figure out where the vault key is in response to their sudden disappearance.
Mission Walkthrough
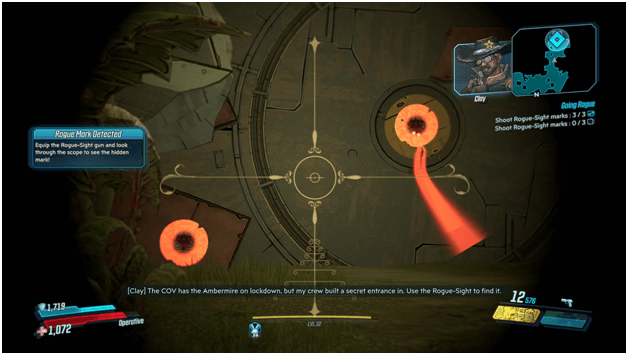
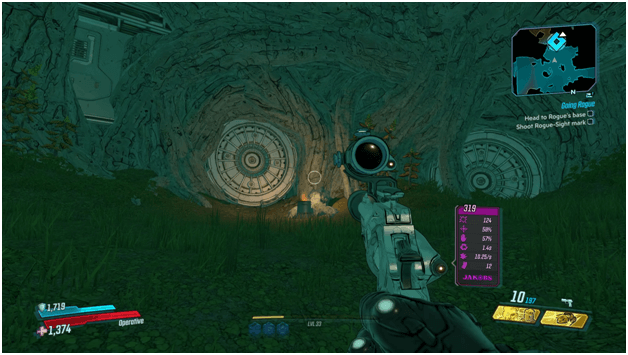
Using The Rogue-Sight
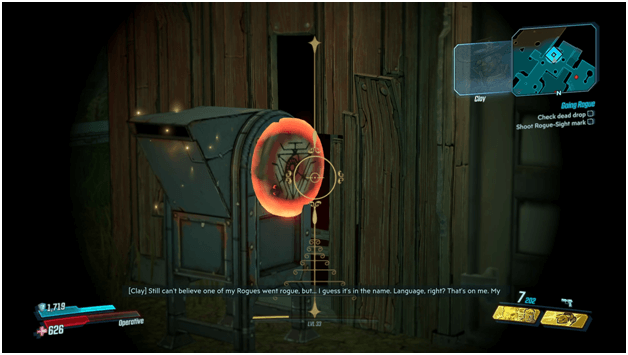
Clay’s group use a secret way to find their hidden objects, passages and more which can be seen with a special weapon known as the “Rogue-Sight” which he gives to you.
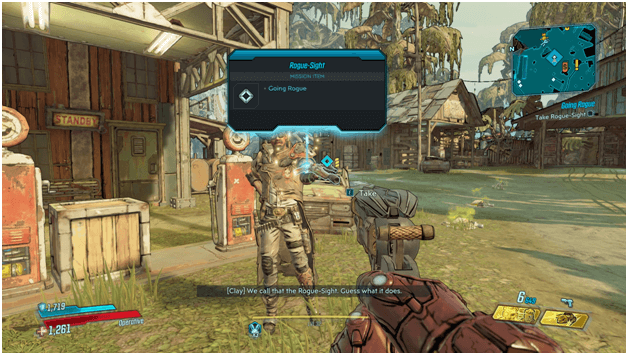
Grab the Rogue-Sight so you can also figure out clues as well as where to shoot later on in the mission to reveal where these clues and secrets lead to.
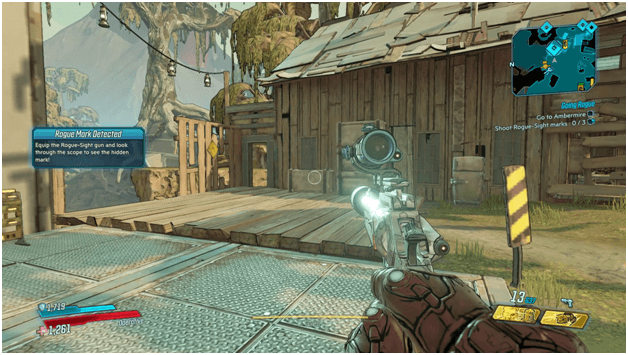
An optional quest will be available where you are to head to 3 distinct locations that have hidden marks to unlock caches hidden by Clay’s crew.
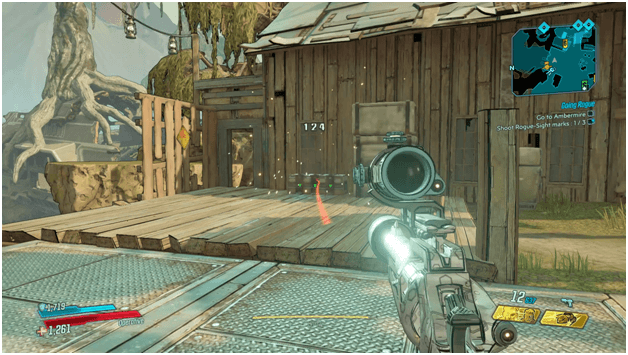
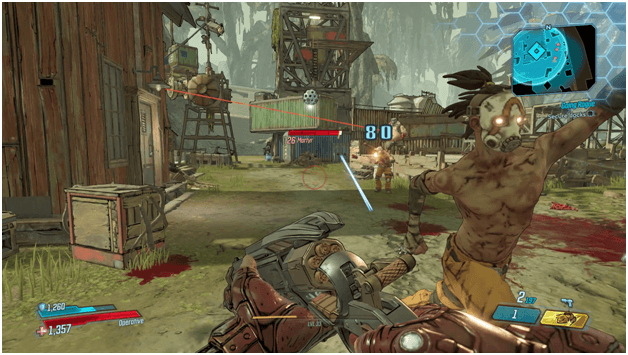
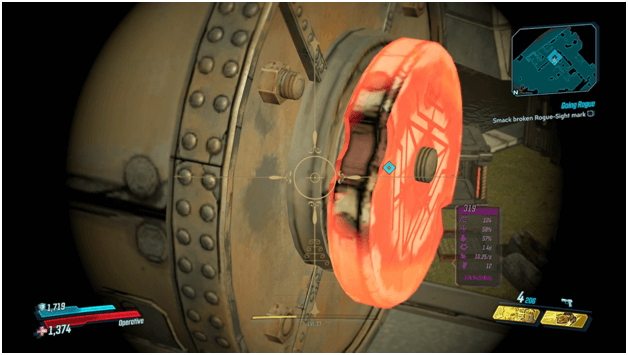
By aiming down the “Rogue-Sight”, you will be able to see hidden targets which you can fire to reveal the secrets that have been hidden.
Head to all 3 different locations and use the “Rogue-Sight” to reveal the secrets and loot the caches once you have done so.
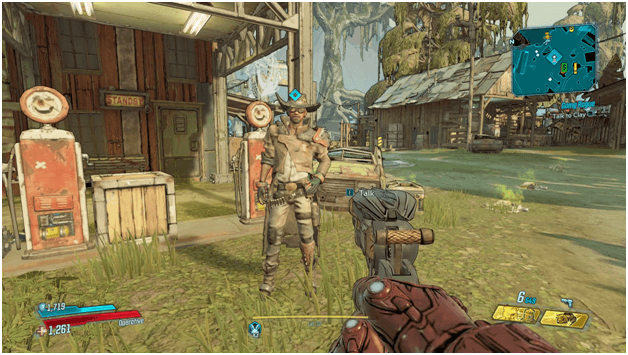
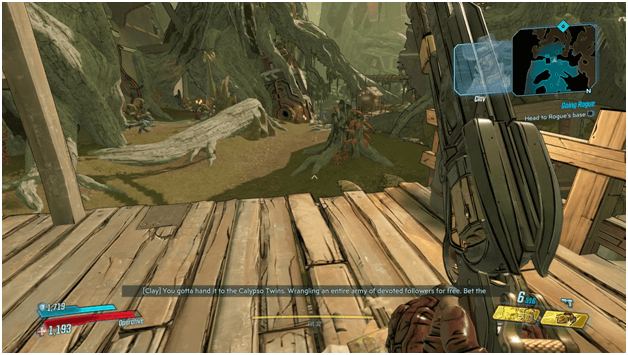
Heading To Ambermire
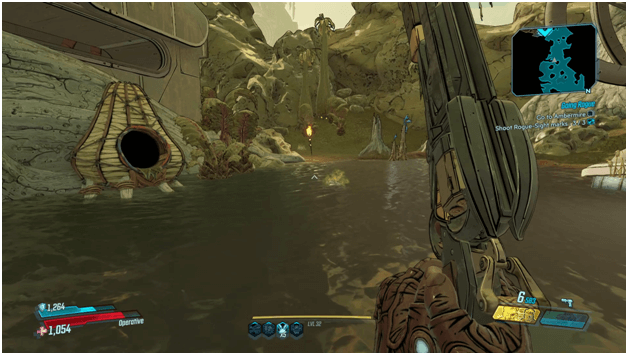
Once you have finished the optional objectives, head over to Ambermire where the mission will mostly take place.

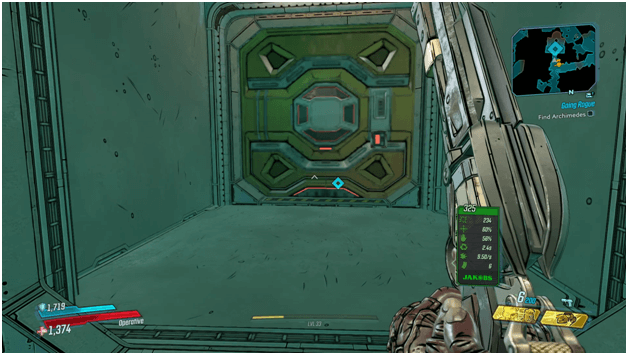
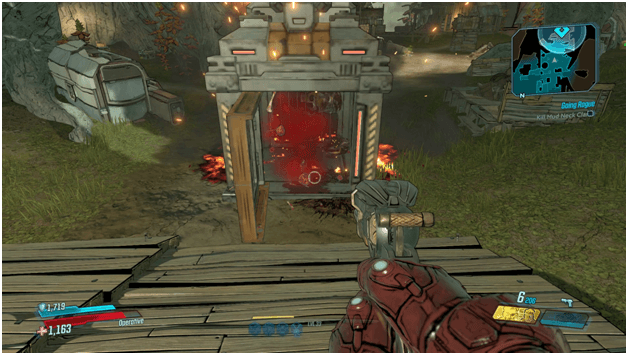
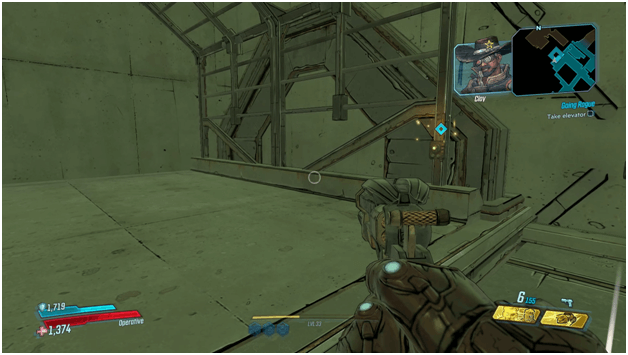
As you proceed to the location shown by a waypoint, use the “Rogue-Sight” to reveal the hidden mark which you will need to shoot to open up the passage.
You will see there are several marks that you need to hit to be able to unlock the way to Ambermire which you will then shoot and proceed.
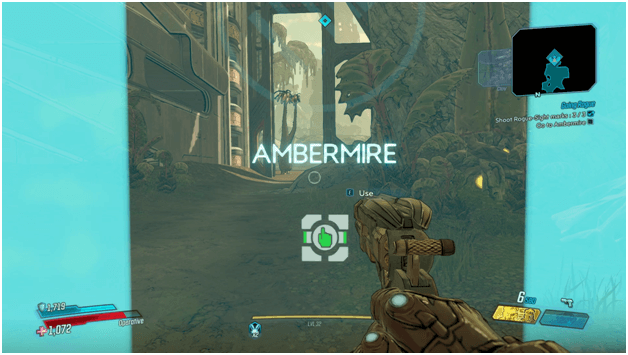
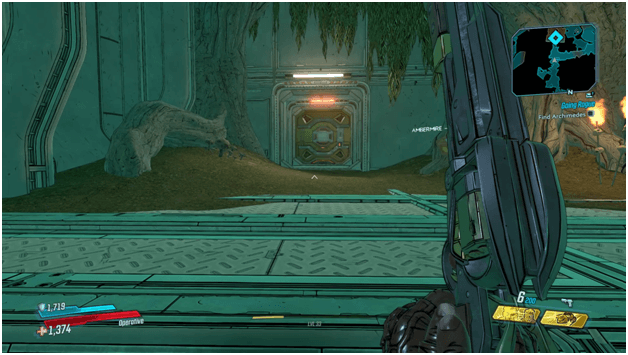
Once you have opened up the way to Ambermire, head over and enter the new zone where your new objectives will take place.
Finding Rogue’s Base
As you enter the Ambermire, you are to make your way towards the Rogue your objective will be to find the Rogue’s base which is through a few wandering enemies and a lot of swampland.
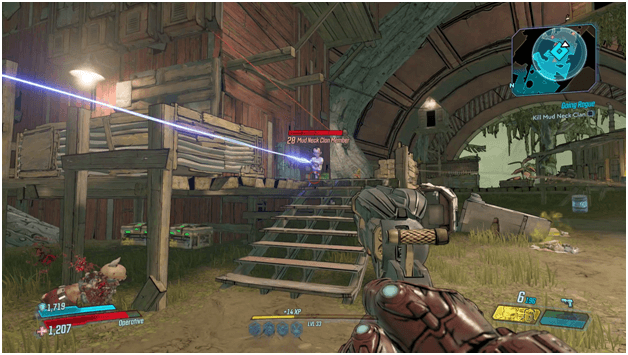
You will arrive near an entrance as you reach the waypoint and will have to use the Rogue-Sight once more to find the markers that will open up the way inside.
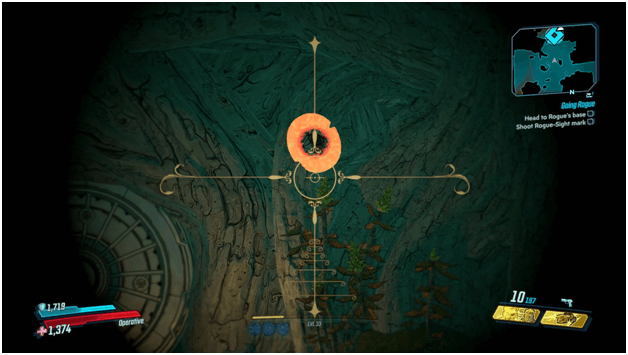
Use the Rogue-Sight at a further range as the marker will be more hidden than previous ones that you have shot at.
Head forward inside the base and approach a door which will appear locked but will open once you move near it.
Ignore the fact that it has red lights which usually symbolize that it is locked as it will become unlocked as you approach it.
Investigating Rogue’s Base
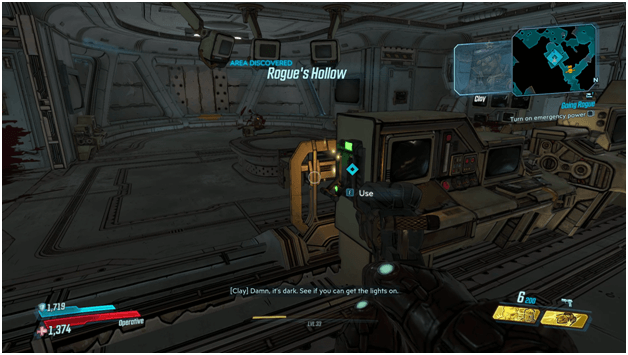
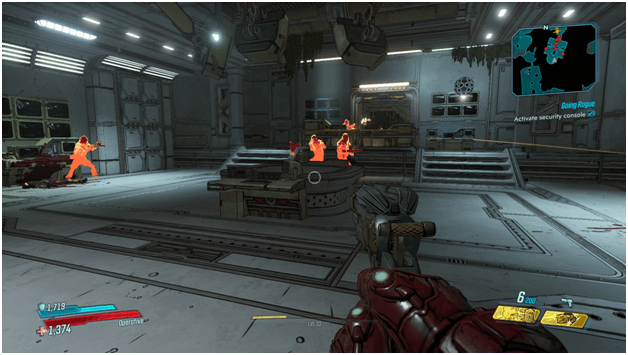
Head inside and activate the power which is at the side of the console to supply the base with power as well as light.
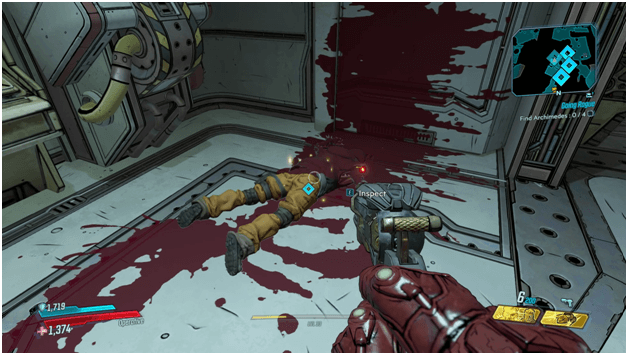
As you turn on the power, the base will be filled with dead members of the crew and you will need to figure out what has happened as well as if Archimedes is among them.
Search each of the bodies that are in the room which requires you to inspect 4 of the dead bodies until the objective is cleared.
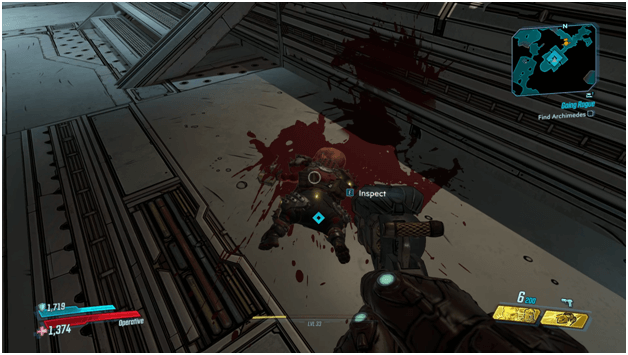
After searching the random bodies, a specific body will appear to be similar to Archimedes, who Clay needs you to find.
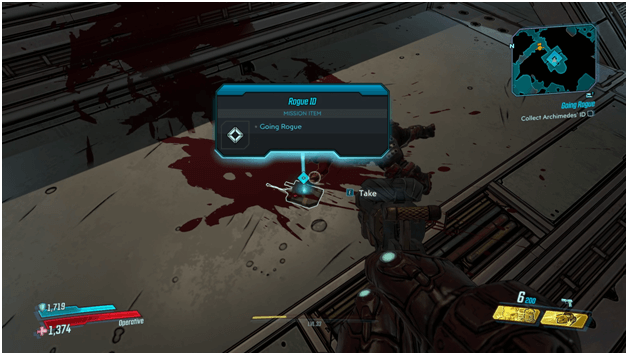
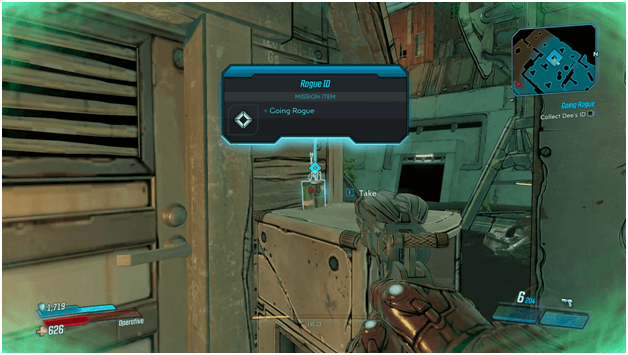
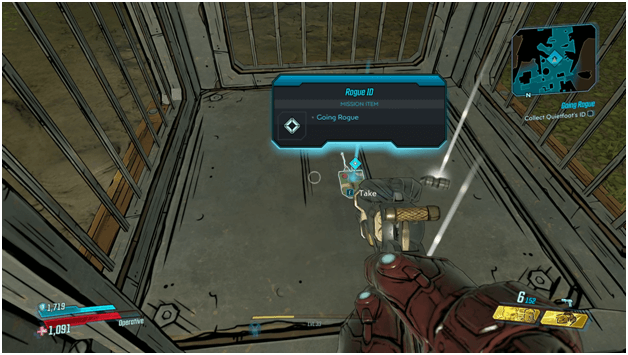
Amongst all the chaos in the base, a rogue ID will be lying on the floor which Clay instructs you to pick up so you can investigate what happened by having it scanned.
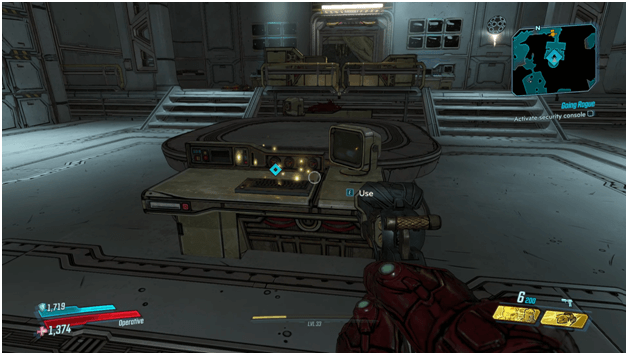
To find out what happened you will need to bring up security footage which will require you to activate a security console inside the room.
Watch the holographic replay of the incident that occurred until it is over and your next objectives will be given.

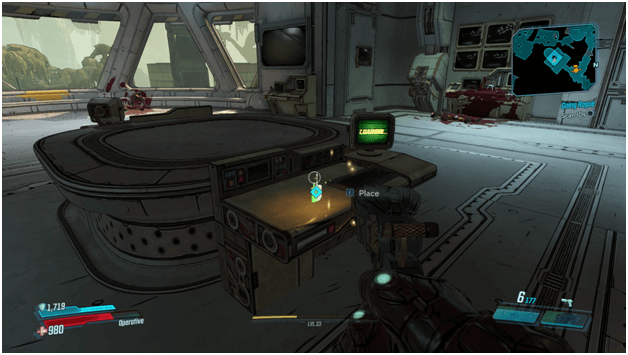
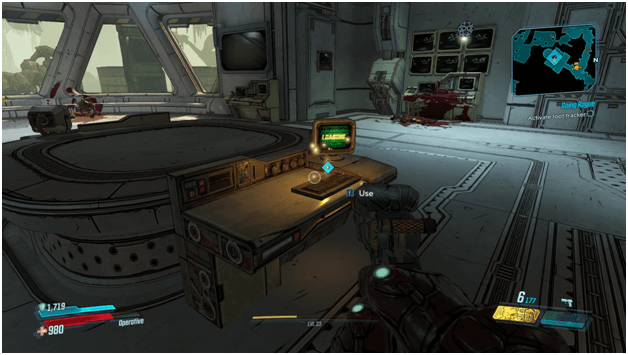
In order to find out where the other crew member went, you will need to activate a loot tracker which is back at a console connected to the table in the middle of the room.
The tracker will fail to work as you will require IDs from the other agent which Clay instructs you to head out to do first.
Acquiring Agent IDs
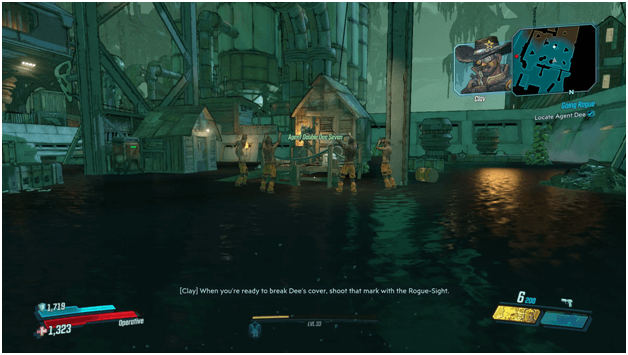
You will first head over to Agent Dee who is disguised as a bandit and appears to be having fun with the other bandits.
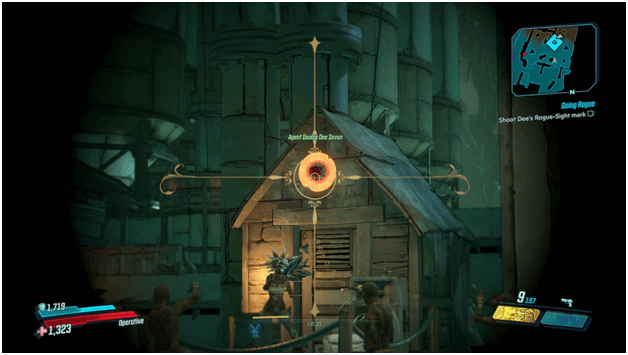
You will need to break Agent Dee’s cover by shooting the mark with the Rogue-Sight which will release his true form.
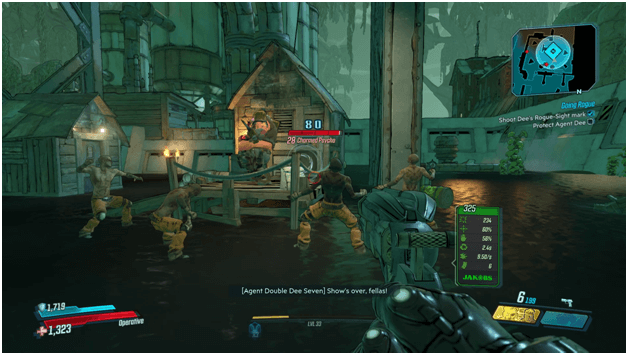
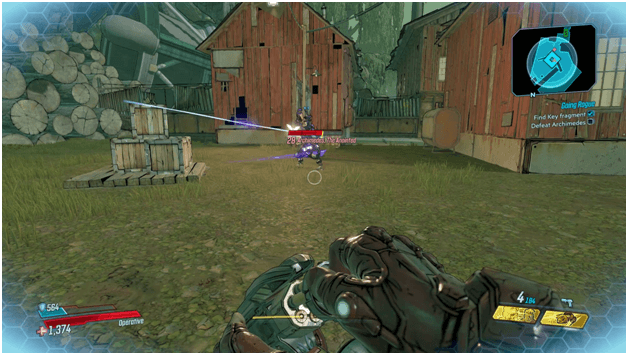
Agent Dee will transform into a goliath and begin to attack the enemies and all of you will need to clear out the enemies before you and Agent Dee can discuss furthermore.
Agent Dee will allow you to take his Rogue ID after and you are then to head over to a dead drop to investigate the whereabouts of another agent name Quietfoot.
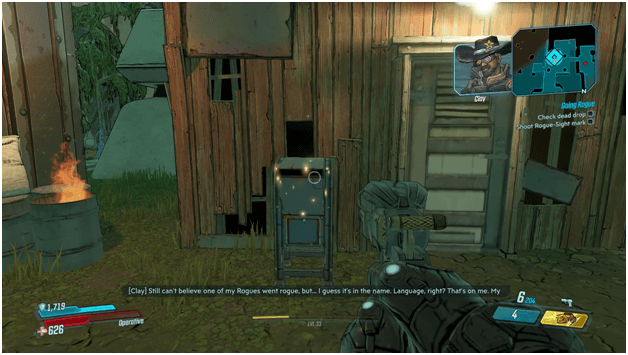
The dead drop will also require you to shoot it in a specific area which can be seen on the Rogue-Site.
Aim for the marker and fire at it to reveal the hidden contents that Quietfoot has placed within it so you have a better clue of what happened.
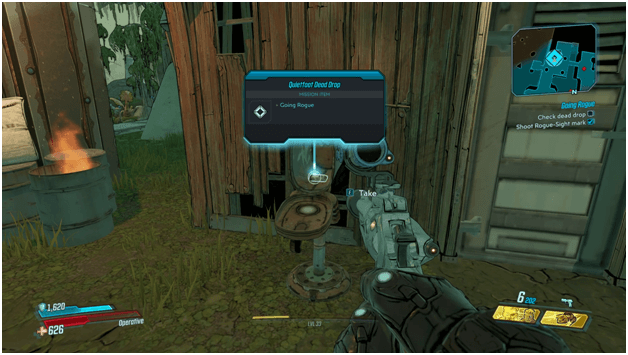
Grab the dead drop that Quietfoot has left behind which will later on be an Echo log where he claims to be investigating an agent that went rogue, giving instructions to meet up later to share intel that were initially meant for Clay.
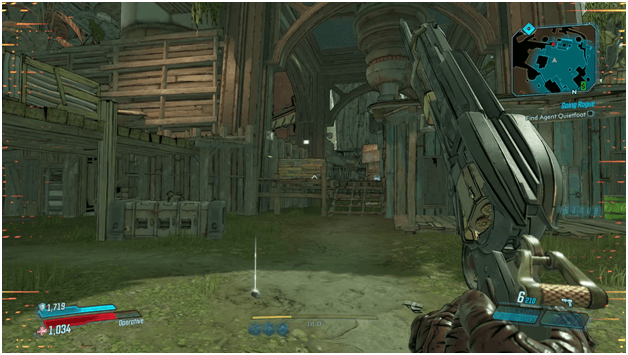
Follow the waypoint on your map which will lead you to the location where Clay is supposed to meet up with Quietfoot.

Quietfoot will be tied up and gagged in a cage which you will then release by using a nearby lever marked by a waypoint.
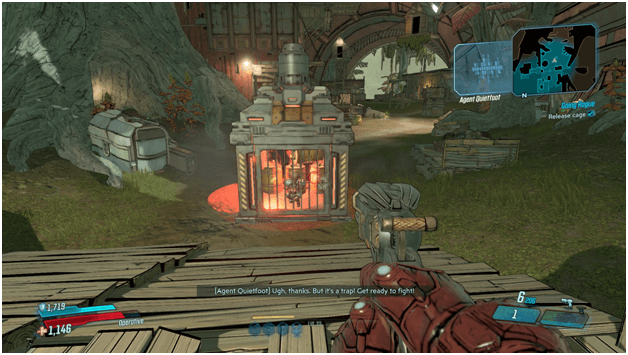
The cage will be booby trapped and Quietfoot will be blown up seconds after he warns you of the trap and tells you to get ready for a fight.
His captors which are bandits from the Mud Neck Clan will begin to attack you and you are to finish each and every one of them off before proceeding.
Kill all of the Mud Neck Clan bandits that appear until none are left and head back to the cage once the objective is complete to grab Quietfoot’s ID.
Grab Quietfoot’s ID and Clay will tell you that you need one more ID from his buddy Domino which will require you to head over to the nearby docks.
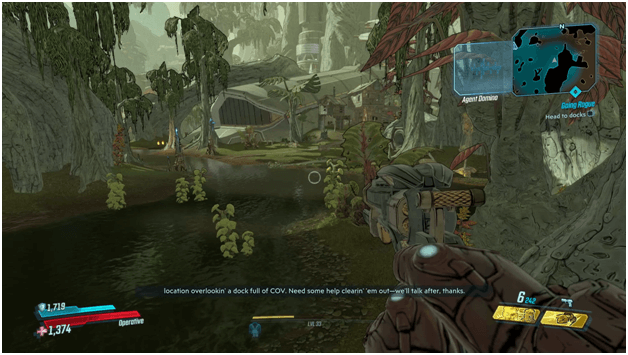
Make your way through Ambermire and head to the waypoint which leads to the docks so you can search for the last ID.
Domino will contact you as you reach the area, telling you that the location has a lot of bandits that he needs help clearing out.
Help Domino by killing all of the bandits that show up until no more waves arrive to attack the area.

Domino will ask you to fix a crane which you must climb all the way up to the top to move it into place so tracking will be made possible.
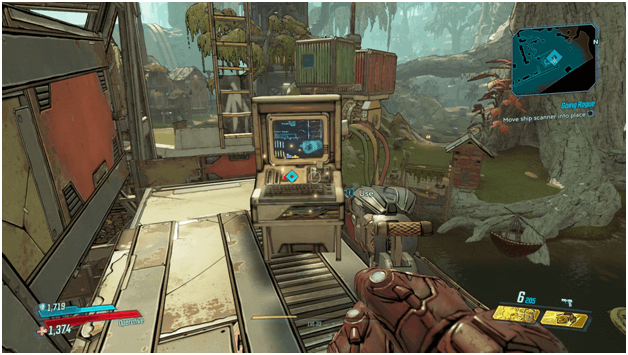
Head up the ladder and activate the console marked with a waypoint and make your say further to the top of the crane.
Once you are on top of the crane and the scanner has bee moved, head over to the scanner.
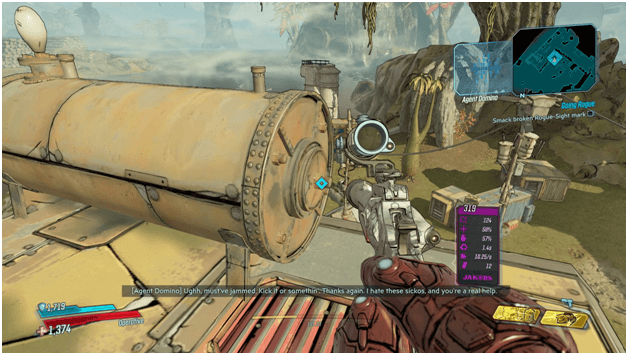
You will once again need to use the Rogue-Sight to be able to fire on the next target which is mean to kick off.
The Rogue-Sight mark will be damage and you will need to attack it, mainly with a melee hit or justshoot it in order to unjam it.
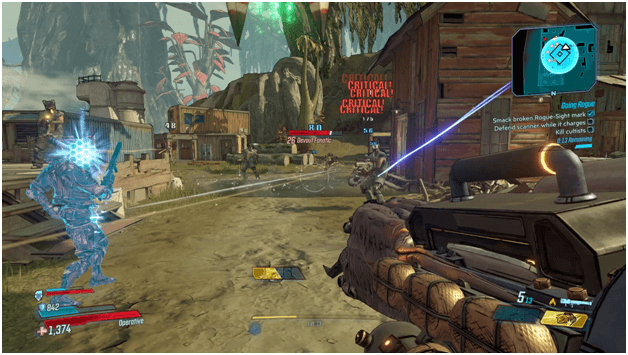
While the scanner begins to charge up, you will be attacked one again by enemies and will need to fend them off until the timer finishes.
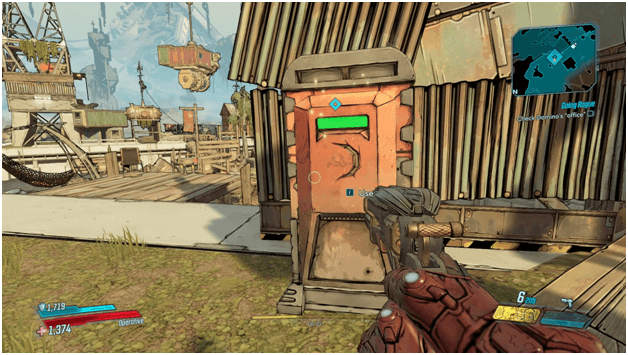
Head over to Domino’s office which is pretty much a portable toilet to collect his ID which is inside the toilet.
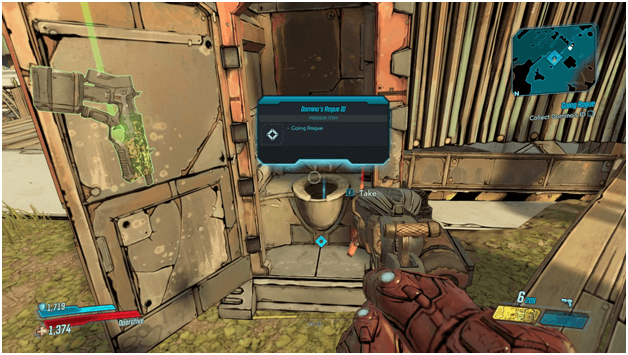
Once the portable bathroom is used, Domino’s ID will be dropped and you may then take it along with the other IDs back to the Rogue’s base.
Tracking The Vault Key Fragment
Once you arrive back to the Rogue Base, have the ID’s that you have just acquired scanned so you will be able to use the tracker.
Activate the loot tracker by using the computer to the site and the base will begin to channel energy on the table in the middle of the room.
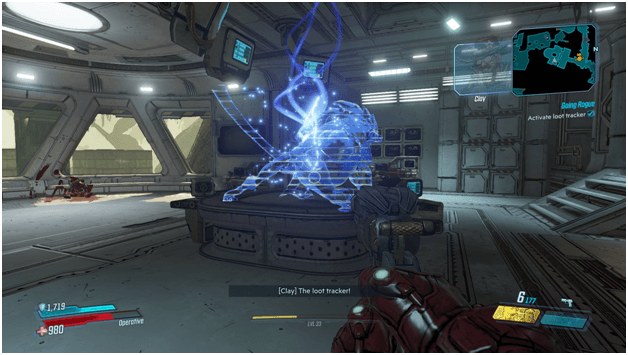
A holographic jabber will be created which will then begin to lead you to the vault key fragment that was taken when the base was attacked.
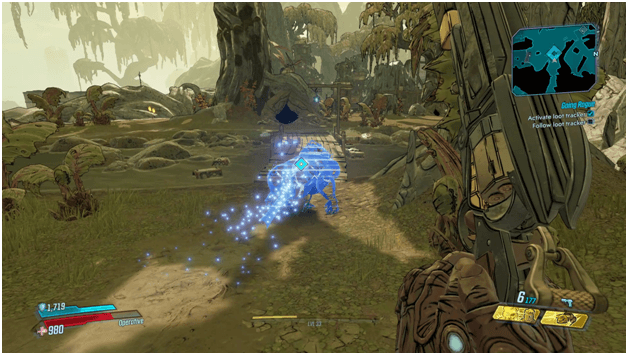
Make your way through all the areas that holo-jabber leads you too until you reach the final destination.
Finding Archimedes
You will end up at the bottom of an elevator and will need to ride it going all the way to the top where the holo-jabber has led you.
Once you arrive to the top and continue exploring, you will come face to face with the real Archimedes who appears to be the agent that went rogue.
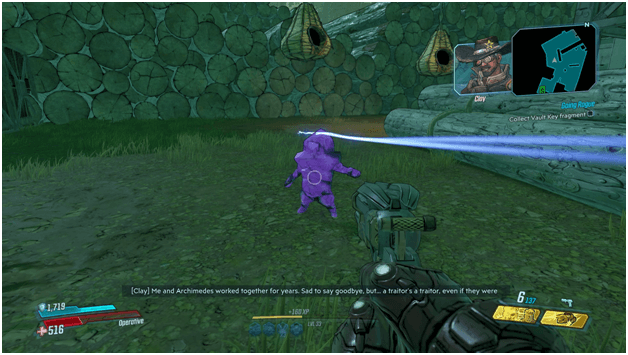
Fight Archimedes, who has been become anointed and smash him to get his loot which also includes the vault key fragment that was stolen.
Heading Back To Sanctuary
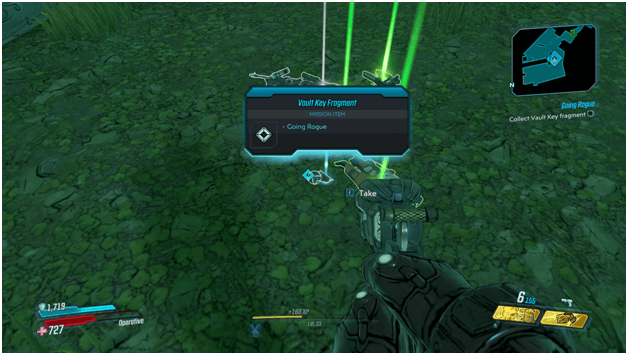
Grab the vault key fragment after smashing what is left of Archimedes and make your way back to Sanctuary.
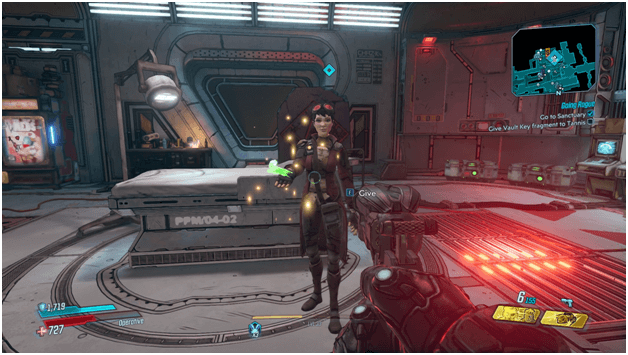
Head over to Tannis and hand over the vault key fragment to complete the mission.
Going Rogue Mission Rewards
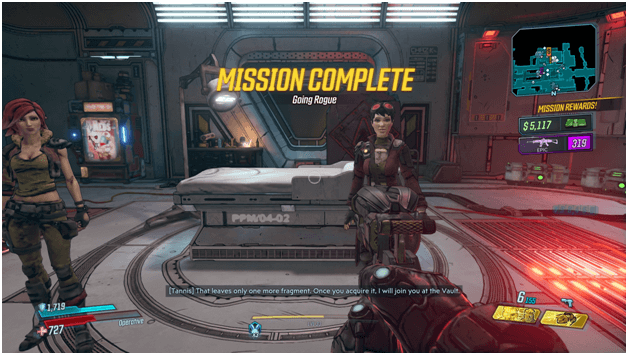
After you complete the Going Rogue mission, you will be rewarded with around 5,117 and the “Traitor’s Death” epic assault rifle.
Tips
- The mission will be a bit long and will most likely have you running around to different locations so be prepared by having a good shield mod and a lot of ammunition to avoid having to fast travel back.
- You will find yourself facing many enemies so be sure increase your level if you have a hard time at the beginning to avoid repetitively dying.
- The Rogue-Site weapon will only be needed for opening marked locations but you may still use other weapons during the mission, even when destroying the marks.
Other Main Missions Walkthrough
- Children of the Vault
- From the Ground Up
- Cult Following
- Taking Flight
- Sanctuary
- Hostile Takeover
- The Impending Storm
- Space-Laser Tag
- Atlas, At Last
- Beneath the Meridian
- Hammerlocked
- Lair of the Harpy
- The Guns of Reliance
- The Family Jewel
- Cold as the Grave
- Blood Drive
- Angels and Speed Demons
- The Great Vault
- The First Vault Hunter
- Footsteps of Giants
- In the Shadows of Starlight
- Divine Retribution