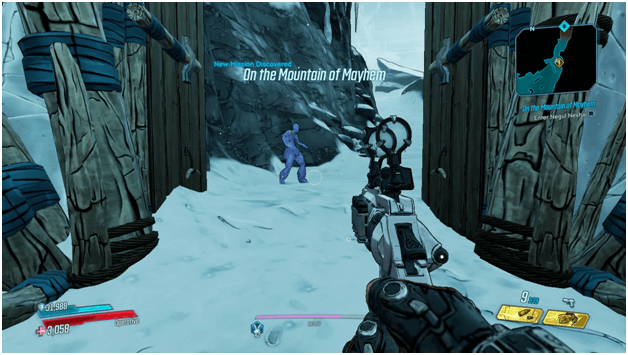
Previously in The Horror In The Woods mission, you had successfully thawed the frozen gate, giving you access to Negul Neshai.
You are now supposed to make your way towards the DAHL research ship to obtain the sample of the Heart Of Gythian which will be needed in saving Wainwright.
Other Main Missions in Guns, Love and Tentacles DLC
- The Party Out of Space
- The Shadow Over Cursehaven
- The Case of Wainwright Jakobs
- The Horror in the Woods
- The Call of Gythian
Mission Walkthrough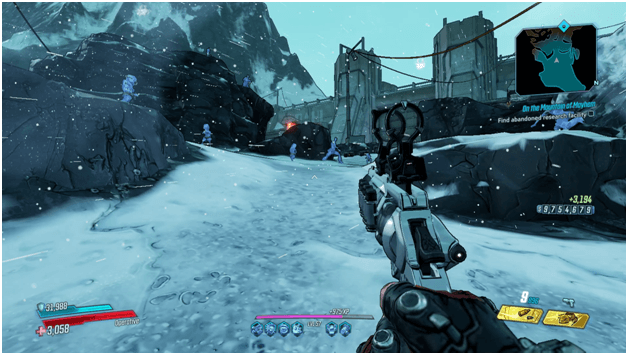

Negul Neshai will be accessible after you have previously completed The Horror In The Woods and you will then proceed through it.
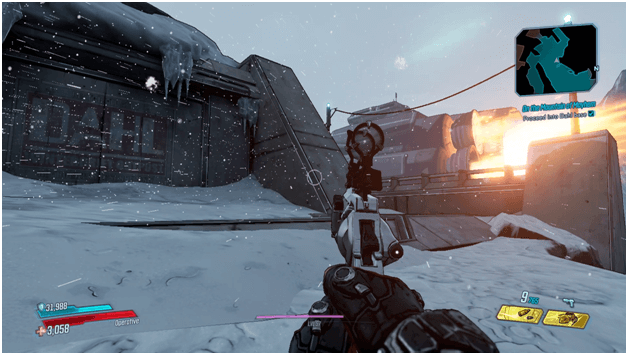
The Dahl ship that you are searching for will be near an abandoned research facility and you must first make your way towards the outer area.
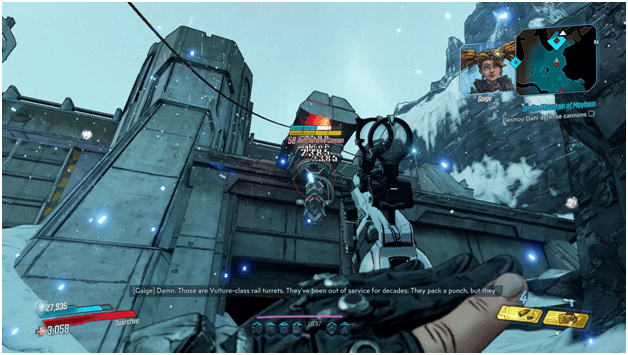
As you approach the facility, there will be defense cannons protecting a fortified gate and in order to open the gate you will need to destroy these cannons.
Once the cannons have been destroyed, they will cause a chain reaction which will force the gates open.
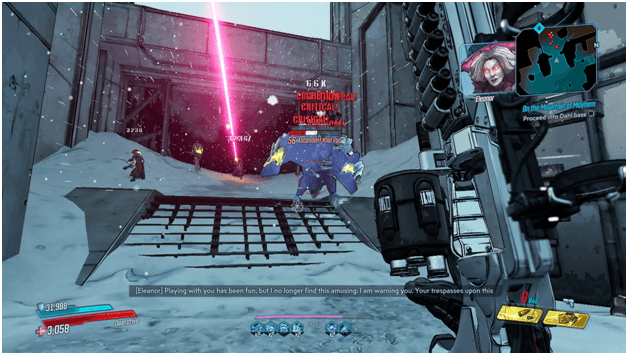
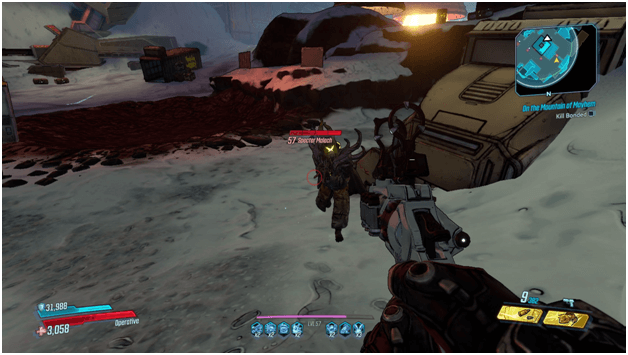
After the gates have opened, you will be attacked by Bonded enemies and will have to force your way further into the Dahl base.
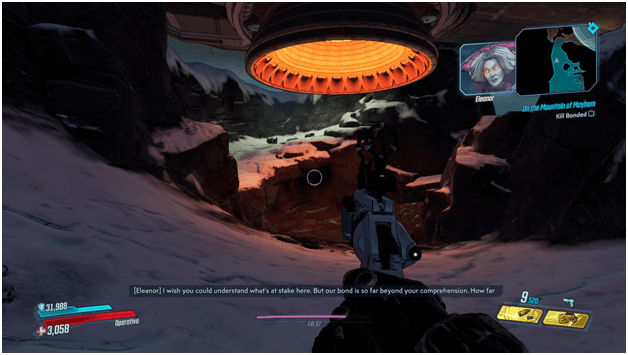
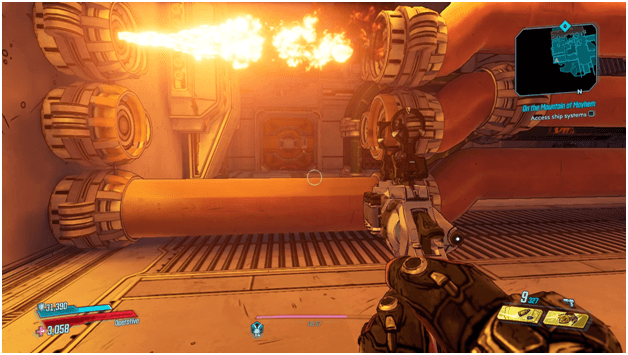
As you push forward to the Dahl base, Eleanor will begin to activate the ship so that it overheats in order to prevent you from obtaining the sample of the Heart Of Gythian.
You will need to hurry up and find a way that can get you into the Dahl base that is sealed tight.
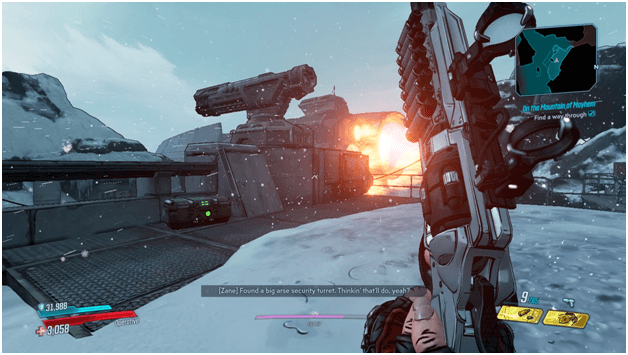
Gaige asks you to look around and you will find an old security turret that has enough firepower to blow the entrance open.
The only problem is that the turret has no power and you will need to find out if it can still work in case there can be an improvised way of making it work.
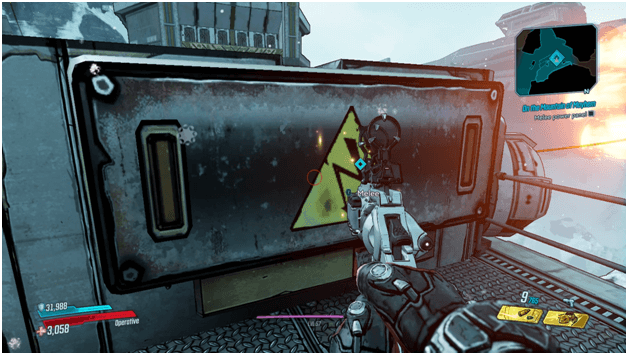
You will then head to the back of the security turret and destroy the cover of the fuse box in order to check and reveal that it is missing 2 fuses.
After Gaige learns that the fuses are missing, you will need to improvise and figure out a way to replace them.
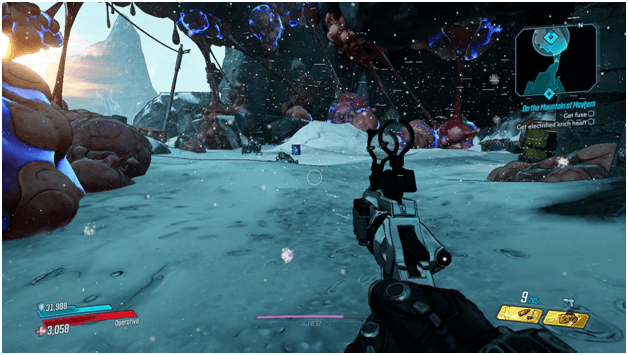
You will need to acquire an electrified krich heart from a nearby nest which can drop from an electrified krich inside.
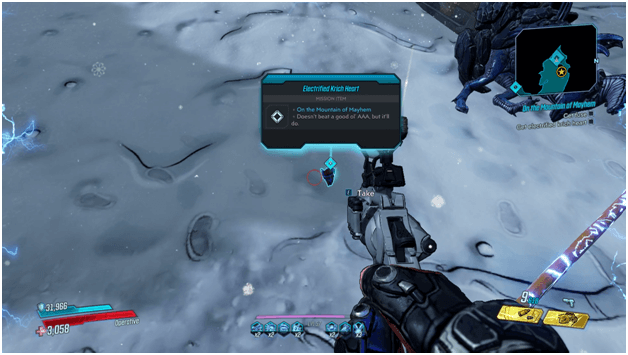
Once the electrified heart has been dropped, it will have a waypoint showing its location and you may then pick it up and continue to find another fuse.
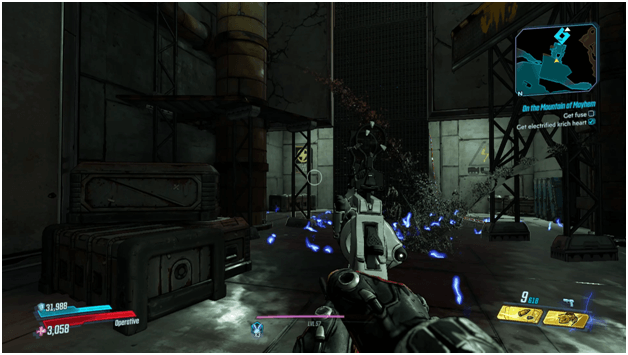
There will be a small facility that is powered by a fuse and you are to make your way inside to acquire it by following the waypoint.
The fuse will not be in plain sight and you will come across a room where the ground is electrified and you must then climb up until you reach the top.
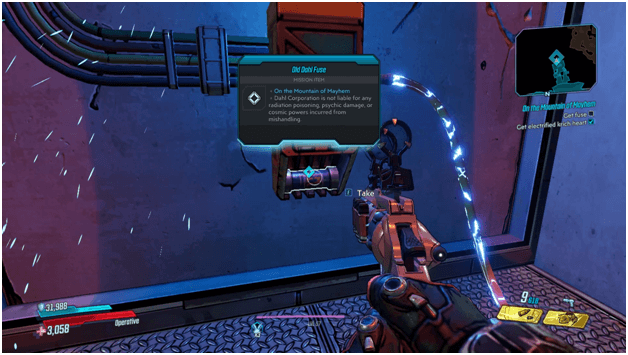
After heading to the top, you will find the fuse is connected to a power supply that is connected to the wire electrocuting the floor.
Take the fuse and this will stop the electrical current, allowing you to jump down and easily exit the facility.
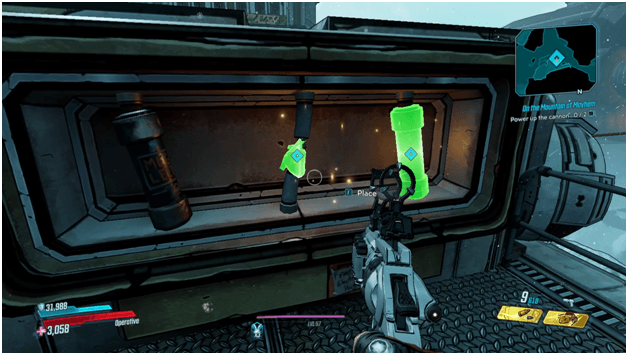
Head back to the security turret and install the fuse and the electrified heart as a replacement for the missing fuses.
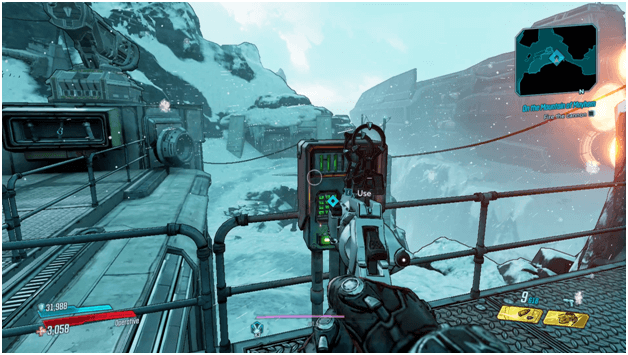
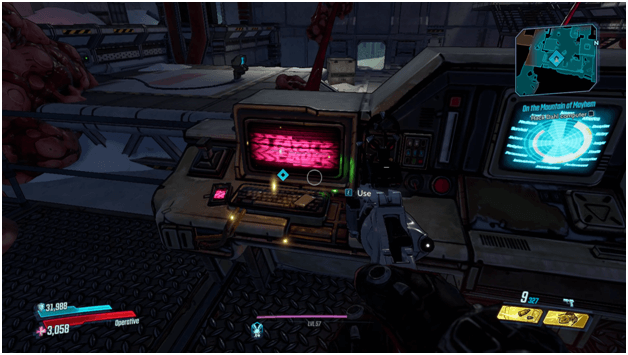
Once the power supply is back, activate the turret using the control panel at the side which will be marked by a waypoint.
The security turret will fire at the entrance and blow you a way inside which you will then enter.
Once the entrance is opened up, head towards the abandoned camp and continue with fighting your way through the enemies until you reach the Dahl research ship.
Once you reach the ship, head under and search for a way to get inside the ship while fighting your way through any Bonded that stands in your way.
An lift nearby will be able to take you up to the ship but first you will have to kill all of the Bonded in the area before proceeding.
Once the Bonded have been dealt with, head over to the lift to call it down and use it to get aboard the ship.
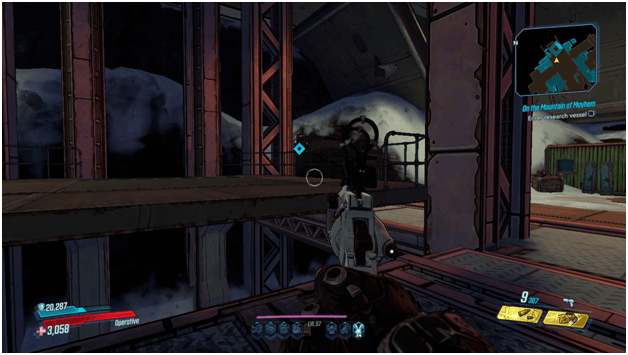
As you enter the ship, most of the doors will be jammed and you will have to improvise your way inside by going through the left side and climbing up on the pipes.
You will find a hole in the wall once you reach the top of the pipes and can climb through it to proceed towards the system within the ship.
Gaige will ask you to hack the computer nearby so that she may access its interfaces but you surprisingly have no clue how to do so and instead she insist on sending Deathtrap to help you.

Head over to the bot station so that Deathtrap may be transported to your location so he can hack the system for you.
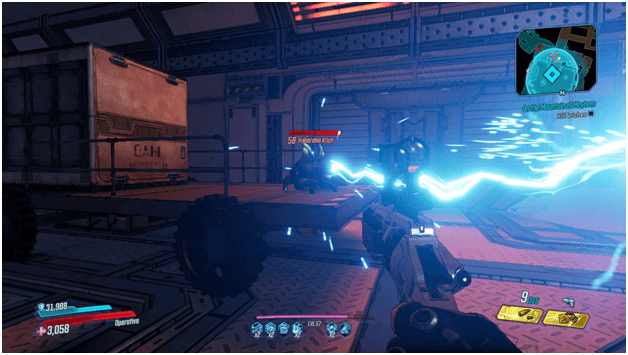
There will be kriches present soon after as they have been awakened by the activation of the bot station and you along with Deathtrap must kill all of them before moving on.
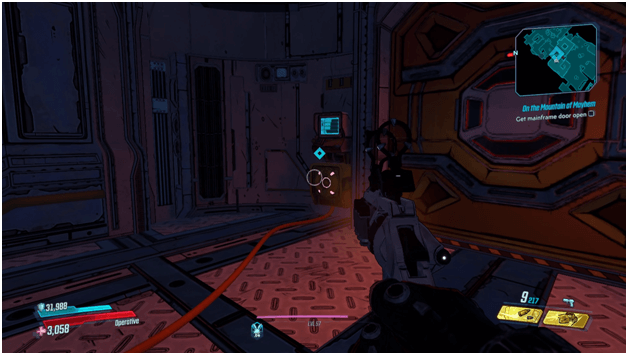
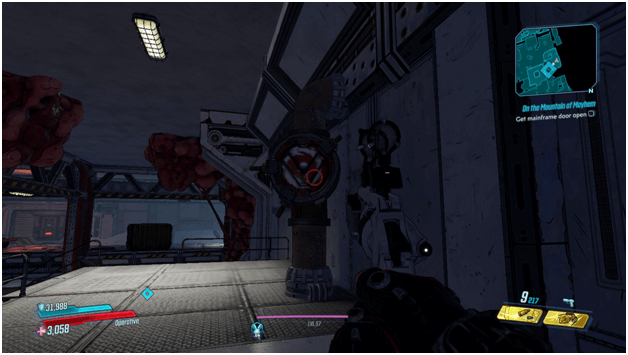
You and Deathtrap will be unable to proceed as the door leading to the system is locked and cannot be accessed.
In order to proceed, you will need to find a way to supply power to the door which you can doo by following the wires to see where power ran out.
There will be pipes that can be shot which will pour water onto the ground that will later transfer an electrical current.
A total of two pipe openings must be shot in order to complete the flow of electricity.
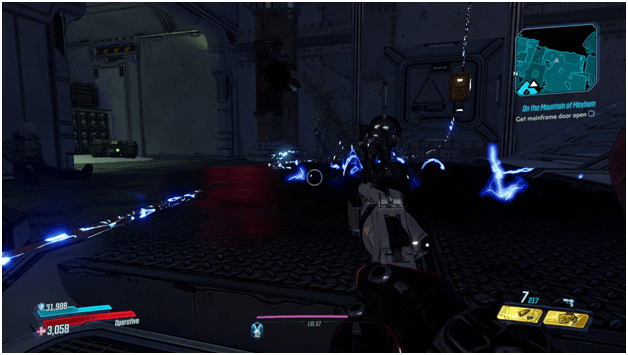
As you shoot both pipes, a cut wire that is sending electricity will transfer it over due to the spilled water which will continuously flow towards the door to power it.
Deathtrap will already be in at the system when you have finished and will allow Gaige to access the ship after hacking the system.
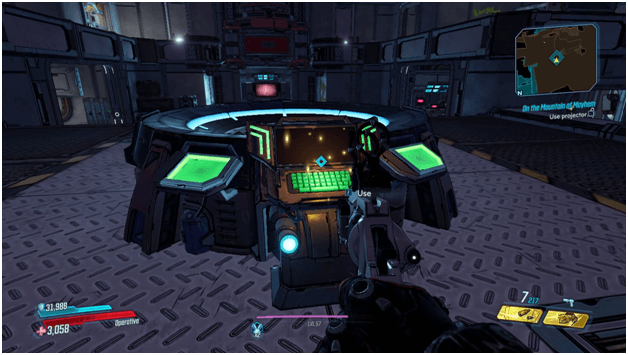
Once the system is hacked, you will need to follow Deathtrap into a room with a projector that you will use to find out where the heart sample is.
After learning that the heart is in the Xenocardiac Containment room, follow deathtrap and fight through any of the Bonded that have been sent to stop you.
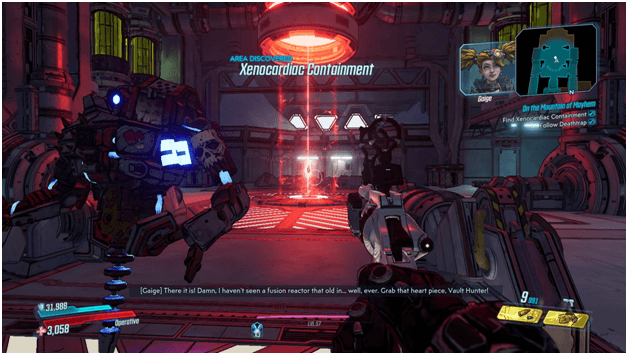
You will later on reach the Xenocardiac Containment room and the heart will be available for the taking.
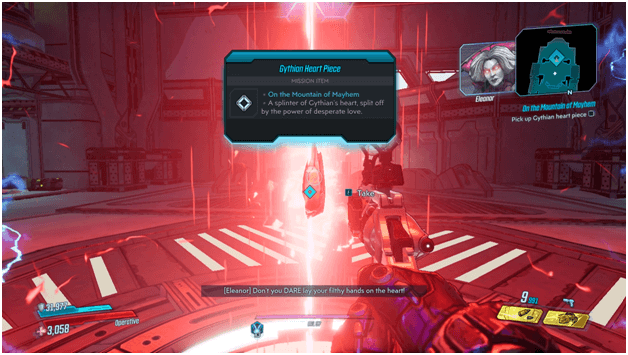
Head up to the heart and pick it up and Gaige will tell you to install it on Deathtrap so that it can use it later on.
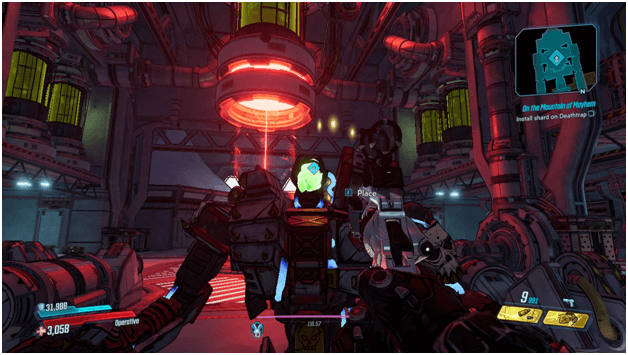
Move up to Deathtrap and interact with him in order to shove the heart into its eye, completing the installation.
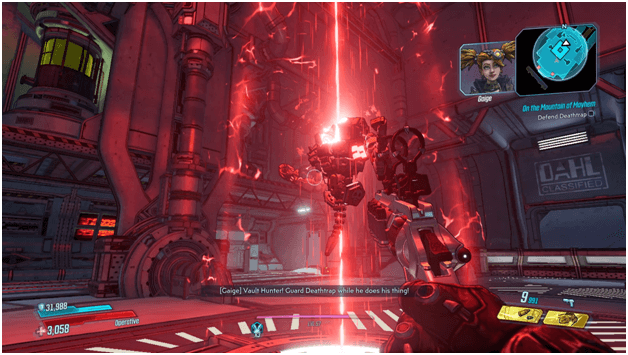
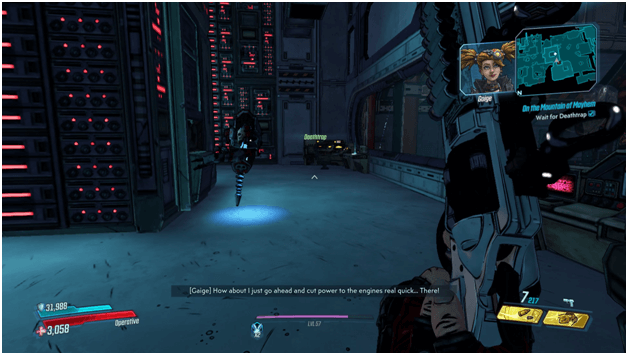
In order to be successful in using the heart, Deathtrap will need to be supercharged which requires that you defend him during the process.
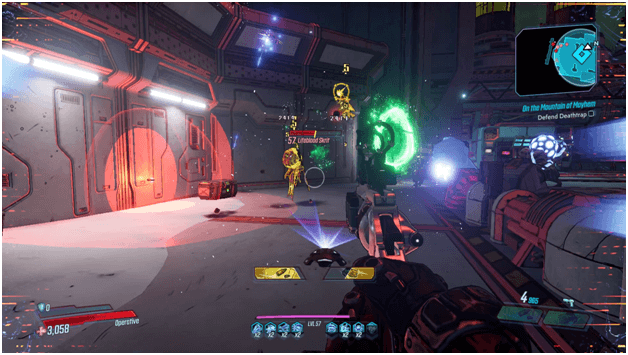
Bonded enemies will be sent to your location and you will have to kill all of them before the mission continues.
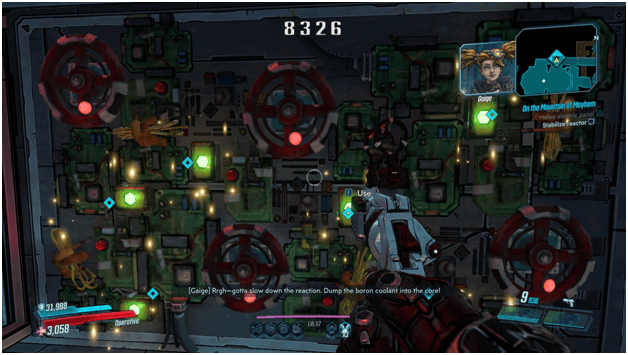
While Deathtrap is being charged, the power will start to be too much and Gaige will panic and tell you to dump the boron coolant into the core which is marked by several waypoints in a panel.
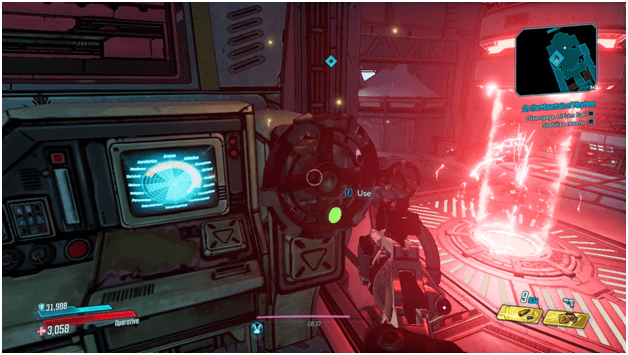
The attempt to stop the process will fail and Gaige will then tell you to disengage the tritium fuel while still panicking.
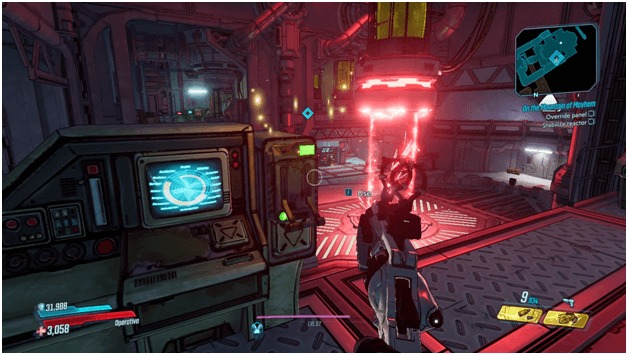
Disengaging the tritium fuel won’t work either and Gaige will tell you to kill the override control panel which also fails.
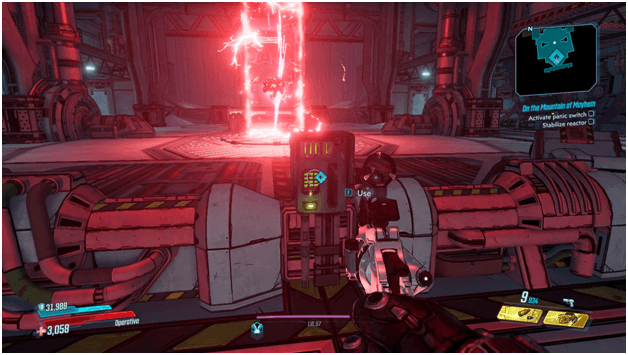
After seeing no other options, Gaige will start to yell and tell you to just shut the whole thing off as Deathtrap appears to be unable to handle the process.
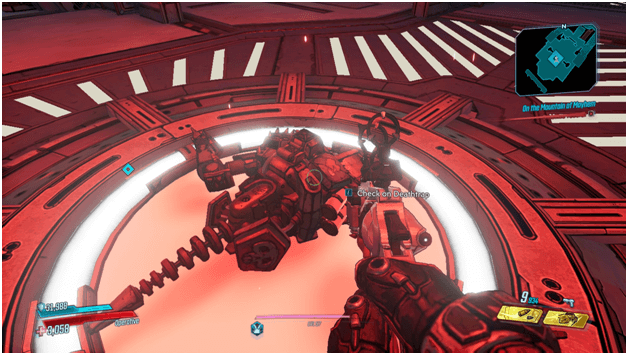
Gaige will ask you if Deathtrap is okay and you will need to check on him, only to report that he didn’t make it.
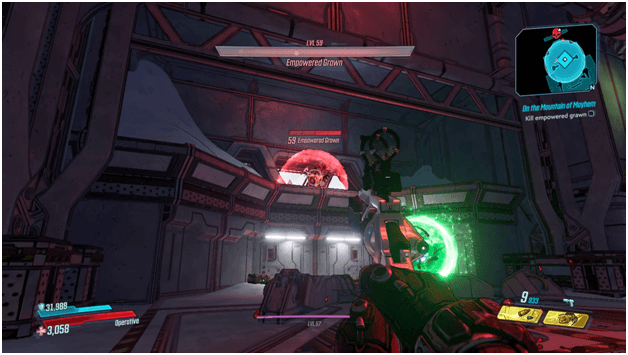
Eleanor will start mocking you and Gaige and afterwards send an Empowered Grawn to kill you which you will be unable to harm due to it being empowered by Eleanor with energy from the Heart Of Gythian.
A few enemies will spawn in and once you kill them, a cutscene will play where Deathtrap reboots and shoots a new form of projectile which appears to have energy from the heart sample.
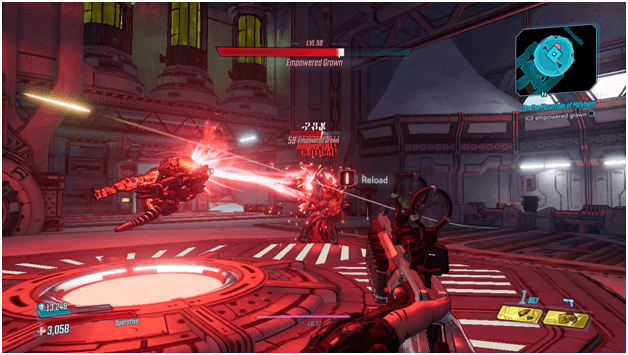
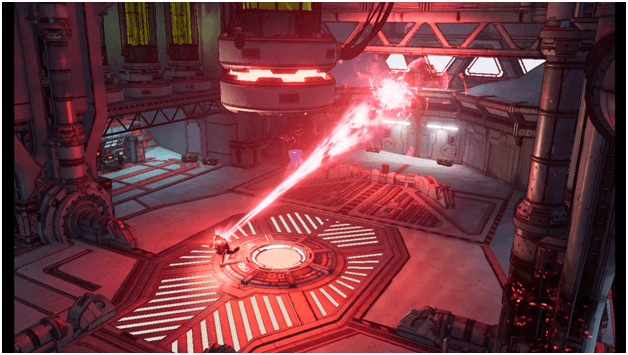
Due to the energy from the Heart Of Gythian empowering Deathtrap, his laser will cause the Empowered Grawn to become vulnerable and the two of you may then kill it.
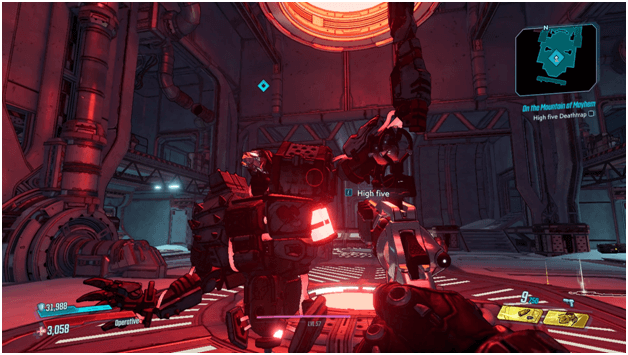
Gaige will then celebrate by telling you to give Deathtrap a high five and not to leave it hanging as it waits for you to interact.
Once you give Deathtrap a high five, the mission will be completed.
On the Mountain of Mayhem Rewards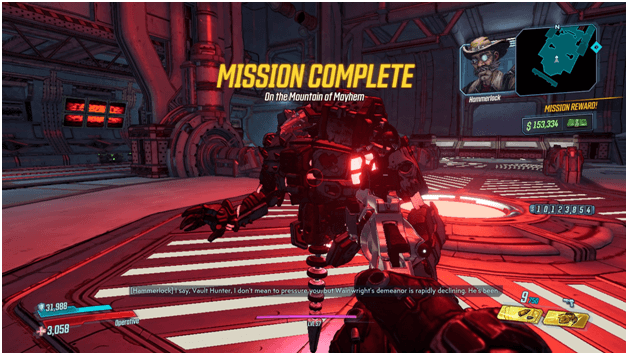
Once you have high fived Deathtrap, the mission will be over and you will be rewarded with around 153,334 cash.
The mission called The Call of Gythian will start once you complete On the Mountain of Mayhem.
Tips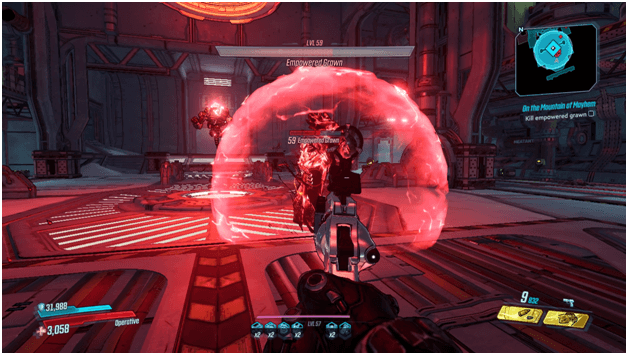
- There is a long way to travel but most enemies can be ignored but if you wish to kill all of them, you can lure them to one point by moving forward and killing them all together once they chase you.
- Be sure to check your surroundings as there will be times where you will need to climb around since most paths are blocked or inaccessible.
- Whilst fighting the Empowered Grawn, be sure to aim for its head to deal more damage and to take cover when its invulnerable activates again until Deathtrap breaks the barrier.