After the completion of The Case of Wainwright Jakobs it is believed that acquiring the sample of the Heart Of Gythian can help save Wainwright Jakobs from his fate.
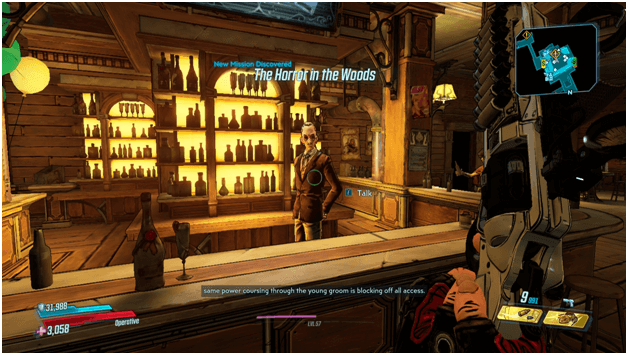
Your task is to head to the mountain known as Negul Neshai in order to find an abandoned Dahl research ship that belonged to Vincent and Eleanor to steal the heart sample.
Other Main Missions in Guns, Love and Tentacles DLC
- The Party Out of Space
- The Shadow Over Cursehaven
- The Case of Wainwright Jakobs
- The Call of Gythian
- On the Mountain of Mayhem
Mission Walkthrough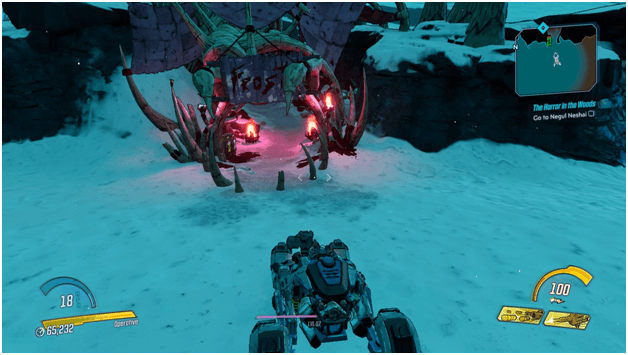

Once the mission begins, head over to Skittlemaw Basin and follow the waypoint until you find a Catch-A-Ride where you can spawn your vehicle.
You can use your vehicle to reach the entrance to the area that leads to Negul Neshai to make your travel faster.
Once you continue on foot, follow the waypoint and fight past any enemies that are in the way as you make your approach to your destination.

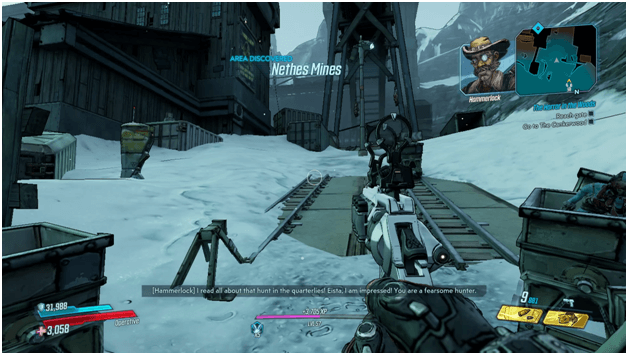
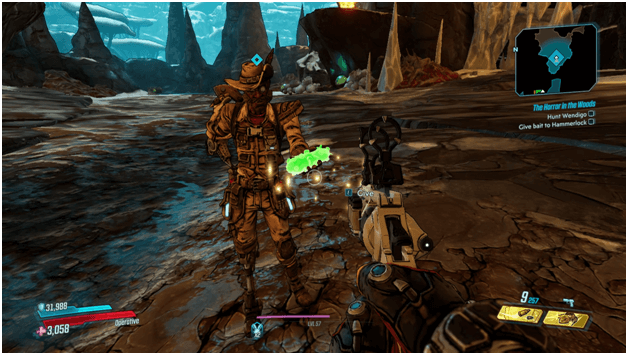
You will eventually arrive at a hunter camp known to be owned later by the Clan Amourrete.
Hammerlock will be familiar with such a hunting clan and will tell you to blow on the horn that is set up outside to signal your arrival.
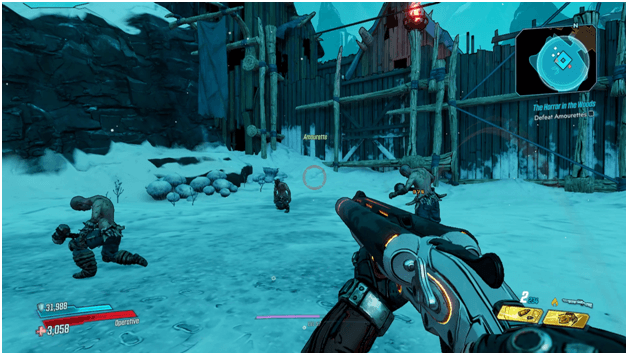
The clan member will start to appear and will begin to attack you as it is their traditional way to greet newcomers and you must deplete all of their health bars which will cause them to kneel down and wait.
Once all of the clan members have been defeated, you will face their leader known as Eista, who you will also need to defeat.
Once you have defeated Eista, he will ask you to revive him and later on will claim to now be your friend and tell you that you are his guest.
Eista will invite you inside their camp and you will follow him while he leads you to later on feast on delicious kife.
Once you and Eista reach the cooking area, he will offer you to eat some Kife which you must do in order to proceed.
After you eat the Kife and have a discussion with Eista you will need to hunt down a beast in order to continue your way to the mountain as it is blocked and you will need to collect its kife in order to proceed.
Follow the waypoint and head down the side of their camp and you will reach a Catch-A-Ride station where you can get a vehicle.

Spawn your vehicle and make your way towards the waypoint which will mark your way to enter the Cankerwood which is where you need to hunt the beast known as the Wendigo.
You will arrive at a mining site and will then need to make your way towards the higher area to continue on with the mission.
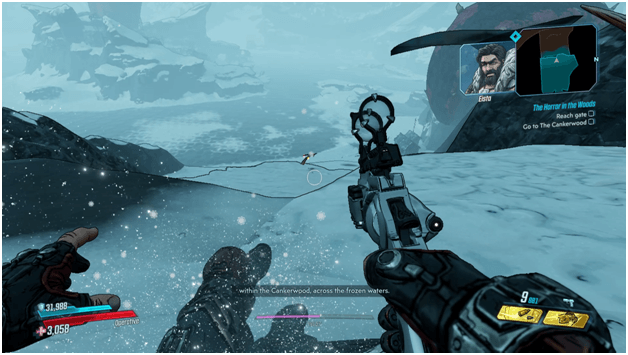
As you proceed to the waypoint, enemies will begin to attack you and you must fight your way through them to reach the gate that will allow you to access the Cankerwood later on.
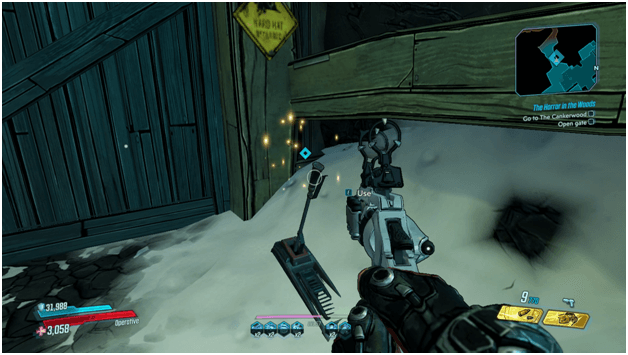
Once you have reached the waypoint, there will be a lever that opens up the gate where a tunnel will lead to the Cankerwood.

Open up the gates and follow the track heading towards the right where the entrance to the Cankerwood will be found.
Enter the Cankerwood so you can meet up with Hammerlock, who will join you in the hunt for the wendigo.
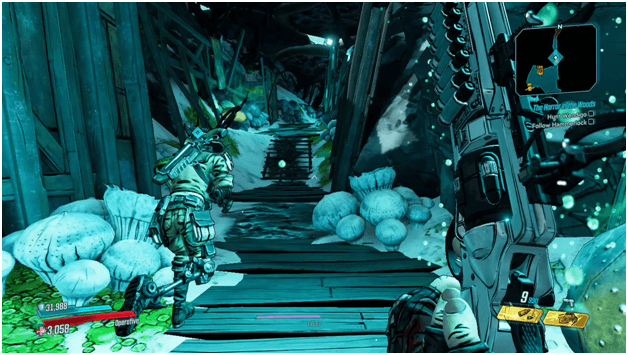
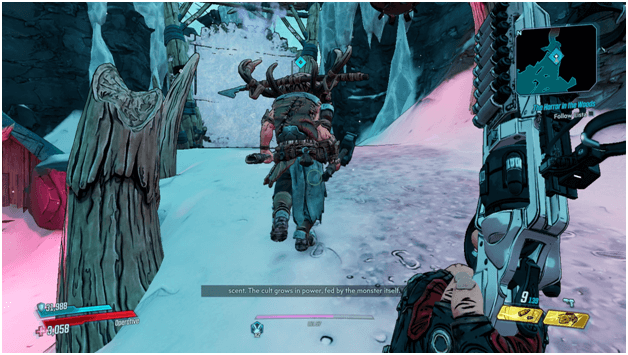
As you arrive into the Cankerwood, Hammerlock will appear and come out of some trees and bushes and will then accompany you after you speak with him.
After talking to Hammerlock, he will lead the way and the two of you will proceed further into the Cankerwood to search for the Wendigo.
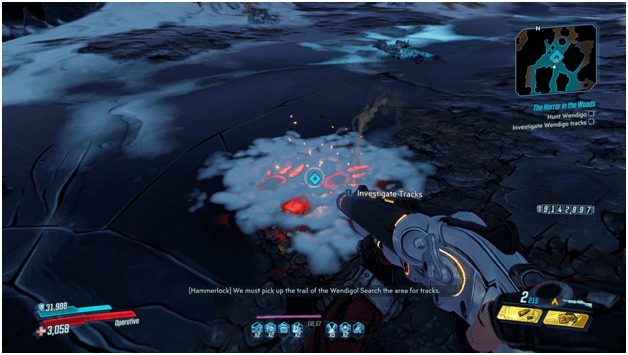
Fight your way through the wilderness of the Cankerwood until you come across the Wendigo’s tracks which you must investigate.
After investigating the tracks, Hammerlock will also take a look then lead the way once more to follow the trail.
A second pair of tracks will be nearby which you must investigate once more and after doing so, Hammerlock will do the same and state that the tracks are fresh and that the creature is nearby.
Once again, you must follow Hammerlock as the two of you get nearer to the Wendigo’s location.
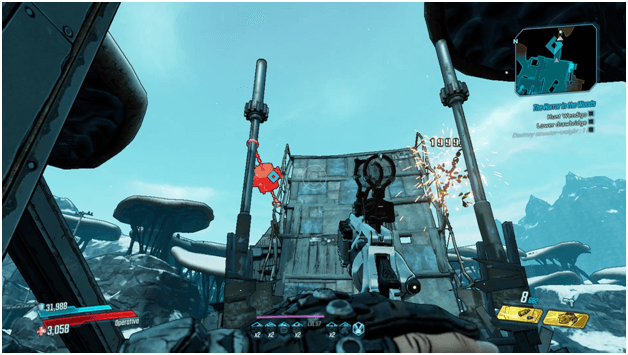
You and Hammerlock will come across an outpost that has a drawbridge held up which you must release in order to allow Hammerlock to have safe passage.
Fight your way through the enemies in the outpost and head over to the drawbridge so you can shoot each of the locks holding it up.
Once the drawbridge is down, Hammerlock will join you and you will then need to clear out the outpost before continuing.
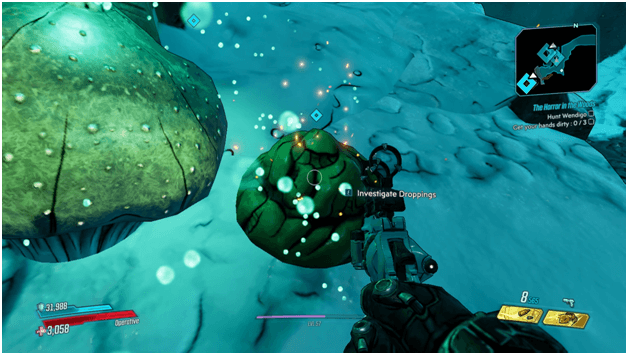
As the two of you proceed to the Wendigo’s lair, you will come across its droppings which Hammerlock will then inspect.
Based from the droppings, Hammerlock can tell what traits the Wendigo has and asks you to go looking around as well.
You will need to investigate 3 of the creatures droppings which will be marked by waypoints.
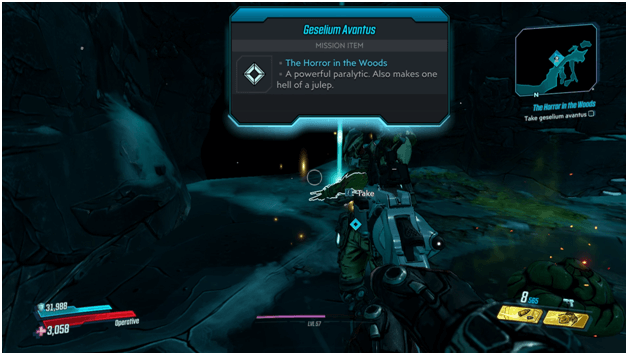
After identifying the traits of the creature, Hammerlock will devise a plan to create a bait for it and will need you to combine certain ingredients.
He will first hand over some Geselium Avantus which you must take before heading out to get the other ingredients.
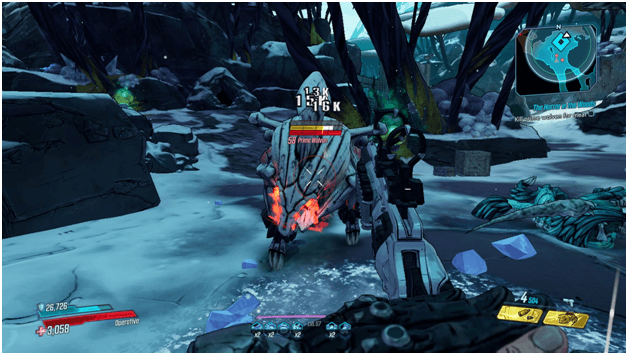
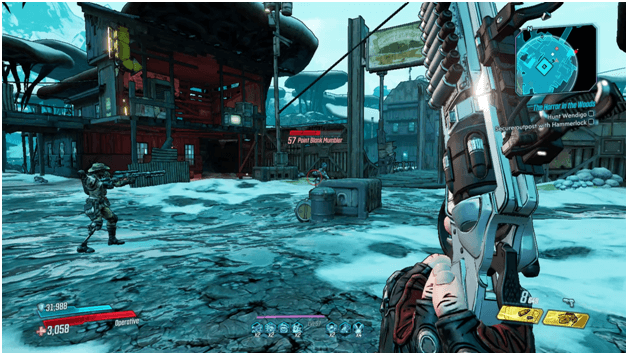
The first ingredient you need to collect will be Wolven Meat which you can get later on by killing a Prime Wolven nearby.
You will have to head to the waypoint and kill the lesser wolven before it comes out to attack.
You will then need to head over to the mixing factory nearby where you will concoct a strong mixture to add to the bait.
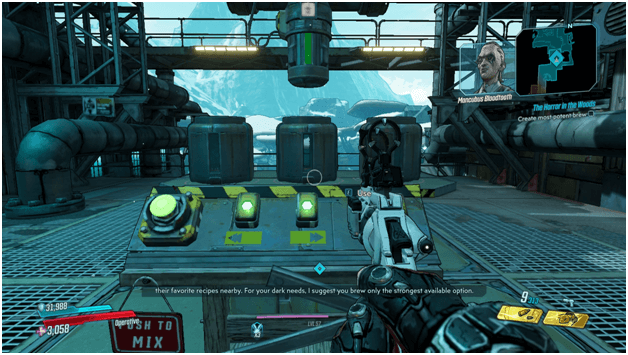
The mixing facility will have controls which you need to use in order to mix the right brew and you will have to choose the strongest one.
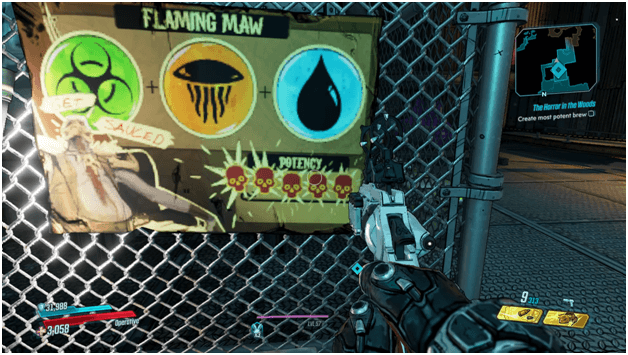
If you check the area, there will be brews put up as well as the order of the ingredients wherein you will be selected the most potent one, the Flaming Man.
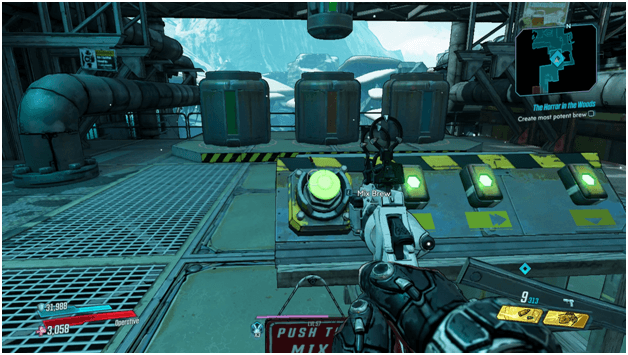
Use the controls to fill the containers up following the order of the Flaming Man brew which is green, yellow and blue which must be put in the containers in that specific order.
After the ingredients are put in the right order, hit the “Mix Brew” button to create the concoction.
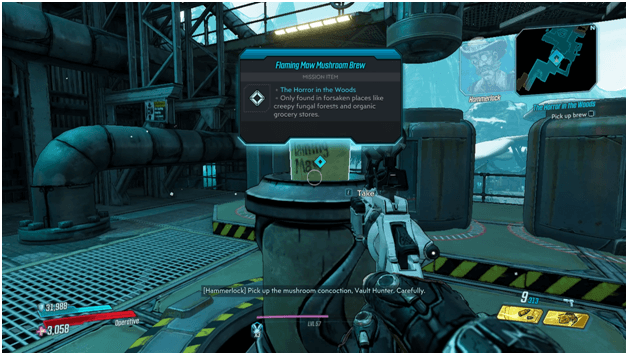
Grab the Flaming Maw Mushroom Brew and make your way back to Hammerlock as he will be waiting near the entrance to the Wendigo’s lair.
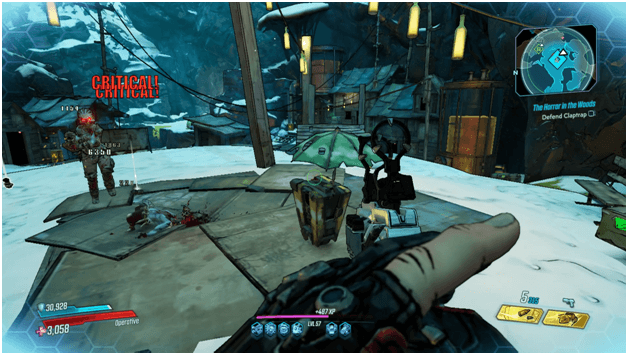
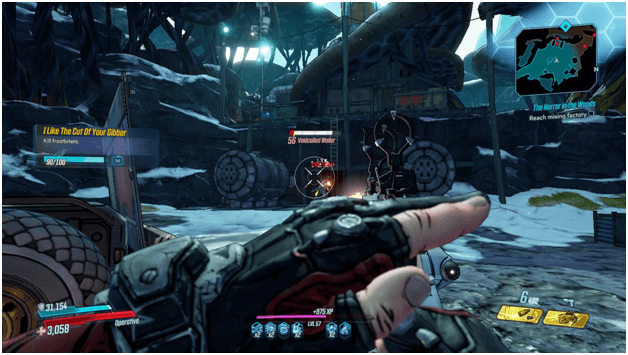
On your way back, you will stumble upon Claptrap who was given a fake quest to partake on but for some reason he appears to actually be making progress.
Claptrap will be surrounded by enemies and will start yelling to you for help which requires you to clear the enemies in the area.
Once you have defended Claptrap, he will dabble about his seemingly fake adventure but later on will surprisingly continue and even phase out of the area.
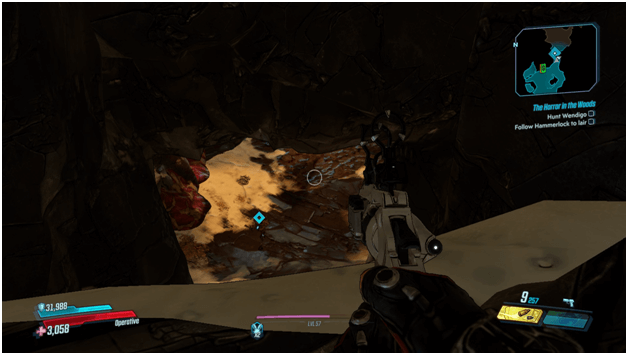
Continue and make your way to Hammerlock who is waiting near the entrance of the Wendigo’s lair so the two of you can lure it.
The two of you need to jump down the entrance to the boss area and shortly after the boss fight will begin once the bait is set up.
Hammerlock will ask you to hand over the bait that you have created and will place it so that the Wendigo will come to your location.
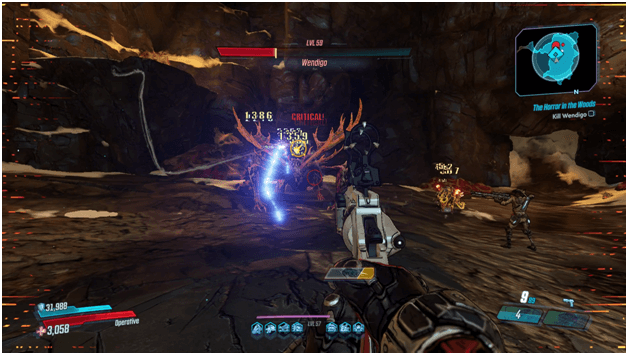
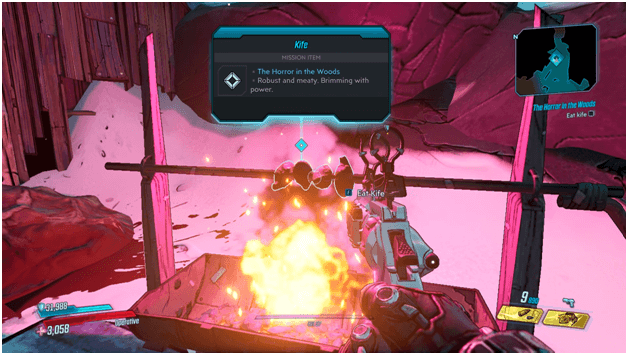
Once the Wendigo arrives, fight it and slay it so that you may take its kife and bring it back to Eista.
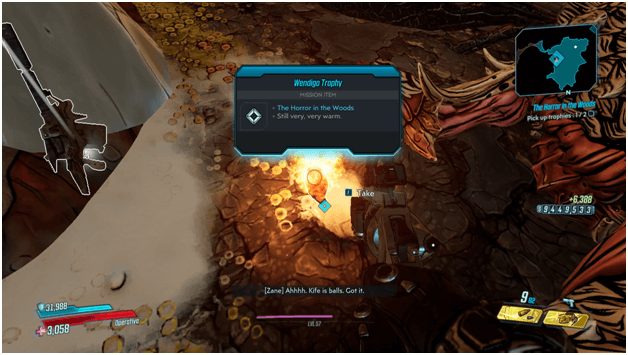
Once killed, the Wendigo will drop its kife which are labelled as Wendigo Trophy and there will be two of them which you must pick up.
At this moment, your character will realize that kife is actually the balls of the creatures that have been hunting, which they have also recently eaten.
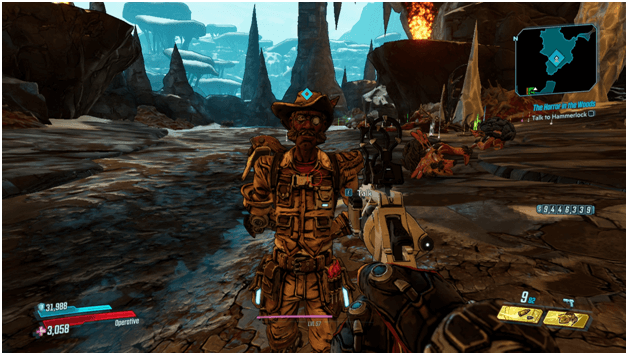
Before you head back to Eista, you will first need to speak to Hammerlock and afterwards you will head back to their camp.
Its best to just fast travel to avoid running a long distance.

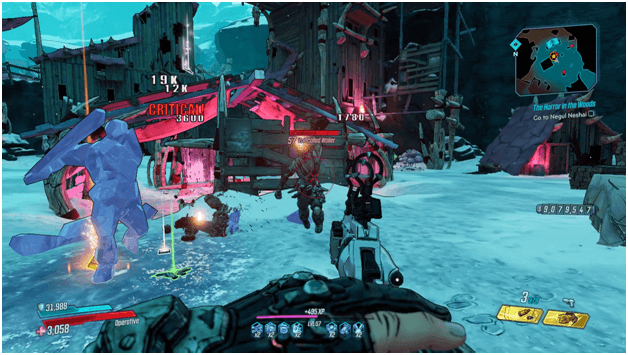
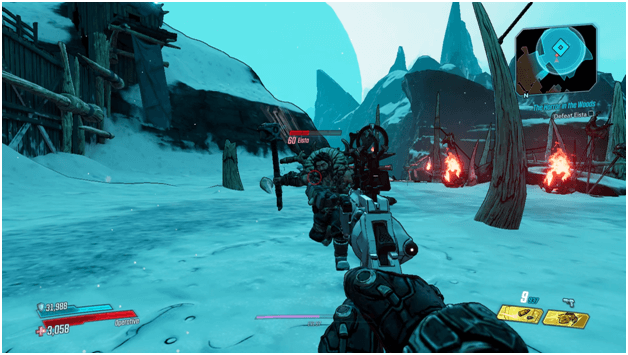
Once you arrive at the Clan Amourrete camp, you will find that Eista and his clan are being attacked by the Bonded.
Once you have killed all of the Bonded in the area, head over to Eista and he will lead you to the frozen gate that leads to Negul Neshai.
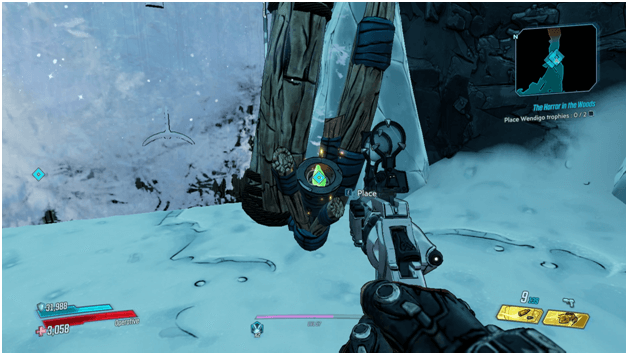
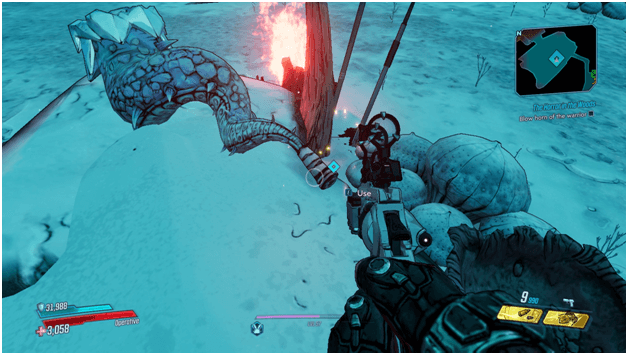
Eista will ask you to place the kife on each side of the gate which will then start to burn, thawing the frozen gate and opening up the passage to Negul Neshai.
The Horror in the Woods Rewards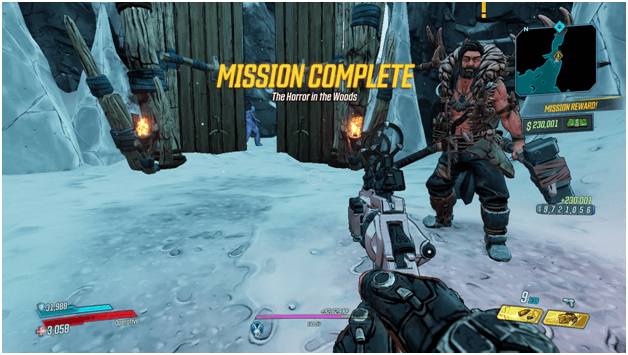
Upon completion of The Horror in the Woods you will be rewarded with around 230,001 cash and the next mission called On The Mountain Of Mayhem will begin.
Additionally, the We Slass side mission will be available from Eista.
Tips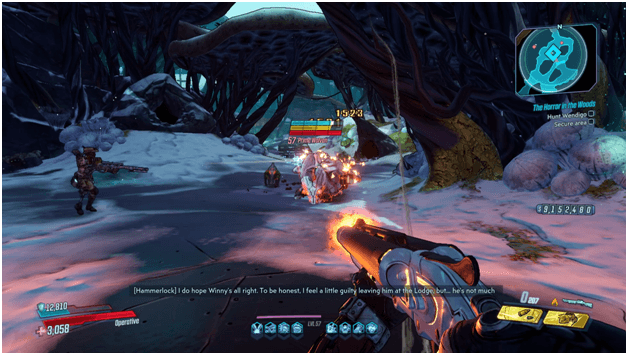
- Eista and his clan will be quite easy to defeat if you focus on dealing headshots as they are similar to bandits.
- Be sure to use vehicles whenever you can for travelling as there is a large space in between major points that must be travelled.
- Although the Wendigo has a red health bar, it is resistant to incendiary damage and will be resistant to such attacks.