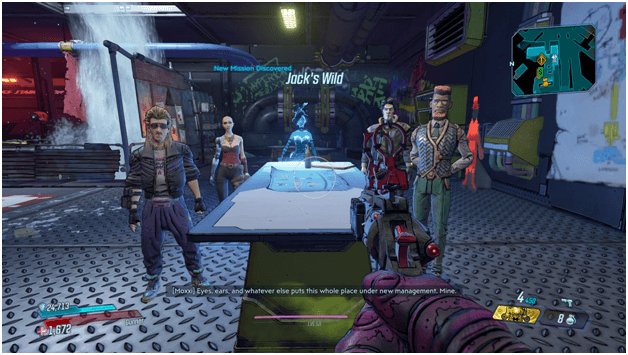
The attempt to carry out the mission is now and you and the crew are about to begin to get through with Moxxi’s heist but along the way there will also be some dangerous twists.
Your mission is to carry out the initial parts of the plan as you further execute the previously discussed steps.
Mission Walkthrough
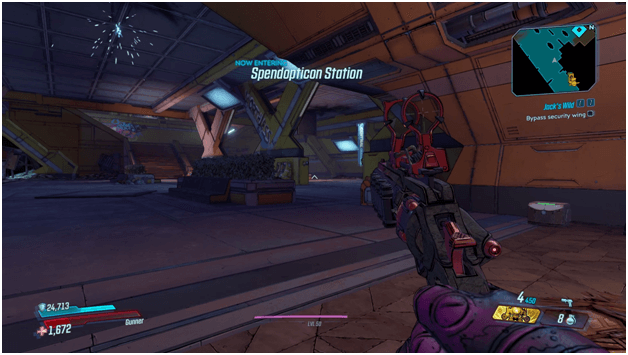
Timothy will be waiting for you so that the two of you may bypass the security wing and you are to head over to his location which is marked by a waypoint.
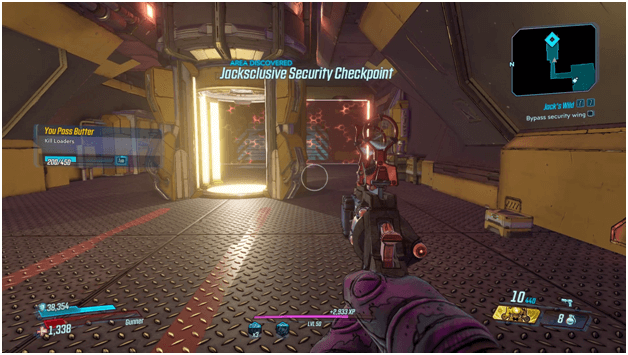
There will be a test to check if it is the real handsome jack that is trying to get through which Timothy will have to do his best to pass.
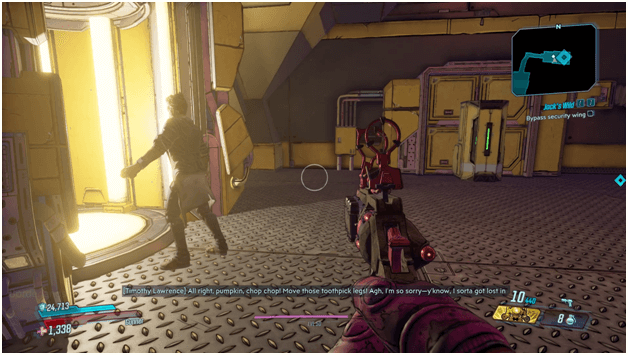
Timothy successfully passes as he stays in character and the suit that was prepared during The Plan paid off as it also helped fool the system.
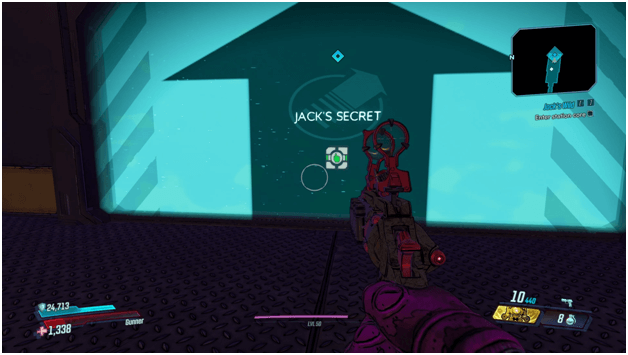
A new location will be available for entry called Jack’s Secret and you are then to proceed inside.
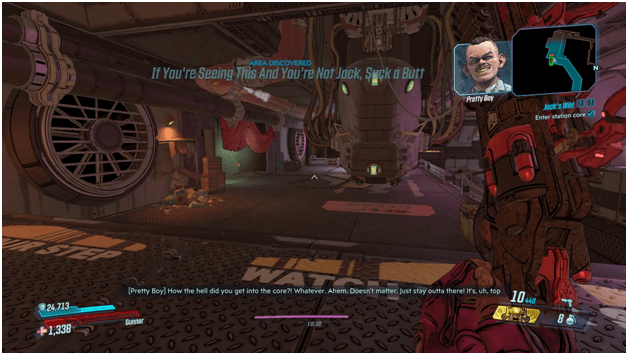
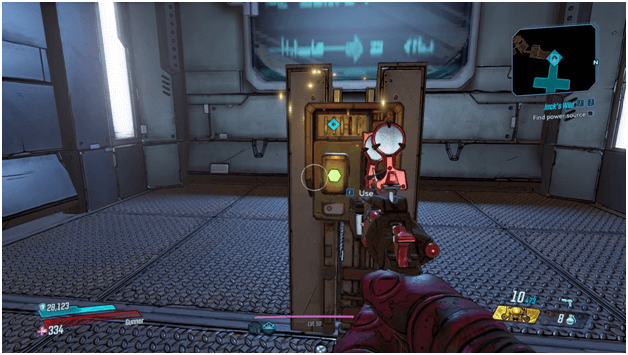
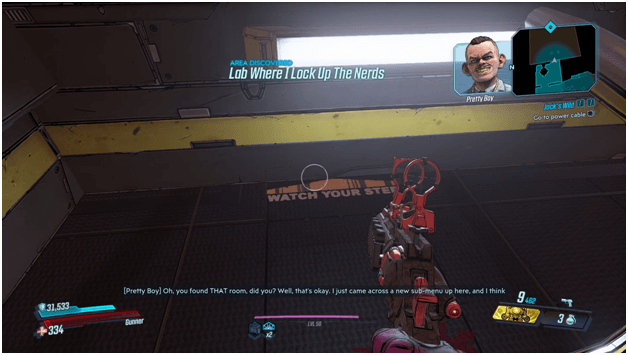
Pretty Boy will be on to you and will continuously threaten you as you make your way to the station core in an attempt to shut down the power.
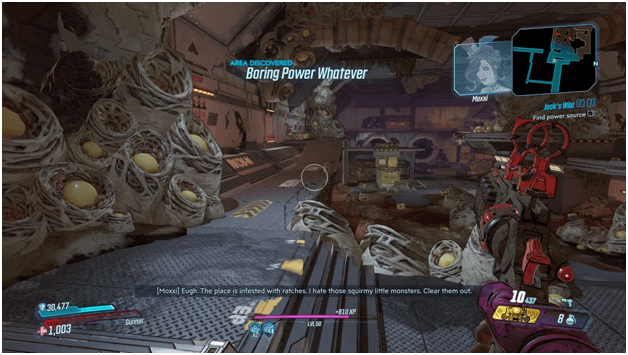
You will come across a huge are infested with ratch and will have to clear out the area before figuring out what the next steps will be.
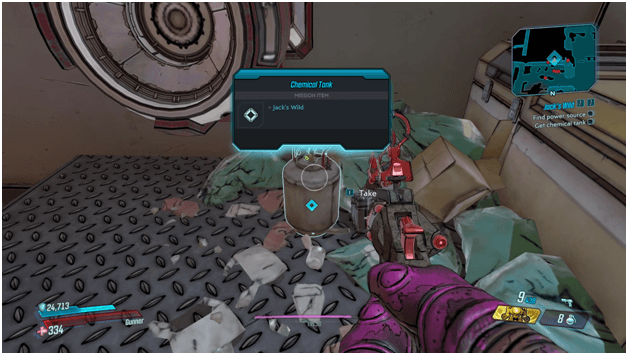
Once clearing out the ratch, you will need to find a chemical tank which will be used to open up a passage that was blocked by a ratch infestation.
The chemical tank may be found nearby and will be marked by a waypoint for you.
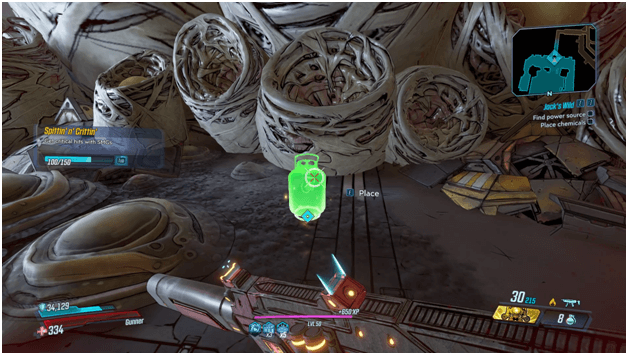
Once you have obtained the chemical tank, place it down where the passage was blocked and shoot it to burn up a way through all the ratch infestation.

Proceed further and you will find Timothy as he teleports behind a barrier and will attempt to open it up for you.
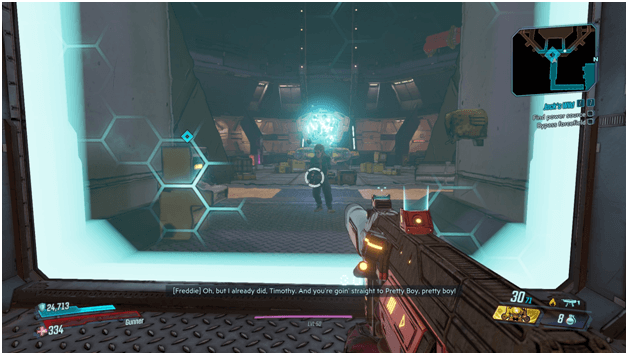
Out of nowhere, Freddie and a machine of his will capture Timothy before he can open the barrier, revealing that Freddie has made a deal with the enemy.
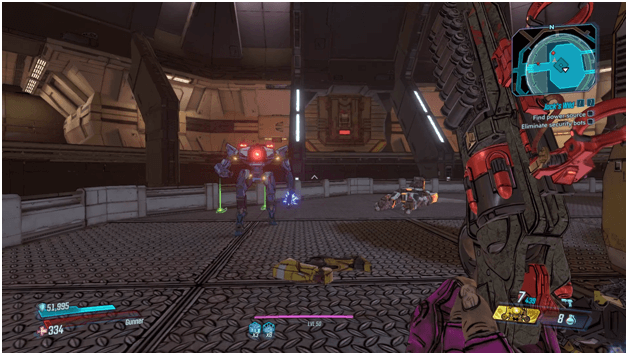
As soon as Freddie runs off after kidnapping Timothy, the barrier will be opened and you will proceed making your way to the power source while clearing up some robots along the way.
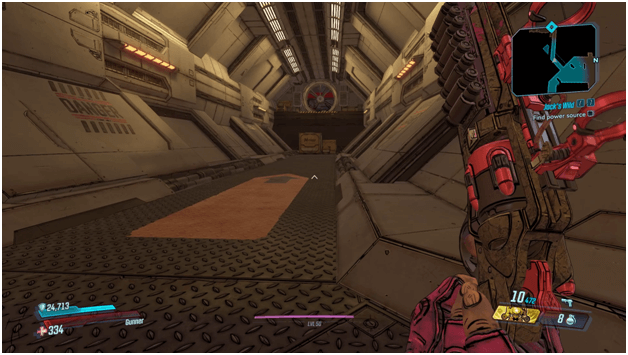
After following the waypoint, you should end up near a exhaust fan which you are to go through which later on leads you to a lift.
Take the lift going down to gain access to another area where the waypoint is located and continue moving forward to the objective.
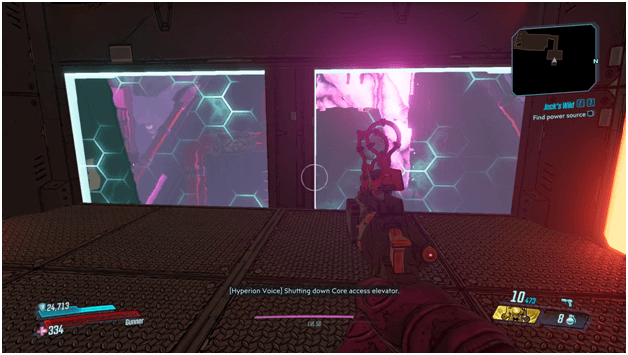
The lift will be stuck and you will be unable to pass until the forcefield is shut down and only then will you be able to crouch through the passage.
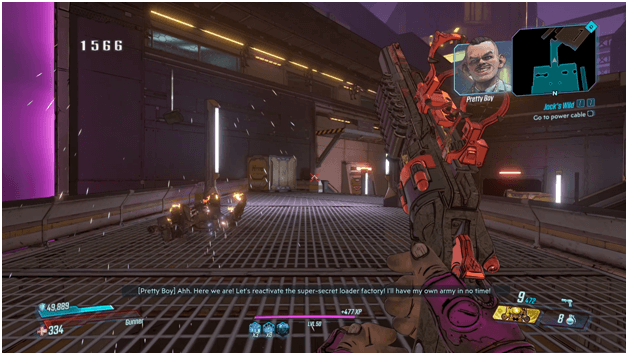
Once you get out of the lift, make your way towards the power cable to shut down the defenses above.
An assembly line will be present nearby as you make your way towards the waypoint and you will need to shut it down in order to prevent several robots from being built.
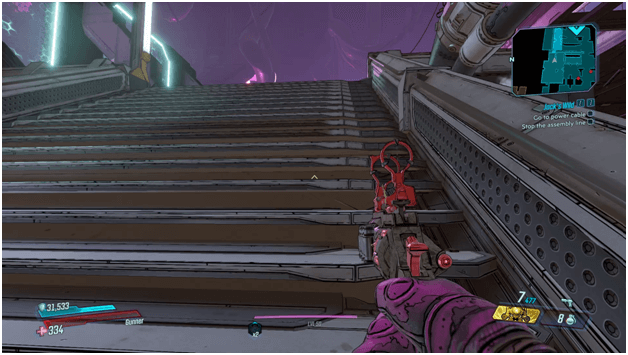
There is a large staircase to the left which will lead you to the lever that controls the assembly line production.
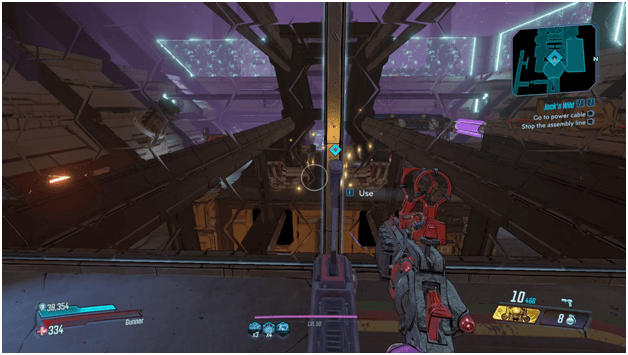
Follow your waypoint up to the lever and pull it to put a stop to the assembly line.

Follow the waypoint and you will find a generator nearby which can be destroyed by shooting a barrel that passes by on the railing.
Destroying the generator will allow you to pass through and continue on with the mission.
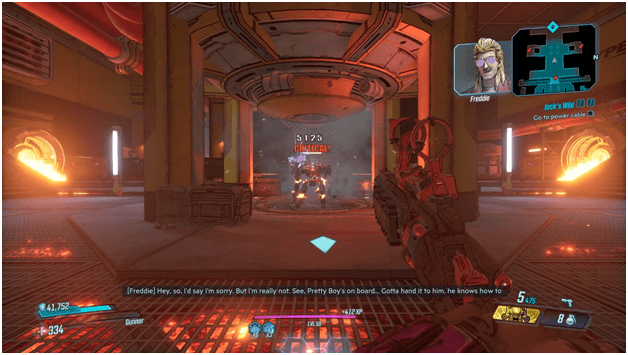
As you moved forward, there will be a drop leading to a boss fight area where you will encounter the Fabricator who you must defeat in order to push on.
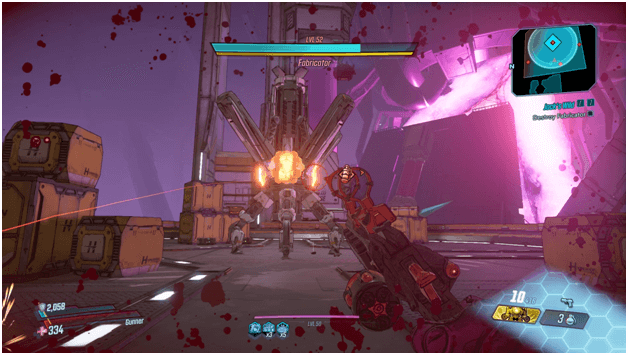
Fight and destroy the Fabricator and any enemies that are left along with him to continue with the mission.
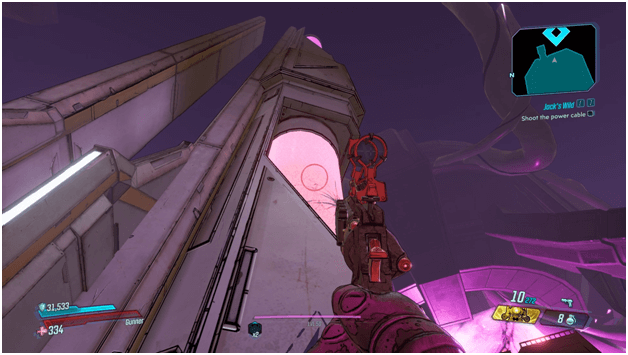
Once the Fabricator is destroyed, the power cable will be visible nearby which you may now shoot in order to complete the current mission and unlock the final one.
The Plan Mission Rewards
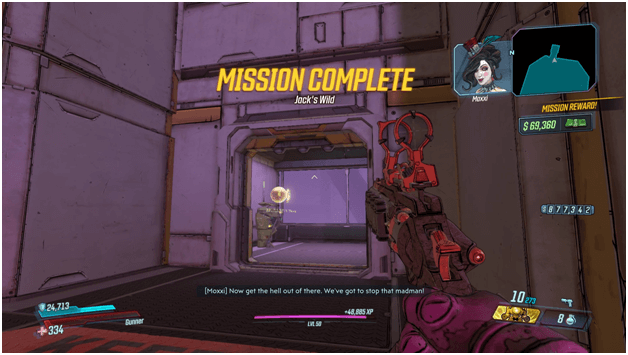
After finishing the Jack’s Wild mission, the last and final part of Moxxi’s Heist will be unlocked and you will receive a cash reward of 69,360.
Tips
- Most enemies will be robots so it is wise to bring corrosive and high damage dealing weapons.
- Although robots may be armored, they do have weak spots where you can shoot them to deal additional damage.
- Staying out of the open when robots ambush you can get you killed, try to get cover and outsmart them as they have slow movement and can be a bit unintelligent at times.
- The Fabricator’s attacks can easily be avoided making it easy to counter and destroy.