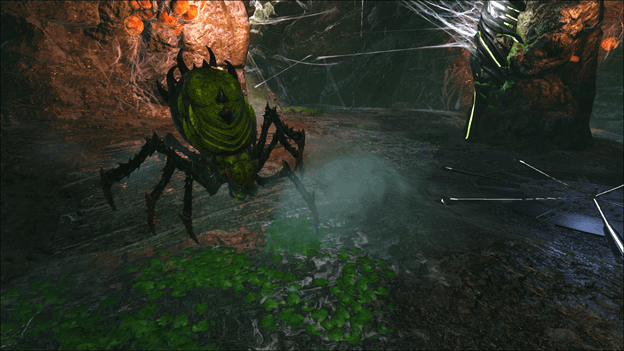
The Broodmother Lysrix is one of the first bosses that you fight in Ark Survival Evolved, which can be encountered in the Broodmother Arena on The Island Map.
In The Center Arena, you can also encounter the Broodmother Lysrix (along with the Megapithecus), during the boss fight on The Center Map.
It appears to be a large arachnoid creature that has a resemblance to the Araneo, which also is the creature that the Broodmother Lysrix spawns when it attacks you.
Also Read Our Other Guides of ARK
- What Does Crafting Skill Do
- How to Get Gasoline
- How to Make Polymer
- How to Make Fertilizer
- How to Get Organic Polymer
How to Summon Broodmother Lysrix?
To summon the Broodmother, you will need to head to the Green Obelisk on The Island map, requiring a certain set of tributes.
Broodmother Tributes
Artifact of the Clever | 1 | 1 | 1 |
Artifact of the Hunter | 1 | 1 | 1 |
Artifact of the Massive | 1 | 1 | 1 |
Argentavis Talon | 5 | 10 | |
Sarcosuchus Skin | 5 | 10 | |
Sauropod Vertebra | 5 | 10 | |
Titanoboa Venom | 5 | 10 |
On The Center, the Broodmother Spawns with the Megapithecus and requires different tribute, but can be summoned at any Obelisk.
Check Out Our Other ARK Boss Guides
- Ice Titan Guide
- Dragon Guide
- Manticore Guide
- Forest Titan Guide
- Desert Titan Guide
- Megapithecus Guide
- King Titan Guide
- Rockwell Guide
- Crystal Wyvern Queen Guide
- Master Controller Guide
- Rockwell Prime Guide
Broodmother Lysrix Fight
When fighting the Broodmother Lysrix, she will attempt to attack you from afar with her poison spit attacks (multiple projectiles) which fire starting from one side to another.
She will also attempt to close the gap between you and your tames and attack you up close, which makes her spit attack even deadlier due to multiple projectiles.
Lysrix will also attempt to use her webs to slow down your movement speed, making it almost impossible to escape at times.
While fighting, Broodmother Lysrix will spawn Araneos which will start fighting alongside her until they are killed.
Broodmother Lysrix Variants
1) Gamma Broodmother Lysrix
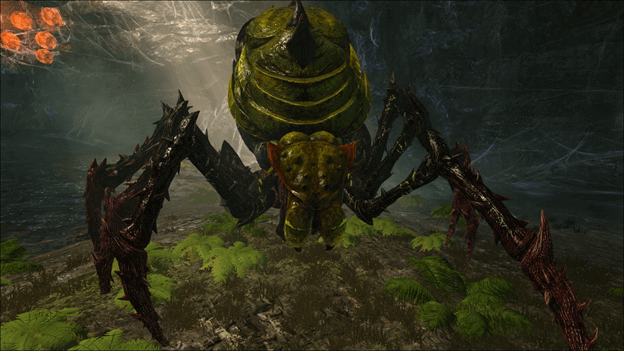
The Gamma variant of Broodmother Lysrix has a greenish color and is the weakest amongst all of the other variants.
Broodmother Lysrix Gamma Stats
Health | 324,000 |
Stamina | 150 |
| Oxygen | N/A |
Food | 1500 |
| Weight | 4000 |
Melee Damage | 180 |
| Movement Speed | 100% |
Torpidity | 100000 |
Engram Unlocks
- Tek Foundation Engram
- Tek Replicator Engram
- Tek Triangle Ceiling Engram
- Tek Triangle Foundation Engram
- Tek Triangle Roof Engram
2) Beta Broodmother Lysrix
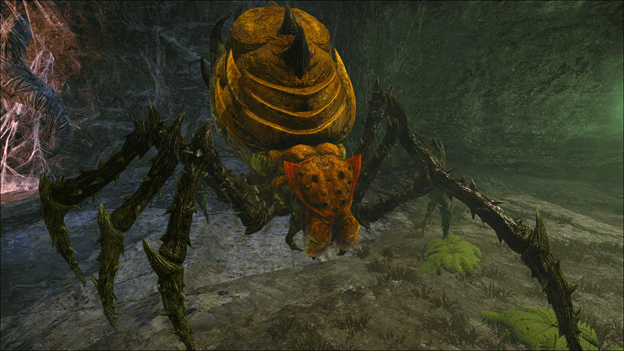
The Beta variant of Broodmother Lysrix has more yellow to its color and has more health than the Gamma variant.
Broodmother Lysrix Beta Stats
Health | 648000 |
| Stamina | 150 |
Oxygen | N/A |
Food | 1500 |
| Weight | 4000 |
Melee Damage | 320 |
| Movement Speed | 100% |
Torpidity | 100000 |
Engram Unlocks
- Sloped Tek Roof
- Sloped Tek Wall Left
- Sloped Tek Wall Right
- Tek Boots
- Tek Catwalk
- Tek Ceiling
- Tek Fence Foundation
- Tek Foundation
- Tek Ladder
- Tek Pillar
- Tek Railing
- Tek Ramp
- Tek Replicator
- Tek Staircase
- Tek Triangle Ceiling
- Tek Triangle Foundation
- Tek Triangle Roof
- Tek Wall
3) Alpha Broodmother Lysrix
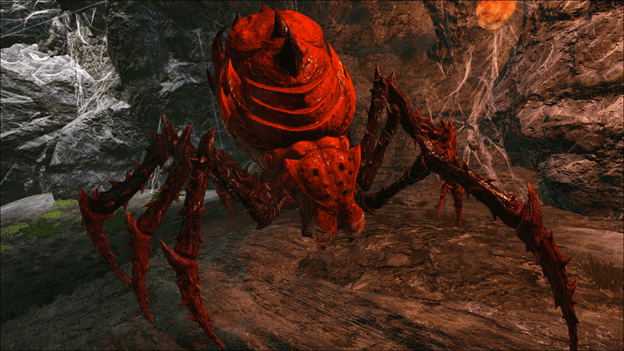
The Alpha variant of Broodmother Lysrix has a redder color to its appearance and is the deadliest amongst the three variants.
Broodmother Lysrix Alpha Stats
Health | 972000 |
| Stamina | 150 |
Oxygen | N/A |
| Food | 1500 |
Weight | 4000 |
| Melee Damage | 540 |
Movement Speed | 100% |
| Torpidity | 100000 |
Engram Unlocks
- Mosasaur Tek Saddle
- Sloped Tek Roof
- Sloped Tek Wall Left
- Sloped Tek Wall Right
- Tek Boots
- Tek Catwalk
- Tek Ceiling
- Tek Fence Foundation
- Tek Foundation
- Tek Helmet
- Tek Ladder
- Tek Pillar
- Tek Railing
- Tek Ramp
- Tek Replicator
- Tek Staircase
- Tek Triangle Ceiling
- Tek Triangle Foundation
- Tek Triangle Roof
- Tek Turret
- Tek Wall
Rewards
Broodmother Gamma
- 20 Element
- Broodmother Trophy Gamma
- Spider Flag
Broodmother Beta
- 56 Element
- Broodmother Trophy Beta
- Spider Flag
Broodmother Alpha
- 148 Element
- Broodmother Trophy Alpha
- Spider Flag
Tips
- The Broodmother can be quite aggressive and you must remain on your tame to ensure your survival unless you are well equipped.
- Bringing tames with large amounts of health can help absorb the damage from Lysrix’s attacks, allowing your other tames to safely deal damage.
- Avoid getting swarmed by the Araneo by having tames that are large or can deal damage in a large area to clear them out.