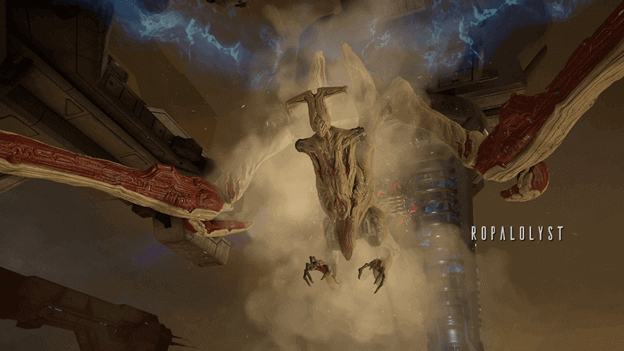
The Ropalolyst is a giant flying Sentient boss that is encountered in the Corpus Gas City after they have progressed through the Chimera Prologue.
It can unleash different attacks that the Tenno should be ready to avoid as well as the enemies that attack you during the fight.
This creature was kept in the Gas City after Alad V had been tricked by the Sentients, who threatened to destroy his city if he did not make Amalgams for them.
Ropalolyst Location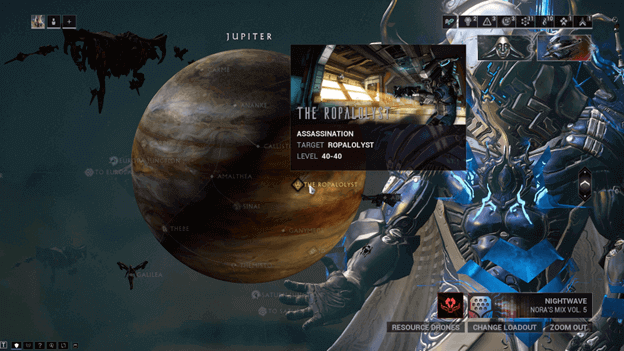

You encounter this Sentient Boss during The Ropalolyst (Assassination Mission) found on Jupiter once it has been unlocked.
This requires that the Chimera Prologue has been completed with players having finished the Themisto and Ganymede missions.
How to Kill The Ropalolyst?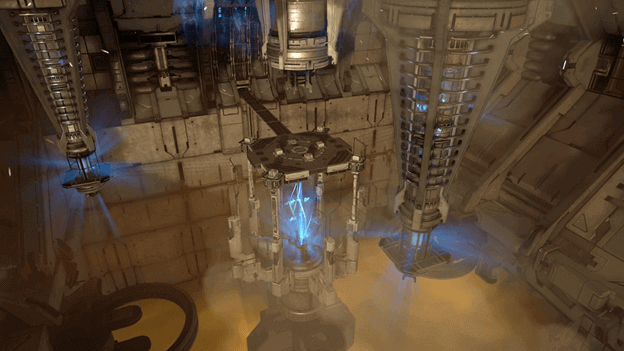
The Ropalolyst cannot be defeated easily like other bosses that you may have encountered and needs to be weakened by repeating the same steps.
This involves luring the Ropalolyst to a capacitor and this can be any of the three in the area, which will cause it to pursue you.
You will need to get it to attack you and this is when you use its attack to damage the capacitor before attempting to mount and ram the Ropalolyst into it.
After this has happened, you must chase it back to the main platform to deal damage to it and activate the console to fire a beam onto it once it is stunned.
To simplify things and speed up the mission so you can grind it efficiently, we have separated the walkthrough into different steps.
Charge the Capacitors
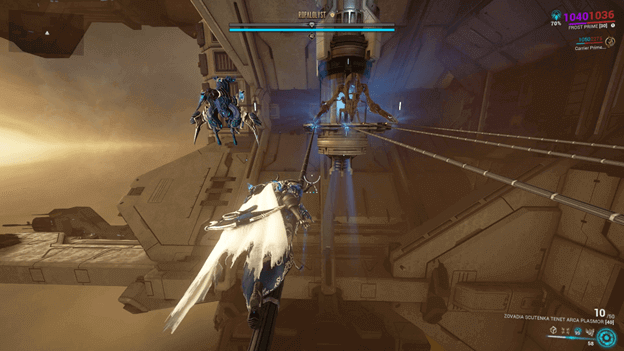
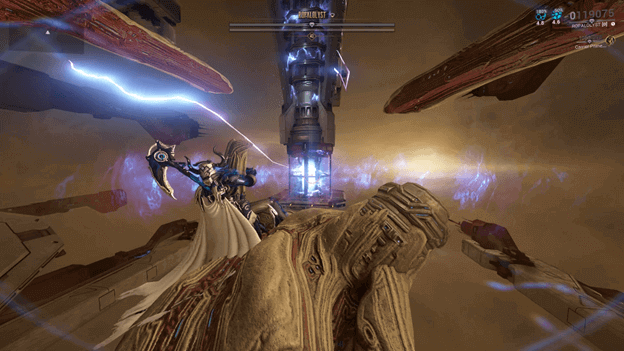
Once you and the Ropalolyst come face to face, you will want to move from the main platform to a capacitor by crossing the cables.
The Ropalolyst will quickly move to the end and send out pulses of electricity that will travel across the wires to knock you off.
You can jump over these and attach them to the cables again until you reach the capacitor, which forces the Ropalolyst to move away.
Once you have crossed to the other platform, you will need to hide behind the capacitor as the Ropalolyst fires off a beam and this will overload it. (Repeat this for all 3 capacitors)
Electrocute The Ropalolyst
Once all the capacitors have been overloaded, it’s time for you to ram the Ropalolyst into them as this will weaken the Sentient boss.
To do this, you will need to first remove its shields, and this can be done by switching to the Operator/Drifter to attack the Ropalolyst with Void Damage.
Once the shields are gone, you will need to approach the Ropalolyst (Void Dash or Bullet Jump works best) and interact with the boss to ride it.
This will allow you to control the Ropalolyst and move it towards a capacitor, which will eventually shock the Sentient boss.
Stun the Ropalolyst
After shocking the Ropalolyst by ramming it into a capacitor, you will be back on the main platform and the boss will be stuck on the ground. (It will still attack you)
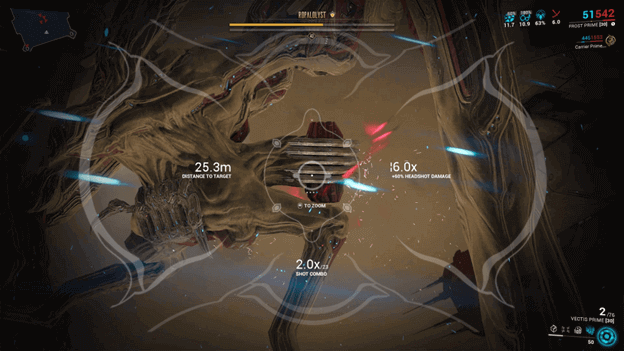
You will need to shoot one of the Ropalolyst Synovia on its back, which will disable it once you have dealt enough damage.
The Ropalolyst will pause for a moment, which allows you to interact with the console that controls the Terren Charger.
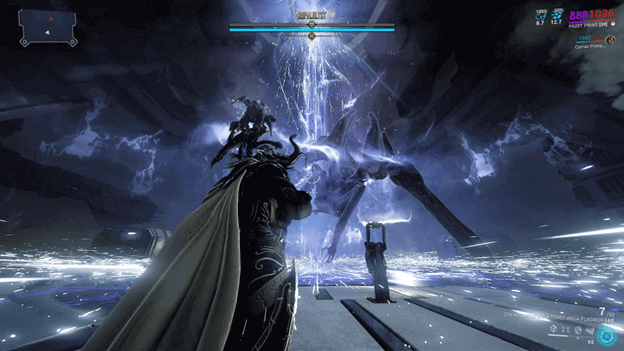
Interact with the console and this will cause a beam to blast the center of the platform, which will deal damage to the Ropalolyst.
If you fail to stun the Ropalolyst by shooting its Synovia, it will teleport away once the Terren Charger has been powered up.
Repeat this 3 times and on the third blast from the Terren Charger, the Ropalolyst will be defeated, and you can extract from the mission afterward.
Ropalolyst Drops
Mods
- Amalgam Argonak Metal Auger (20%)
- Amalgam Daikyu Target Acquired (20%)
- Amalgam Furax Body Count (20%)
- Amalgam Javlok Magazine Warp (20%)
- Amalgam Ripkas True Steel (20%)
Mission Drops
- Wisp Chassis Blueprint (25.81%)
- Wisp Neuroptics Blueprint (25.81%)
- Wisp Systems Blueprint (25.81%)
- Wisp Blueprint (22.56%)
Tips
- The Synovia on the Ropalolyst’s back can sometimes be difficult to hit but with the help of Punch Through or the use of an accurate weapon, you will have a better shot.
- It is better to have a durable Warframe rather than a fast one to withstand the fight against the Ropalolyst on the platform.
- You can do the steps to damage the Ropalolyst in any order but preparing the capacitors first is a good way to quickly win the fight.
- Keep your distance from the Ropalolyst when it is on the platform or else it will attempt to grab you and other enemies may still attack you.
Verdict
The Ropalolyst bears a resemblance to the Eidolon Teralyst but appears to be more avian rather than having the form of a biped.
Fighting the Ropalolyst is not like most boss fights and is rather reliant on the pattern at which you deal damage to it, making it necessary to follow the steps.
Defeating the Ropalolyst is the only way to obtain the requirements to build the Wisp Warframe without spending Platinum.