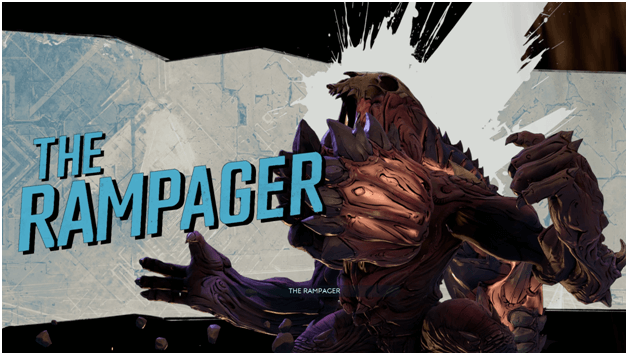
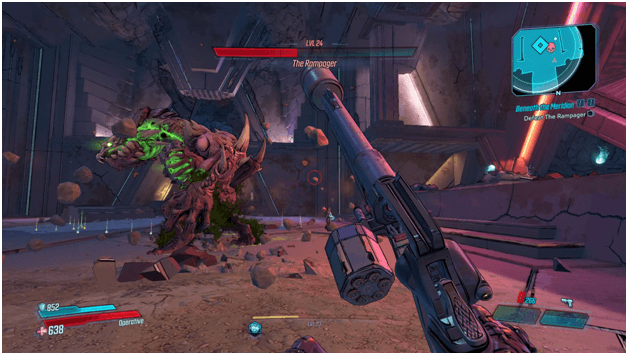
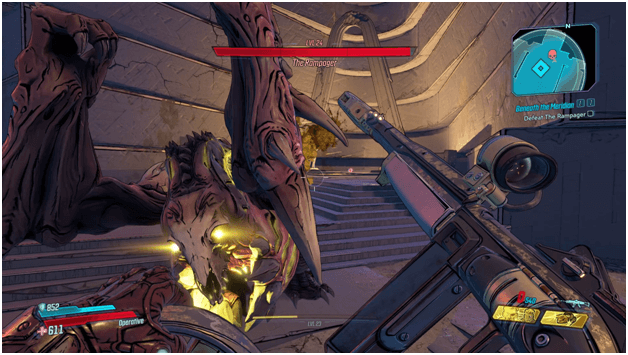
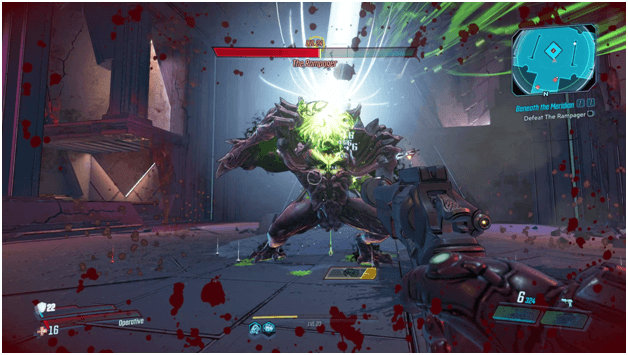
The Rampager is the first vault monster that you face and the boss encountered in the Beneath The Meridian mission.
It appears as a giant creature composed of twisted flesh, torn muscles and broken bones that has immense power that resembles that of a hellish beast or demon.
You encounter The Rampager as you attempt to open up the vault during the Beneath The Meridian mission who you fight against along with Maya as you both attempt to explore the vault which the Crimson Raiders sought ought to find.
Fighting & Killing The Rampager

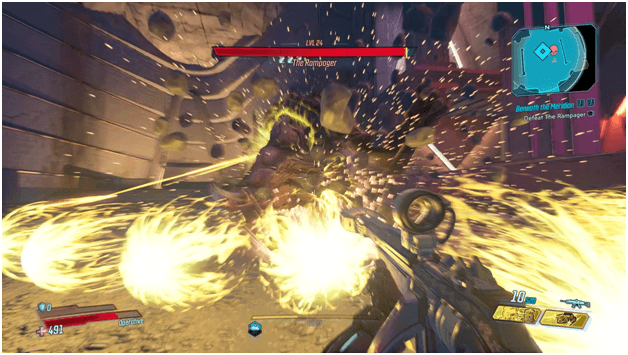
The Rampager will have 3 different phases when fighting you where it will have a slightly different appearance along with different attacks.
It is best to keep as much distance from The Rampager as possible as it can deal a lot of damage if it catches up to you and its projectiles will easily hit you if you are closer to it.
Keeping a good distance between you and The Rampager can give you an advantage of avoiding all or most of its attacks.
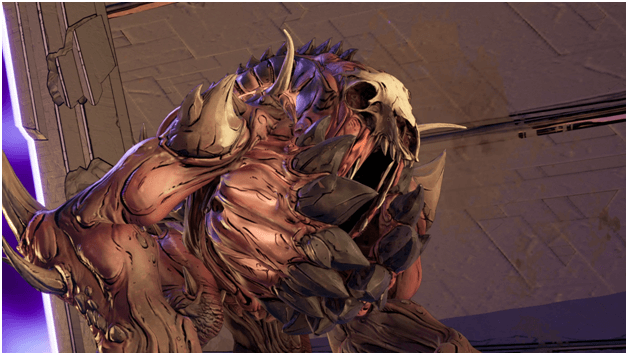
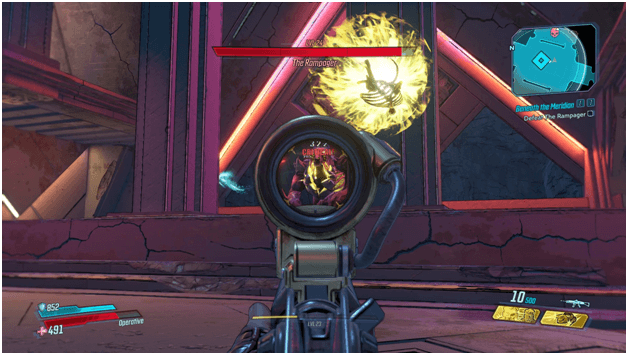
After depleting the first part of its health bar, it will begin to absorb energy into at and later on pull what appears as a long dragon-like head from its back all the way forward, replacing its current head.
The Rampager will then attack you with green projectiles and gain additional attacks along with a more aggressive behavior.
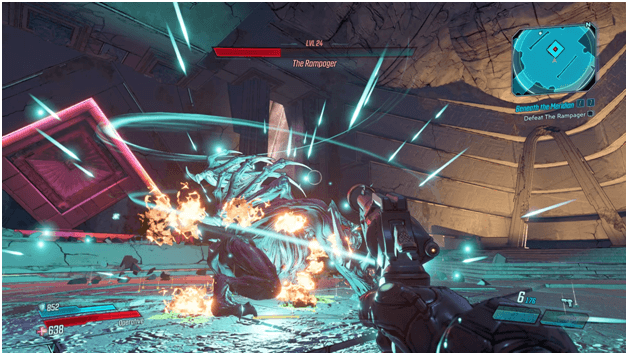
Depleting another part of its health bar will cause it to repeat the transformation process once more, this time growing wings from its back.
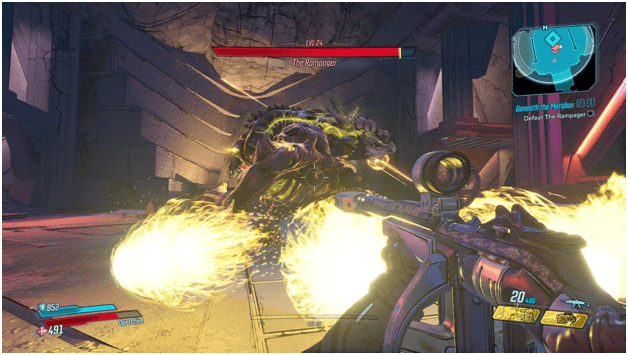
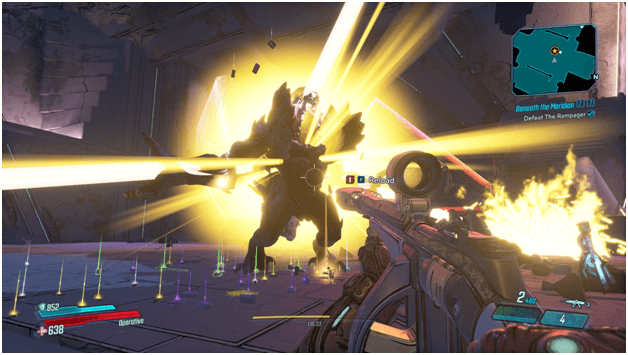
During its final form, The Rampager will be using incendiary colored attacks and gain more aggressive abilities along with a more chaotic attack pattern.
In order to stay alive, it is vital to take cover as often as you can and create as much distance between you and The Rampager.
Few enemies will spawn during certain times which you should ignore and save for when you get downed by The Rampager to get a chance for a second wind.
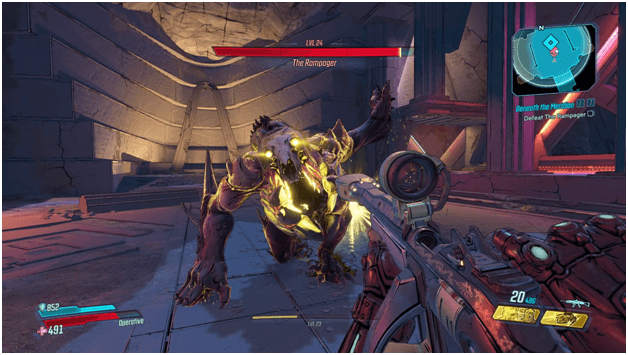
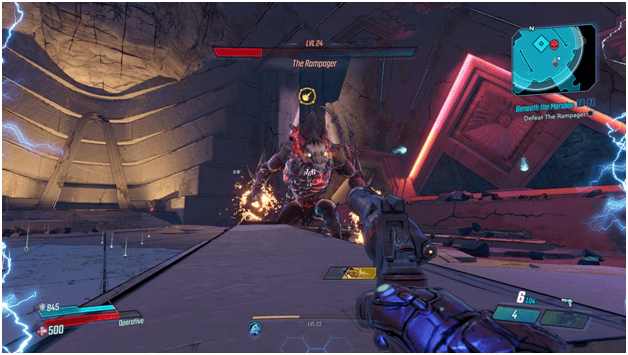
Weak Spots
The Rampager’s chest has a small opening and occasionally while roaring or attacking it will open up which gives you a good shot at it.
Shooting its inner chest will deal critical hits to it and allow you to deal much more damage to kill it faster.
Notable Attacks
Jump Slam
The Rampager will either run up to you and slam the ground or jump from a distance and slam the ground once it reaches you.
As soon as it leaps into the air, reposition yourself to avoid getting caught by its slam as well as to prevent it from dealing damage to you at a closer distance.
Spread Projectiles
The Rampager unleashes blasts of its energy in either an arc in front of it or all around it which will spread out to a certain distance.
This can be evaded by jumping at the right time or by moving in between the projectiles so they miss you as they spread outward.
Bone Projectile
Occasionally The Rampager will appear to spit out a projectile that is similar to its previous projectiles but this one will appear to have bones inside.
Swipe Projectiles
The Rampager will deal a swipe attack which appears to be a combination of both a melee attack follows by it releasing projectiles in an arc to the direction where it did the swipe attack.
Multiple Bone Projectile

The Rampager spits out a rapid volley of a few bone projectiles while in its secondary form which can deal a lot of damage if not avoided.
To evade this attack, either move sideways or sprint away from its trajectory as the projectiles may be a bit slow if you are far from The Rampager.
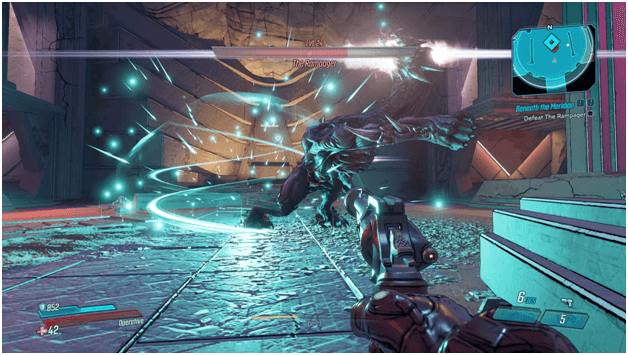
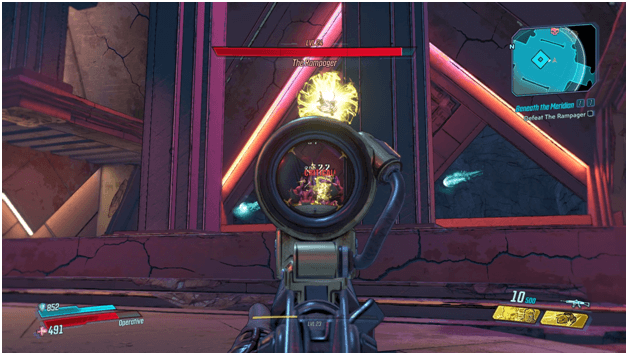
Unleashing Chest Projectiles
The Rampager holds its chest open while a beam of energy exits its mouth, followed by projectiles similar to those that are filled with bones will be unleashed.
A long stream of projectiles will come from within its chest and flow to your direction at a quick rate.
To avoid this, you must move sideways which is a bit dangerous if you do not have a good amount of movement speed and instead you may either sprint away from your previous position or slide out of the way.
Airborne Assault
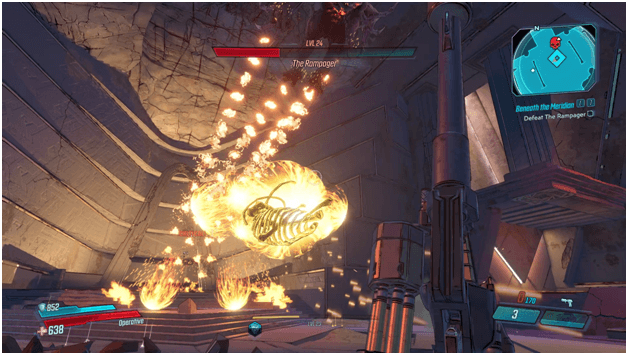
During its final form, The Rampager will take flight and soar around the area while it unleashes a volley of bone projectiles as well as incendiary projectiles.
The bone projectiles will home in on your location or your previous location if you moved and the other projectiles will flow down from its path similar to carpet bombing.
Keep as much distance as you can and run out of the way or hide behind cover to avoid getting killed by this deadly attack.
Notable Drops
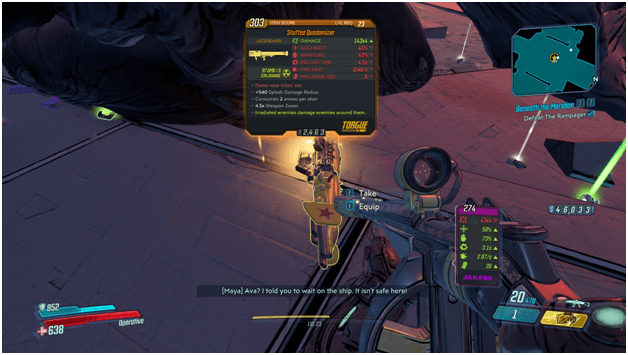
The Rampager is known to drop uncommon to epic items and has a high chance to drop the “Stuffed Quadomizer” legendary rocket launcher.
Tips
- Be sure to stock up on ammunition before you face this boss and make sure you have a good shield mod to keep your survivability up.
- Never stay still, always move either firing at it and moving sideways to avoid its attacks while also making use of your sprinting and sliding to get out of the way of certain projectiles and attacks.
- Ignore the lesser guardians and resort to them as your second wind reserve when you are downed.
- Make sure you have strong weapons and at least an upgraded SDU for them as you may run out of ammo before the fight ends.