- Mission Type: Strike (Cooperative Matchmaking)
- Location: Prison of Elders
- Strike Duration: 15-25 Minutes
- Fireteam Size: 1-3 Players
Inmates have started to escape the Prison of Elders and it is up to you to head to the source of the problem and put an end to it.
The Drifter will tell you that the cause of the problem is that the Warden’s Servitor is malfunctioning and you will have to destroy it.
You and your fireteam will need to fight your way into the Prison of Elders through the escaped inmates and search for and destroy the Warden’s Servitor that has gone haywire.
Strike Objectives
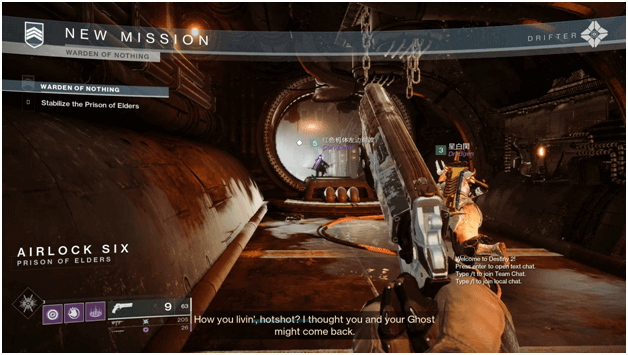
Stabilize the Prison of Elders

Follow the waypoint that points to your next destination where you and your team will be able to assess the situation and push forward into the Prison of Elders.
Along the way you will begin to encounter the escaped inmates who will start attacking you on site and you must fight your way past them towards the waypoint.
Head Deeper into The Prison
Once you have reached the waypoint, the Warden AI will welcome you to the Prison of Elders while enemies begin to come through portals to attack you.
During this phase, The Drifter will explain how Varik left the prison and how it might have affected the Servitor.
You will learn that there will be a subroutine called “Challenge of the Elders” which will later on put you and your team through a set of trials.
Continue fighting your way through the prison and defeat the set of enemies that appear through the portals to open up a sealed entrance.
Move the Transport
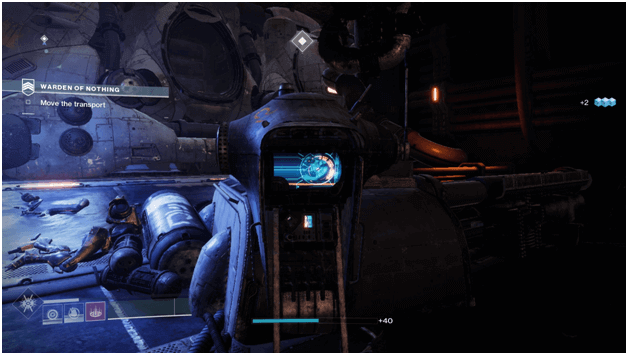
You will find that the path is blocked due to a transport similar to a subway train being parked between you and the waypoint.
Interact with the nearby console so that Ghost will be able to hack it and move the transport to open up the way deeper into the prison.
Once the path has been cleared, you and your fireteam will need to take to the tunnels and use this as a way to proceed towards the waypoint.
Traverse the Tunnels
Proceed making your way through the tunnels and watch out for incoming transports as they will be charging your way and can kill you instantly.
There will be parts to the left side of the tunnel where you may traverse in order to avoid getting hit by the transports.
At the end of the first part of a tunnel, there will be destroyed panels which you will need to drop down to reach a second tunnel.
You can grab one of the SMG Striker (bike vehicle) to pass through this tunnel quickly or may resort to using your jump abilities to get by.
Exit the Tunnels
Keep making your way towards the waypoint while fighting past enemies and you will be nearing the tunnel to reach a Vex cellblock.
The Drifter will tell you how the inmates in the prison started to form groups which you will later on be facing.
Upon exiting the tunnels, you will be in Airlock Six and a restricted zone which means there will be no respawning if you and your team are wiped out.
There will be barriers blocking the exits when you reach the waypoint and you will need to defeat enemies in the area before they are deactivated.
Defeat the Escaped Prisoners
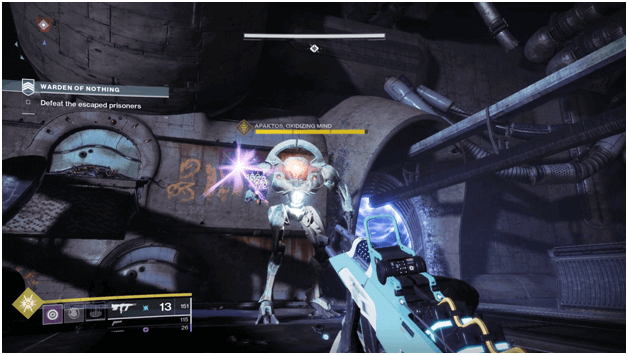
Once the enemies in the area are cleared out, a boss called Apaktos, Oxidizing Mind will appear and you will need to defeat it in order to proceed.
The Warden AI will tell you that it is an important target and will tell you to kill or be killed, meaning you need to destroy Apaktos.
Apaktos, Oxidizing Mind is an enlarged and stronger variant of the Vex Minotaur who possesses the ability to teleport.
Track the Warden’s Servitor
After you have defeated Apaktos, head towards the waypoint which will bring you to a gravity lift also known as a grav lift that will elevate you.
Once you have used this elevator-like passage you will have to face off against Cabal forces as you make your way towards the location of the Warden’s Servitor.
Push Through the Cabal
You and your team will arrive at the area called “The Arena” which is where the Warden AI will put you through trials to test your ability.
Fight your way past the Cabal inmates who have escaped and make your way towards the outside where you will face the trials.
Round 1 – Eliminate All Hostiles
The first of challenges to be done will be to eliminate all of the hostiles in the area as Warden Ai will tell you to kill all of them.
Once the Warden Ai detects that you have defeated all of the enemies and claims that they are dead and you are not, the second challenge will begin.
Round 2 – Defuse the Splinter Mines

The second challenge will be to dismantle the splinter mines that spawn in the area which can be done by staying in the circular field below them, similar to capturing an area.
You will have to defuse 2 bombs, A and B before the challenge will be complete but failure to do so will result in the death of you and your team.
As you attempt to diffuse the splinter mines, enemy forces will close in on your location and disrupt your defusing process.
Round 3 – Defeat the Cabal
Your final challenge will be to defeat a Cabal boss known as Ta’aul, Disgraced Colossus who you and your team should easily defeat.
Once Ta’aul is defeated the challenge will be complete which will allow you and your team to proceed towards the Warden’s Servitor’s location.
Track the Warden’s Servitor
After you defeat Ta’aul, a door will open up and you and your fireteam may continue towards the Servitor’s location.
Proceed making your way into the room where there is a circular opening which you and your team will need to enter.
Claim Your Treasure
The Warden’s Servitor will tell you that there is treasure awaiting you which is down the path which you and your fireteam must head down to.
As obvious as it is, it is a trap and you and your fireteam will be captured and dropped into the prison mainframe which The Drifter mentions is the Servitor’s Nest.
Defeat the Warden’s Servitor
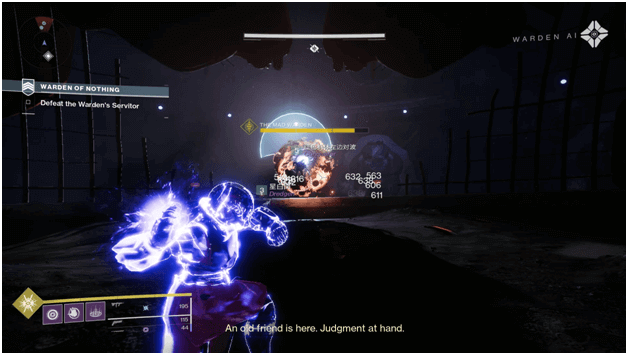
The Warden’s Servitor will finally make an appearance once you and your fireteam enter the mainframe and you will have to defeat it.
You and your team must focus your fire in order to defeat the Warden Servitor once and for all before it overwhelms you and your team.
The Warden Servitor is similar to a Fallen Servitor but larger in size but with its core machinery removed and it possessing many attached devices as a replacement.
Also read the other strike walkthroughs below
- Exodus Crash
- The Arms Dealer
- The Corrupted
- The Hollowed Lair
- The Inverted Spire
- The Disgraced
- The Glassway
- The Devils’ Lair
- Fallen Saber
- The Insight Terminus
- Lake of Shadows
Tips
- It is possible to deal a large amount of damage easily using your abilities which can allow you to defeat the Warden’s Servitor within mere seconds.
- On the way towards the inner part of the prison, there are several ways for you and your team to be killed so watch out for drops and moving transports.
- Although there are multiple bosses, it is best to save your abilities for the Warden Servitor when you are nearing its phase to easily take it out.
Summary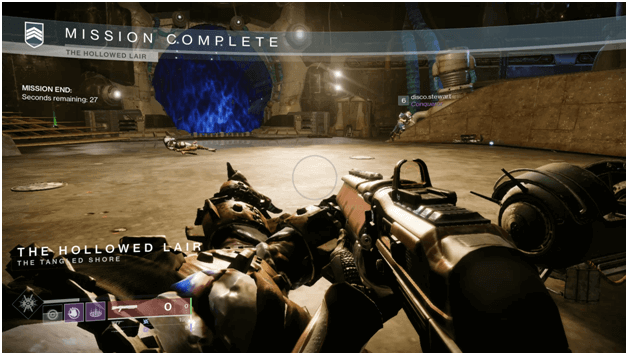

Once you defeat the Warden’s Servitor, the mission will come to an end and you will be able to open up a chest which is quite well deserved after the prank the Warden’s Servitor played on you.
After defeating the Warden’s Servitor, you and your team will have successfully restored balance to the Prison of Elders.
This will prevent future inmates from escaping for now but it is unsure in the future if such events may occur again.