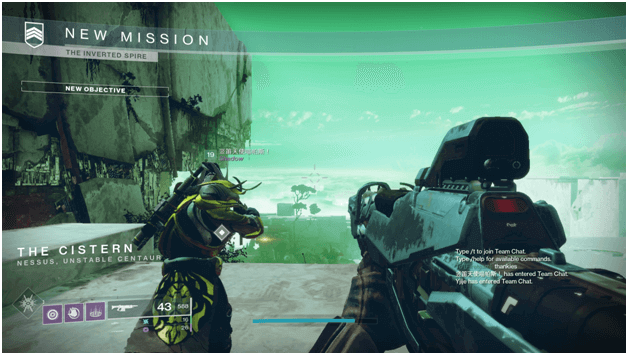
- Mission Type: Strike (Cooperative Matchmaking)
- Location: Nessus
- Strike Duration: 20-30 Minutes
- Fireteam Size: 1-3 Players
The Vex in Nessus have grown into a large number and the Red Legion is sending in crews to the planet.
Failsafe has detected seismic disruptions and suspects may be the cause of them, which makes it vital for the Vanguard to find out.
You and your fireteam have been sent to investigate what is going on and whatever it is, you will have to put a stop to it.
Strike Objectives
Investigate the Cabal
You will start out by descending from your landing area and head over to check out on the Cabal to see what they are up to.
To walk to the waypoint, you may take a bit of time so you should spawn in your vehicle to save you some time from walking.
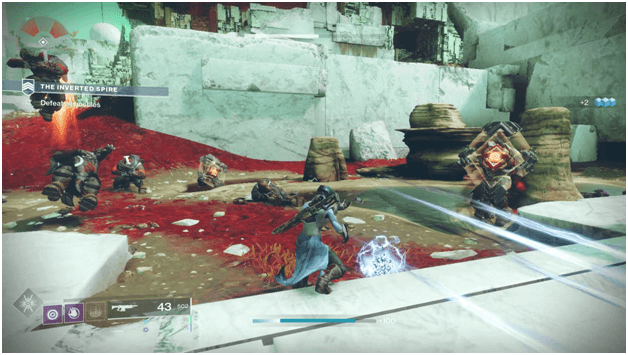
Defeat All Hostiles
Once you reach the waypoint, clear out all of the enemies that are in the area and continue making your way towards the next waypoint.
Watch out for enemies that will spawn in the area after clearing out the first batch as they may catch you when you are vulnerable.
Access the Conflux
After you have cleared out all of the remaining enemies in the area, a Conflux will appear and you will need to head over and access it.
Once you access the Conflux, a floating path will appear before you and you will need to traverse across it to get to the waypoint.
You should plan your jumps ahead because one wrong move can end up with your character falling to their death.
Press Forward
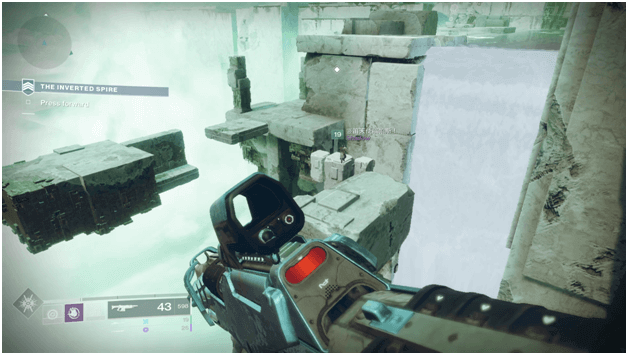
Make your way past the floating passage by taking one of the two paths (one may be harder than the other) and continue heading towards the waypoint.
After crossing the floating path, there will be circular rings that boost you through the air and you should try not to move too much or it can set you off in a different direction.
Just jump into the ring and let it take you to the other side and you will end up landing safely as long as you don’t try anything funny.
After the first set of rings, make your way towards the waypoint and continue fighting through the enemies that get in your way.
There will be a colossus at the end where another set of rings are and you may have to defeat it in order to get to the rings or he may shoot you down if you are unable to rush to it.
Traverse Deeper
As you continue, you will find yourself in The Anchor, in a restricted zone which means you will not be able to respawn after being killed and instead start the objective again.
An energy shield will be blocking the only path that allows you to move forwards and you will have to find a way to take it down.
Eliminate the Vex
Failsafe will be able to ensure that the Vex constructs in the area are maintaining the barrier and you will need to clear them out in order to take the shield down.
You will need to clear out the Vex in the area and may do this by shooting them from afar or taking a risk by jumping over a gap and closing in on them, whatever suits your comfort.
Press Forward
Once you have taken out the Vex which maintain the barrier, head towards the next waypoint through the passage.
Approach the Drilling Site
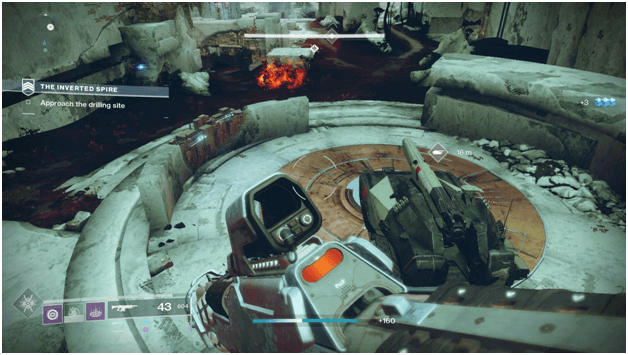
Ghost will report that the Cabal have drills in the area which is presumably the cause of the seismic activity that is going on.
Make your way towards the waypoint and you will come across a Drake (tank vehicle) which one of the members of your fireteam may enter and use to deal high amounts of damage to enemies.
It is a good idea for those travelling on foot to watch out for the fireteam member in the Drake to ensure it has cover when it cannot maneuver or aim at certain angles.
Approach the Drilling Site
Once all the members are ready, head over to the drill site by using your bike vehicles so that you can catch up with the Drake.
Fight your way across the field of enemies and make your way towards the drill site which is marked by a waypoint.
Eliminate All Site Security
The drills will have armed crews and you will need to push against them while also taking out two officers among them in different locations.
Both of the officers will be marked by waypoints and you can easily find them inside what appears to be bunkers.
Board the Cabal Drill
Once you have taken out the Cabal officers, head over to the marked waypoint and interact with the machinery which will allow you to use nearby ring-like machines that will propel you to the drill.
As you reach the other side, enemy forces will be on guard and you can either take them out with your weapons or simply lob a grenade at them.
After clearing out the guards at the top of the drill, head inside and descend to the bottom but make sure you get ready for a battle.
Reorient the Transit System
Head over to the nearby console and interact with it to reorient the transit system and once again get ready to fight off more enemies.
As soon as you interact with the console, enemies will start attacking your location from multiple directions.
Repel All Attackers
While the transit systems are resetting, you will need to repel any enemies that try to stop the process until 100% progress is reached.
The rings will be aligned differently after 100% is reached and you and your fireteam may use them to propel you to the other side.
Cross the Dig Site
Pick the right ring that points to the location that the waypoint is marking and try not to move too much as many players get killed in this phase by landing in the wrong place or smacking their face into a wall.
After landing, make your way towards the dig site and fight past any enemies that you encounter which may stop you.
Get Clear of The Drill

Continue making your way towards the way point but watch out for the drill as its rotating parts may hit you and yes, they will kill you instantly.
There is a safe path for you to cross and at the end you can safely reach the inside of the dig site which is located at the lower part of the drill.
Investigate the Dig Site
Once you enter the dig site, continue by heading towards the waypoint and you will be nearing the final stage of the strike.
You will find a few Quantum Harpy enemies inside the area but can dispatch them quickly and as soon as you move closer, Protheon, Modular Mind will appear.
Defeat the Modular Mind
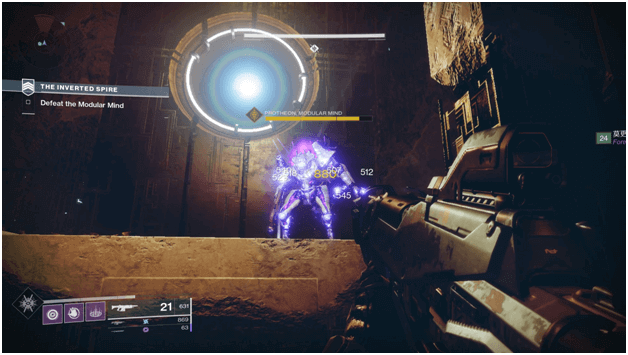
Once Protheon The Modular minds appears, you and your fire team will be able to attack it directly for a certain amount of time or until you deal enough damage.
Each time you take out one of Protheon’s health bars, it will cause the surface you are standing on to disappear and you will need time to jump with your landing to avoid damage.
You will be able to fully deplete Protheon The Modular Mind’s health bar when you land at the very bottom after 2 instances of dropping.
During the first stage of the fight or at three health bars, Protheon will attempt to teleport around the area and assault you with its Torch Hammer.
The second stage of the fight will have Protheon staying in the center and attacking you with an Arc Slap Rifle and it will sometimes slam the ground to create a wave of fire on the ground.
During its third stage, Protheon will switch its Slap Arc Rifle and also attack you with Slap Grenades but if you and your fire team act fast, you should be able to take it down within seconds.
Also read the other strike walkthroughs below
- Exodus Crash
- The Arms Dealer
- The Corrupted
- The Hollowed Lair
- The Disgraced
- Warden of Nothing
- The Glassway
- The Devils’ Lair
- Fallen Saber
- The Insight Terminus
- Lake of Shadows
Tips
- Try to get used to your jump ability or alter it to allow you to traverse most of this strike properly as it may come in handy.
- Some of the enemies will be fighting amongst each other at times in the strike and this can be used to your advantage.
Protheon will change its weapon every time you drop down and will become more deadly at the final stage.
Summary

After you have defeated Protheon, Modular Mind, the strike will be complete and you will have stopped the factions from their attempts to utilize the Mind.
It appears that the Vex found out that the Cabal discovered the Mind and decided to dig into the site in order to capture it and Failsafe calculates that there would be a 60% chance that the planetoid would have been destroyed.
Due to your efforts the planetoid remains safe and the Modular Mind has been destroyed and no one will be able to take control of it.