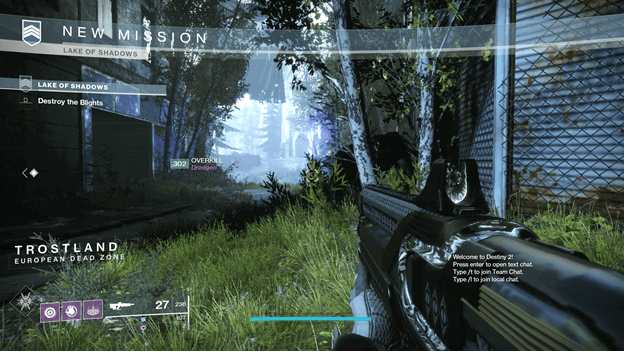
- Mission Type: Strike (Cooperative Matchmaking)
- Location: European Dead Zone, Earth
- Strike Duration: 10 -20 Minutes
- Fireteam Size: 1-3 Players
- Recommended Power: 1050
The Taken have started to spread blight within the territories of the European Dead Zone which does not bode well for those who reside there.
It is up to you and your fireteam to repel the infectious beings before they can spread on a larger scale and take over the area.
You and your fireteam will need to head into Trostland and make your way to the source, destroying blights along the way.
Strike Objectives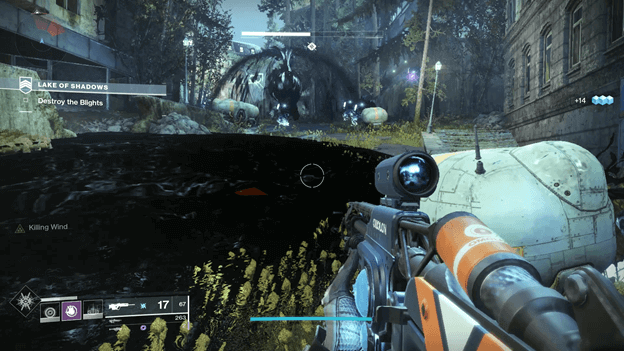

Destroy The Blights
Make your way towards the waypoint and you will begin to encounter the Taken enemies within the area.
Proceed by fighting through the enemies and make your way towards the first blight but watch out for blighted ground as it can damage you.
You will have to go inside the barrier (which will damage you over time) and destroy the blight’s core to completely destroy the blight and clear its nearby infection.
Continue making your way and you will find another set of enemies and who are guarding more blight, which you must destroy just like you did the first one.
A Taken Fracturer will be in the area after you have destroyed the blight and you will need to kill it before proceeding with the mission.
Stop The Taken
After defeating the Taken Fracturer, there will be a small passage to the side which is blocked by a small amount of blight.
Shoot the orb to destroy the blight that is blocking your path and proceed to make your way into the old building.
There will be more Taken forces waiting ahead of you after another blight barrier and you will need to fight your way towards the waypoint after.
Find The Leader
Fight your way past the enemies (you can speed run most of this part by heading to the last enemy) and continue making your way towards the waypoint.
Take note that the area is small and enemies will tend to swarm you, so make sure to keep a good distance and take out the enemies as you push through.
At the end of your path, you will find yourself near a large area where the source of the blight resides, beginning the boss fight.
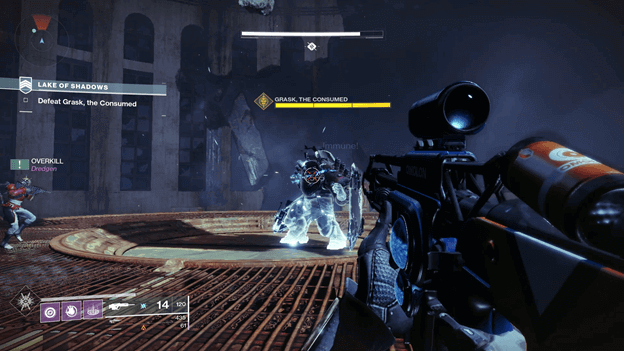
Defeat Grask, The Consumed
Once you and your fireteam jump down, the battle will begin and you will come face to face with a few Taken enemies.
You will notice a large manifestation of blight in the center which also has a core that you will need to destroy.
Destroying the core will cause Grask, The Consumed to appear and he will begin to attack you and your fireteam.
Continue dealing damage to Grask until you have fully depleted his health but be wary of the other Taken enemies that spawn.
Also read the other strike walkthroughs below
- Exodus Crash
- The Arms Dealer
- The Corrupted
- The Hollowed Lair
- The Inverted Spire
- Warden of Nothing
- The Glassway
- The Devils’ Lair
- Fallen Saber
- The Insight Terminus
- The Disgraced
Tips
- Do not step on the blighted (black land) as it will cause you to take damage over time while you remain in it.
- It is a good idea to take out the Taken from afar instead of charging in because they can easily swarm you.
- If you are having trouble destroying the blight cores, try defeating the enemies around first so you can peacefully take shots at it.
- After Grask appears, you can easily kill him as long as you do not get overwhelmed by the other enemies that spawn in the area.
Summary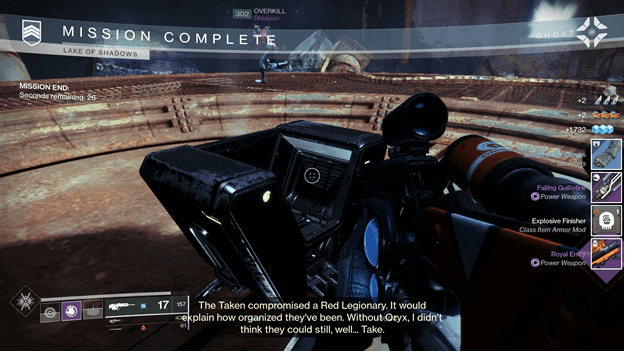
Ghost realizes that the Taken had compromised a Red Legionary which is how they were very organized with the attack.
Since the source of the blight has been destroyed, the European Dead Zone will remain safe from being controlled by the Taken.
The EDZ is now safe for now until another similar attack is done but now those residing in it can rest assured that they won’t be seeing blight any time soon.