- Mission Type: Strike (Cooperative Matchmaking)
- Location: Old Russia, Earth
- Strike Duration: 15 -20 Minutes
- Fireteam Size: 1-3 Players
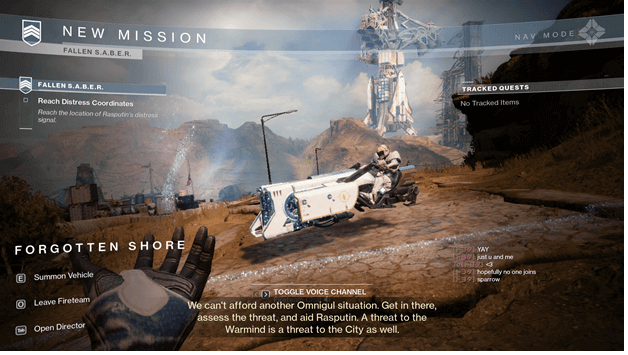
A high-gain transmission has been picked up along the coast near the Cosmodrome, which appears to have been sent by the AI Warmind, Rasputin.
Ghost was able to translate the old language and determine that it was a distress call, making it urgent for you and your fireteam to tackle.
It appears that a type of Shank known as the S.A.B.E.R.-2 has attempted to take over Rasputin’s control of its Golden Age Warsats, and you must prevent this.
Strike Objectives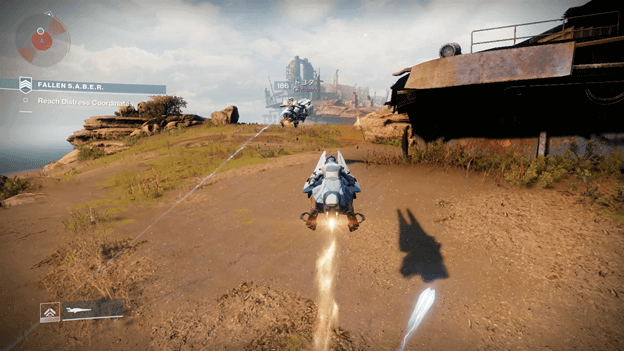

Reach Distress Coordinates
You will be starting in the Forgotten Shore, and you will need to follow the waypoint to reach the location where the distress signal is coming from.
To get there quickly, you should hop on to your vehicle and ride your way to the waypoint, past some of the enemies wandering the area.
As you make your way towards the waypoint, Rasputin will send another transmission, which Ghost translates to reveal Rasputin is dropping a Warsat.
Defend The Warsat
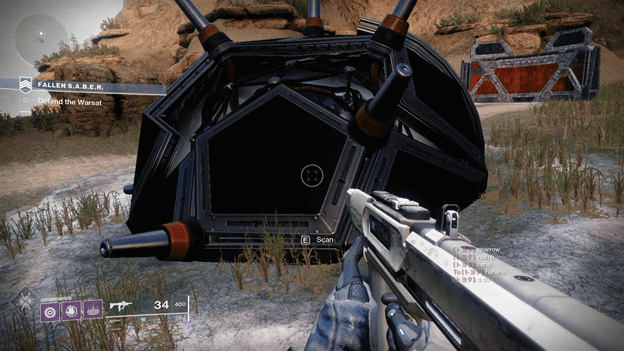
Rasputin is sending the Warsat from orbit to provide your fireteam with codes that will grant you access to a bunker.
Head over to the next waypoint, which reveals the location of where the Warsat is going to drop, and you will witness it fall.
Once you reach the Warsat, interact with it to allow Ghost to scan it, and you will need to it while the transmitting process is underway.
Enter The Bunker
Once the Warsat has been scanned, head over to the next waypoint, which leads you to the bottom of a cliff.
The hidden bunker entrance is located at the side, and you will need to make your way into the bunker to proceed further.
Interact with the large gate covering the entrance, and it will open up since you already have the codes, and you will then need to make your way inside following the waypoint.
Eliminate The Fallen
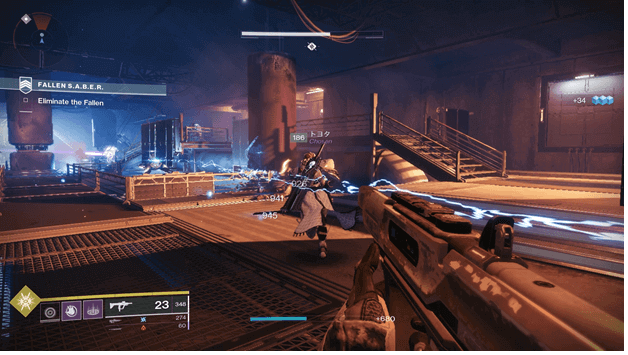
Once you make your way deeper inside the bunker, you will encounter many Fallen forces within and must get rid of them.
Fight your way through the Fallen forces and clear out the area so that you and your fireteam may continue making your way inside.
After clearing out the area’s enemies, you will need to get through via hacking, but Ghost suggests this will not go well with Rasputin’s systems.
Bypass Security Protocols
At the end of the corridor, your waypoint will mark a vent cover with which you can interact to bypass the security protocols.
You will need to move close to the vent cover and interact with it once it becomes available after Ghost finishes saying a few lines.
Disrupt Rasputin’s Defenses
After the vent cover has been opened, you will be able to head back to where you first entered, and there will be an opening that you can enter.
A few enemies will intercept you as you make your way, and you will need to fight your way past them to the next waypoint.
Traverse The Bunker
Make your way through the vents, and you will find yourself on top of a destructible panel that will allow you to go down the bunker.
Dealing damage will allow you to destroy the panel, and once the path is clear, you can jump down the opening.
Deactivate The Arc Streams
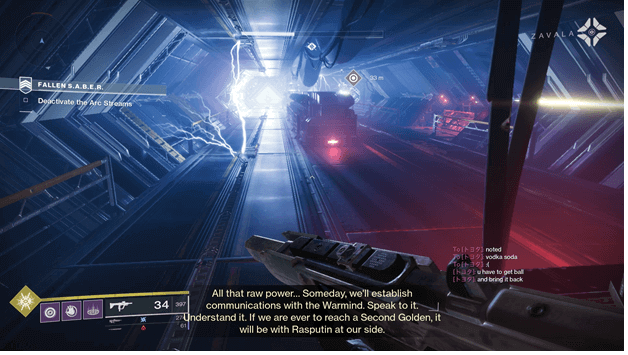
As you make your way further within, there will be a pathway blocked by arc streams which you will need to avoid.
To proceed, one of you will need to make their way past the arc streams and pick up a charge marked by a nearby arc energy supply unit.
Head to the waypoint to pick up the charge and bring it back to the next waypoint, where you will deposit the charge.
Do not rush this part as it can end up getting you killed; instead, you must time your movement and hide behind the barriers when an arc stream approaches you.
Locate The Breach Site
It is time for you to push forward, but you will need to be prepared because a lot of Fallen lies ahead of you and your fireteam.
Continue fighting your way towards the waypoint, and you will soon find yourself in the breach site where the final fight will happen.
Eliminate The Source Of The Breach
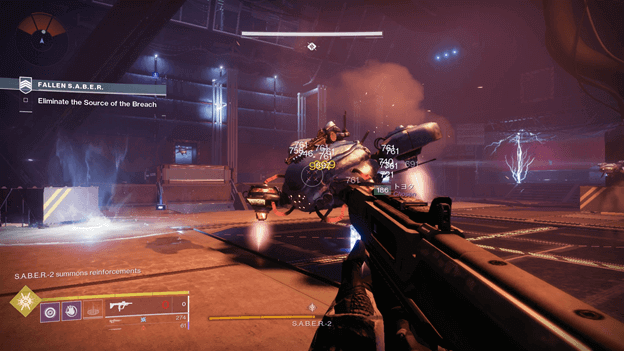
As you enter the area, the upgraded Shank known as S.A.B.E.R.-2 will start an attack on you and summon units.
To start dealing damage to the boss, you will need to take care of the other enemies around you and your fireteam.
Once S.A.B.E.R.-2 has low health, it will attempt to approach you at a close range and start attacking you up close.
Continue dealing damage to the boss once its health is low and it starts going frantic until it is destroyed and the mission will come to an end.
Also read the other strike walkthroughs below
- Exodus Crash
- The Arms Dealer
- The Corrupted
- The Hollowed Lair
- The Inverted Spire
- Warden of Nothing
- The Glassway
- The Devils’ Lair
- The Disgraced
- The Insight Terminus
- Lake of Shadows
Tips
- The Warsat needs at least one person within range to continue scanning, and it is best if all of you stay in its range.
- You will often find Fallen in tight spaces and easily clear them out with weapons that damage an area.
- Watch out for traps around the boss fight area as there are arc streams as well as a trap door that can kill you.
Once S.A.B.E.R.-2 is on low health, it goes crazy and attempts to attack you at a melee range, making it easy to kite it by and down a ledge.
Summary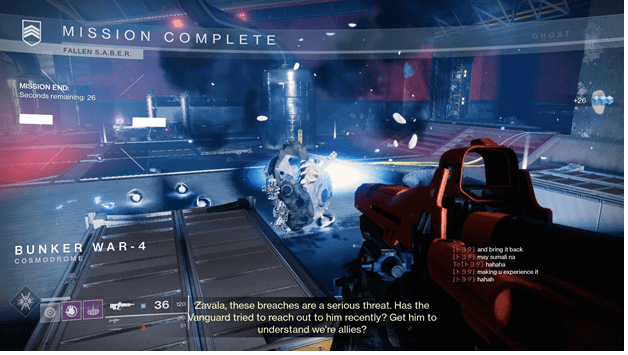
Now that you have defeated S.A.B.E.R.-2, the Fallen will not be able to get their hands on any Golden Age Warsats.
A team has been assigned to seal the vault as communication with Rasputin is temporarily unclear, and it is better off for it to remain hidden.
You and your fireteam will have denied the Fallen from obtaining dangerous technology and once again have made the City much safer.