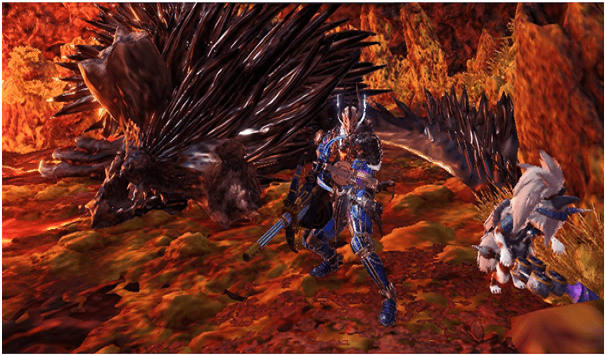
When it comes to mobility and consecutive attacks, the Light Bowgun has got you covered and those who wield these weapons have the advantage of firing volleys of shots and unloading the magazine even before the monster could even react to the onslaught.
The Light Bowgun is more straightforward than the 3 long range weapons with only a few unique tricks in its arsenal such as the Wyvernblast special trap and some of the selected rapid-fire ammo in some of the craftable Light Bowguns.
In this guide, we will be showcasing a couple of open builds that can be customized and adapt to your situation or playstyle.
Keep in mind that the Light Bowgun takes a lot of practice and skill to master and this guide aims to assist in providing options for new playstyles or improving old ones.
Also Read Below The Other Light Bowgun Guides
Note: If you are on Mobile device swipe table to the left to see the below full table information completely.
1) Shock Trooper Light Bowgun Build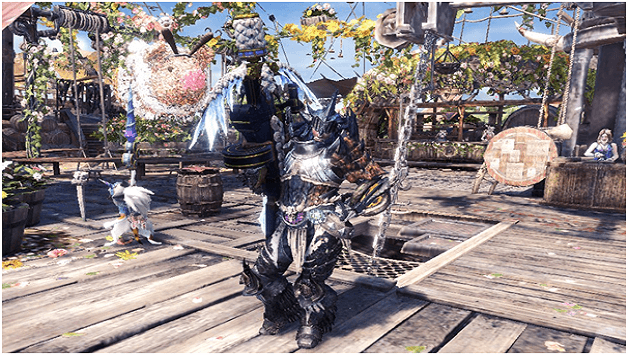

This Build Focuses on Burst Damage with moving and strafing to avoid damage while dishing out the punishment, mainly from Rapid-Fire Ammo coupled with high affinity that boosts damage along with interchangeable Charms to improve your offensive or defensive capabilities.
Armor Set
Info | Head | Torso | Arms | Waist | Legs |
Name | Rath Soul Helm B | Rathalos Mail B | Nergigante Vambraces Y | Nergigante Coil B | Nergigante Greaves Y |
| Jewel Slot | 1-1-0 | 1-0-0 | 2-1-1 | 2-0-0 | 2-2-0 |
Vs. Fire | 3 | 3 | 1 | 1 | 1 |
| Vs. Water | 2 | 1 | 1 | 1 | 1 |
Vs. Thunder | 2 | -2 | -3 | -3 | -3 |
| Vs. Ice | -3 | 1 | 1 | 1 | 1 |
Vs. Dragon | -4 | -3 | -3 | -3 | -3 |
| Base Defense | 56 | 54 | 72 | 64 | 72 |
Skills | Critical Boost 1 | Weakness Exploit 2 | Part Breaker 1, Attack Boost 1 | Attack Boost 2 | Attack Boost 3 |
Charms
Defensive Charms
- Sheath Charm III – Primary
- Stun Charm III
- Health Charm III
Attack Charms
- Breaker Charm II
- Any Elemental Attack Charm III
- Any Status Charm III
Decorations
- 1x Attack Jewel 1
- 2x Critical Jewel 2
- 7x Expert Jewel 1
- 1x Tenderizer Jewel 2
Skills
- Critical Boost 3/3
Skill Effect: Level 3: Increases damage dealt by critical hits to 140%
This can provide a larger portion of damage compared to other direct damage skills by dealing an extra 40% of the damage it can deal.
- Weakness Exploit 3/3
Skill Effect: Level 3: Attacks that hit weak spots have 30% increased Affinity, with an extra 20% on wounded parts
A Great skill to have later on in any fight making almost every Attack that hits will do critical damage.
- Critical Element 1/1
Skill Effect: Level 1: Increases Elemental Damage (Fire, Water, Thunder, Ice, Dragon) when landing critical hits by 1.30x for Light Bowguns
Increases overall fire power and damage potential of rapid fire element ammo.
- Attack Boost 7/7
Skill Effect: Level 7: Attack +21 Affinity +5%
Provides a solid damage boost with a bit of an affinity boost to compliment the build greatly.
- Hasten Recovery 1/1
Skill Effect: Level 1: Regenerates your health as you continually Attack a monster that provides a heal every 5th Attack
Rapid-fire ammo and piercing ammo shots trigger this effect constantly.
- Quick Sheath 3/3
Skill Effect: Level 3: Greatly increases sheathing speed
Great for repositioning and moving around the battlefield, either for setting up traps or avoiding high damage special Attacks.
- Critical Eye 7/7
Skill Effect: Level 7: +40% Affinity
This ensures that your damage is making full use of your critical Boost and this also affects Critical Element.
Stat Stick Skills
This Skill isn’t directly part of the whole build but is in the list due to an armor piece that had the skill.
- Partbreaker 1/3
Skill Effect: Level 1: Part damage +10%
Very useful in this build actually when it comes to opening weak spots and synergizes well with the main skill and can be improved further with the Breaker Charm II, to fully take advantage of the skill.
Suggested Weapon Options
Empress Shell “Styx” – (Lunastra Tree)
This is a prefered weapon in this build to make sure you can fit all the required decorations for the build without using an add decoration slot augment, along with a passive Spare Shot Skill.
Rathbuster II – (Rathalos Tree)
Also a good option for this build with Rapid-Fire Flame Ammo that can be augmented with another gem slot and an affinity augment that works well with this build.
Pros and Cons
Pros
- High DPS
- Mild Self-Healing Attacks
- Multiple Options for improving Damage or Defense
Cons
- Negative Element Defense against Thunder and Dragon
- Low Elemental Defense
How to Use The Shock Trooper Light Bowgun Build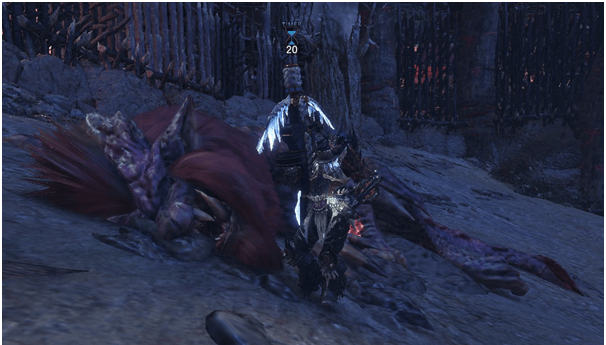

Open fire and strafe is basically the idea of this build while focusing on weak spots to maximize damage for greater rewards for Slaying or Capturing Monsters.
The weakness of this build is its defense so be careful in hard fights, getting yourself cornered and stumbling is a death sentence.
Always be on the move and maximize the use of terrain in fights, use your Wyvernblast defensively to cover your flank so that if the monster attacks you they can stumble from the explosion.
2) Medic Gunner Light Bowgun Build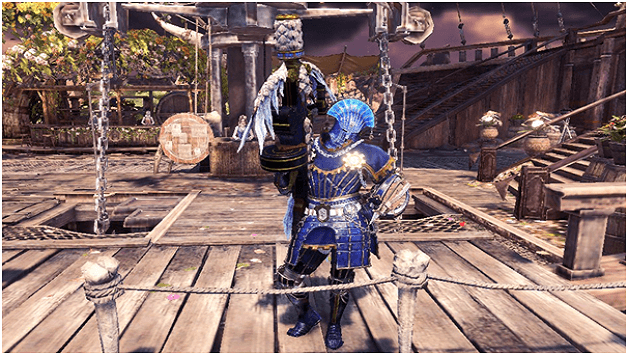
This build focuses on an assault and support role, where as a Light Bowgun user you will be providing support with heals and buffs to your allies while moving and strafing to keep the pressure on your target with continuous long range attacks.
Armor Set
Info | Head | Torso | Arms | Waist | Legs |
Name | Empress Crown Y | Empress Mail a | Empress Vambraces B | Empress Coil B | Empress Greaves B |
| Jewel Slot | 1-1-1 | 1-1-0 | 2-3-0 | 2-2-0 | 2-2-0 |
Vs. Fire | 3 | 3 | 3 | 3 | 3 |
| Vs. Water | 1 | 1 | 1 | 1 | 1 |
Vs. Thunder | 1 | 1 | 1 | 1 | 1 |
| Vs. Ice | -3 | -3 | -3 | -3 | -3 |
Vs. Dragon | -2 | -2 | -2 | -2 | -2 |
| Base Defense | 70 | 70 | 70 | 70 | 70 |
Skills | Wide-Range x2, Peak Performance x1, Lunastra Favor 1x | Peak Performance x2, Health Boost x1, Lunastra Favor 1x | Wide-Range x2, Lunastra Favor 1x | Tool Specialist x2, Lunastra Favor 1x | Health Boost x2, Lunastra Favor 1x |
Charms
Defensive Charms
- Gluttons Charm III – Primary
- Blessing Charm III
- Stun Charm III
Attack Charms
- Bombardier Charm III
- Any Element Attack Charm III
- Slinger Capacity III
Decorations
Note: You would need a weapon with at least 1-1-0 decoration slots to fit all decorations
- 7x Defense Jewel 1
- 1x Satiated Jewel 1
- 3x Dragon Res Jewel 1
- 1x Maintenance Jewel 1
- 1x Friendship Jewel 1
Skills
- Lunastra Favor 5/5 – Armor Set
This is the effect of completing the armor set of the Lunastra.
2/2 – Stamina Cap Up – Allows you to have a maximum of 200 stamina.
4/4 – Mind’s Eye/Ballistics – Prevents Attacks from being deflected. Also shortens the distance before ammo and arrows reach maximum power.
- Wide-Range 5/5
Skill Effect: Level 5: Items affect nearby allies in a much wider radius with full efficacy
For any support role this is essential to provide necessary Buffs or Healing to your allies while they fight.
- Peak Performance 3/3
Skill Effect: Level 3: While active, grants Attack +20
While you are not Healing or Buffing your team and you are also topped off this skill will be always active and help provide fire support as a Light Bowgunner with your variety of ammo at your disposal.
- Health Boost 3/3
Skill Effect: Level 3: Health +50
In harder fights the best way to support is alway be up and running and reserving faint continues for unavoidable events, so you should be able to live through certain Attacks to keep your team alive.
- Tool Specialist 3/3
Skill Effect: Level 3: Shortens time until reuse by 30%
There are a lot of tools at your disposal such as the temporal mantle and health booster to name a few that can ensure the survival and success of the team which should be used often and this skill helps to keep these tools available for you to use.
- Speed Eating 3/3
Skill Effect: Level 3: Eat food and drink Items 64% faster, and quick use items 38% faster.
For support roles you should always have an eye out for your team’s health and be quick to top them off with health quickly and this skill not only works for that purpose but also synergizes well with Wide-Range.
- Defense Boost 7/7
Skill Effect: Level 7: +10% Defense, Bonus +35 and +5 to All Elemental Resistances.
This adds another layer of survivability that works with Healthboost to keep you alive, you wont need to tank a lot of damage but to survive an Attack that may come your way.
- Free Meal 1/1
Skill Effect: Level 1: Activates 25% of the time.
Playing support is a great role in any game that can be resource heavy and can be a bit tedious with the farming of support items, this skill helps you get a chance to use any consumable heal or Buff and not reduce its count but gaining its benefits.
- Dragon Res 3/3
Skill Effect:Level 3: +20 Dragon Resistance and +10 Defense.
This fills in the gap of your loadouts lack in Dragon Element Defense that can be a problem when facing Elder Dragons in the end game missions.
Suggested Weapon Options
Empress Shell “Styx” (Lunastra Tree)
This weapon provides a lot of benefits to this build with its 3-1-0 decoration slot and innate Spare Shot Skill to name a few that makes this weapon a perfect fit in this build to cover some lack in Decoration slots and add an offensive boost to this build
Empress Shell “Blaze” (Lunastra Tree)
This can be augmented to have the much needed slots to fully make the build work at maximum efficiency, but instead of spare shot it has the Guts skill to prevent once an incoming Attack that would make you faint in combat to add survivability to this build.
Pros and Cons
Pros
- High defense and Max Health
- Full support at any range with Recovery, Demon and Armor ammo for your team.
- Able to Attack at range and keep away from danger.
Cons
- Low Damage build for a Light Bowgun.
- Would need a weapon with 2-1-0 slot atleast to make the build work.
How to Use The Medic Gunner Light Bowgun Build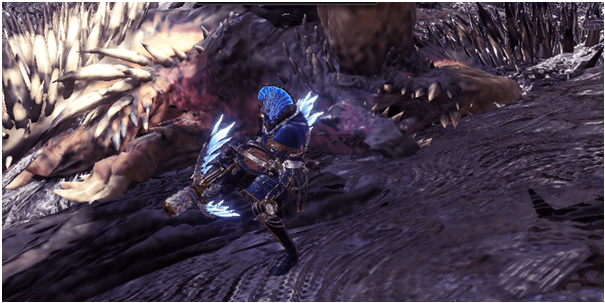

The Build is a basic one that improves on some weaknesses of other support builds, while being easy to craft that is focused on only one type of monster for the materials.
Your tough build lets you take in some hits, with your increased stamina cap dodging and rolling to avoid them all together is much more ideal to make sure that the healing and buffs you use are for your team instead of healing yourself.
This build works well with any team, may it be supporting low MR players or fighting high tier monsters by making sure your team is topped off with health and buffs.
3) KO & Wyvernblast Light Bowgun Build
This build focuses on maximizing the effect of the Wyvernblast special ammo and using it after putting the monster to sleep, and making sure that the user is always moving and unaffected by terrorizing roar and monsters ground slams.
Armor Set
| Info | Head | Torso | Arms | Waist | Legs |
Name | Bazel Helm β | Empress Mail β | Vaal Hazak Braces β | Nergigante Coil β | Nergigante Greaves γ |
| Jewel Slot | 3-1-0 | 1-1-1 | 1-1-1 | 3-0-0 | – |
Vs. Fire | 3 | 3 | -4 | 1 | 1 |
| Vs. Water | 1 | 1 | 4 | 1 | 1 |
Vs. Thunder | -4 | 1 | 1 | -3 | -3 |
| Vs. Ice | -2 | -3 | -1 | 1 | 1 |
Vs. Dragon | -2 | -2 | -3 | -3 | -3 |
| Base Defense | 58 | 70 | 64 | 64 | 72 |
Skills | Earplugs x2, Bazelgeuse Protection x1 | Peak Performance x2, Lunastra Favor x1 | Peak Performance x1, Vaal Hazak Vitality x1 | Attack Boost x1, Nergigante Hunger x1 | Attack Boost x3, Nergigante Hunger x1 |
Charms
Defensive Charms
- Earplugs Charm III – Primary
- Dragon Res III
- Blessing III
Attack Charms
- Awakening Charm III
- Bombardier III
- Focus Charm III
Decorations
- 1x Challenger Jewel 2
- 2x Attack Jewel 1
- 3x Jumping Jewel 2
- 3x Sleep Jewel 1
- 2x Trueshot Jewel 1
Skills
- Earplugs 5/5
Skill Effect: Level 5: Nullifies weak and strong monster roars
Reduces Downtime when fighting monsters to let them roar while you keep on Attacking them.
- Peak Performance 3/3
Skill Effect: Level 3: While active, grants Attack +20 while Health is at Full
This skill improves your Wyvernblast damage and your damage ammo since this build also focuses on KO’ing the Monster for a Wyvernblast rude awakening.
- Attack Boost 7/7
Skill Effect: Level 7: Attack +21 Affinity +5%
Directly affects your Attacks and Wyvernblast to be a little bit more potent damage.
- Agitator 1/ 5
Skill Effect: Level 1: While active, grants Attack +4 and increases Affinity by 5% when the monster is angry.
More of a utility skill than an offensive one since you will get text prompts if this skill is active or not, letting you know when the monster is more aggressive or when they have calmed down which is the best time to use Sleep Ammo on them with maximum effect.
- Evade Extender 3/3
Skill Effect: Level 3: Greatly extends evasion distance.
This works as your defensive skill in this build to dodge and roll away from incoming Attacks, or hopping and sliding after Attacking.
- Sleep Attack 3/3
Skill Effect: Level 3: Sleep buildup +20% Bonus: +10
This skill helps in knocking out monsters quickly and efficiently letting you use less ammo to build up the sleep status to take effect.
- Special Ammo Boost 2/2
Skill Effect: Level 2: Increases the power of Bowgun special ammo and Dragon Piercer by 20%
This directly improves your Wyvernblast to deal more damage improving the lethality of this build.
Suggested Weapon Options
Empress Shell “Styx” (Lunastra Tree)
This weapon can use sleep ammo 1,2 and clip to make full use of the Spare Shot skill of the weapon that synergizes perfectly for this build Rapid Fire Thunder Ammo that is very effective in fighting Nergegante.
Jyura Bullet III (Jyuratodus Tree)
This weapon also uses Sleep Ammo 1,2 but provides more flexibility in the build with augments and above average damage.
Pros and Cons
Pros
- Very Ammo Efficient Build
- Effective in Solo missions and Team Hunts
- Medium Damage.
- Un-Hindered Movement and Strafing Attacks.
Cons
- Can be Hard To Coordinate with Random Team mates KO then losing opportunities for Wyvernblast Wake-Up.
- Low Elemental Defense.
How to Use The KO & Wyvernblast Build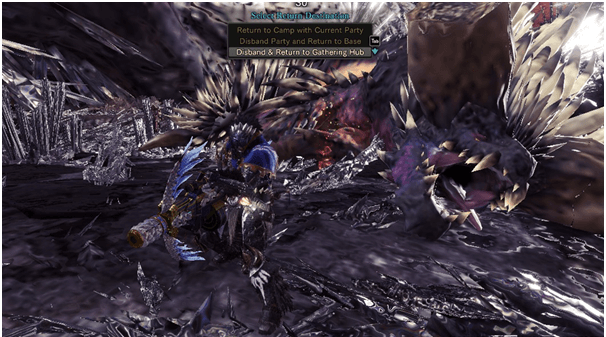

You would want to start with unloading attacks until your Agitator skill prompts it has worn off and this is when you will know the monster is much more susceptible to status effects like Sleep or Paralyze.
The Agitator was a Stat Stick skill at first, since it’s at level one and only works for certain conditions but realizing that it can indicate if the monster is enraged or not with a word prompt, it became a main part of this build.
Due to the increased potency of Sleep Ammo in this build, you can knock out monsters and plant 3 Wyvernblast Charges or Barrel Bomb near weak spots as the monsters sleep and wake them up with a devastating explosion for massive damage.
Verdict
The builds mainly use the Lunastra line of weapons which are quite powerful if used with the right build along with its 3 unique configurations and passive skills.
A common theme among these builds is mobility and continuous attacks which are the basic advantage of the Light Bowgun when it uses Rapid-Fire Ammo that can be standard, elemental or status types.
Although these builds can be good for soloing, they are exceptional when in a group as these can be used to accommodate your playstyle and be beneficial to your allies during a fight.