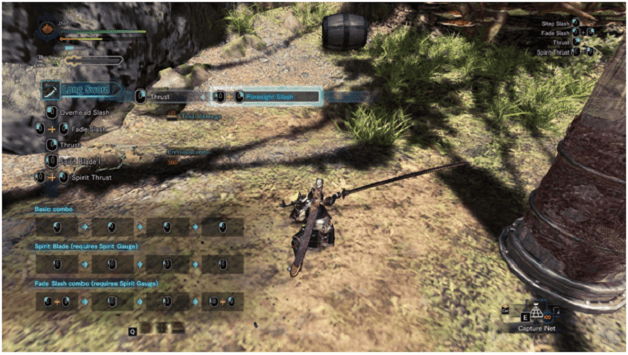
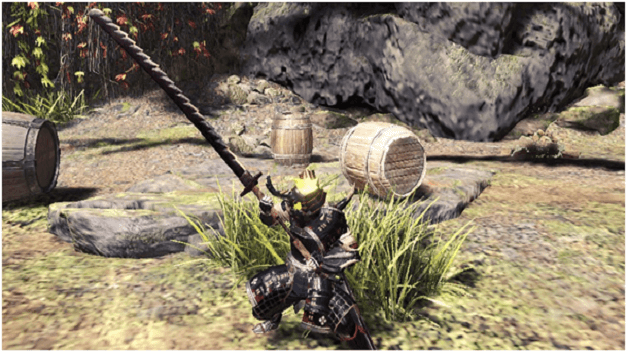
The Long Sword is designed to cut and slash with a wider arching reach that fluidly incorporates these attacks with some footwork and stance changes.
Every strike that hits your enemy charges up your spirit gauge, increasing the power of your attacks and allowing you to chain your combos as well as unleash the helm splitter attack which slashes once with multiple instances of damage.
This guide will discuss the most powerful craftable Long Swords of Monster Hunter World and the various attack styles you can perform along with their pros and cons.
Also Read Below The Other Long Sword Guides
Note: If you are on Mobile device swipe table to the left to see the below full table information completely.
Long Sword Trees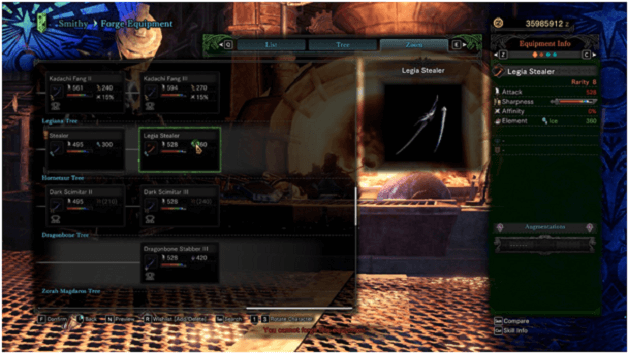

Defender
Weapon Name | Attack | Materials Required | Affinity | Element | Elemental Damage | Slot |
Defender Katana V | 726 | Immortal Dragon Scale x1 | 0% | Blast | 300 | 0 |
Ore
Weapon Name | Attack | Materials Required | Affinity | Element | Elemental Damage | Slot |
Iron Katana III | 330 | Earth Crystal x2, Machalite Ore x2, Iron Ore x 5 | 0% | None | 0 | 0 |
| Iron Grace III | 462 | Carbalite Ore x8, Dragonite Ore x5, Dragonvein Crystal x2 | 0% | Water | (120) | 1 |
Iron Gospel II | 594 | Elder Dragon Blood x2, Fucium Ore x13, Carbalite Ore x20, Firecell Stone x1 | 0% | Water | (180) | 2 |
Nergigante
Weapon Name | Attack | Materials Required | Affinity | Element | Elemental Damage | Slot |
Extermination’s Edge | 693 | Xeno’jiiva Horn x2, Nergigante Horn+ x5, Nergigante Talon x5, Nergigante Gem x1 | 0% | Dragon | 120 | 1 |
Tzitzi-Ya-Ku
Weapon Name | Attack | Materials Required | Affinity | Element | Elemental Damage | Slot |
Flickering Glow II | 462 | Legiana Tail Webbing x2, Tzitzi-Ya-Ku Claw x3, Tzitzi-Ya-Ku Photosphore x2, Tzitzi-Ya-Ku Claw x3, Sharp Claw x3, | 0% | None | 0 | 0 |
Dazzling Flash III | 594 | Daora Webbing x2, Tzitzi-Ya-Ku Claw+ x5, Bird Wyvern Gem x1, Tzitzi-Ya-Ku Photosphore+ x3 | 0% | Thunder | (360) | 1 |
Kulu-Ya-Ku
Weapon Name | Attack | Materials Required | Affinity | Element | Elemental Damage | Slot |
First Dance III | 429 | Odogaron Claw x2, Kulu-Ya-Ku Beak x2, Kulu-Ya-Ku Plume x4, Warped Bone x3 | 15% | None | 0 | 0 |
Last Dance III | 561 | Nergigante Talon x2 Kulu-Ya-Ku Plume+ x4, Kulu-Ya-Ku Beak+ x5, Bird Wyvern Gem x1 | 20% | Sleep | (270) | 0 |
Uragaan
Weapon Name | Attack | Materials Required | Affinity | Element | Elem Dmg | Slot |
Brazenridge II | 660 | Teostra Carapace x4, Uragaan Jaw x2, Uragaan Scute x4, Uragaan Ruby | 0% | Fire | 120 | 2 |
Rathian
Weapon Name | Attack | Materials Required | Affinity | Element | Elemental Damage | Slot |
Wyvern Blade “Holly” | 627 | Elder Dragon Blood x3, Rathian Spike+ x5 Pink Rathian Scale x6, Rathian Ruby x1 | 10% | Poison | 330 | 1 |
Rathalos
Weapon Name | Attack | Materials Required | Affinity | Element | Elemental Damage | Slot |
Wyvern Blade “Indigo” | 627 | Teostra Horn+ x2, Azure Rathalos Scale+ x6, Azure Rathalos Tail x3, Rathalos Ruby x1 | 15% | Fire | 240 | 1 |
Bone
Weapon Name | Attack | Materials Required | Affinity | Element | Elemental Damage | Slot |
Bone Shotel III | 396 | Monster Bone M x2, Ancient Bone x1 | 0% | None | 0 | 0 |
| Hard Bone Shotel III | 528 | Monster Keenbone x2, Monster Bone+ x2, Quality Bone x2 | 0% | Sleep | (210) | 1 |
Bone Reaper II | 627 | Elder Dragon Bone x4, Monster Hardbone x6, Quality Bone x20, Dragonbone Relic x1 | 0% | Sleep | (270) | 1 |
Bazelgeuse
Weapon Name | Attack | Materials Required | Affinity | Element | Elemental Damage | Slot |
Bazel Varga Rookslayer | 660 | Xeno’Jiiva Wing x3, Bazelgeuse Wing x4, Bazel Geuse Talon x4, Bazelgeuse Gem | -10% | Blast | 210 | 2 |
Anjanath
Weapon Name | Attack | Materials Required | Affinity | Element | Elemental Damage | Slot |
Blazing Shotel II | 528 | Rathalos Marrow x1, Anjanath Fang x4, Anjanath Nose Bone x1, Anjanath Tail x1 | -20% | Fire | 210 | 0 |
| Anja Scimitar III | 693 | Teostra Mane x2, Anjanath Fang+ x6, Anjanath Nosebone+ x2, Anjanath Gem x1 | -20% | Fire | 390 | 0 |
Jyuratodus
Weapon Name | Attack | Materials Required | Affinity | Element | Elemental Damage | Slot |
Jyura Shotel III | 462 | Monster Bone+ x2, Jyuratodus Fang x4, Jyuratodus Shell x3, Gaju Whisker x3 | 0% | Water | 210 | 0 |
| Dipterus III | 627 | Elder Dragon Blood x3, Jyuratodus Fin+ x6, Jyuratodus Fang+ x5 Wyvern Gem x1 | 0% | Water | 360 | 1 |
Vaal Hazak
Weapon Name | Attack | Materials Required | Affinity | Element | Elemental Damage | Slot |
Hazak Grosser II | 660 | Xeno’Jiiva Veil x3, Vaal Hazak Talon x6, Vaal Hazak Tail x2, Vaal Hazak Gem x1 | 0% | Dragon | 270 | 1 |
Tobi-Kadachi
Weapon Name | Attack | Materials Required | Affinity | Element | Elemental Damage | Slot |
Pulsar Shotel II | 462 | Monster Bone+ x2, Tobi-Kadachi Electrode x2, Tobi-Kadachi Membrane x2, Warped Bone x2 | 10% | Thunder | 180 | 0 |
| Kadachi Fang III | 594 | Elder Dragon x3, Tobi-Kadachi Electrode+ x4 Tobi-Kadachi Claw+ x6, Wyvern Gem x1 | 15% | Thunder | 270 | 1 |
Legiana
Weapon Name | Attack | Materials Required | Affinity | Element | Elemental Damage | Slot |
Glacial Shotel II | 462 | Paolumu Wing x4, Legiana Claw x4, Legiana Tail Webbing x3, Legiana Plate x1 | 0% | Ice | 240 | 1 |
| Legia Stealer | 528 | Daora Claw+ x2, Legiana Claw+ x5, Legiana Hide+ x3, Legiana Gem x1 | 0% | Ice | 360 | 1 |
Hornetaur
Weapon Name | Attack | Materials Required | Affinity | Element | Elemental Damage | Slot |
Dark Shotel II | 429 | Odogaron Fang x2, Hornetaur Shell x5, Hornetaur Wing x4, Hornetaur Head x2 | 0% | None | 0 | 0 |
Dark Scimitar | 528 | Vaal Hazak Fang+ x3, Hornetaur Carapace x8, Hornetaur Innerwing x6, Wyvern Gem x1 | 0% | Paralysis | (240) | 1 |
Dragonbone
Weapon Name | Attack | Materials Required | Affinity | Element | Elemental Damage | Slot |
Dragonbone Stabber III | 528 | Elder Dragon Bone x10, Brutal Bone x4, Dragonbone Relic x2, Wyvern Gem x1 | 0% | Dragon | 420 | 1 |
Zorah Magdaros
Weapon Name | Attack | Materials Required | Affinity | Element | Elemental Damage | Slot |
Magda Facultas II | 726 | Xeno’Jiiva Shell x4, Zorah Magdaros Ridge x2, Zorah Magdaros Pleura x2, Firecell Stone x3 | -20% | Blast | 360 | 1 |
Black Steel
Weapon Name | Attack | Materials Required | Affinity | Element | Elemental Damage | Slot |
Blacksteel Long Sword II | 363 | Firecell Stone x1, Fucium Ore x5, Carbalite Ore x10, Wyvern Gem x1 | 0% | Dragon | 150 | 0 |
| Imperial Shimmer | 627 | Xeno’Jiiva Soulscale x5, Teostra Horn+ x5 Teostra Claw+ x2, Teostra Gem x1 | 0% | Blast | 300 | 0 |
Xeno’Jiiva
Weapon Name | Attack | Materials Required | Affinity | Element | Elemental Damege | Slot |
Xeno Cypher | 594 | Xeno’jiiva Claw x4, Xeno’jiiva Shell x6, Xeno’jiiva Tail x2, Xeno’jiiva Gem x1 | 15% | Dragon | 180 | 2 |
Workshop Weapon
Weapon Name | Attack | Materials Required | Affinity | Element | Elemental Damage | Slot |
| Divine Slasher | 693 | Ace Hunter Coin x5, Brute Coin x4, Flying Coin x4, Wyvern Gem x2 | 0% | Dragon | (150) | 1 |
Deviljho
Weapon Name | Attack | Materials Required | Affinity | Element | Elemental Damage | Slot |
Reaver “Calamity” | 759 | Elder Dragon Blood x5, Deviljho Scalp x2, Deviljho Tallfang x5, Deviljho Gem x1 | -25% | Dragon | 210 | 0 |
Azure Star
Weapon Name | Attack | Materials Required | Affinity | Element | Elemental Damage | Slot |
| Azure Star “Dragon Dance” | 495 | Azure Stargem x2, Dodgama Talon x4, Rathalos Ruby x1, Novacrystal x1 | 30% | Water | 180 | 1 |
Lunastra
Weapon Name | Attack | Materials Required | Affinity | Element | Elemental Damage | Slot |
| Empress Sword “Blaze” | 594 | Research Commission Ticket x1, Lunastra Horn x2, Teostra Horn+ x3, Bazelgeuse Gem x1 | 20% | Blast | 180 | 2 |
Lunastra/Nergigante
| Weapon Name | Attack | Materials Required | Affinity | Element | Elemental Damage | Slot |
| Empress Sword “Ruin” | 627 | Research Commission Ticket x1, Lunastra Wing x3, Nergigante Horn+ x3 Nergigante Gem x1 | 0% | Blast | 150 | 2 |
Lunastra/Xeno’Jiiva
Weapon Name | Attack | Materials Required | Affinity | Element | Elemental Damage | Slot |
| Empress Sword “Styx” | 594 | Research Commission Ticket x1, Lunastra Tail x2, Xeno’jiiva Horn x3, Xeno’jiiva Gem x1 | 10% | Blast | 240 | 2 |
Attacks
Spirit Meter/Spirit Gauge
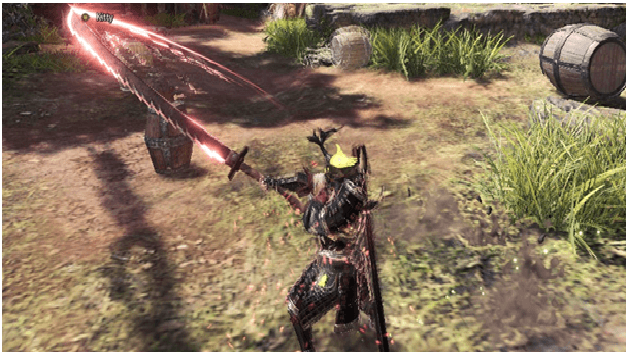
Normal melee attacks charge your Spirit Meter and when you level it up, the glow of the Spirit Gauge and your blade indicates its strength.
As it fills up, you can perform powerful attacks that are called Spirit Blade attacks that work well with both critical builds and status effect builds.
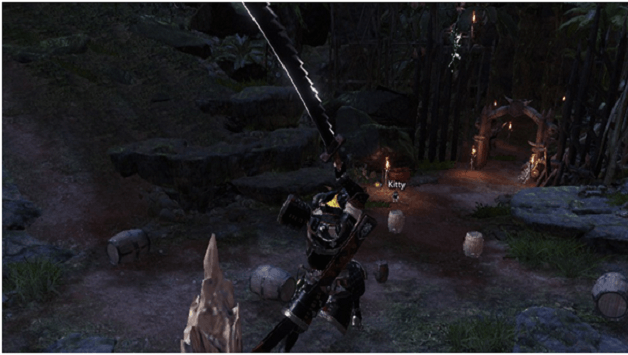
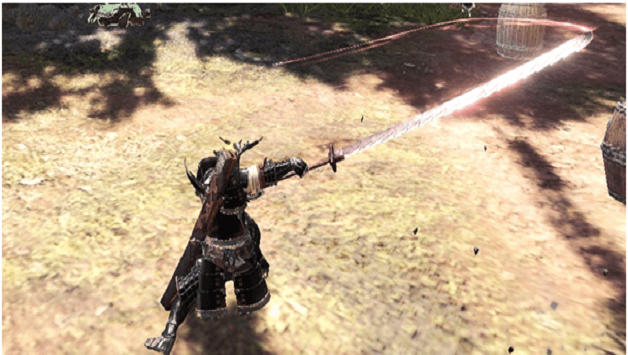
Step Slash/Overhead Slash

This can be done before un-sheathing or moving forward as you attack which is also the start of your basic combo attacks that will generate Spirit Meter for your heavier attacks.
Forward Thrust
This forward thrust can be initiated also from a sheathing position which has a faster animation than the Step Slash but has no overhead reach that can be used to prepare other moves like Foresight Slash or Spirit Thrust.
Rising Slash
The Rising Slash is another basic attack and the last strike in the basic combo that can hit parts like the head or tail.
This also generates Spirit Meter which can be inserted in the Spirit Blade combo to generate some Spirit Meter to insure the Spirit Roundslash to be pulled off.
Foresight Slash

Both a defensive and offensive attack which can only be initiated after a basic attack, which allows the wielder to slide back a short distance and return quickly to the same position to make a quick slash.
There are 2 types of this which do the same animation but with different effects.
The other one triggers if you don’t have any Spirit Meter up which can only physically dodge but will not negate any damage if you get hit directly.
If you have some Spirit Meter up, it will drain it at any amount to use it to evade an attack, even in the direct path of the source of damage.
The added benefit of this complete dodge is that you can also initiate a Spirit Roundslash that upgrades your Spirit Meter.
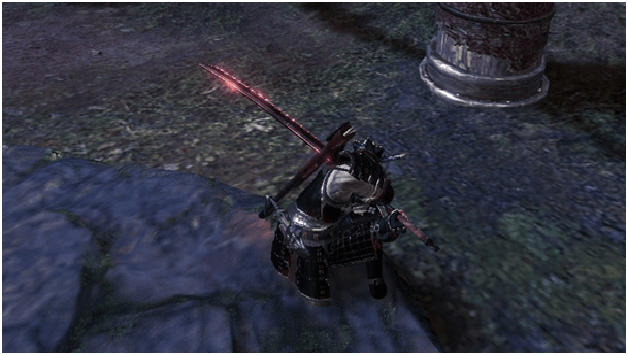
Fade Slash
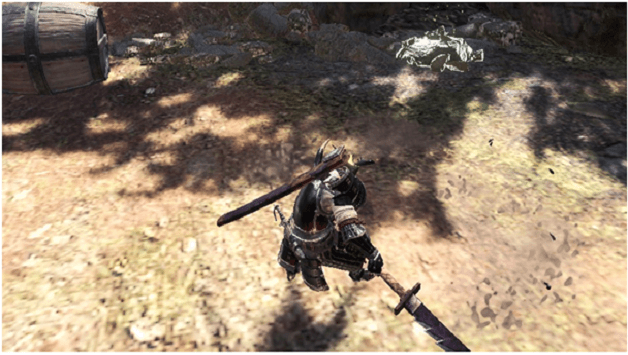
This is a Step Back move that can be used to reposition yourself or disengage your opponent which will use the momentum of your blade to hop backwards or to the side.
Falling Slash
This is the basic mounting attack of the Long Sword which can be done when falling off small ledges or from wall running.
Falling Spirit Slash
This attack is similar to the Falling Slash but does not initiate mounting but can deal multiple strikes if timed correctly.
Spirit Blade Combo
The Spirit Blade combo uses up your Spirit Meter and deals slightly increased damage which is the initial combo attack that will initiate the Spirit Roundslash as a final chain to the Spirit Blade combo.
Spirit Roundslash
The final attack of the Spirit Blade Combo which will cause the Spirit Gauge to go up by 1 if it hits a monster.
You will know if you initiated the Spirit Roundslash if you automatically sheath your weapon after the attack regardless of it hitting or not hitting your target.
Spirit Thrust
This charged thrust attack has a more extended reach and if it hits any target it will automatically make you leap up into the air to initiate the Spirit Helm Breaker.
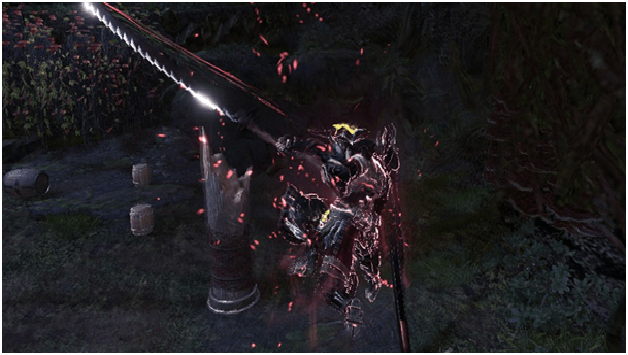
Spirit Helm Breaker
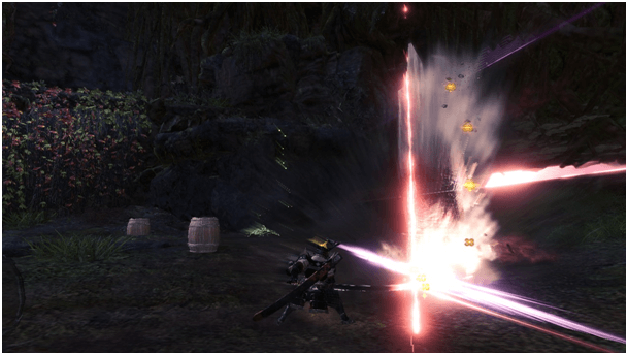
A falling slash will not need to hit the monster directly but only needs to hit the area of the intended target for the Spirit Blade to deal damage.
After a very short delay, this will initiate multiple instances of damage that can be affected by affinity, elemental damage and status effects.
Although it will use up one level of your meter, the benefit of the Spirit Helm Breaker is that it will continuously generate Spirit Meter quickly depending on the level of the Spirit Gauge, allowing you to chain combos.
Pros and Cons
Pros
- Self Damage Buffs
- High Damage
- Chain Combo Attacks
- Wide Reach
Cons
- Needs resource to take full effects
- Attacks cannot be canceled
Overview
The Long Sword is a preferred weapon by most Monster Hunters due to its burst damage potential with its standard attacks alongside with its Spirit Combo, making it a powerful weapon to wield.
A perfectly timed combo attack of the Long Sword provides little to no time to a monster to counterattack and even if they can attack, a Foresight slash can negate the attack without issue and return punishment with your Spirit Helm Breaker.
Overall the Long Sword is a great weapon to master but can take some time understanding the timing and when to use your defensive attacks as well as when to be more aggressive.