Things are starting to become more intense as you set your path towards finding the last piece of the figurine but another set of challenges lie ahead of you.
Dominus Thrax is eager to find where you have been hiding and is already infuriated as you go nearer to your goal.
You will need to complete multiple stages during The Covetous Courier to find another Paradox that will lead you to the last figurine part.
How To Get The Covetous Courtier?
You will be able to start The Covetous Courtier once you have completed the Harbinger of Joy, continuing your search for the missing figurine part.
The Covetous Courtier Mission Objectives

Enter Duviri
As you set out to find one more figurine part, you will need to head back into Duviri, which can be done by entering the portal.
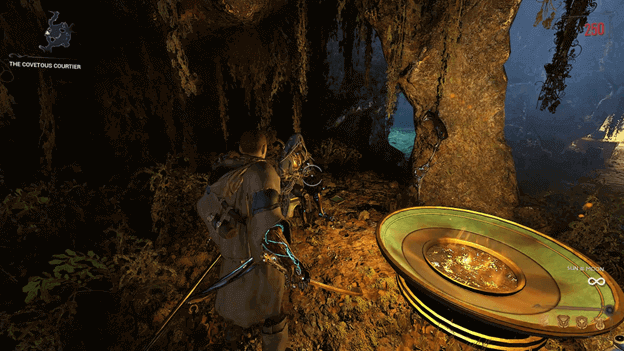
Stage 1 Reconnect The Power Lines
Once you enter Duviri, you will need to head over to one of two waypoints as you will need to connect them one at a time.
These mark the location of devices that you need to shoot with your firearm, which causes them to send out energy to another device.
Continue shooting all of the devices until they are all connected but things are not as simple as that, you need to do this quickly.
This must all be done in under 40 seconds and if you fail to complete it on time, the devices will reset, requiring that you start over.
Collect Reward
Once all the Power Lines have been connected, make your way toward the chest that is marked by a waypoint and open it.
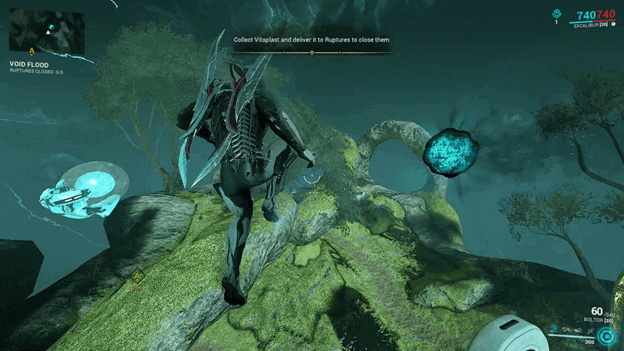
Stage 2 Enter The Undercroft (Void Flood)
After completing the first stage, you will need to head into the Undercroft by going inside a portal that is marked by a waypoint.
This will eventually take you to the start of a Void Flood mission, which you have already done in the past so it should be easy.
Focus on collecting the Vitoplast that is scattered all around or grab the large Vitoplast Orb when it is in range to quickly fill it up.
You will need to seal 5 ruptures in total using the Vitoplast that you have collected and afterward, the stage will be complete and you will be teleported out of the Undercroft.
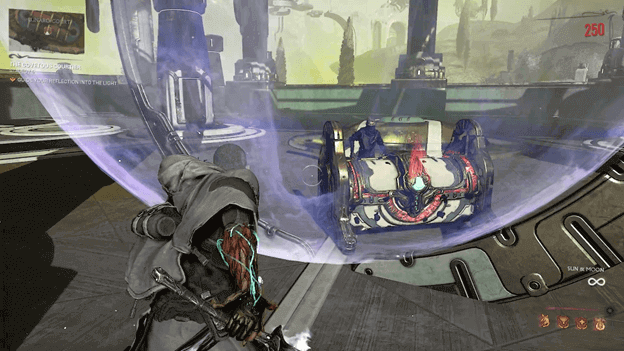
Stage 3 Guide Your Reflection Into The Light
After leaving the Undercroft, you will need to proceed to the waypoint, which brings you toward an area with the purple sphere of energy.
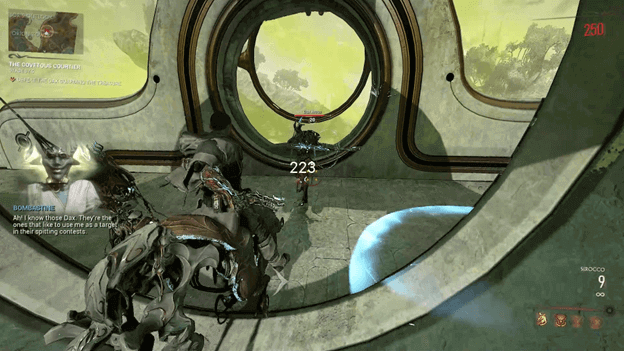
Approach the waypoint and you will be met by enemies which you must defeat, defending yourself against 3 waves of Dax enemies.
Once the enemies have been defeated, head over to the light and you will see your reflection, whom you must guide to the light to make the chest available.
Collect Reward
You will need to collect your reward before you can proceed, which can be done by approaching the chest and interacting with it.
Stage 4 Enter The Undercroft (Defense)
Another portal to the Undercroft will open up and you will need to enter it to start a Defense mission, which requires you to defend a target called The Golden Cradle.
Enemies will attack in waves and you will have to defeat all of them during each of the waves before the stage is complete.
The Defense mission will last until 5 waves and each time a wave begins, you will need to defeat all of the enemies that have spawned.
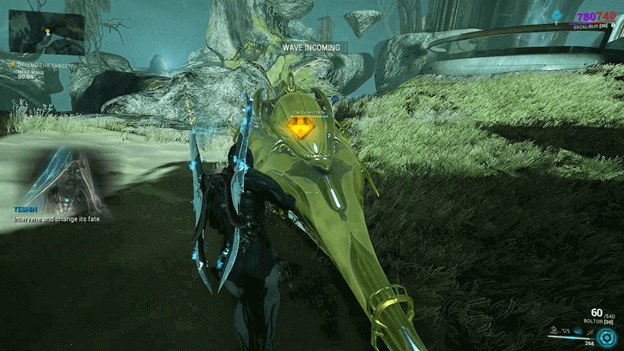
Stage 5 Defeat The High Ground Dax
Completing the fourth step will allow you to continue and you will need to head over to a location marked by a waypoint.
Stage 5 Defeat The High Ground Dax
The waypoint will lead you to the top of a structure and you will need to land there using your Kaithe but get ready, enemies will be waiting.
You will need to defeat all of the enemies in the area to proceed to the next stage which brings you closer to the Paradox.
Defeating all of the enemies in the marked location will complete the stage, which immediately gives you rewards.
Stage 6 Assemble The Shrine
Another waypoint will mark a location, which is where the shrine that you need to assemble will be located but first, you need to reach it with your Kaithe.
To assemble the shrine, you will need to fight against waves of enemies and some of them will drop Shrine Parts for you to collect.
You will need to defeat all 3 waves of enemies and collect the Shrine Parts that they drop and the shrine will become assembled on its own.
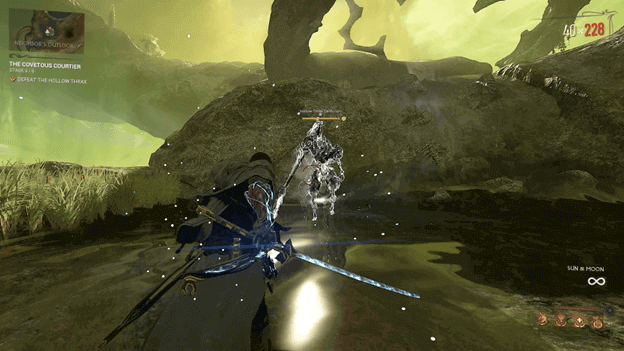
Defeat The Hollow Thrax
As you make your way to the Shrine, a Hollow Thrax Centurion will appear and you will need to fight it until you defeat it.
Defeating the Hollow Thrax Centurion will allow you to collect rewards as well as choose a decree before continuing.
Assemble The Shrine
With the Hollow Thrax Centurion defeated, you can now head over to the shrine to assemble it with the Shrine Parts that you have collected.
Investigate Paradox
Another Paradox will appear but this time it will be very far away, which makes it best that you use your Kaithe to fly towards it.
Upon reaching the Paradox, head over to the waypoint and interact with it to grab the last part that is needed to complete the figurine.
Return To Teshin’s Cave
Now that you have all the pieces, head back to Teshin’s Cave by going through the portal but things seem strange as Terra is missing.
Assemble Figurine
Teshin is silent even after you speak with him and your next step is to assemble the figurine, which can be done by interacting with it. (marked by waypoint)
Assembling the figurine will start a cutscene where Teshin begins to attack you, which later leads to the final part of The Duviri Paradox, The Execution.
The Covetous Courtier Rewards
As you complete the different stages in The Covetous Courtier, you will be rewarded with resources, and Intrinsics and will be able to obtain decrees.
The rewards we got were the following:
- Stage 1: 1x Connla Sprout, 3x Intrinsics, 1x Common Decree
- Stage 2: 5x Aggristone, 5x Intrinsics, 1x Rare Decree
- Stage 3: 5x Aggristone, 3x Intrinsics, 1x Common Decree
- Stage 4: 5x Aggristone, 5x Intrinsics, 1x Rare Decree
- Stage 5: 5x Aggristone, 3x Intrinsics, 1x Common Decree
- Stage 6: 5x Aggristone, 3x Intrinsics, 1x Common Decree
Completing the Covetous Courtier will allow you to head back to Teshin’s Cave, where the next mission called The Execution begins.
Verdict
You were finally able to assemble the figurine but upon arriving at Teshin’s Cave, he appeared to be different and stranger than usual.
As you were reliving what appeared to be memories, Teshin attacks you and it is later revealed that it was actually an impostor.
With the help of your Warframe, you were able to push the impostor back but suddenly, they threw it into a portal, forcing you to control it in a dark version of Duviri.
The ‘reconnect the power lines’ step is ridiculous. I normally don’t have trouble with most things in the game but my vision isn’t that good and it takes me too long to find each target. Overall the update is great but this is one thing I really hope they change.
Thanks for sharing your thoughts with us about this update. Yeah, the Duviri Paradox update really is great from Digital Extremes!