- Mission Type: Story
- Mission Location: Old Russia, Earth
- Mission Duration: 15-20 Minutes
Following the “A Guardian Arises” quest, you find yourself following Shaw Han, who needs your help in finding his fireteam.
The two of you split the task as both Call and Maeve are in different locations, ending up with Shaw tracking Call and you tracking Maeve.
You will need to find a way to find Maeve and gain access to where she is located in order to save her before it’s too late.
Schism Mission Objectives
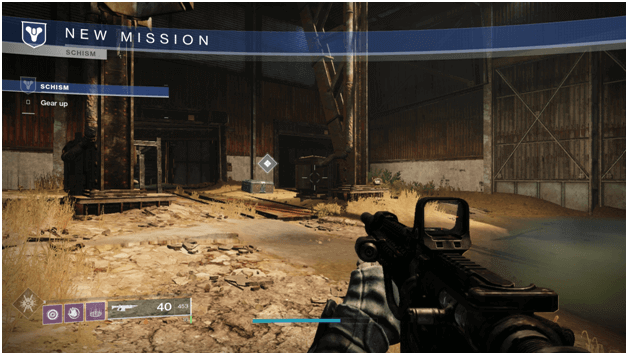
1) Gear Up
After having a discussion with Shaw Han and agreeing on assisting him, Shaw leads the way and instructs you to follow his signal.
There will be a weapon stashed in a locker nearby which Shaw assumes will probably be an upgrade for you.
Head over to the locker and interact with it to receive a new kinetic weapon (Ballyhoo Mk.27 pistol) which you may equip right away.
2) Follow Shaw’s Signal
You will then need to continue following Shaw’s signal which is marked by a waypoint as he scans for signals from his ship.
Following the waypoint will lead you further into the Cosmodrome into “The Steppes” where Shaw will give you further instructions via comms.
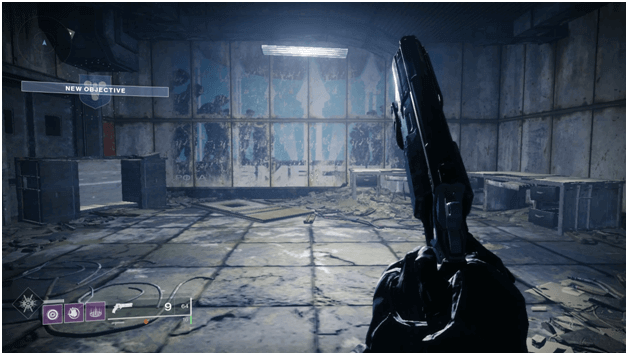
3) Follow Shaw
Make your way to the designated location and Shaw will inform you that something is causing interference in the area.
This is the usual location where you will find Shaw in other upcoming missions and also serves as a fast travel point.
Also read the other Destiny 2 mission walkthroughs below
4) Find the Source
Ghost will analyze for the cause of the interference and point you into the source which you will need to go to and investigate.
Once you arrive at the waypoint, there will be Fallen positioned on top of a hill where an antenna is stationed.
5) Clear Out the Fallen
Shaw will instruct you to clear out the fallen guarding the antenna and you will need to kill them before proceeding with the mission.
They will all be at high ground and you will have a better advantage if you move up the hill to take them out or take cover from your position.
6) Investigate the Antenna
After clearing out the Fallen in the area, Ghost will tell you to bring him closer to the antenna and you will be able to initiate a hack once you interact with it.
Once you have interacted with the antenna, Ghost will begin with the hacking process and you will need to protect him from enemies that come to stop you.
7) Protect Ghost
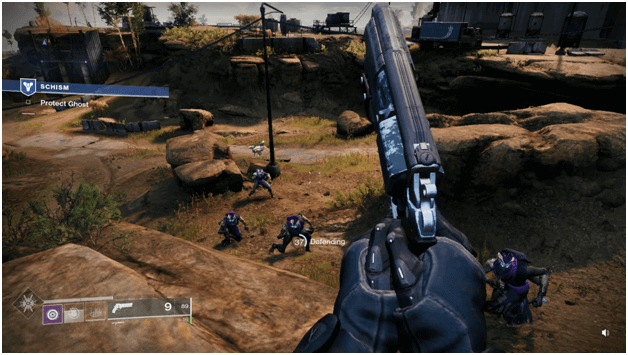
You will need to hold enemies off while Ghost is completing the hacking sequence by killing enemies that arrive at your location.
Enemies will arrive via a dropship and will begin storming your area but you have the advantage of higher ground and they will be coming through sides that you can cover easily.
8) Find Maeve Part 1
By the time you clear the enemies in the area, Ghost will have restored the signal and Shaw will begin to give you instructions as the two of you will split up to find his fireteam.
Shaw tasks you with finding Maeve while he goes for Cass and you will begin to track Maeve’s location which Shaw sends you.
Ghost explains more about the Fallen and the ruin of their civilization, explaining that they are chasing what they lost.
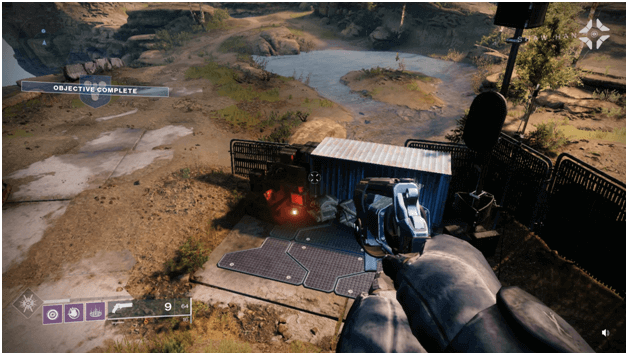
You will eventually find vehicles nearby, one of the first ones may be a Heavy Pike which you can use to get around quickly as well as kill enemies.
9) Inspect the Power Unit
As you arrive at the waypoint, there will be a power unit which is powering a barrier and you will need to inspect it so Ghost can figure out what to do with it.
Ghost suggests checking the Fallen in the area for access codes which you will need in order to access the power unit and shut down the barrier.
10) Acquire Access Codes
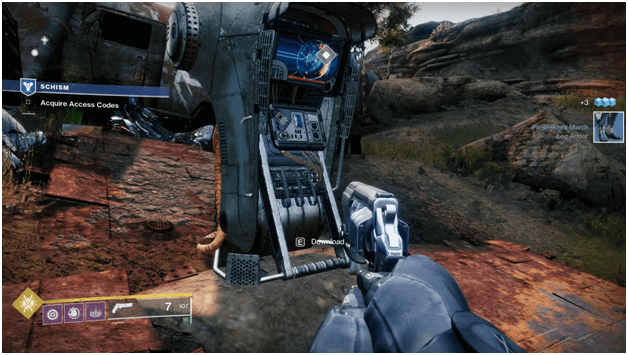
Follow the waypoints set to bring you to terminals which you will need to download the access codes from but beware of the enemies guarding them.
You will need a total of two keys to access the power unit, each one having more enemies to fight as you acquire them.
The second and third terminals will be blocked off by shields which can be bypassed by killing the Reclaimer Servitors (Large round Fallen robots) that drop Arc Charges.
Once a Reclaimer Servitor has been destroyed, pick up the Arc Charge and place it into the shield generator to disperse the shield.
Continue with collecting all of the access codes and make your way back to the Power Unit to shut down the barrier.
11) Disable the Barrier
After all of the access codes have been obtained, Ghost will be able to break the inscription on the Power Unit in order to power down the barrier.
Head back to the Power Unit to disable the barrier so that you will be able to access the structure and continue with your mission.
A loud noise can be heard which prompts Ghost to explain that the barrier was up to keep the Hive (other enemy faction) at bay.
12) Find Maeve Part 2
Proceed into the structure and it will later be revealed to be called the Lunar Complex which is where Maeve is known to be located.
Make your way towards the waypoint and be cautious when you arrive into the large dark room as Hive units will begin to swarm you.
You should easily be able to take them out with Precision Shots (aim for the head) and cause Cursed Thralls (Hive units with glowing heads holding themselves appearing sickly) to explode.
Once you exit the dark room, you will find yourself inside the Lunar Complex Restricted Area (beware you cannot respawn in this area and will have to fight the enemies inside again if you die)
Clear the room full of enemies and a barrier nearby will disperse, revealing Maeve being killed by Navôta, Eir Spawn.
Both Maeve and her attacker will disappear, leaving Maeve’s Ghost broken into pieces which you will need to retrieve.
Tips
- You can equip the weapon you pick up from the cash right away by accessing your character menu but may stick with the rifle if you prefer.
- Enemies in the area are scattered in different spots and you can kill them for target practice, chance to get loot.
- Using vehicles such as the Heavy Pike can make missions like these faster to finish because of their speed and ability to deal good damage to enemies but be careful as they can be destroyed.
- The Hive units you encounter can easily be killed by aiming for their heads, especially the Cursed Thralls who explode when shot in the head.
Summary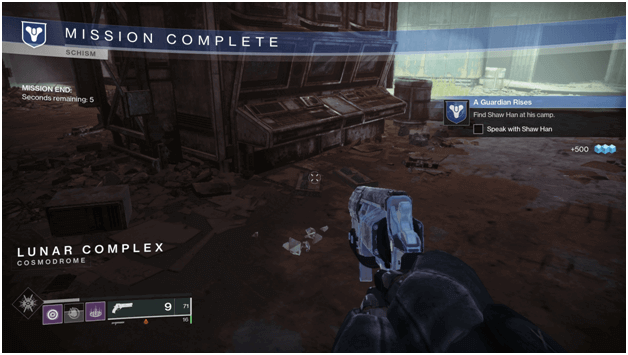

After you and Shaw split up to find his fireteam, you both end up being too late to save each member and instead need to regroup at camp.
You were able to pick up the remains of Maeve’s Ghost which Shaw claims would have made her happy to know.
The mission ends after you pick up the pieces of Maeve’s Ghost and you will find yourself in a sealed room with no exits.
You will need to use the fast travel feature to head back to camp in The Steppes (this serves as a tutorial on using fast travel to get around) and pick up the next mission from Shaw.