- Mission Type: Story
- Mission Location: Old Russia, Earth
- Mission Duration: 10-15 Minutes
Shaw needs your help accessing a room where a golden aged relic called the Superconductor has been left behind but he cannot reach it without access to the Array.
You will need to head over to the Array and find its control panel where you will reboot the main dish to allow Shaw to open up a chamber that leads to the Superconductor.
Once the Superconductor is retrieved, you and Shaw are to bring it back to the city and hand it over to proper hands.
Mission Prerequisites
Before you can access the Cold Blood mission, you will need to do perform several easy tasks within the location of The Divide.
1) Bounties
Shaw will have bounties available which you can pick out and finish which also provides you with a good amount of XP and Glimmer.
2) Data Scraps Gathered
You can need to kill Fallen forces within the location of The Divide to obtain a total of 20 Data Scraps.
3) Lost Sector Chest Looted
You will need to head over to defeat the enemies in the Exodus Garden 2A lost sector located in The Divide and loot the lost sector chest.
Cold Boot Mission Objectives
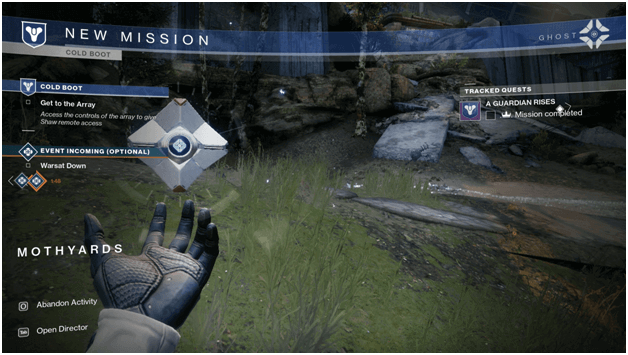
1) Get to The Array

You will start outside the structure that you previously removed a barrier from and will be making your way towards the Array marked by a waypoint on your map.
Inside the structure, you will come across enemies who you will need to fight your way through which includes a dark room filled with Cursed Thralls.
As you make your way past the dark room where you encounter the cursed thralls, you will come into a more open area where enemies along with an Ogre will be waiting.
You must fight your way past the enemies and head to a nearby door which is marked by your waypoint which you must then hack after it shuts in front of you.
2) Survive
Once you initiate the hack, enemies will start coming to your location and you will need to defeat them before the hacking is completed.
After killing several enemies, Ghost will have finally hacked the door and you must then proceed to make your way to the Array once more.
3) Get to The Array (Part 2)
You will continue to make your way towards the waypoint and come into an open-world area where other players will be doing their quests.
Continue towards the waypoint and you will then be instructed to cause a distraction which gives Ghost an idea to make you purge a nearby shadowrift.
4) Purge the Shadowrift

To purge the shadowrift, you will need to stay near the green circular marker and wait for a meter to fill up.
After the shadowrift has been purged, there will be crystals floating around you which you will need to destroy to complete the purge.
Also read the other Destiny 2 mission walkthroughs below
5) Destroy Crystals
The crystals that need to be destroyed will be marked by waypoints and you will need to destroy all 3 of them to proceed with the mission.
Shaw will contact you once the crystals have been destroyed and will tell you that what you are doing is working and that you should continue with the distraction.
6) Defeat a Revenant Knight
Your next task will be to kill a Revenant Knight which is a stronger enemy that will be marked by a waypoint, leading you to the nearest one you can kill.
You must hurry to the Revenant Knight as other players may be doing the quest and if you miss the opportunity you may need to wait for a short period if none are around.
7) Defeat Hive
After defeating a Revenant Knight, Hive enemies will respond as mentioned by Ghost and you will have to fight back the reinforcements.
To finish the objective, you will need to reach 100% with Hive Defeated which scales based on the enemies that you kill in the area.
Once you have killed enough enemies, Shaw will tell you to leave the area before the reinforcements overrun you.
8) Get to The Array (Part 3)
Find your way towards the location of the control panel which will be inside a nearby structure that you can access by an entrance or a hole in the top of the structure.
Shaw will tell you to proceed to the control room so that you can reboot the main dish as he is currently stuck with the subsystems.
9) Find the Control Panel

You will need to continue making your way towards the waypoint until you reach the Terrestrial Complex which is a restricted zone.
Be careful in this part of the mission because you will not be able to respawn and you will have to restart this part if you die.
When you arrive at the control panel, interact with it to start the initiation of a hack that Ghost will handle.
10) Investigate the Array Dish
Shaw will begin to give instructions on what needs to be done with the control panel but is quickly interrupted as Ghost finishes in advance.
You will then be instructed by Shaw to head over to investigate the Array Dish to see if it is working according to plan.
Ghost will claim that the Array is operational but you suddenly enemy forces will be headed your way in large masses.
11) Defend the Control Room
Ghost will detect large Hive swarms closing in on your position and you will then need to defend the control room by killing the oncoming enemies.
Enemies will start arriving by dropships and come from two directions depending on where you are and you will have to wipe all of them out before the mission continues.
At this point, comms will have interference, and communication with Shaw becomes scarce which appears to be caused by the arrival of the enemies.
12) Regroup with Ghost
After defeating the Hive forces, the interference will be gone and you will need to head back to regroup with Ghost.
Comms will be restored once you reach Ghost and Shaw will instruct you to extract before Navôta makes another appearance.
Tips
- There will be multiple instances where you will face waves of enemies and you should find a spot where you can easily defend from.
- The Cursed Thralls can be quite a nuisance if they closed the distance with you, so be sure to shoot them from afar and to avoid blowing them up when you are in close range.
When defending the control room, you will need to finish off the enemy waves and it is best you do so strategically as they will attempt to surround and corner you.
Summary

The mission comes to an end after you survive the enemy onslaught at the control panel and you are to meet up with Shaw afterward.
Shaw will apologize for putting you in such a position and that he expected something bad might have happened when the comms dropped.
It is revealed that the plan worked and the chamber that Shaw needs to access has been unlocked which will allow access to the Superconductor.