- Mission Type: Story
- Mission Location: Old Russia, Earth
- Mission Duration: 20-40 Minutes
There is a rumor that a powerful weapon frame which was hidden by Cayde and you have been sent to take a risk reward kind of mission.
After meeting up with Devrim Kay and helping him find the missing pieces to the puzzle which Cayde cleverly used to hide the frame, you are setting out to find the weapon frame.
You will need to fight your way past enemies in the Cosmodrome and locate where Cayde has stashed the weapon frame.
Mission Prerequisites
Before you will be able to find the weapon frame, you will need to put together the pieces of the puzzle that Cayde scattered and you will need help along the way.
1) Speak with Devrim Kay
You will need to first speak with Devrim Kay so that he can explain how to acquire the weapon and afterwards, he will inform you that you need to raid Lost Sectors.
2) Clear Lost Sectors
Devrim Kay will instruct you to clear the surrounding Trostland Lost Sectors which you can easily find by checking your map and looking for the Lost Sector signs.
The following must be cleared:
- Atrium Lost Sector
- Terminus East Lost Sector
- Widow’s Walk Lost Sector
Risk/Reward Mission Objectives
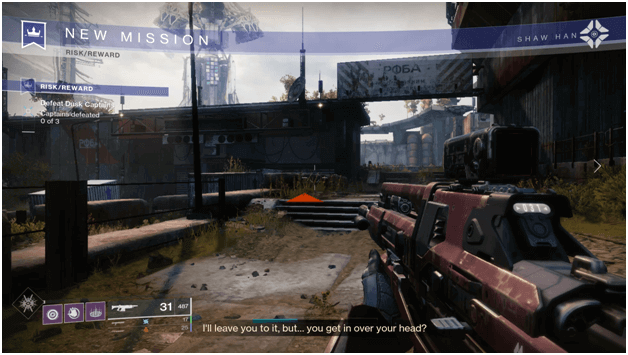
1) Defeat Dusk Captains

In order to find clues to where Cayde may have hidden the information that reveals the location of the weapon frame, you will need to start off by killing Dusk Captains.
Dusk Captains will be accompanied by Fallen enemies but keep in mind that others may be looking for them as well and you will need to do the final hit for it to count.
You can find them spawning in the Cosmodrome and will need to defeat 3 in order to continue on with the mission.
2) Find the Locked Gate
Once you have defeated the Dusk Captains, make your way towards the waypoint which will bring you to the locked gate.
You will find yourself heading back into The Breach which may be familiar to you as a location you passed through when you first started out.
The place will be crawling with a lot of Fallen units and you will need to fight your way past them as you head to the waypoint where you will need to open the gate.
3) Traverse the Chasm

As you enter the area, you will find yourself at a large Chasm which you must maneuver your way through to reach the waypoint.
You will have to make use of your unique class jump mechanic in order to reach the end of the Chasm but be weary as a miscalculated jump can end with you falling to your death.
Also read the other Destiny 2 mission walkthroughs below
- Schism Mission Walkthrough
- Cold Boot Mission Walkthrough
- A Guardian Rises Quest Walkthrough
- Advent Mission Walkthrough
- Vendetta Mission Walkthrough
4) Keep Searching
As you reach the waypoint, there will be Arc Conductors on a table which you must take in order to continue.
You will notice that the Arc Conductors are near a framed chicken card picture which prompts Ghost to talk about Banshee’s chicken loving friend who left the Arc Conductors as a present.
After picking up the Arc Conductors, you will instantly receive the Riskrunner exotic weapon and afterwards, you will continue making your way to the Fallen Nest.
5) Enter Fallen Nest

Continue moving towards the waypoint until you reach the nest and be sure to equip your new weapon because you’re going to be using it real soon.
At the end of your path there will be a huge drop to the bottom which you can survive by utilizing your special jump mechanic.
As you exit from the drop, there will be multiple enemies in the area ready to attack if you want to come out of a tunnel.
6) Test Your Exotic Riskrunner on Fallen Raiders
Now it’s time for the fun part as you are going to unleash havoc on the Fallen enemies in their very own nest with your new toy.
Head over to the Fallen and start killing them and soon after you cleared a whole lot of them, a boss named Haviks, Dusk Baron will appear.
Continue on and defeat Haviks and the Fallen enemies that spawn but be careful as they can overwhelm you if they get too close.
Once you have cleared out all the enemies along with the boss, the mission will be complete.
Tips
- Some players may acquire this mission at an early stage and the enemies may prove to be too powerful even with the new weapon so it’s best if you fought carefully.
- When fighting the Fallen at the last part of the mission, it is possible to take cover in the tunnel from melee enemies but watch out for the boss and other ranged units.
The Riskrunner can deal a lot of damage in a small amount of time and may unleash shots that cause a chain lightning effect that easily clears out groups of enemies.
Summary

This mission is probably one of the earliest ways for you to get a powerful weapon and your efforts are well rewarded as you get to keep it.
You have just received one of the very first weapons that the new technology powered by the Superconductor has provided and this has proved its worth.
You will need to head over to the Last City and speak with Commander Zavala in order to continue with the A Spark of Hope quest.