Season of the Wish introduced many new things to the game, which included a new hidden collectible known as the Starcat.
While you don’t necessarily get to keep the cat, you get rewards for interacting with it and this also counts towards the Sneaky Cat triumphs.
Each Starcat that you collect will provide you with rewards and once all of them have been collected, you will be able to collect a prize from the Familiar Felines triumph.
Week 1 Starcat Locations
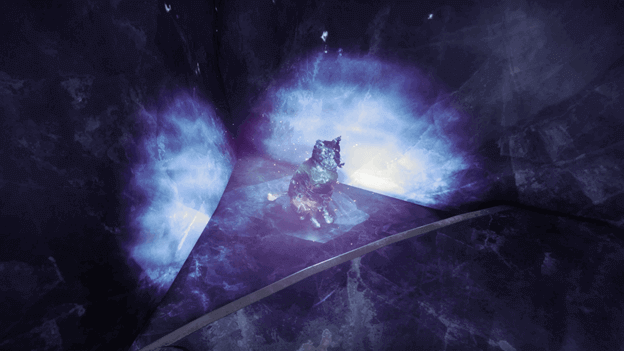
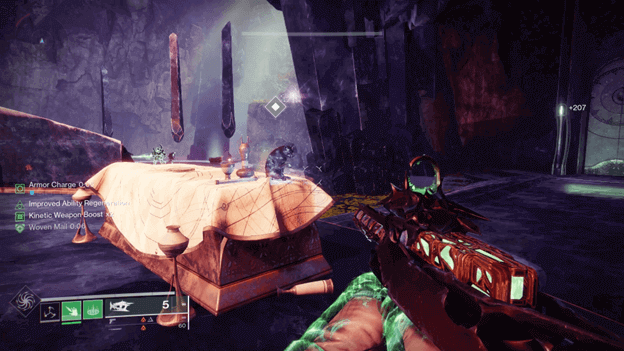
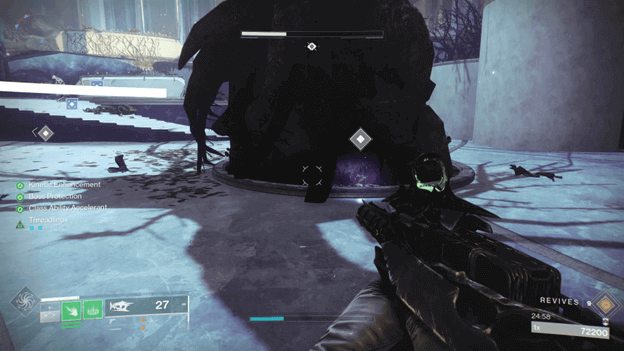
1) Garden of Plenty Starcat (Riven’s Lair/The Coil)
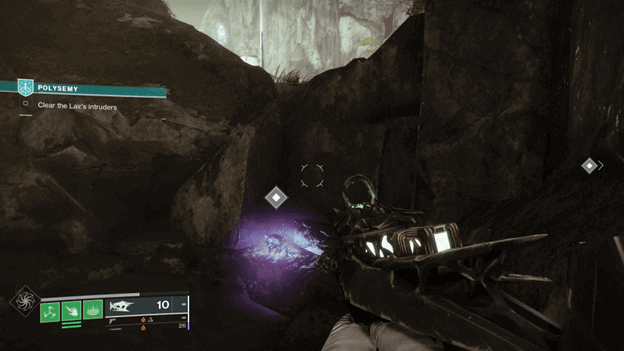
One of the first Starcats that you may find is the one in the Polysemy Mission that is given during the first week of the Seasonal Quest. (If you have a tracking mod installed on your Ghost)
This will be located down the darker area near the left side from where you are facing as you enter the Garden of Plenty. (You can be brought here by the left portal at the start)
You can easily find this Starcat if you head to the edge of the map in the Garden of Plenty near the stairs that leads to a portal after you have cleared the intruders.
2) Blind Well Starcat (Dreaming City Activity)
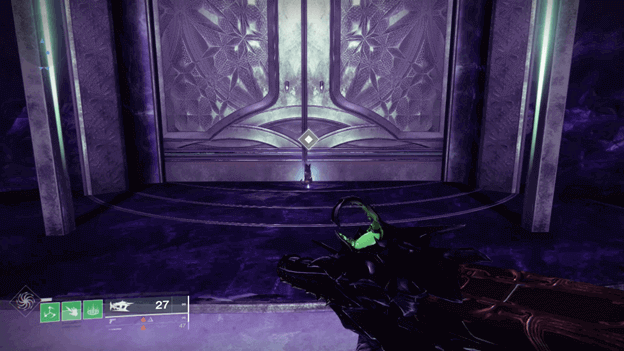
This is a rather easy one to find but some Guardians still miss it because they focused on completing the activity first and may not have looked around.
If you have checked the triumphs for hints, you might have already searched for it and will have found it by the large doors at the end.
The Starcat will be sitting right in front of the center of the large double doors and is hard to miss once you go looking around for it.
Week 2 Starcat Locations
3) Temple of the Queen’s Wrath Starcat (Riven’s Lair/The Coil)
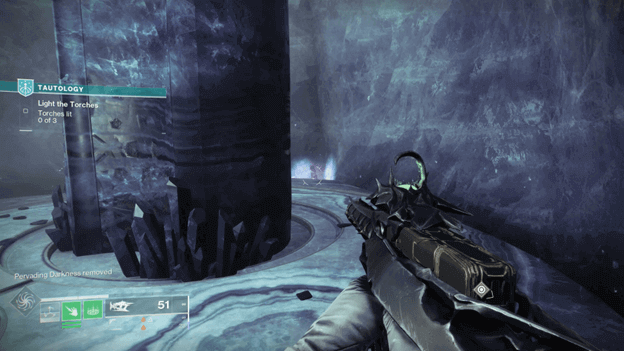
The Temple of the Queen’s Wrath Starcatat can be found during the Tautology Mission (Riven’s Lair, The Coil, or Quest Mission) in the room where you need to light 3 torches.
Once you reach the Temple of the Wrath where you will find the 3 torches, head to the opening on the right and make another right to reach the far end.
There will be a pillar at the end and behind it will be a Starcat but there is an instance where you will find The Temple of the Queen’s Wrath without the cat. (This is a different room and task)
4) Chamber of Starlight Starcat (Lost Sector)
The Chamber of Starlight Starcat is almost impossible to miss as it will be right on top of a table where you find the Lost Sector’s boss.
You can fight your way through the enemies until you reach the area where the boss can be found or simply jump and glider your way up to the balcony.
The Starcat can be found on top of a table after you head straight from the balcony towards the area where the boss spawns.
5) Bay of Drowned Wishes Starcat (Lost Sector)
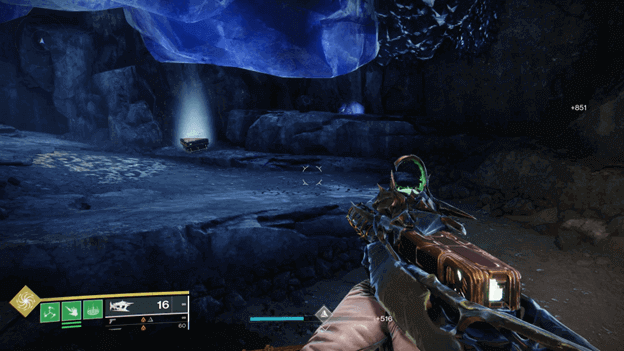
The Bay of Drowned Wishes Starcat is often missed because the Seasonal Quest does not really take you to the Lost Sector and instead this was discovered by checking the Triumphs.
To find the Starcat in this Lost Sector, all you need to do is go to the very end where you will fight the boss and you will be able to find it near the Boss Cache.
You may have to fight through the first part to take down the barrier leading to the cave but after that, the Starcat is free for grabs.
6) Aphelion’s Rest Starcat (Lost Sector)
The second week of Season of the Wish didn’t have anyone going to Aphelion’s Rest, which made it a bit hard to figure out if a Starcat was there.
Luckily, the Triumphs had hints and gave away which area it could be found in, which includes mentioning the Starcat being in a bowl.
If you head to Aphelion’s Rest and fight your way through the enemies to reach the end, you can find the cat hidden away in a large bowl.
Week 3 Starcat Location
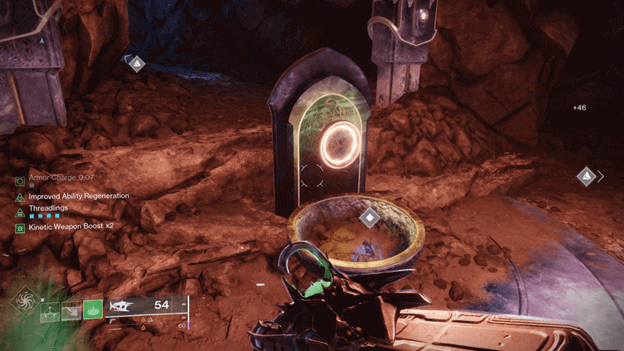
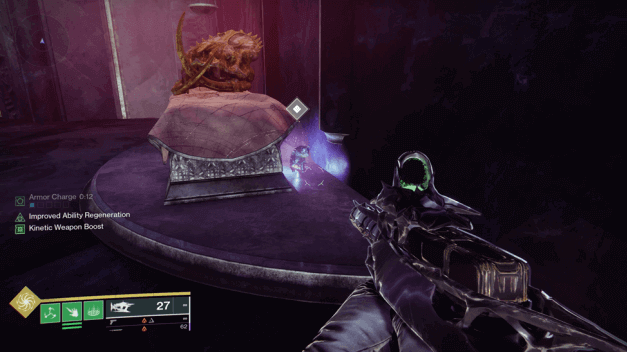
7) The Gnashing Chamber (The Coil)
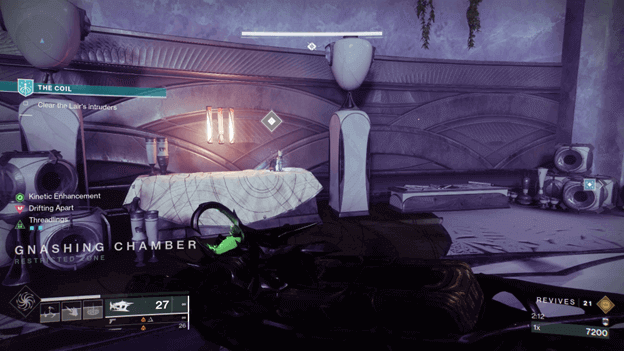
The Gnashing Chamber is one of the rooms that you may enter when you jump through portals during The Coil Activity.
One of the best ways to get here is to repeat The Coil until you find it or check and rerun the mission until you get to it after going through the first path.
You will find that the Starcat is on the side on top of a table next to a small cat figurine, which won’t be too hard to spot.
Week 4 Starcat Location
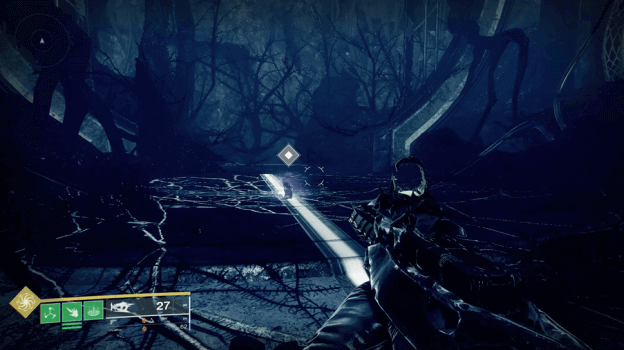
8) Reaver’s Orison (The Coil)
Week 4 sends you searching for another Starcat in Reaver’s Orison, which is one of the rooms that you can arrive in during The Coil or Riven’s Lair activities.
It would be best to opt for The Coil as you will be able to reach multiple rooms with a lesser chance of them repeating.
You can find the Reaver’s Orison Starcat to the right of the room at the base of the large tree and can easily notice it by the glow that it gives off.
Week 5 Starcat Location
9) Spine of Keres (The Dreaming City)
While everyone has been led on a wild goose chase searching for Week 5’s Starcat, which was thought to be in the Cell of the Sycophant, a different cat was found.
Instead of being in The Coil, you will want to make your way to The Dreaming City, where you will continue following the left side until you reach the Spine of Keres.
Continue making your way to the building (Oracle Room) where offerings can be made and head up the stairs where you will find the Starcat near the Techeun.
Week 6 Starcat Locations
10) Harbinger’s Seclude (The Dreaming City)
Make your way to Harbinger’s Seclude, which is at the upper right of Rheasilvia, and continue pushing forward through the castle at the end.
You will eventually reach a large area where a statue can be found and behind you will be an entrance to a lower chamber where an elevator shaft will take you down.
Jump down the elevator shaft and head into the large room before turning right into a small room where the Skull of Muninn can be found and you will find the Starcat behind it.
11) Gardens of Esila Starcat (The Dreaming City)

You will need to start at the Divalian Mists and make your way to The Strand, which is where you will proceed to go south until you reach the Gardens of Esila.
Continue making your way across the path once you reach the gardens and eventually, you will come across a small bridge.
The bridge will run across a small pond and if you head below it, you will find the Starcat underneath just above the water.
12) The Confluence Starcat (The Dreaming City)
Take note that there are multiple ways to get to the Confluence, but we are sticking with the Spine of Keres since it is easier for most players.
Once you get across the gaps in the Spine of Keres, you will need to keep to the left until you reach the small bridge and there will be a path to the right.
Go down the path and continue until you find the portal to the Confluence, where you will take a left and continue going straight to the very end to find the Starcat.
Week 7 Starcat Location
13) The Astral Cloister Starcat (The Dreaming City)
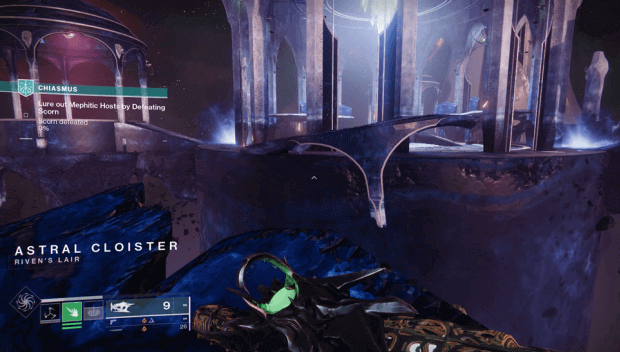
The Astral Cloister is introduced during the Chiasmus mission but can also be encountered in Riven’s Lair or The Coil activities.
Once you have cleared the enemies, a portal will appear and instead of going inside, look for the Dreaming City Statue nearby and make your way towards it.
There will be an orb nearby once you have made it to the statue and if you approach it, you will find that a Starcat is right next to it.
Week 8 Starcat Location
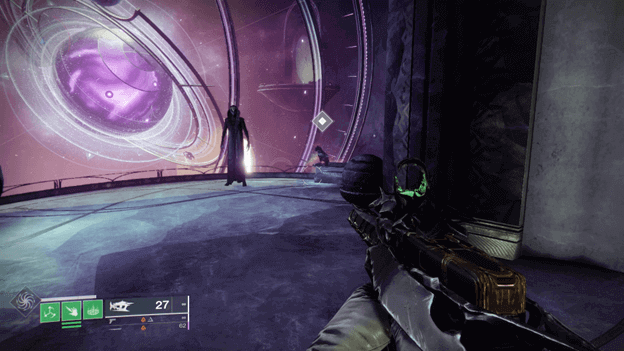
14) The Starcrossed Starcat (Starcrossed Mission)
A hidden Starcat was introduced to the game which required players to complete the quests for the Wish-Keeper, which would unlock its Catalysts.
For each quest you complete, a platform will be available at the end and eventually you can climb up these platforms to reach a portal.
Once you have entered the portal, you will find the Starcat sitting near the center of a circle, which is a symbol of the Ishtar Collective.
Starcat Rewards
Interacting with a Starcat will provide you with certain rewards that fall under a simple table and these include XP, Glimmer, Legendary Weapons, and more.
Each Starcat that is collected will also have its triumph unlocked and after you have all of them, you get the Wyrmguard Shell for your Ghost.
Verdict
While finding these felines hidden around the system may not have been obvious during the first week, players eventually stumble upon them.
Locating the Starcats hidden throughout the different areas is not that hard since players get hints and a location mentioned.
It would be a good idea to seek out these collectibles to provide your character with more XP as well as other rewards from interacting with them.