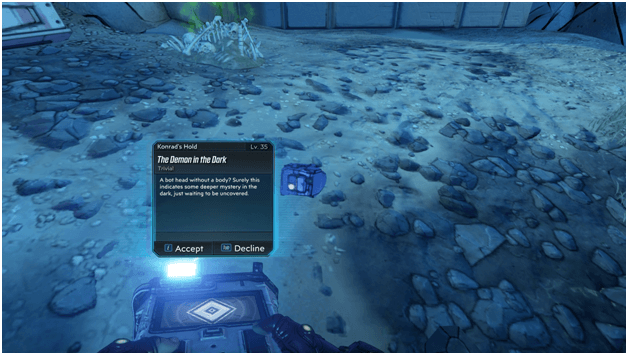
- Mission Type: Side Mission
- Planet: Nekrotafeya
- Location: Konrad’s Hold
- Level: 35
The head of a robot name Wren has been discovered and later on asks you for assistance in not only putting it back together but also in carrying out a quest that is has embarked on.
You task is to help this robot get back together and carry out its quest for it in a search inside a cave which is tied with their somewhat robot-fantasy legends.
This mission is actually a kind of Easter egg as it replicates its own version of a scene in the Lord Of The Rings which occurs in The Fellowship Of The Ring.
Mission Walkthrough
Putting Wren Together
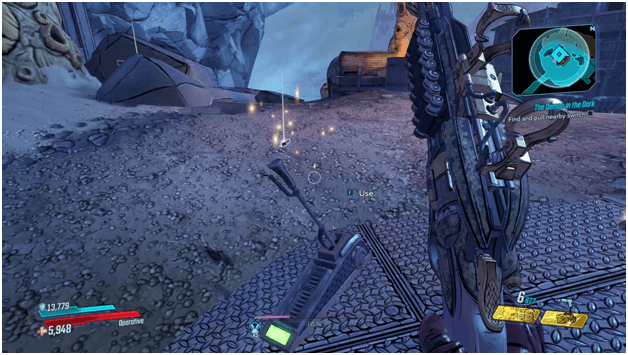
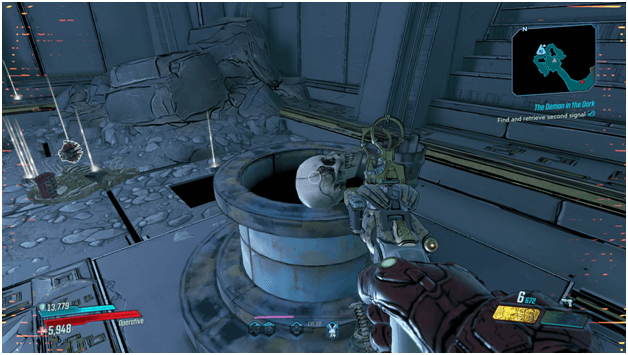
After accepting the mission, you will need to use a lever to open up a cave so you can proceed inside where Wren’s body is located.
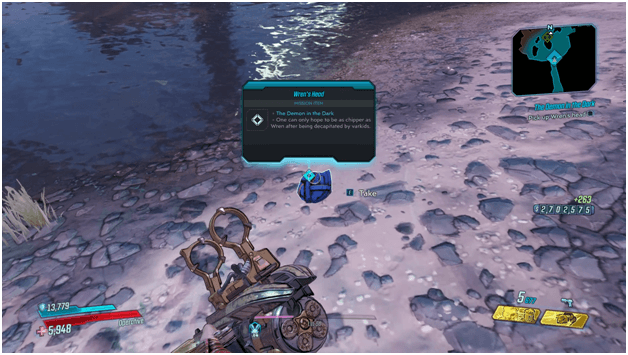
Grab Wren’s head and make your way towards the waypoint inside the cave where she will ask you to reconnect her head to her frame/body.
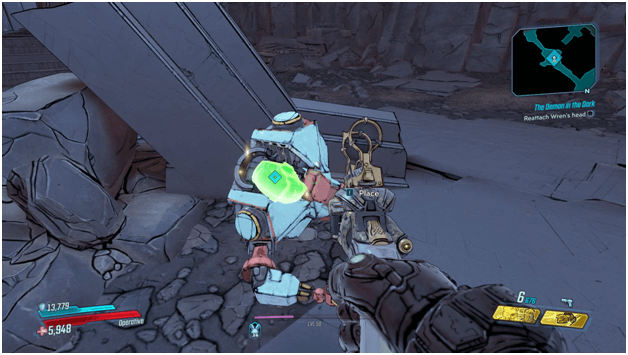
Follow the waypoint and you will see a robot body of a different color and regardless of this, you are to connect Wren’s head so it can move on its own once again.
The Search For Alkonost
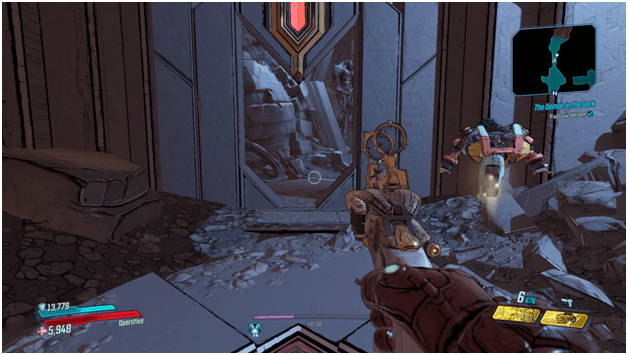
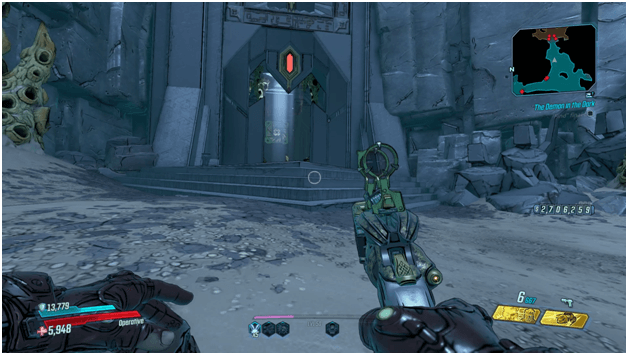
Once Wren is up and running, follow it to a gate where it will claim that there is no welcoming party (similar to that of the Fellowship Of The Ring) and it will open up the doorway for you to proceed.

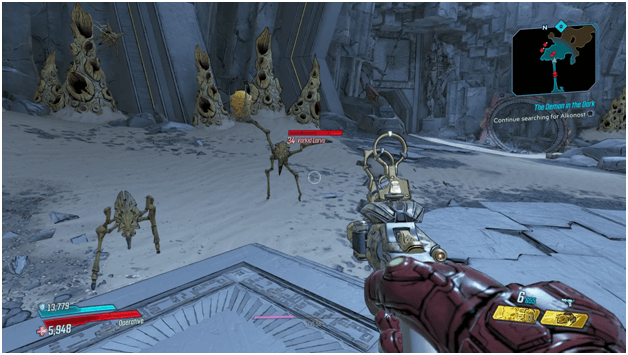
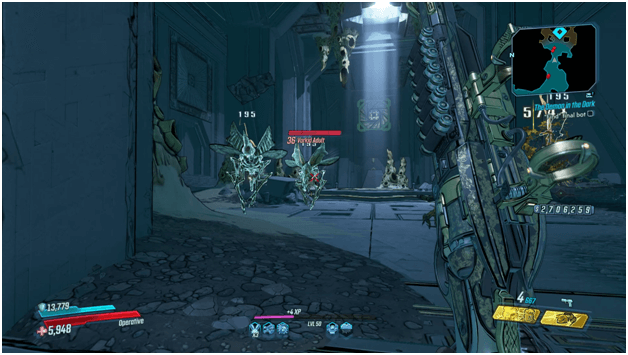
Once the doorway is open, Wren will ask you to carry on and seek out Alkonost and The Expedition and you will then need to proceed towards the waypoint, fighting through various varkids along the way.
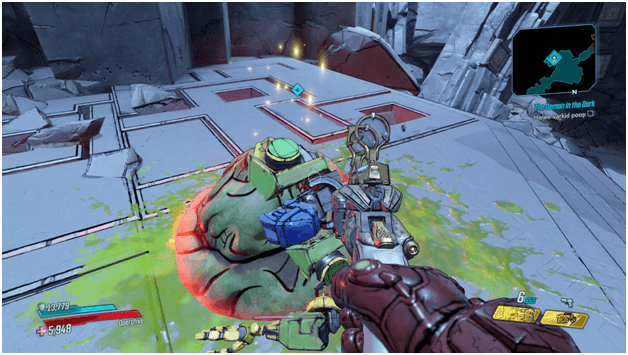
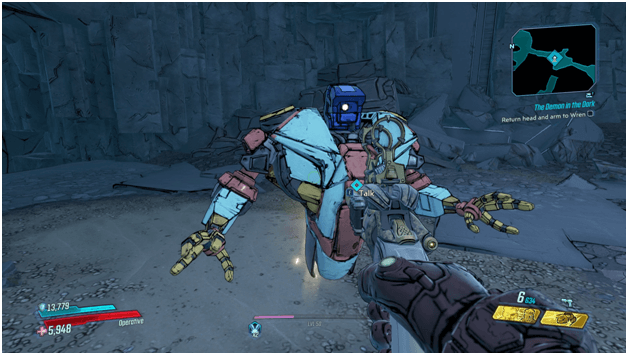
Upon reaching the waypoint, you will find a robot named Lark that is covered in varkid poop which you will need to do a melee attack on to remove the poop.
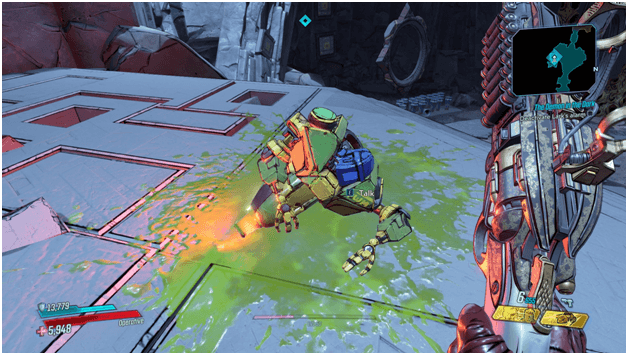
After the poop has been removed, an alarm will trigger and you will need to interact with the body to deactivate it.
Solving The Ring Puzzle

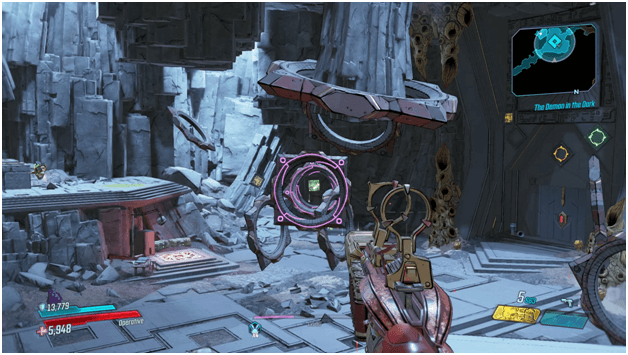
It will be revealed that you will need to solve the puzzle in the area which involves the rings that are oddly floating around.
The puzzle involves shoot through rings to hit the correct buttons to open up the path leading to the next area.

You will find strangely colored and designed plates in the area which you need to stand on in order to be shown the correct alignment of rings.
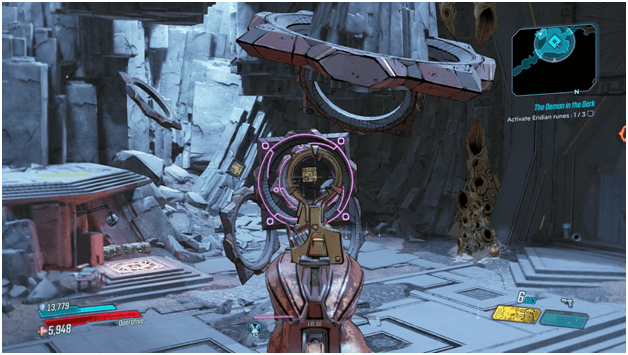
Once your standing on the plates, you will see the correct rings light up and begin to move which indicate the correct alignment.
Once you shoot the button through the rings, it will light up and turn green which means it has been activated.
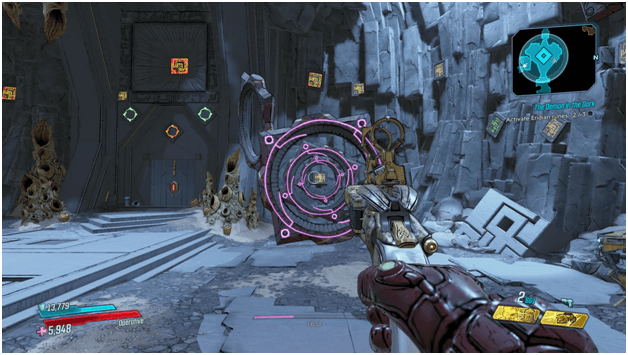
This puzzle requires the task to be done 3 different times to open up the doorway leading to the next area so find all the plates and shoot through their aligned rings to solve the puzzle.
Continuing The Search
After solving the puzzle and heading through the doorway, continue towards the waypoint where you will then carry on with your search for Alkonost.
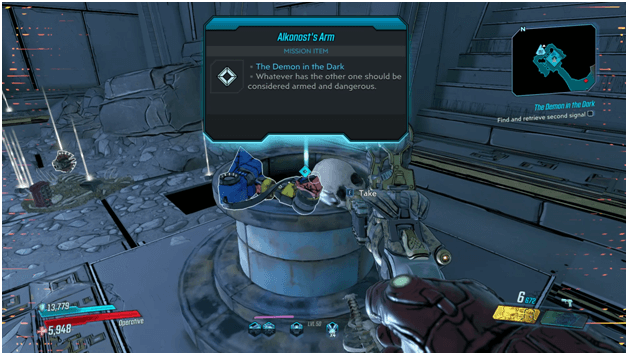
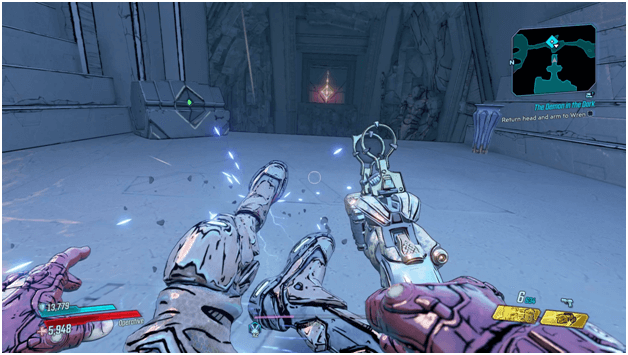
Follow the waypoint leading you through a bunch of varkids and eventually into a room where Alkonost’s arm has been left behind which you will need to take.
Once you have taken the arm, a skull that was next to it will fall, causing a long echoing sound as it continues falling down a hole (just like in The Fellowship Of The Rings where Pippin, one of the hobbits knocked a skull off of a skeleton which had a similar reaction) alerting enemies of your presence.
Varkids will start to spawn and you will need to head over to another area that has opened up nearby from where you dropped the skull.
Encounter With Lagromar

You will find yourself inside a room where you will search for the final bot and will need to proceed to the waypoint in the strange altar-like room.

A demon will appear in front of you at a large scale (similar to the Balrog in The Lord Of The Rings) making a very intimidating presence and Wren will tell you that you need to defeat it to avenge its ancestor.

After Lagromar makes its very scary appearance, all the effects will die down and it will be revealed that Lagromar is much smaller than you though he would be and you will then need to kill him.
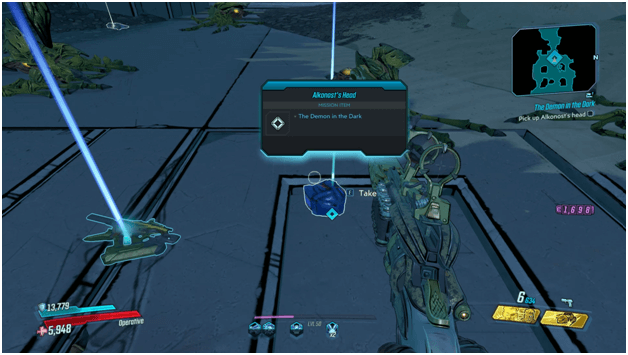
Once you have killed Lagromar, it will drop Alkonost’s head which are then to pick up and proceed back to Wren.
Returning To Wren
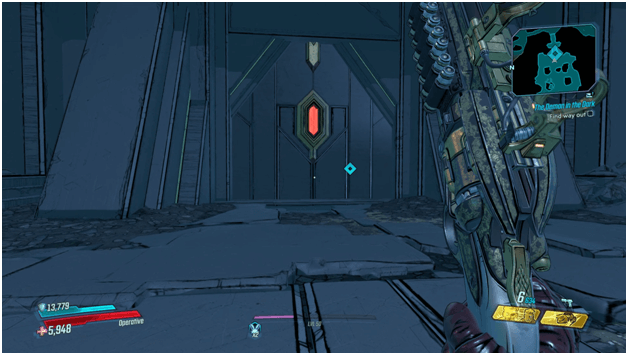
When you have obtained Alkonost’s head, you will need to find a way out of the area and make your way towards the waypoint at the back where you fought Lagromar.
Proceed towards the waypoint which will take you down a path that leads you to the room where you last left Wren.
Speak with Wren to return the head and the arm that you obtained and shortly after, the mission will be completed.
The Demon In The Dark Mission Rewards
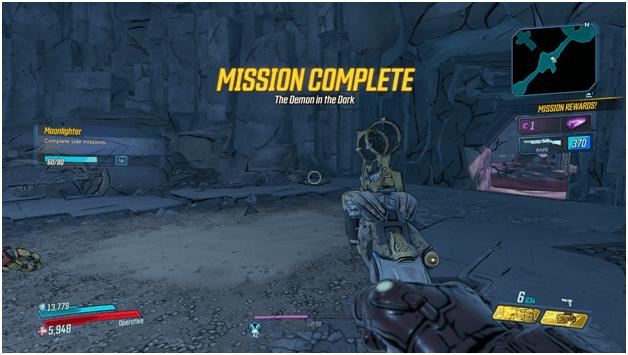
Completing The Demon In The Dark will reward you with around 1 Eridian and the “Chomper” rare shotgun.
Tips
- The puzzle can be hard to understand at first but once you figure out how it works the only thing you need to do is look for the plates.
- You will mostly just be fighting against varkids so using high damage weapons and even incendiary weapon types can make the mission much easier.
- Lagromar does not pose much of a threat so there is no need to be too cautious when facing him.
- Try not to get cornered by varkids in one area as there will be many in the mission and you don’t want to get pinned in corners or surrounded so stay in the center of the rooms or lure them through tight doorways to deal with them easily.