- Mission Type: Takedown Mission (Raid)
- Location: Midnight’s Cairn
Takedown at the Maliwan Blacksite is the first Takedown or raid mission that has been introduced in Borderlands 3 and serves as one of the first endgame raids for players to overcome.
In Takedown at the Maliwan Blacksite, it has been discovered that Maliwan has been working on a special unit, a large robot which is capable of severe destruction which must be destroyed.
Your mission is to fight your way through the Maliwan base and facility and make your way towards their creation and destroy it.
Mission Walkthrough
Reaching The Maliwan Blacksite
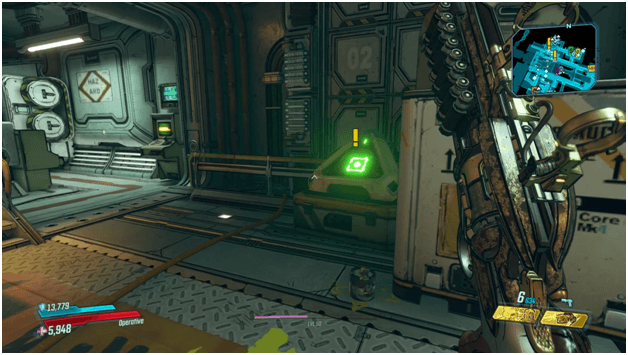
To begin the mission, you will first need to find the console in Sanctuary which will give you the Discovery: Takedown at the Maliwan Blacksite mission which will then allow you to access Midnight’s Cairn.
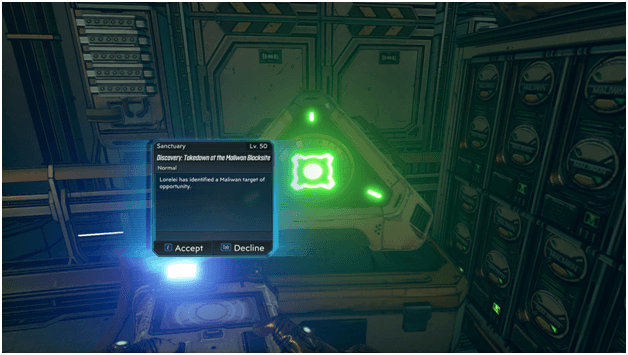
You can start the discovery mission just as you would any side quest in order to make your way to starting the Takedown at the Maliwan Blacksite mission later on.
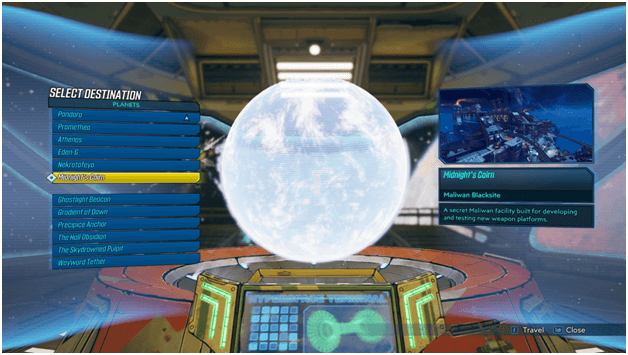
Once the mission has been accepted, Midnight’s Cairn will be available as a destination which you may now navigate Sanctuary to.
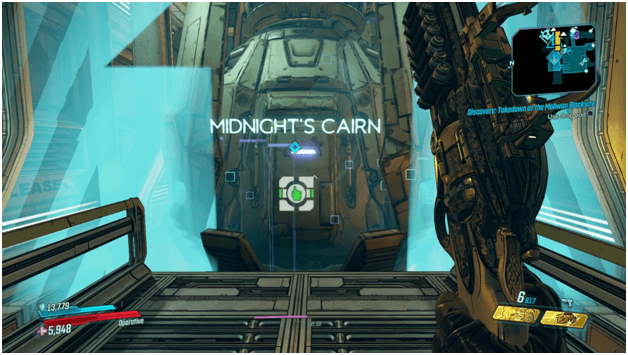
Once Sanctuary has reached Midnight’s Cairn, head to the drop pod and use it to be brought down to the surface in an abandoned area where you will begin your raid.

After you have been brought down via drop pod, the discovery mission will be completed and you may then proceed with the takedown mission.
Additionally, arriving at Midnight’s Cairn will reward you with an amount of cash that is around 20,808 or near that amount.
Infiltrating The Facility
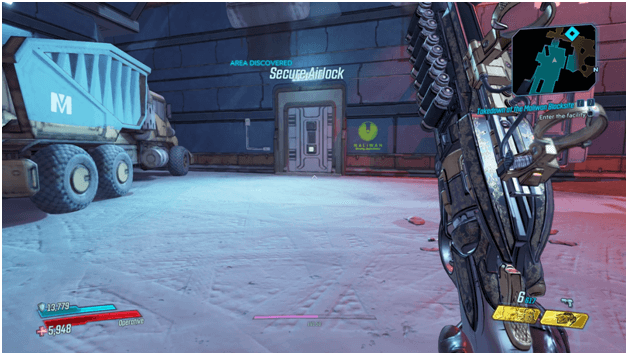
Once you are in Midnight’s Cairn, you and your allies will find yourselves in a more abandoned area of the planet and will need to make a start from there.
Head inside the facility where you will find vending machines that will allow you to stock up before beginning your assault on the outer area.
Once ready, head over to the door and activate the switch that is marked by a waypoint to start the takedown and open up the door for you to go through.
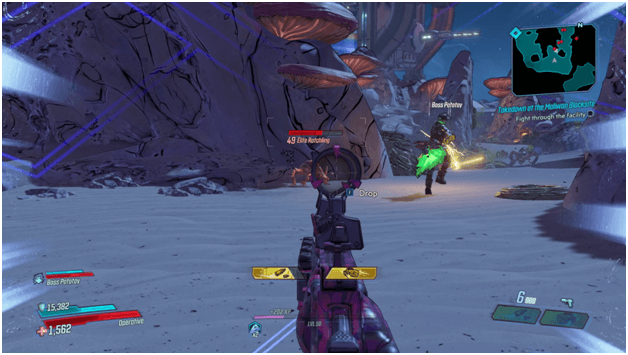
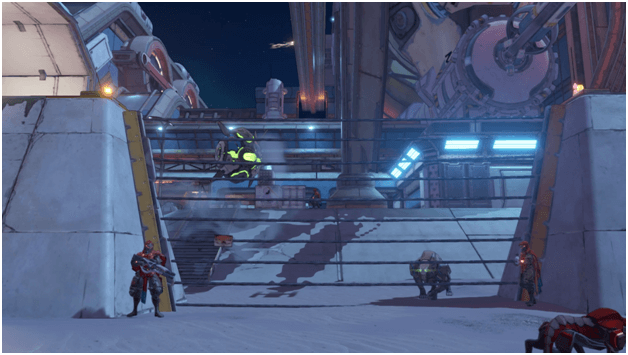
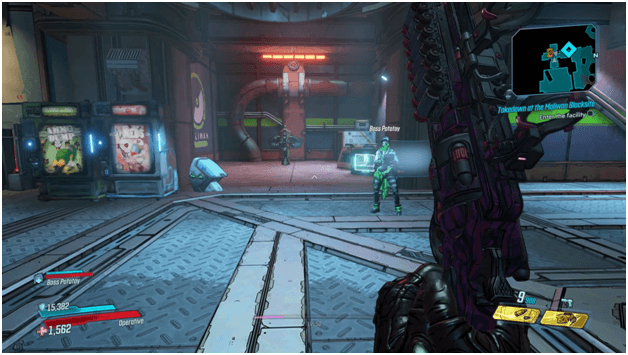
As you head to the marked waypoint, you will begin outside of the facility where there are several ratch in the area that the Maliwan are fighting against.
Use this as an advantage to get near to outer defense of the Maliwan facility and push forward to gain entry.
A gate will be blocked by a forcefield which will turn off once you have killed 3 of the Maliwan guards that are mounted on the wall and firing at everything outside of the facility.
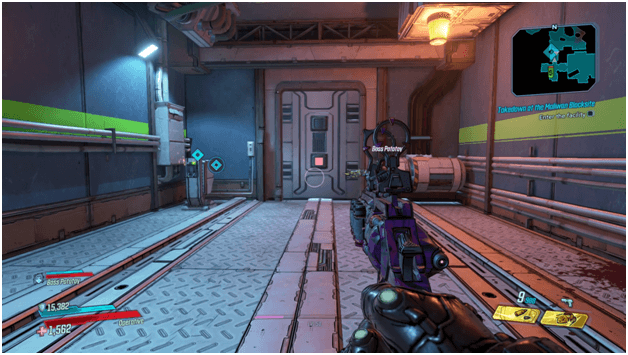
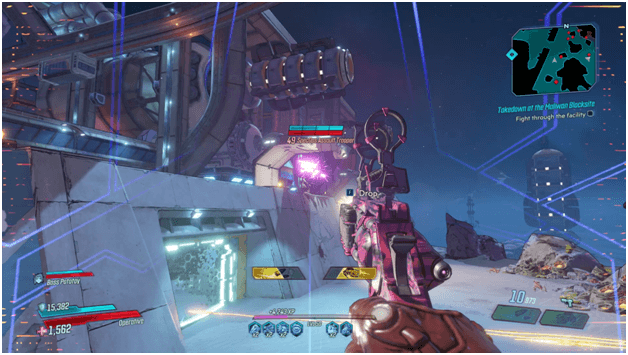
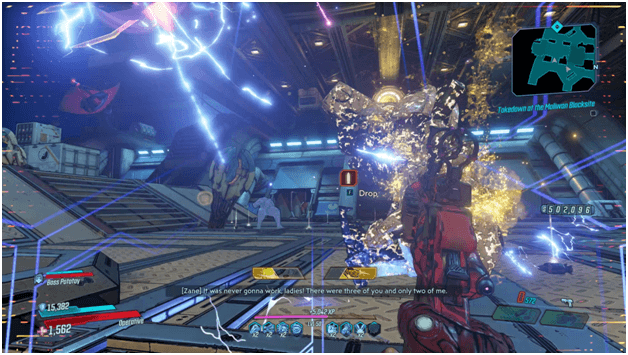
Fight your way through the enemy forces and clear up the base so you can proceed to the waypoint blocked off by a forcefield which will be taken down once you have defeated the Kraken, a robot that comes out once a large amount of the enemies are cleared and as you approach the large gate.
Fight the Kraken until you completely destroy it so you can proceed with the mission and once it is destroyed, the forcefield behind it will deactivate.
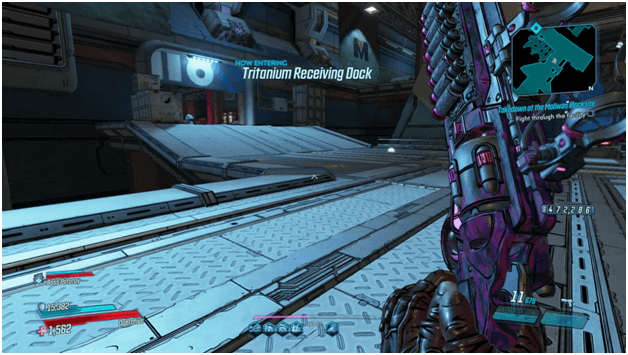
Once the forcefield is down, head towards the waypoint as you will pass through the Tritanium Receiving Dock which will also have vending machines around for you to restock your needs.
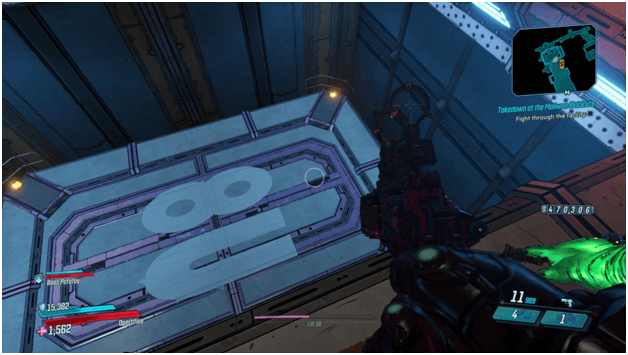
Head down a lift at the end of the hall to proceed with the mission, taking you down to the second part of the mission.
Facing The Valkyrie Squad
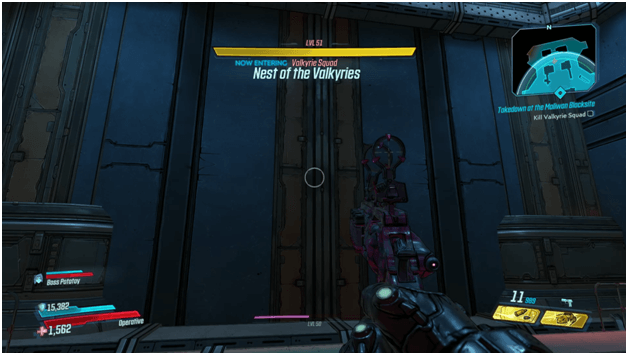
As the lift goes down, you will find yourself in the Nest Of The Valkyries, an open area where there will be 3 mechs which you must defeat in order to proceed.
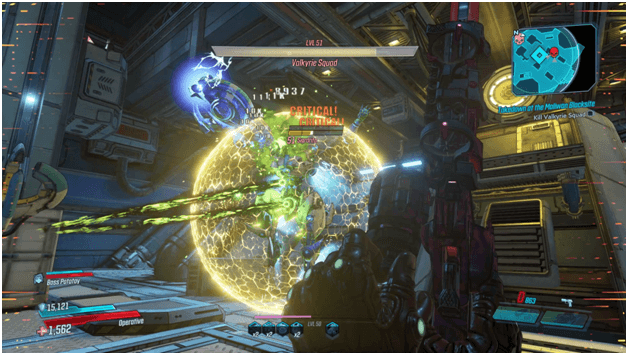
Each of the Valkyries will attack you at first and back off once you deal damage to them while spawning in enemies for a few times before they fully engage you.
Deal enough damage to the Valkyries and kill all the enemies they spawn until you eventually destroy the Valkyries.
Crossing The Bridge
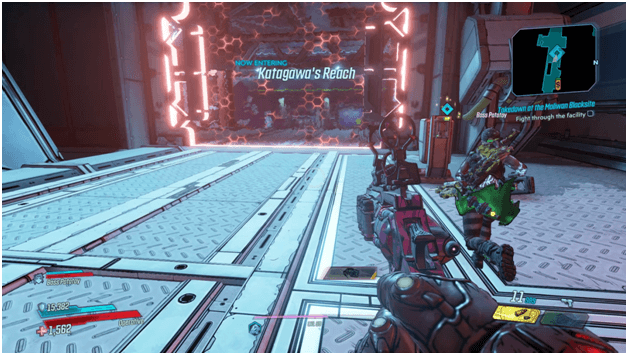
After the fight with the Valkyrie Squad, you will then move forward to Katagawa’s Reach where there will also be vending machines once again for you to resupply.
Head forward and activate the switch on the side to take down a forcefield to allow you to enter the next area of the mission.
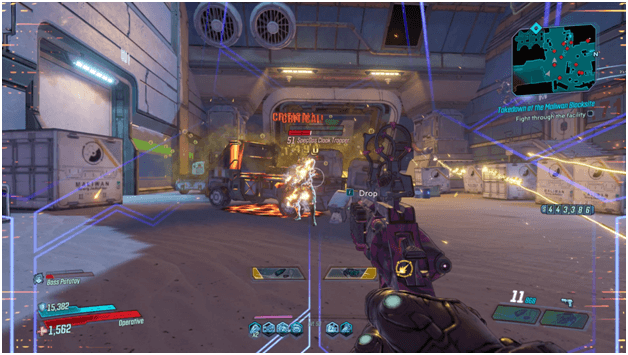
Continue making your way towards the waypoint on your map which will eventually bring you along a large bridge where you must first clear up all the enemies before proceeding.
Clear out all of the enemies and until there is nothing left so that the waypoint will point you towards the entrance to the next area at the end of the bridge.
There will be strong heavy units at the area where the forcefield was recently deactivated so be sure to kill them before proceeding into the next area.
Taking on Waton
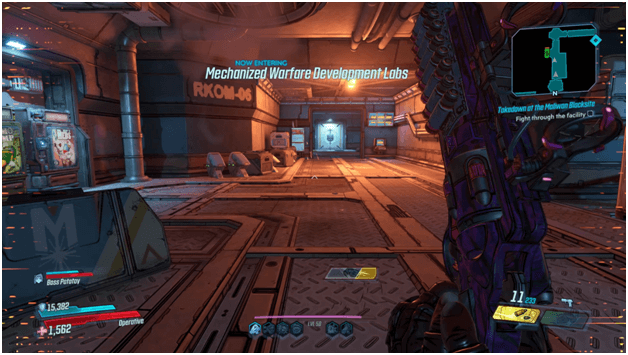
Continue making your way towards the waypoint and you will find yourself inside the Mechanized Warfare Development Labs where there will be vending machines for you to resupply one last time.
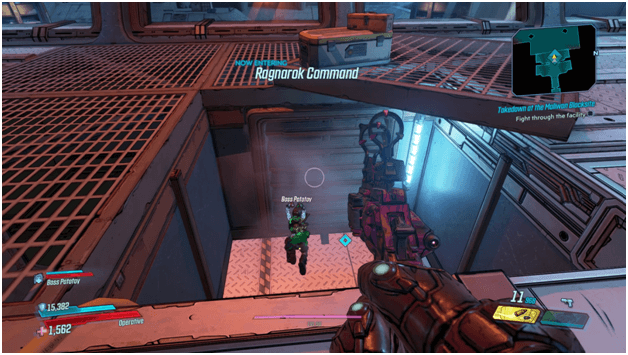
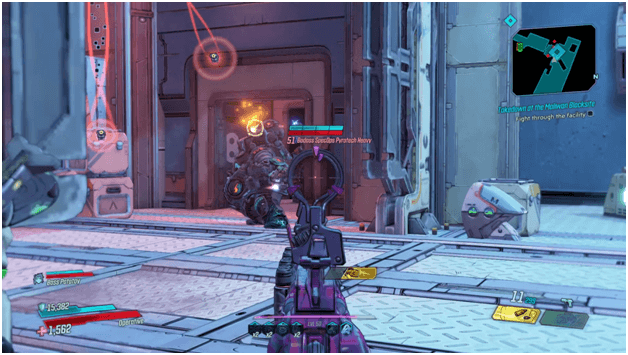
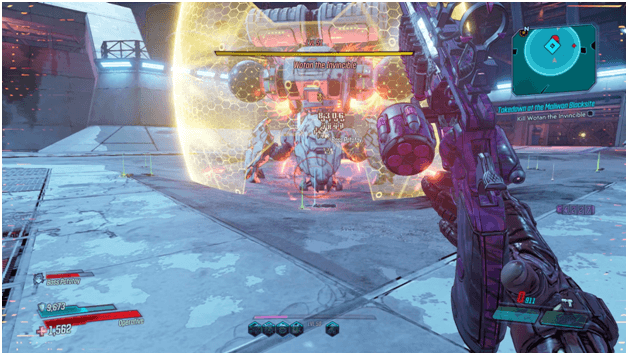
Proceed to the waypoint where there will be an opening which just like previous areas in the game, means that a boss fight is coming so be prepared to take on the boss of the mission.
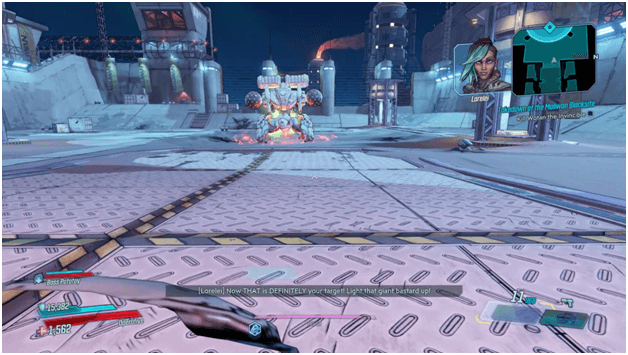
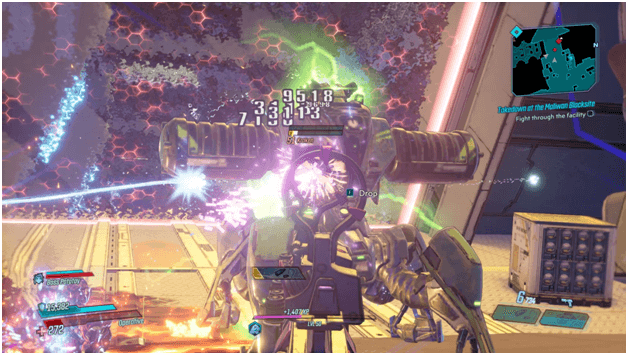
A quick cinematic introducing the mission boss known as Wotan The Invincible and soon after the fight will begin.
The boss will immediately be attacking you with a sequence of attacks, including long distance rockets which you must avoid.
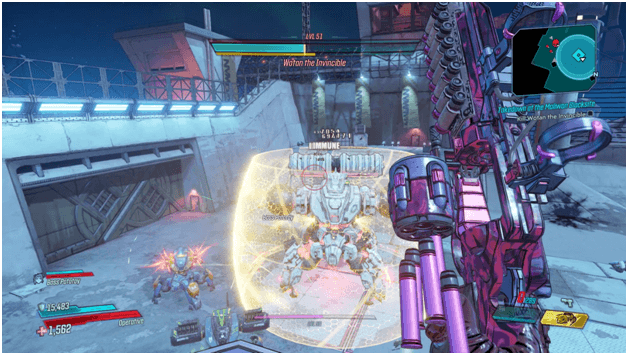
Continue fighting against Wotan The Invincible and all of the enemies in the area until you finally destroy it which will then end the mission, allowing you to loot all the goodies that have been dropped in the area.
Takedown at the Maliwan Blacksite Mission Rewards
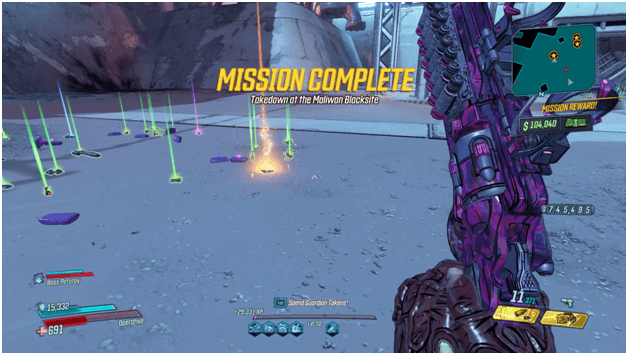
Once Wotan The Invincible has been destroyed, you will be rewarded with around 104,040 cash and will be able to look any of the items that have dropped in the area.
Tips
- Try to take out the harder enemies first or save a few weak enemies so you have a way to score yourself a second wind just in case you get downed.
- Bring multiple elemental weapons for the boss as well as some of the enemies unless you are sticking with a really strong physical weapon.
- If you aim to fight the boss and other enemies with elemental weapons, be sure to have shock, corrosive and incendiary for each of the enemy health types so you can kill them easily.
- Avoid rushing into a fight as enemies can overpower you and eventually kill you.
- It’s a good idea to change to a more durable build rather than focus on purely dealing damage as survivability is a key to completing this mission.