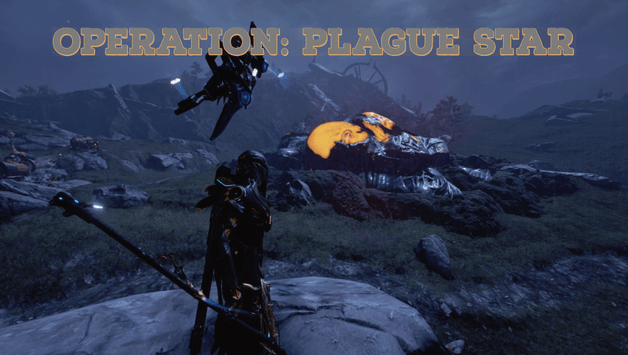
Operation: Plague Star is an event that occasionally appears in Warframe every now and then allowing the participants to acquire rare items that are otherwise unavailable during most of the game or provides gear easier than others during the specific period of the event.
During Operation: Plague Star, a new bounty will be available to be activated from Cetus or inside the Plains of Eidolon.
Players may obtain syndicate points for a special syndicate which can be ranked up and offers prizes during the time that the event will be present on Cetus and the Plains of Eidolon.
The syndicate points earned by the player will be usable to trade for different rewards for the remaining duration of the event allowing players to purchase special equipment or certain resources.
An Infested presence will have taken over the Plains of Eidolon during the duration of the mission which is usually about 1 to 2 weeks.
When is Operation Plague Star in 2023?
Plague star event in Warframe occurs only once in a year and it lasts for 3 weeks. In 2022 it has not returned. Whereas, in year 2023 it has returned on November 7th and it will last until November 21 at 11 a.m. ET.
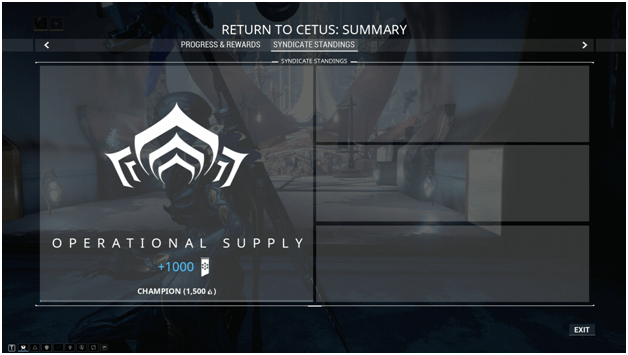
Operation Supply

During the Operation: Plague Star event, Nakak will have an additional an additional menu which can be accessed in order to see your rank, standing and offering you can purchase regarding the Operational Supply syndicate.
The Operational Supply syndicate is available during the event and you may earn standing during this time in order to make purchases to buy a wide assortment of different items.
Most of the items will be unavailable from any other sources and attempting to get them during the limited time during the event is advised to furthermore increase your arsenal, equipment and more.
How To Purchase Plague Star Items?
Nakak
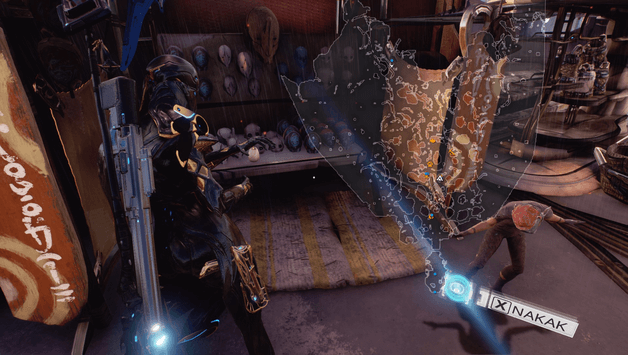
Nakak is originally a vendor in Cetus that sells masks but can be conversed with during the Operation: Plague Star event in order to increase your standing with Operational Supply as well as make the purchases that trade standing for certain goods.
For those who do not know where to purchase Operation: Plague Star items, simply head to Nakak to do so.
You may increase your Operational Supply syndicate ranking by interacting with Nakak also in order to make more items available to be purchased for standing.
Nakak can be located near the center of Cetus and identified on the map by an icon that looks like a mask.
Interacting With Nakak
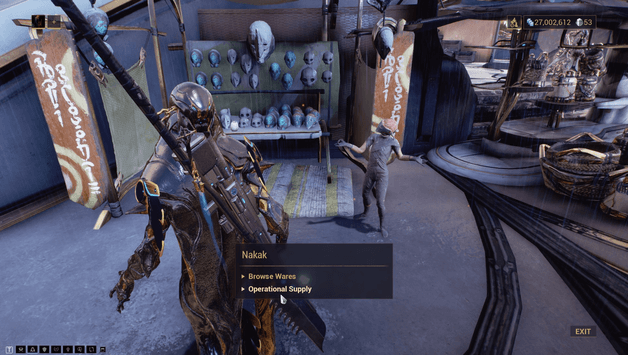
By interacting with Nakak you may choose between the two selections where “Browse Wares” allows you to see her show but in this case we are focusing on “Operational Supply” for the event.
Selecting Operational Supply will bring you into the menu related to the Operation: Plague Star event.
Operational Supply Menu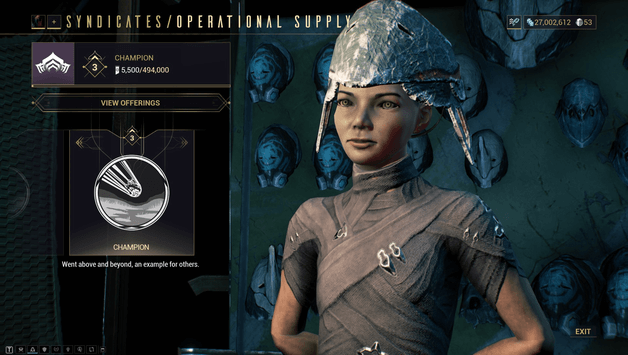
In the Operational Supply menu, you will be able to see your current standing with the Operational Supply syndicate also referred to as Nakak standing by most players.
The more standing you have, the more you may purchase but in order to have a high amount of standing capacity, you need to increase your rank.
Basically to increase your rank, like all other syndicates you must first acquire enough standing in order to proceed to the next rank.
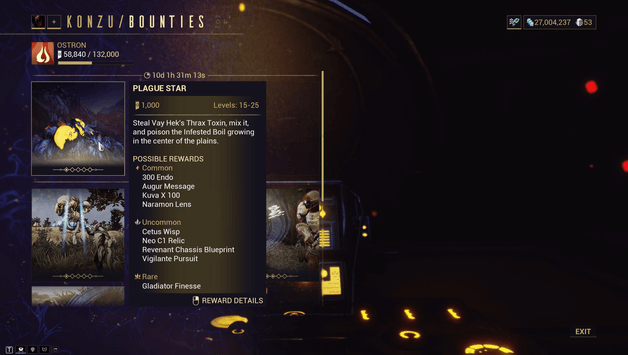
To obtain standing, you will need to do the Plague Star bounty which will we have also covered and can be found furthermore in this guide.
Once you have enough standing you may select “View Offerings” to see the items you may purchase using Operational Supply standing.
Operational Supply Offerings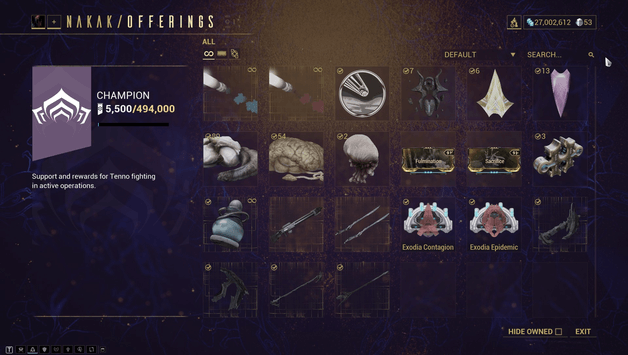
In the Operational Supply Offerings or Nakak offerings, you may see a lot of items which may be purchased as well as the exclusive Plague Star arcanes and Zaw parts.
These may be purchased using standing which can be acquired later on doing the Plague Star bounty.
Exchanging Operational Supply Standing For Items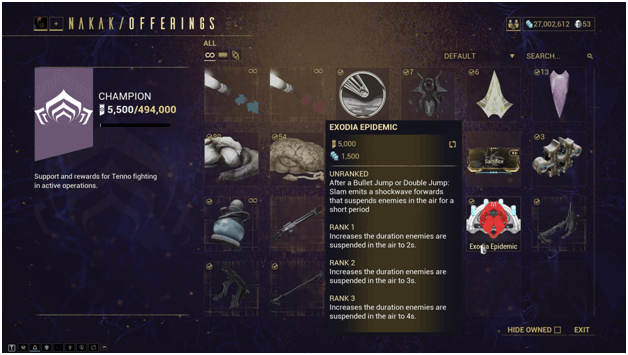
You can see the items and additional information about them when hovering your cursor over them in order to see the stats they have, what they do or what item they are and can then decide it is the item you would like to purchase in exchange for standing.
Once you decide on an item from the offerings menu, simply click on them to be prompted for to purchase them.
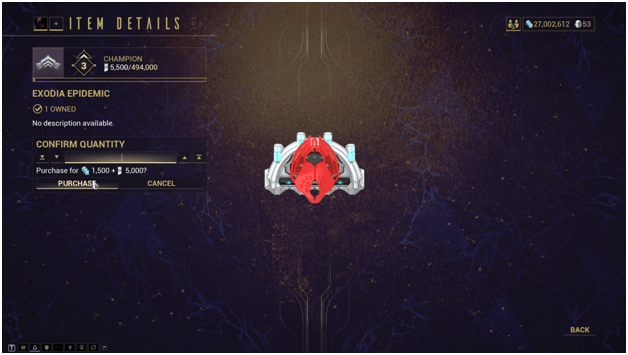
You will then be prompted to select how many you would like to purchase and may then confirm the amount and proceed with the purchase.
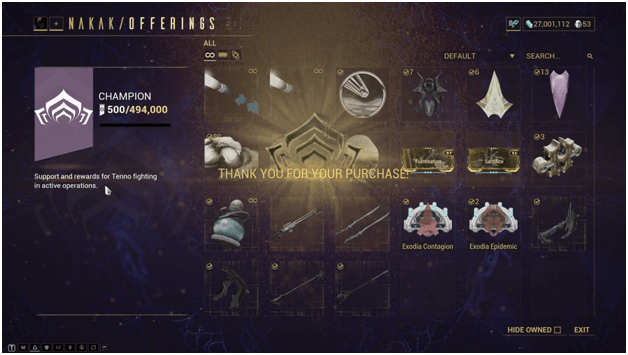
After confirming your purchase, you will be brought back to the offerings menu and see a message indicated the purchase is successful and your standing will have been deducted according to the price of the item you bought as well as the quantity.
List of Items Available During Operation: Plague Star 2021
Nakak will sell the following items for a combined payment of Credits and Standing
Name | Credit Cost | Standing Cost |
Fosfor Blau Blueprint | 500 | 250 |
Fosfor Rahd Blueprint | 500 | 250 |
Plague Star Emblem | 500 | 500 |
Cetus Wisp | 1500 | 750 |
Radian Sentirum | 1500 | 750 |
Hearth Nyth | 1500 | 750 |
Murkray Liver | 1500 | 750 |
Norg brain | 1500 | 710 |
Cuthol Tendrils | 1500 | 750 |
Fulmination | 3500 | 1500 |
Sacrifice | 3500 | 1500 |
Forma (Built) | 5000 | 3000 |
Eidolone Phylaxis Blueprint | 4000 | 2000 |
Snipetron Vandal | 5000 | 3000 |
Ether Daggers | 3000 | 3000 |
Exodia Contagion | 1500 | 5000 |
Exodia Epidemic | 1500 | 5000 |
Plague Akwin Blueprint | 1500 | 2000 |
Plague Keewar | 3500 | 2000 |
Plague Bokwin | 3500 | 2000 |
| Plague Kripath | 3500 | 2000 |
Plague Star Bounty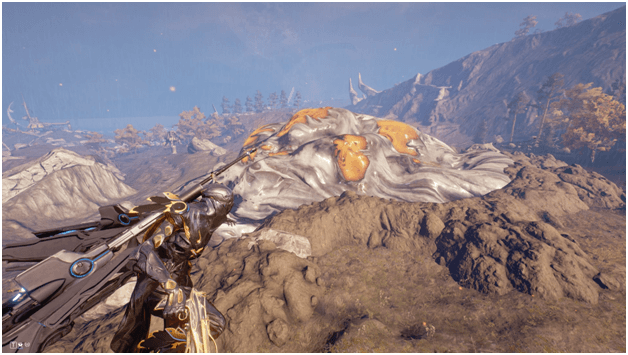
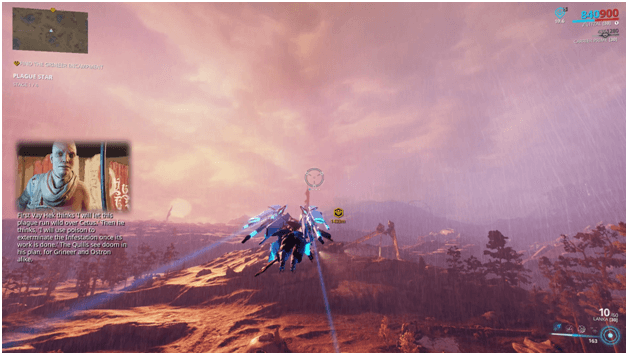
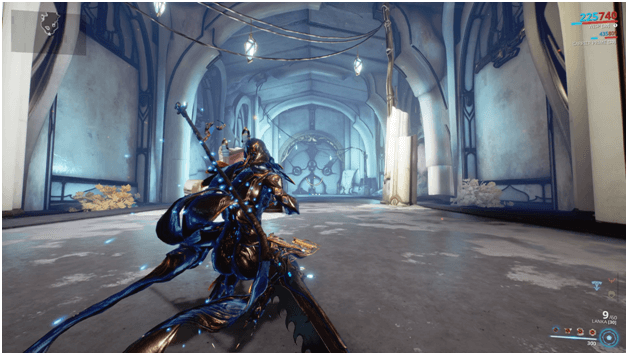
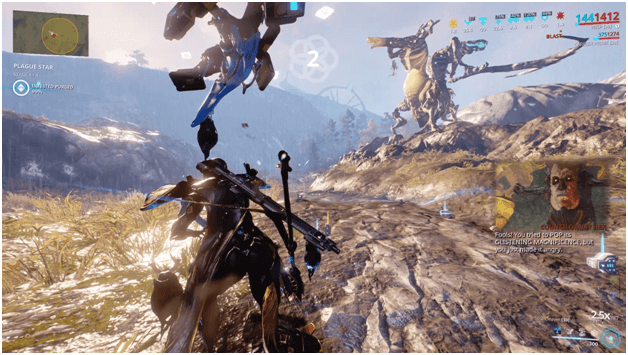
Operation: Plague Star happened as soon as a strange meteorite crashed into the Plains of Eidolon, an open world area outside of Cetus.
Upon seeing the crash site, it was identified that a large infested boil had emerged and had grown from the spot where the meteorite crashed.
This large boil continuously grows and several infested units have been emerging from inside it which has become a large problem for the locals and if left unhandled, it would mean the end of them as they know it.
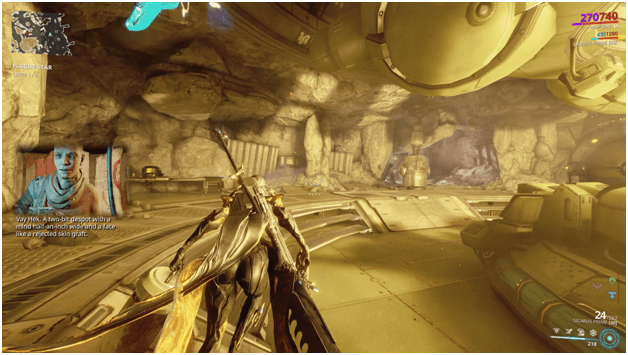
Later on Konzu finds out that Vay Hek has been holding back on a solution to rid the Plains of Eidolon of this boil but has no intention of using it until the infested have wiped out the Ostrons and destroyed Cetus.
Vay Hek currently holds a powerful toxin that may be mixed in order to eradicate the infested and the boil to end their reign in the Plains of Eidolon.
In order to save Cetus, you are tasked to take this toxin and use the Grinner equipment to mix it to be used against the Infested and rid the Plains of Eidolon from their overwhelming numbers.
Take note that having an Archwing (Itzal is recommended) will greatly reduce the time it takes to get around doing this bounty.
How To Do The Plague Star Bounty?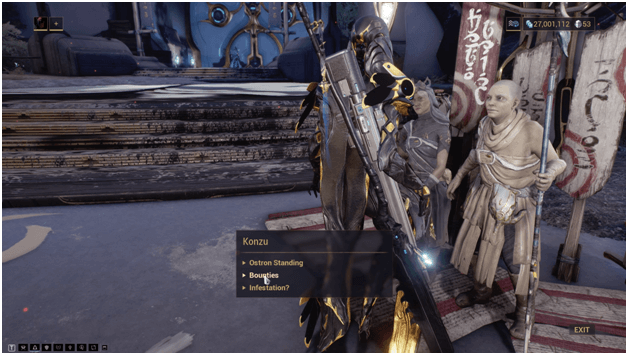
There are two ways to initiate the Plague Star Bounty, the first way is to head to Konzu in Cetus and select his mission from bounties.
You may also start bounties using the console found in Grineer radio tents to contact Konzu which allows you to select a bounty similar to when interacting with him in Cetus.
Select the Plague Star mission from the menu and it will be activated allowing you to begin the mission.
If you are in a squad, they will need to accept the mission as well in order for you all to proceed with it.
Once selected, simple head to the Plains of Eidolon if you are in Cetus but if you are already in the Plains of Eidolon, the mission will start and you may proceed straight away.
Stage 1: Stealing The Thrax Toxin
You will first begin by heading to the Grinner encampment or digging site which will be shown by waypoint.
Simply head over to the area to proceed with the mission as you are required to steal their Thrax Toxin which is stored in the area.
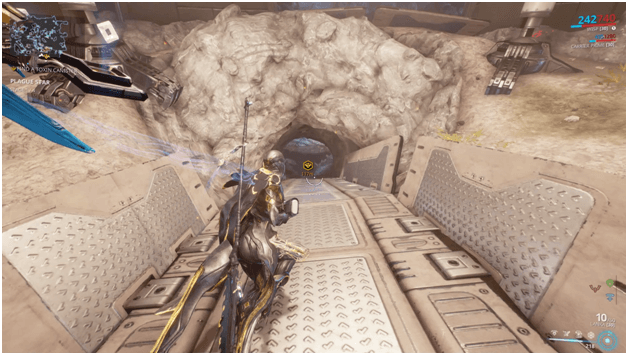
You will then need to enter the area which is usually a mining site or cave to search for the Thrax Toxin.
There will be Grineer enemies so make sure you are ready for a fight when you enter and begin searching for the Thrax Toxin.
You will not have trouble searching for it as the area is marked and will be easy to find.

Once you are near it you will see a yellow circle indicating that it is the current area and simply must go to the center and search for the Thrax Toxin storage.
Interact with it to steal the Thrax Toxin, be sure not to equip your primary weapon as it may fall and you will have to pick it up again or go back for it if you didn’t notice dropping it.
Proceed by exiting the mine or cave since Konzu will stall for a while by talking but eventually you need to exit.
Head towards an exit and be ready for the next location to be shown as another waypoint.
Stage 2: Mixing The Toxin
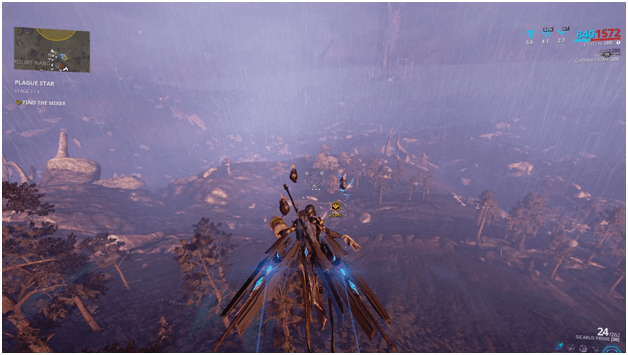
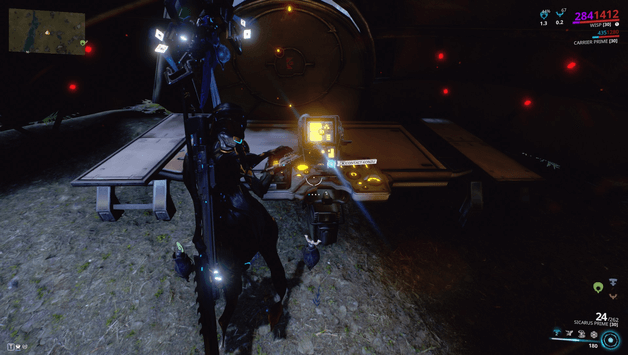
Your next task is to find the Grineer mixer where you will have the Thrax Toxin mixed in order to prepare it for usage on the infested boil.
Simply head to the marker nearby and search a storage locker that will contain the mixer.
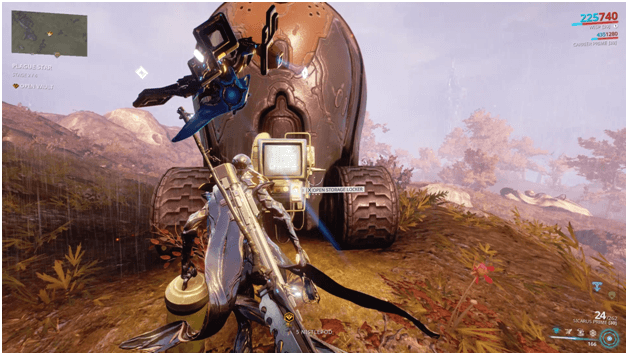
Upon reaching the storage locker, activate the console to open it up to find the mixer inside make sure to check that you have the Thrax Toxin with you and that you did not leave it somewhere.
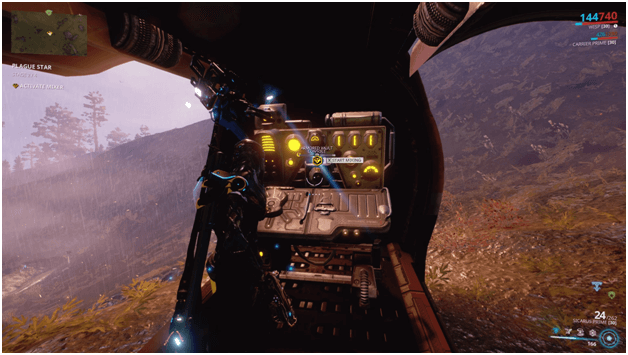
Go inside and activate the mixer to begin to the mixing process, this will take time so be prepared for a fight.
Once the mixing process begins you will need to defend the storage locker containing the mixer from the Grinner who will attempt to destroy it and kill you.
Make sure you successfully defend the mixer or the mission will fail.
During this process you will have the option to add an Infested Catalyst or Eidolon Phylaxis which will later on increase the standing that you earn.
Once the process is and the storage locker is defended, head back inside and take the mixture to proceed with the mission.
Konzu will shortly be contacting you and giving you your next step.
Step 3: Activating The Drone
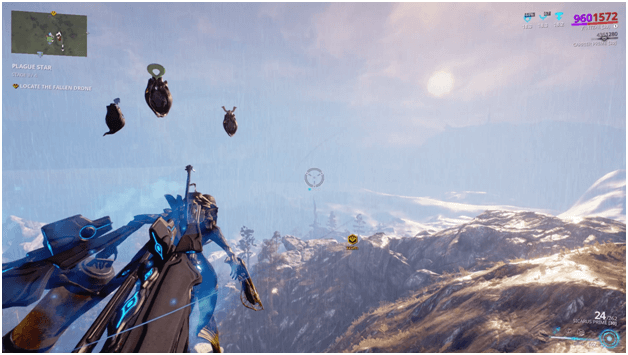
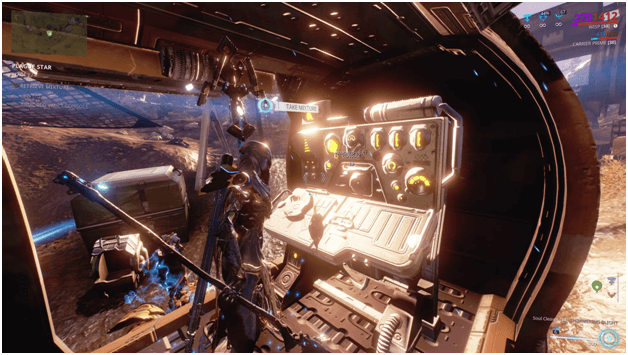
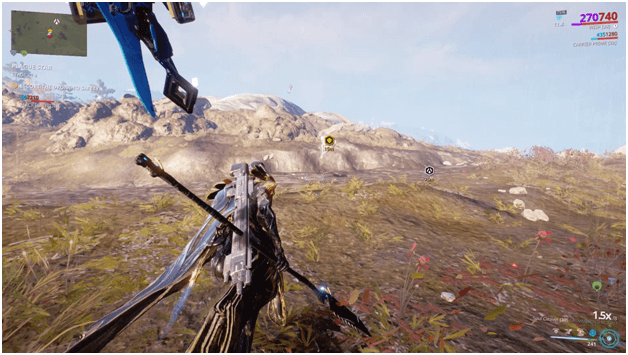
Your next task involves you locating a drone so you will want to head right away to the designated location shown by a waypoint.
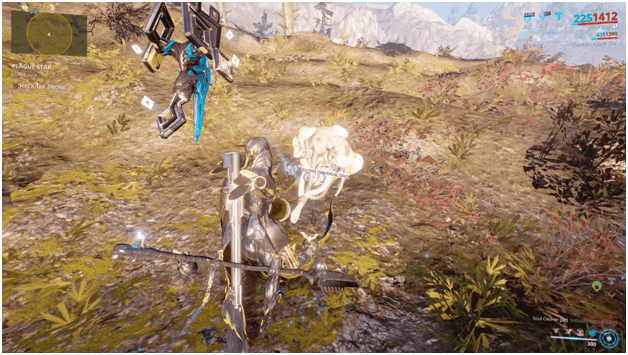
Once you reach the location of the drone, look for it in the center of the circle on your map and activate it which will then have you hand over the mixture and require you to escort it.
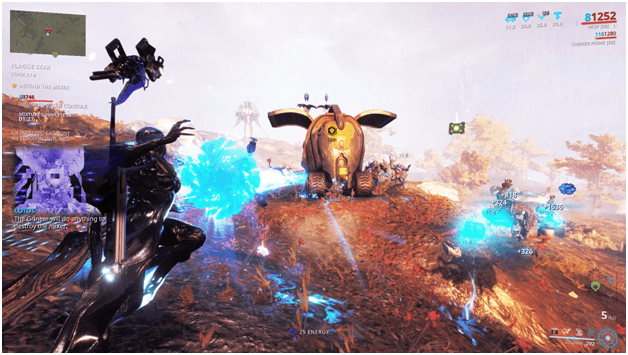
Escort the drone to the boil and protect it on the way as Grineer forces will try to attack you and destroy the drone.
Infested enemies will probably be showing up as well so keep an eye out for both factions as they will not only be fighting each other, they will be fighting you as well.
Once you reach the destination, the drone will fly up and you will move on to the final step in order to complete the mission.
Step 4: Purging The Infested
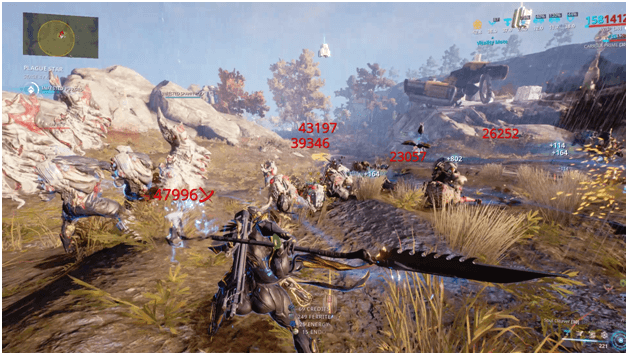
Your final task is to being purging the infested that are being released in an attempt to stop you in your tracks.
You will need to kill a quantity of infested enemies and build the percentage up to 100% in order to complete the mission.
Take not that you should avoid getting too close to the boil and if you do so, you will take damage from staying near or on it.
Upon reaching 100% the mission will be complete the mission will be over and you can either exit or do another bounty by heading to another radio tent.
Once the mission is complete, you may simply head back to Cetus to end the session and receive your awards.
Aside from the resources and items you have collected during the session, you will also receive Operational supply standing.
Increasing Operational Supply Standing Gain
There are 2 items that can be used from the gear menu to increase the amount of standing you gain but the difficulty of the mission will increase.
These items may be added during Step 2 or the mixing stage and will give an additional 250 standing for each one that is used.
To use these, you must first have them in your gear menu by equipping them before you head into Cetus to do the mission.
1) Eidolon Phylaxis
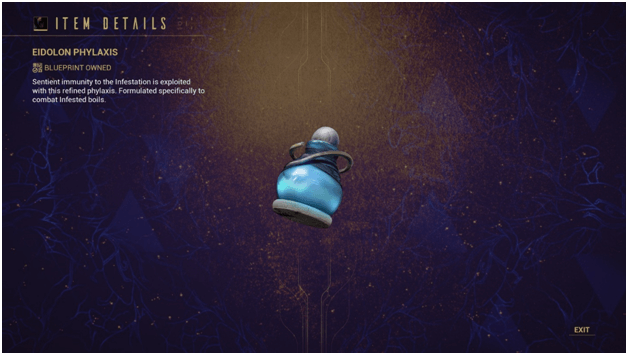
Adding an Eidolon Phylaxis will add 250 standing for each one that is used during the mixture process.
Enemies will have higher levels based on how many have been used during the process of mixing
A total of 4 can be used by the whole team and you may contribute more than one.
2) Infested Catalyst
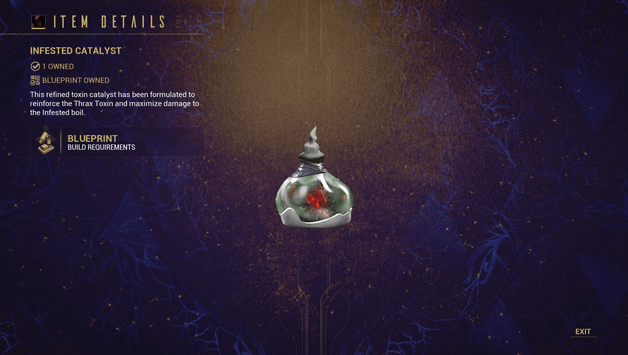
The Infested Catalyst adds 250 standing for each one used just like the Eidolon Phylaxis. However, instead of increase the level of enemies a Hemocyte will spawn later on during the final stage if an Infested Catalyst is used.
A Hemocyte is a large enemy similar to Lephantis and has the same attacks with a few distinct feature making it different in a way.
This can be defeated easily though the first time but the more that are spawned, will mean the harder it gets since the level will also increase.
Each Infested Catalyst will cause one Hemocyte to spawn, meaning if you use 4 then that will also spawn 4 later in the final stage.
Hemocytes will not be spawned together, instead they spawn at different percentages during the final stage.
Hemocyte
The Hemocyte is a large enemy and can deal a great amount of damage but it does have its vulnerabilities similar to Lephantis from Orokin Derelict Assassination.
This will spawn at certain times depending on how many Infested Catalysts were used during the mixing process.
Being similar to Lephantis, the Hemocyte can be defeated in the same way.
See our Lephantis Guide if you have not fought the boss before.
Suggested Warframes For Plague Star Mission
There are many Warframe that may be used and it depends on your choices and your play style.
I for one have played with different Warframes to test out which I feel more comfortable with and which ones have good benefits when doing solo or playing with a team.
Here are some of the suggested Warframes for doing the Plague Star Mission:
1) Volt – DPS/Buffer/Crowd Control
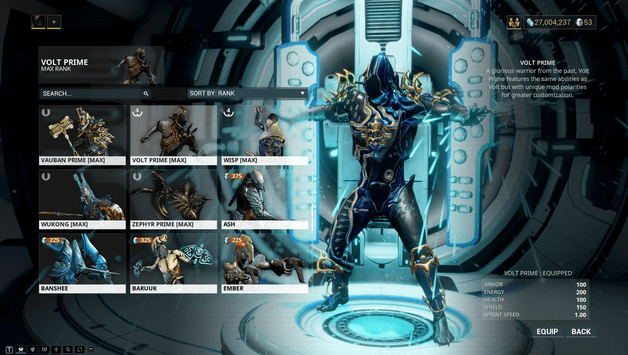
Volt becomes useful in this mission due to his abilities to speed up the whole team, making it easier for everyone to move around as well as improve combat capabilities.
His shields can be used for both offense and defense since they block frontal attacks and cause ranged attacks fired through his shields to deal additional electricity damage per shield as well as add to critical multipliers.
His Shock ability and Discharge abilities may be used effectively for crowd control as well as damage to enemies.
2) Chroma – DPS/Buffer/Crowd Control/Tank
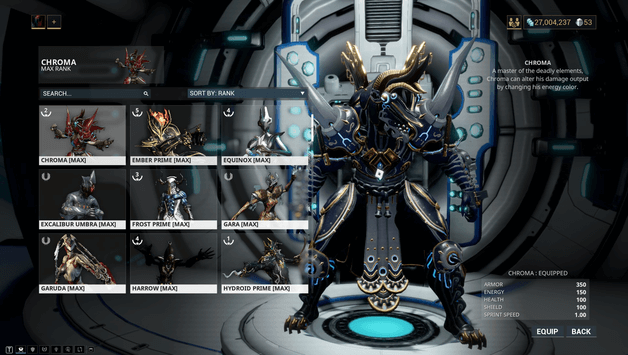
Chroma is well known to deal a lot of damage due to his buffs which can also effect his squad making the team deal a great deal of damage.
His Vex Armor ability will buff himself along with his allies giving them additional armor and damage based on the damage that is received.
With the Elemental Ward ability users may utilize this in many ways based on the player’s preference to deal damage in an area and buff allies with elemental energy.
Using his Effigy ability, Chroma can summon the effigy to attack enemies, do crowd control, guard an area and more.
3) Rhino – DPS/Buffer/Crowd Control/Tank
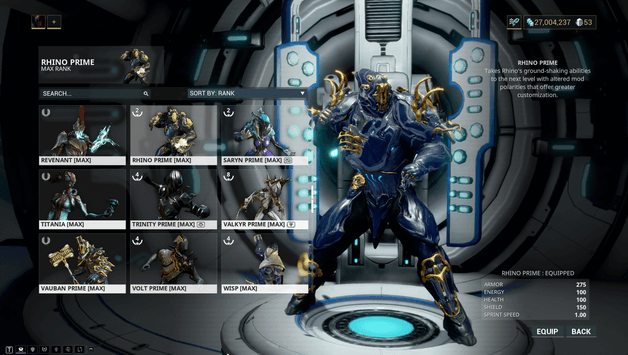
Rhino can take a lot of damage as well as deal the same as well, using his Roar ability he can buff himself and his team to deal additional damage.
His Iron Skin ability allow him to take a lot of damage and withstand damage from several enemies.
Using Rhino Stomp, he can deal massive crowd control as well as damage to enemies in an area.
4) Loki – DPS/Stealth/Focus Fire/Utility

Loki can remain undetected by enemies and can take them out without worrying about being hit, allowing him to concentrate his fire without being interrupted.
He can use his Decoy ability to distract enemies and give his allies an opening in different situations.
Switch Teleport can be used to swap to a more tactical location by swapping with enemies, saving allies by teleporting them to safety and swapping places with the Drone in Step 3 by running forward and swapping places with it to reduce the time it takes to get to Step 4.
5) Trinity – Support
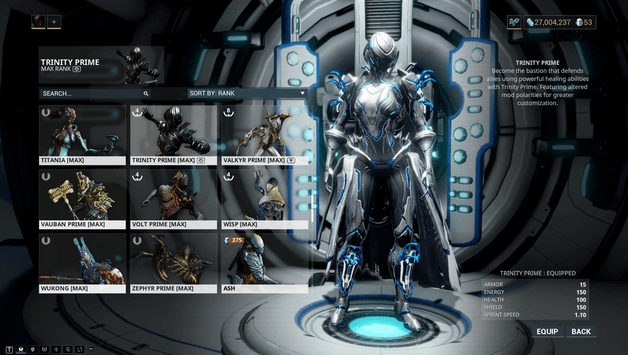
Trinity is great for support as she can heal her team, provide everyone with energy and health regeneration.
Her Link ability allows her to withstand a good amount of damage while causing damage to enemies.
6) Frost – Defensive/Crowd Control
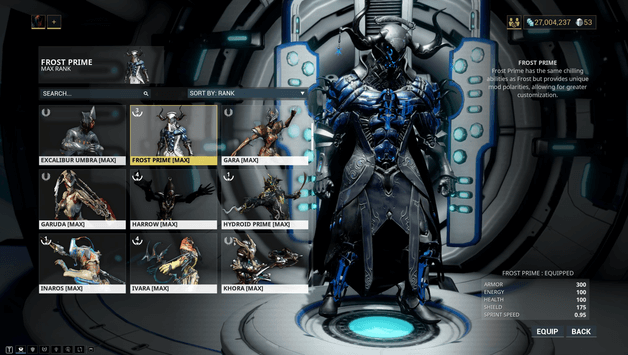
Frost is capable of both defense and crowd control due to his skills which protect the team and slow or stop enemies.
He may create Snow Globes to prevent a lot of damage as well as keep enemies away and if casts directly on the Hemocyte, it will slow it down allowing easier shots to hit the weak spots since any enemy in the Snow Globe is slowed.
He can kill or freeze enemies in a large enemy because of his Avalanche ability which is great for crowd control or clearing.
7) Harrow DPS/Buffer/Support/Utility
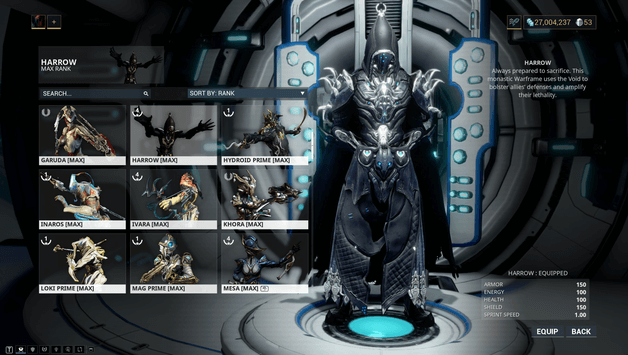
Harrow can use his Condemn ability to hold enemies into place which also affects the Hemocyte for a short amount of time.
With Penance he can buff the team with more fire rate and reload speed along with life steal for melee attacks which can be useful to keep the team alive due to the several enemies around the boil.
Thurible may ensure that the team has an unlimited source of energy during the mission and stage 4 since a lot of enemies will be killed and can grant energy.
Covenant will be a great help since it makes everyone invulnerable which gives the chance for a free hit and critical chance after the invulnerable duration.
8) Titania – DPS/Support/Crowd Control
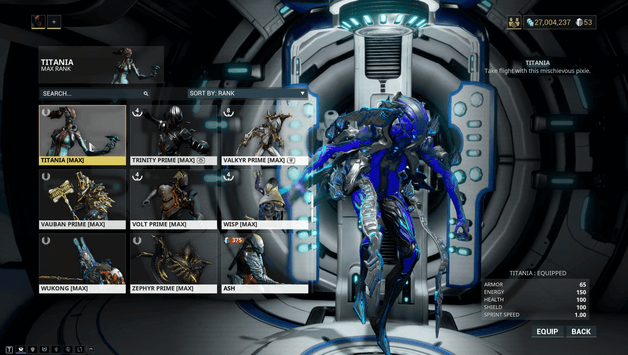
Titania is good for crowd control with her Spellbind ability causing enemies to ragdoll into the air while making allies immune to status effects as well.
Her Tribute can also give her team mini buffs which can prove helpful during the mission.
Her lantern ability can be used to distract enemies allowing the team to take advantage.
Using Razorwing she may fly around easily while using her special weapons to deal high amounts of damage to enemies, including the Hemocyth.
9) Wisp – DPS/Buffer

Wisp has many buffs that may benefit the team as well as her abilities that allow her to move around quickly as she teleports around the area.
Her buffs alone are great and can both improve survivability and offensive capabilities.
10) Octavia – DPS/Buffer/Crowd Control
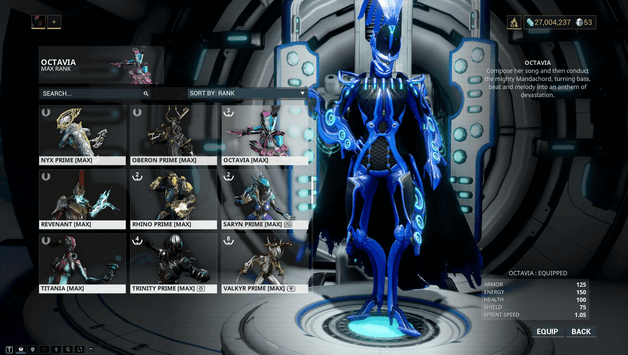
Octavia can utilize many of her for crowd control and clearing out enemies while her buffs can greatly improve the performance of her allies.
Her buff that grants invisibility can be of great use since it can keep the team safe from harm while undergoing the mission.
Conclusion
Doing the Plague Star bounty may be hard for some and it is advised to go with a squad or try public if you are unable to handle the mission well.
There are a lot of suggested Warframes as well since many can be utilized and used well depending on the playstyle of their users.
Many Warframes have abilities that can make the final stage of the mission easier and working with other Warframes and their abilities can prove quite useful.
It is best to get everything from Nakak as soon as possible when it comes to Operation: Plague Star because you’ll never know when it will come back.