One of the best things in Valheim as well as an important feature is the ability to build structures and this can be complex for players who are new to survival games.
Even if you have played other games, Valheim may have a more complicated building system than most would expect.
Life gets easier in Valheim once you have made a suitable home and eventually it gets better as you continue to upgrade and expand.
To make building much easier, you can benefit from some of the tips and information that we have provided.
Also read all our Valheim guides here: https://progametalk.com/valheim/
How to Build in Valheim?
In order to build in Valheim, you will need to start with the basics, and the first thing you will need is a hammer.
You can craft a hammer once you pick up stone and wood, which you can use to craft it by accessing your inventory.
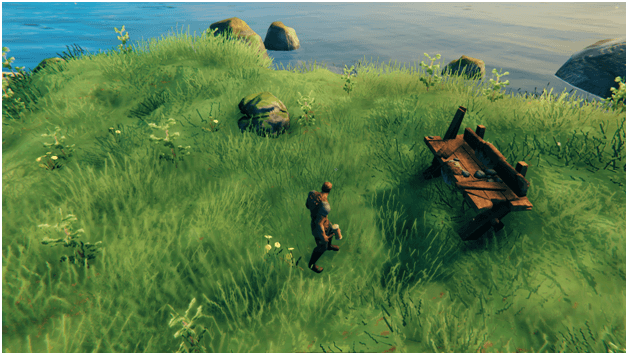
Once you have crafted a hammer, the first thing you will need to do is start your base by placing down a Workbench.
Setting Up a Workbench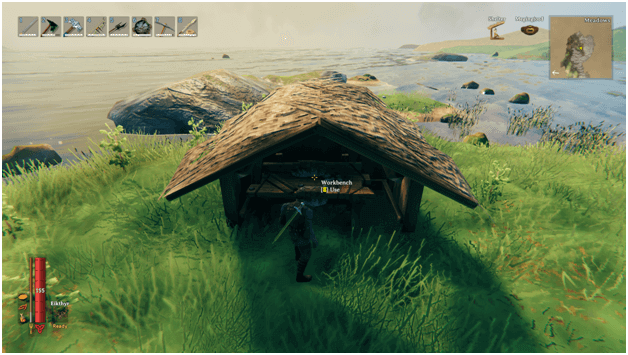

A Workbench is needed to start building in a specific area but you won’t be able to repair your items or craft from it just yet, you need to house it first.
Do not worry about the initial placement of your Workbench as it is cheap to build and you can demolish it later on which returns the materials used on it.
To set up the Workbench, you will need a roof over it and to secure it by placing walls around it or else you will get the message saying that the crafting station needs a roof.
Go ahead and secure your Workbench first before starting anything else and once this is done, you can start building your home.
You can still start building your home even without covering the Workbench but it will be susceptible to damage from enemies as well as decaying when it rains.
Flattening the Land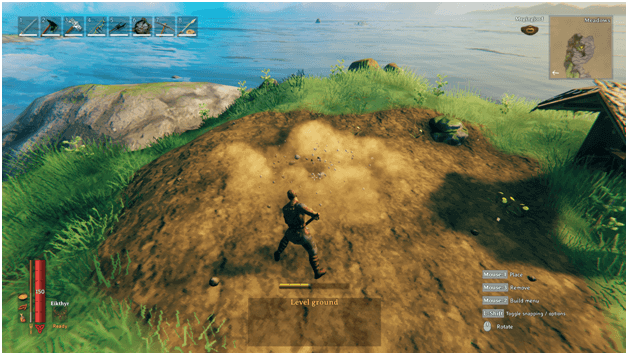
A good idea when it comes to building your base is preparing the ground which you will build the very foundations of it.
You can craft a hoe from the Workbench (which is why you should secure it first for crafting and repairs) and start to level the ground where you will build.
Once you have leveled the ground, it will be much easier to build and will make it more comfortable too.
Building Your Home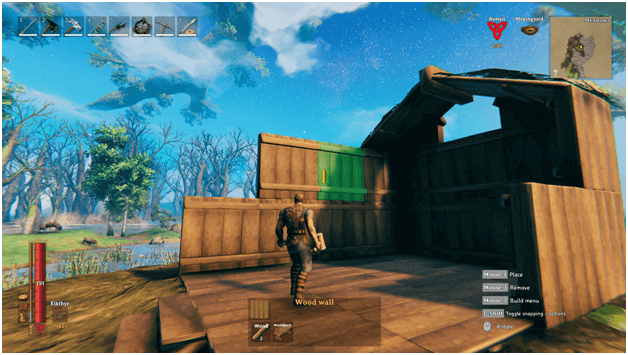
Once you have set up a Workbench and leveled the ground around where you will build, the fun part starts.
You can use your hammer to create the floors, walls, and roof of your home, base, or whatever you would like to call it.
Start with the floor as the first foundation and build it up to its walls but take heed as the bigger the size of your home, the more support the roof will need.
It is best to start with a simple structure and eventually upgrade as you progress later as it is quite difficult to farm a large number of materials when you first start.
Structure Support
You should be careful when building because your home will need structural support, which includes the walls and floors if they are elevated.
It is best to build on flat ground or to make sure that your floors are on top of the ground on all sides or else there will be less support.
You may notice that colors are highlighting an adjacent part of your home when you are building, which represents the support it has.
Blue indicates the support is perfect, green means it is okay while yellow means it is fair and orange means the support is low.
When the highlighted part is red, this means that the piece you are placing may end up collapsing and that you need to build more support for that section.
You can increase support by adding pillars or building your walls closer together as long as there is an object that supports one block going all the way up to that area, it will have support.
Build a Strong Structure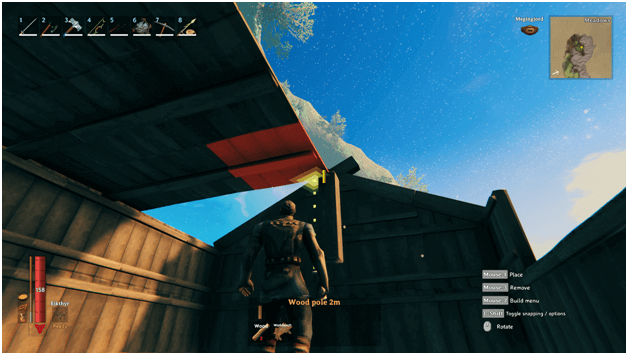
To build a strong structure, it is important to focus on points that you can add support to when necessary.
Whenever there is a part that is low on support, it would be ideal to either build walls going up if you are making different sections of your base have rooms or using pillars to support the weight.
A building with 2 floors will require even more support and it is best to stick to a small home until you get the resources for better structures.
You can use either poles or walls to add more support but there are also other structures you can play around with to increase the structural integrity of your home.
Protect Items from The Rain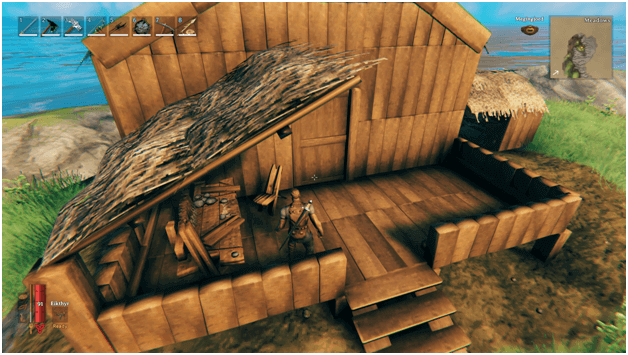
You will mostly be starting out with a wood structure and it is important to cover it up with a roof as soon as you can.
This is because the majority of the structures, including your Workbench and other crafting stations, may be damaged by the rain.
You can easily repair things but it does get annoying when it keeps raining on your wooden structures, so the first thing you should do is make sure everything is safely under a roof.
In this way, you can protect items from the rain and rest assured that your home will be safe from collapsing due to destroyed parts.
Repairing Your Building
If your building gets damaged by enemies, the rain, or by you accidentally swinging your weapon around, you can simply equip a hammer and select repair.
Once your hammer is in repair mode, you can repair anything within the space of a Workbench or other crafting station that is required.
Repairing in Valheim is free and you can even use this when holding off enemies or taming wild creatures to make sure your walls don’t break.
Moving Structures
If you misplace a structure, you can in a way move it by demolishing it with your hammer and building it again in your area of choice.
Demolishing a structure will return its original resources so that you may rebuild whatever it is that you destroyed elsewhere.
Decorating Your Home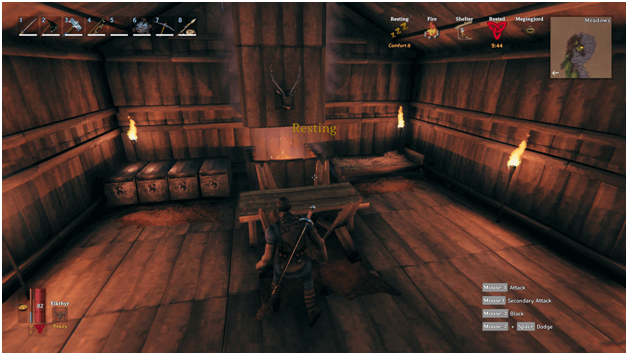
Your home does not have to look so dull and you can select a bunch of decorations from the furniture menu when your hammer is equipped.
Some of the items that are used for decoration provide a bonus to your comfort, which allows you to have a longer rested bonus.
Items that increase comfort level are the different types of chairs, beds, fires, and more, and later on you can discover that the rested can last longer than a mere 8 minutes.
Building an Enemy Proof Base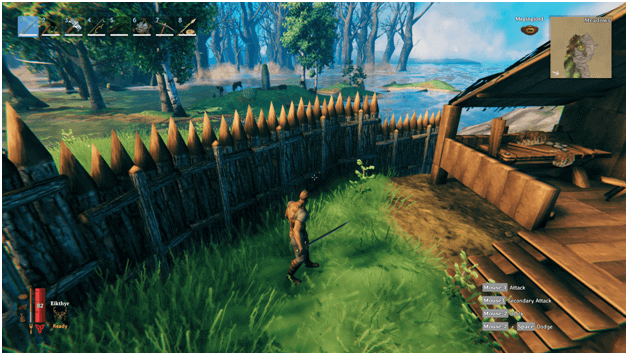
An enemy proof base is quite hard to make in the beginning, unless you are in the mood to farm for a lot of materials at slower speeds.
Building a barrier around your base with a Stake Wall is one of the best ideas and ways to keep enemies out while placing Sharp Stakes will damage and knockback enemies that get too close.
When you want to get defensive, you can use the Hoe to elevate land to block off certain paths from enemies.
If you want to get impenetrable, you can elevate a huge plot of land or dig around an unelevated part so that enemies cannot get near your base.
Verdict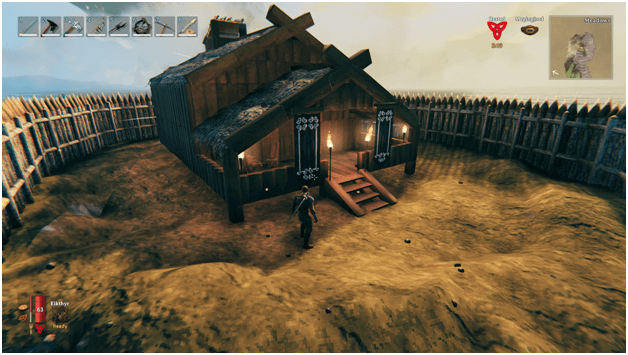
They say home is where the heart is and, in this case, home is where the loot is so be sure to build your homes well and keep enemies out.
It is best not to lead any enemies to your base, especially trolls as these can do a lot of damage and even mess up your whole base.
Avoid being away from keyboard too much as well because enemies may attack during events and if you are not around, the chance of them punching a hole in your base and killing you is high.
Try to take it easy when building and start small until you can farm a lot of materials later on and focus on progressing naturally rather than building an ultimate base on your first day.