- Mission Type: Shattered Realm
- Mission Location: Ascendant Plane
Another Techeun is missing and it is up to you to enter the Ascendant Plain and rescue her, this time from the clutches of Hive enemies.
You will need to enter the Ruins of Wrath Shattered Realm (Week 3) and fight your way through enemies while aligning the beacons.
Once you align all the beacons you will be able to find your way to the lost Techeun but beware as the Hive won’t give her up without a fight.
Mission Objectives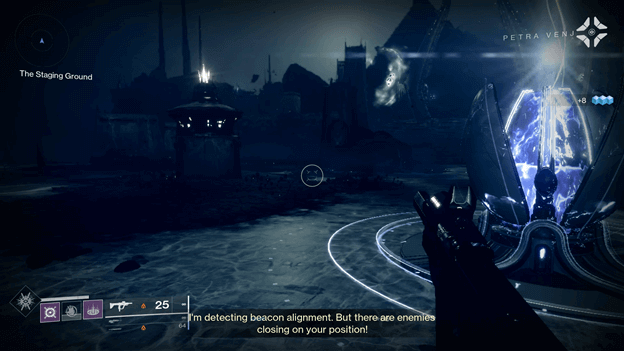

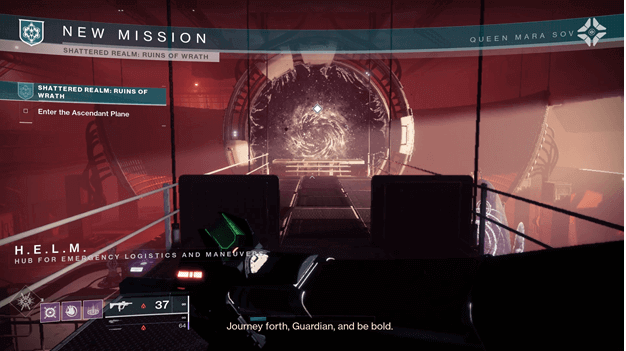
Enter the Ascendant Plane
Just like with the other Shattered Realms, you will first need to head through the portal which will take you to the Ascendant Plane.
You will then need to take the path heading to the left this time, bringing you to a different area from the other Shattered Realms.
Find the Lost Techeun
Follow the lanterns which light the path and watch your step as you will need to cross a few gaps until you reach the next beacon.
Align the Beacons (Part 1)
The first beacon will be easy to reach and is just beyond the starting point after a large jump down and you should make use of your jump maneuver to land safely.
There will be around a platform just after a bridge that you will cross and you will need to jump onto it and head over to the first beacon.
Interact with the first beacon and just like with the other Shattered Realms, you will need to defend it from enemies that spawn.
Also Read Below the Other Guides of Season of the Lost Update:
- Wayfinder’s Voyage Seasonal Quest Walkthrough
- Wayfinder’s Voyage 1 Quest Steps
- Wayfinder’s Voyage 2 Quest Steps
- Wayfinder’s Voyage 3 Quest Steps
- Shattered Realm Forest of Echoes Mission
- Shattered Realm Debris of Dreams Mission
- Season of the Lost Artifact
- Wayfinder’s Compass Calibration Upgrades
- Astral Alignment Offensive Mission
- All Ascendant Anchor Locations
Defend the Beacon (Part 1)
Hive enemies will begin to spawn at a nearby portal (which you cannot access) and you will need to defeat all of the combatants.
A percentage will be shown to hint at how many enemies are left and once it reaches 100%, you will be able to move to the next beacon.
Watch out for the Ogres that spawn during the fight, they can be quite a handful, especially the Unstoppable Ogre.
Align the Beacons (Part 2)
Once you are done defending the first beacon, continue making your way towards the next beacon, which can be found by following the lanterns.
You will be able to see a bright beam that shoots upwards, signifying the location of the next beacon, and make your way to it.
It may be a bit difficult to jump around the next areas due to the field which disables your actions and you should be careful when jumping.
Be wary of the rocks that spawn in and shoot across the area, you will need to time your jump or you will be pushed.
Defend the Beacon (Part 2)
Once you started the second alignment, enemies will begin to spawn again and you should be careful as there are several areas where you can fall off.
Watch out for the wizards as they can be quite annoying and will attack simultaneously with the other Hive enemies in the area.
There are tons of areas where you can take cover and this can be an advantage as there will be a lot of enemies and the space is limited.
Align the Beacons (Part 3)
After the second beacon has been aligned, you will need to make your way towards the third beacon, which you can see from your current location.
Jump down to the bridge (follow the lanterns to find it) and make your way inside the next area, which will also require you to fight your way past enemies.
There will be multiple Hive enemies in what appears to be a large hall, including an Ogre which will continuously fire its projectiles. (stun it with headshots)
Activate the third beacon once you have passed the area and an enemy called An Xohol, Jaws of Xivu Arath will spawn in the area along with other enemies.
Defeat an Xohol, Jaws of Xivu Arath
This boss can be a bit tricky at first as there will be a lot of enemies fighting alongside it and after you deal initial damage to it, the boss gains a barrier.
To be able to damage the boss, you will need to enemies called Ritualist of Xivu Arath and they will spawn an aura on death.
Step into the aura and you will be able to deal damage to the boss and notice his barrier disappears but this is only for a limited amount of time so make it count.
Free the Techeun
There will be a large floating rock with chains which is ideally where the Techeun is bound, approach it and interact to free her.
After you have freed the Techeun, the mission will come to an end and you will have unlocked another ability for the Wayfinder’s Compass.
Tips
- Hive enemies are more protected than most enemies, especially the Knights, it may take more Precision Damage to take them out quickly.
- The Acolytes are easy to kill, it’s the Knights, Wizards, and Ogres you should look out for as they can sometimes be annoying.
- Knights tend to shield and regenerate health when you damage them but while they attempt to do this, you can finish them off with a finisher if their health is low.
- Wizards have shields that need to be broken before you can deal damage to them, including Precision Damage.
- Try to take cover when fighting Xohol, Jaws of Xivu Arath as there are a lot of enemies that can damage you, and you should clear out the others before attempting to confront it.
Summary
Another Techeun is saved and this time from the Hive, which will now allow you to continue with upgrading your Wayfinder’s Compass.
The next time you go to the H.E.L.M. and check your Compass, you will be able to unlock the Safe Passage ability.
If you check Mara’s chambers, you will notice that the Techeun will be there, along with the other ones that you have rescued.