Zoltun Kulle left behind more than his fair share of dangerous experiments, with Diablo Immortal taking players into an enormous library built by the infamous Horadrim.
Season 15 revisits that part of Diablo’s history through the Horadric Library, where lost writings, ancient constructs, and another of Kulle’s creations remain hidden inside.
This Waking Nightmare mixes exploration with optional puzzles before eventually leading into Kulle’s Hidden Chamber for a confrontation with the library’s guardian.
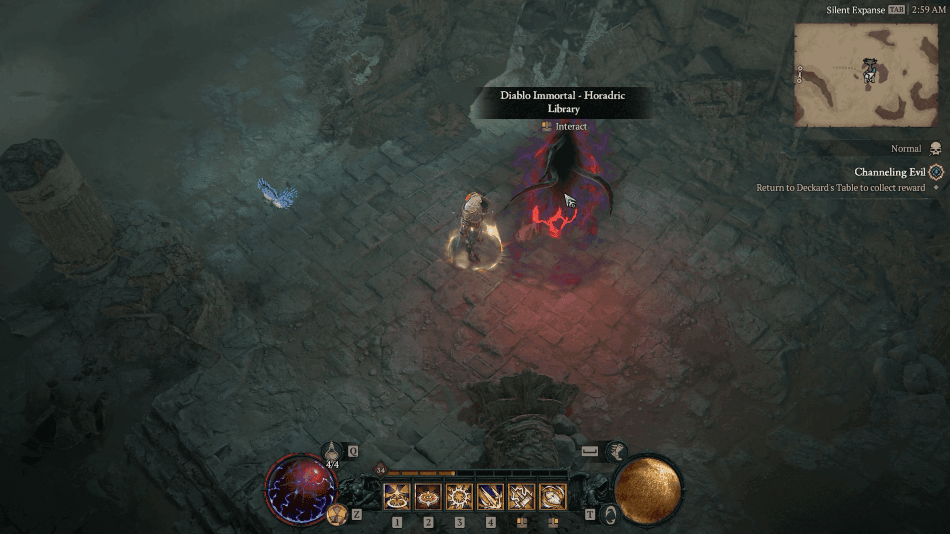
Horadric Library Location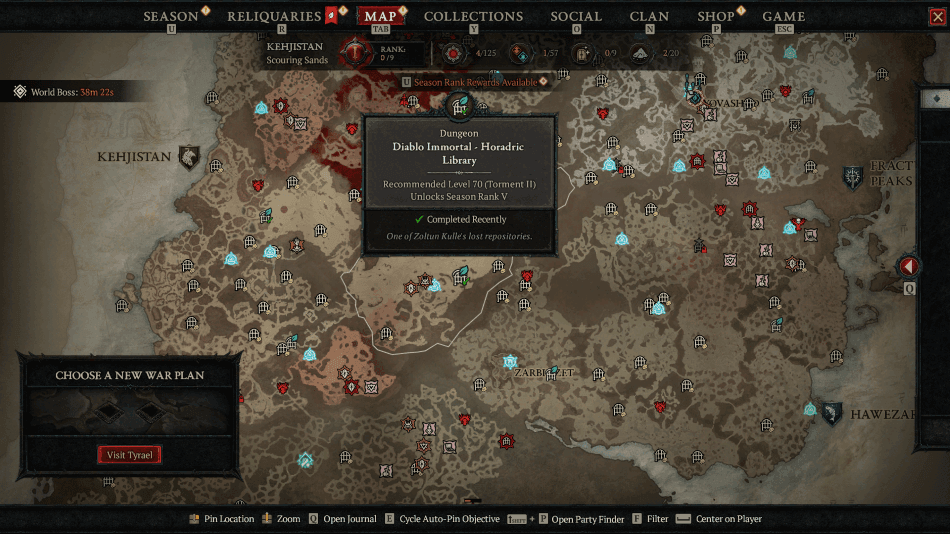

The Horadric Library Waking Nightmare is located in the Scouring Sands area of Kehjistan, with its entrance permanently marked on the world map.
Entering takes you into another of Zoltun Kulle’s forgotten repositories, filled with constructs and writings left behind by the legendary Horadric mage.
Horadric Library Walkthrough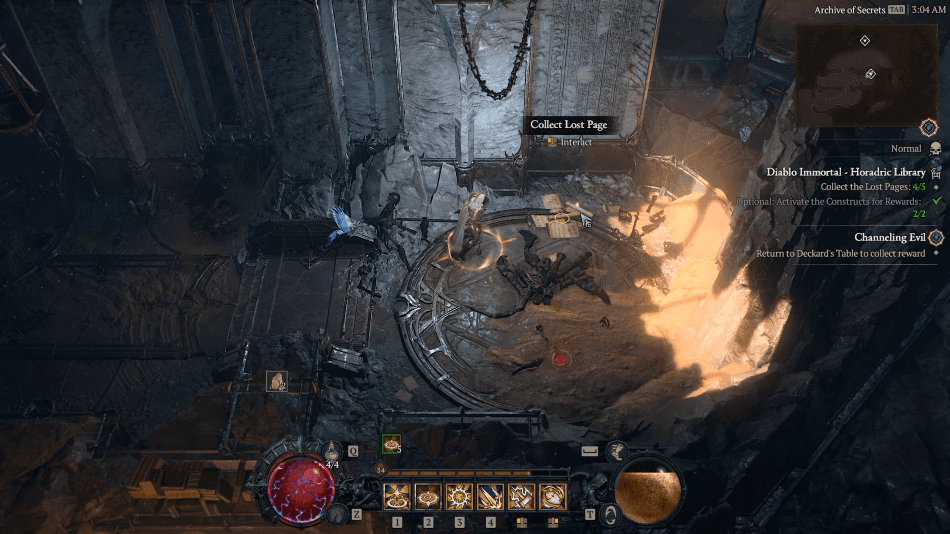
Once inside the Horadric Library, your main objective is to explore the dungeon and interact with all five Lost Pages scattered throughout the larger area.
Before proceeding, you can optionally activate the constructs for additional rewards by completing the Mirror Puzzle and Ritual Lamp Puzzle found within the two side rooms.
Continue into the main library while fighting through enemies and searching unexplored sections until you have interacted with all five Lost Pages.
After collecting the final page, locate the portal leading into the Golem’s Lair and continue through to Kulle’s Hidden Chamber, where defeating the Golem completes the Waking Nightmare.
How To Find The Lost Pages?
The five Lost Pages are scattered throughout the Horadric Library, so explore the larger section of the dungeon while revealing as much of your map as possible.
Fight through enemies blocking your route and interact with each Lost Page you encounter, keeping track of your objective counter until all five have been collected.
Once the final page has been found, begin searching the remaining area for the portal that allows you to continue toward the Golem’s Lair.
How To Activate The Constructs?
Activating the Constructs is an optional objective, so you can completely ignore it if your only goal is to finish the Horadric Library as quickly as possible.
Before entering the larger section of the library, check the rooms located on either side to find a Mirror Puzzle and Ritual Lamp Puzzle.
Completing both puzzles activates the constructs and provides additional rewards, making them worth the extra time whenever you are not simply rushing through the Waking Nightmare.
Horadric Library Mirror Puzzle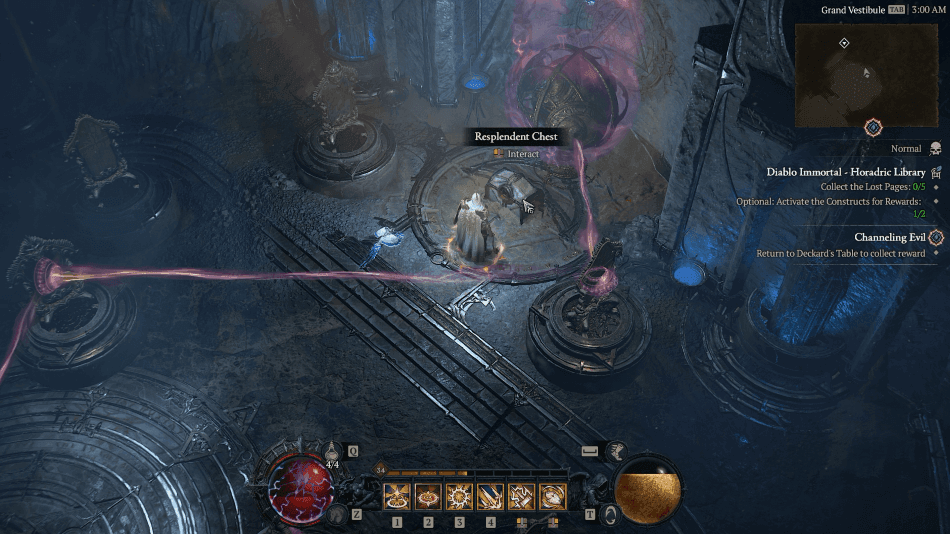
The goal of the Mirror Puzzle is to redirect the beam of light toward the sphere by rotating the mirrors positioned throughout the room.
Interact with each mirror to change its angle, creating a path that allows the beam to bounce from one mirror to another until it eventually strikes the sphere.
Once the beam reaches the sphere, the puzzle will be complete and a Resplendent Chest will appear nearby, allowing you to collect additional loot before continuing.
Horadric Library Ritual Lamp Puzzle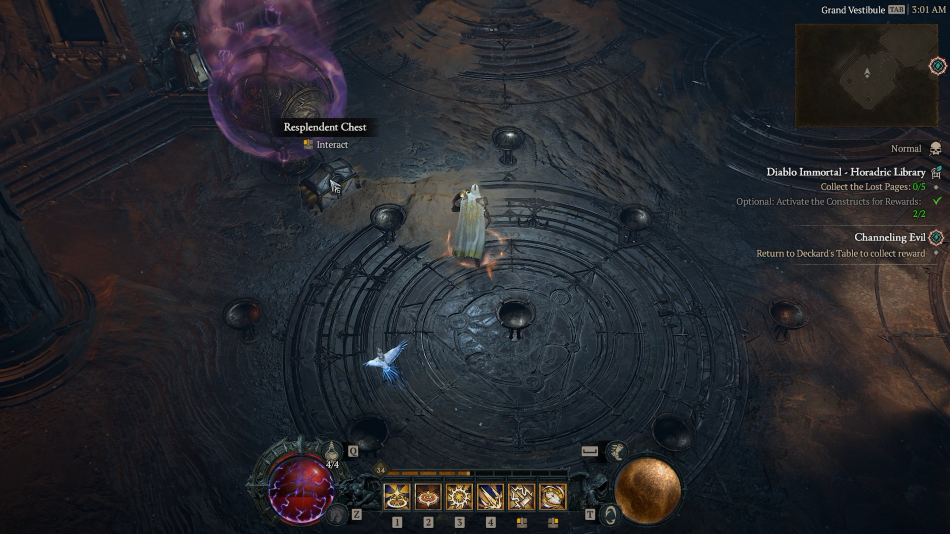
The Ritual Lamp Puzzle requires you to light all five Ritual Lamps, interacting with one lamp and also switching the lamps next to it on or off.
A simple sequence is to interact with the top lamp first, followed by the bottom, center, right, and finally the left lamp to illuminate them all.
Once every Ritual Lamp is lit, the puzzle will be complete and a Resplendent Chest will appear nearby, rewarding you with additional loot.
How To Defeat The Golem?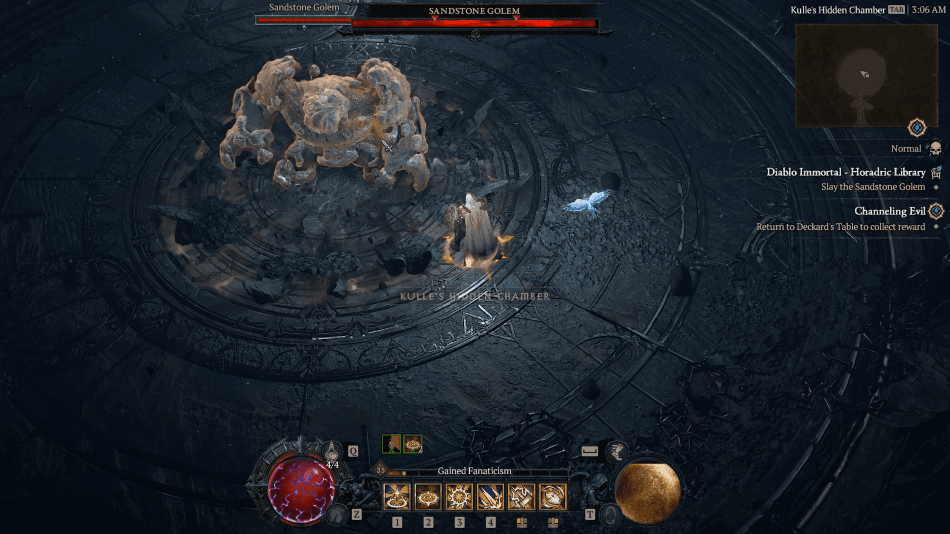
After collecting all five Lost Pages, locate the portal leading to the Golem’s Lair, then continue onward until you reach Kulle’s Hidden Chamber.
The Golem is relatively slow, making most of its attacks manageable as long as you remain mobile and avoid staying directly within the path of its abilities.
Keep repositioning while dealing as much damage as possible between attacks, and defeating the Golem will cleanse the Waking Nightmare and complete the Horadric Library.
Horadric Library Rewards
Completing the Horadric Library provides loot from enemies and the Golem while also contributing toward your Waking Nightmare and overall seasonal progression.
The optional constructs provide another source of rewards during the run, giving you an incentive to complete both puzzles instead of immediately heading for the Lost Pages.
Players interested only in a fast completion can skip these optional rooms, while those looking to get more from each run should activate the constructs before moving onward.
How To Complete Horadric Library Quickly?
Skip the optional construct puzzles if you are only interested in completing the Waking Nightmare, then immediately begin searching the main library for all five Lost Pages.
Movement Speed helps cover the larger area quickly, while clearing only enemies blocking your path saves time as you reveal the map and search for each page.
After finding all five, locate the portal to the Golem’s Lair, push into Kulle’s Hidden Chamber, and defeat the relatively slow Golem to finish the dungeon.
Verdict
The Horadric Library fits Zoltun Kulle perfectly, hiding forgotten writings, strange machinery, puzzles, and another dangerous construct within one of his abandoned repositories.
Its optional puzzle rooms also make this Waking Nightmare different from the more straightforward dungeons, rewarding players willing to investigate before hunting down the Lost Pages.
Whether you uncover everything Kulle left behind or rush directly toward his Golem, the library offers one of the more exploration-focused Waking Nightmares in Season 15.
