- Mission Type: Season of Defiance
- Mission Location: Vex Network Node
You have recently found what Mithrax explains to be a conflux of Vex energies while venturing into The Gulch in the European Dead Zone.
A Harpy has provided you access to one of the Vex Network Nodes and you are to investigate what is hidden within.
Tough challenges await as it seems the Vex has created a huge network that will put your mind and reflexes to the test.
How To Get Node OVRD Avalon?
The Node OVRD Avalon mission, which is also known as NODE.OVRD.AVALON is obtained once you locate a friendly Harpy in The Gulch in the EDZ.
To find the location of the Harpy, you will need to search The Gulch for glowing Vex cubes that need to be collected within a certain amount of time.
Once all of the Vex cubes have been found, you will be led to a nearby cave where the mission can be started.
This mission will be available after you have unlocked it and may be replayed as many times as you want on different difficulties.
Node OVRD Avalon Objectives (Vexcalibur Secret Mission)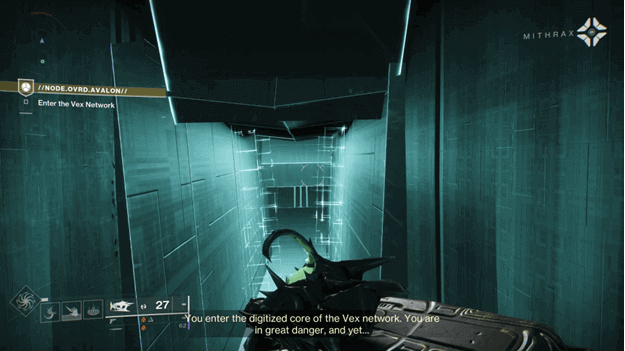

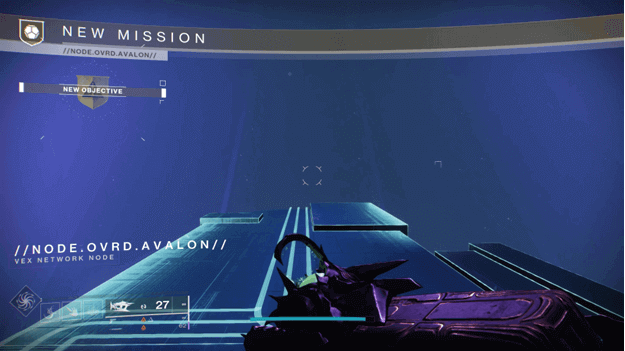
1) Enter the Vex Network
After being transported into the Vex Network, you will need to make your way down and can simply jump into the rings that will take you further inside.
Follow the Vex river going straight and there will be a small hole at the right of the river that opens and closes, which requires you to time your movement right to not get squished.
Head into the next room and take either the left or right pathway until you reach the end, where there will be a small entrance at the center opposite the outer wall.
There will be 2 Harpies just near the small opening and you will need to push through and continue making your way down to the very bottom.
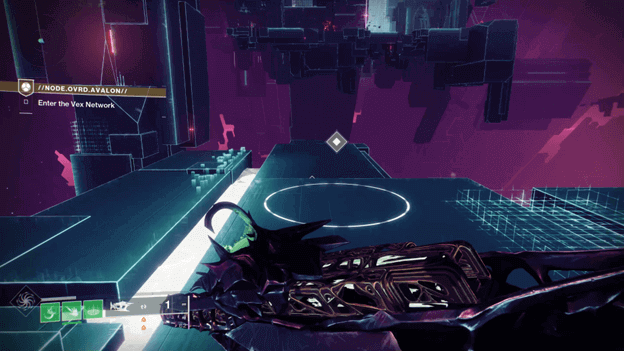
The bottom will have a Vex portal that brings you to a large area with a platform nearby that you need to make your way to.
Continue by jumping to the pillar on the left to get to the large platform, where Vex enemies will be waiting along with a Security Protocol (Vex Puzzle) nearby.
2) Explore the Vex Network
Keep in mind that you will now be near a Security Protocol and this is considered a no respawn zone, which means you will have to start over if you die.
Once you reach the platform, you will need to defeat the Vex in the area and approach the Security Protocol and it will activate.
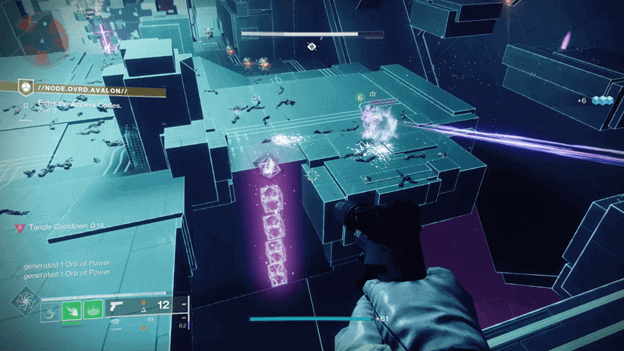
3) Enter the Access Codes
You will notice that a Square, Triangle, and Diamond keep reappearing and this will be a puzzle that you need to solve.
Just to your right, you will see glowing symbols, which represent the shapes that you will need to shoot in the exact order.
Failing to shoot the correct shape will cause the sequence to reset until you get it right and this needs to be repeated 3 times in the area.
The shapes are known as access codes and once you have shot the shapes in the correct order, the access code will be accepted.
After the first access code is complete, you will need to view 2 more (one on the far left and another on the right) which require you to shoot them in their orders as well.
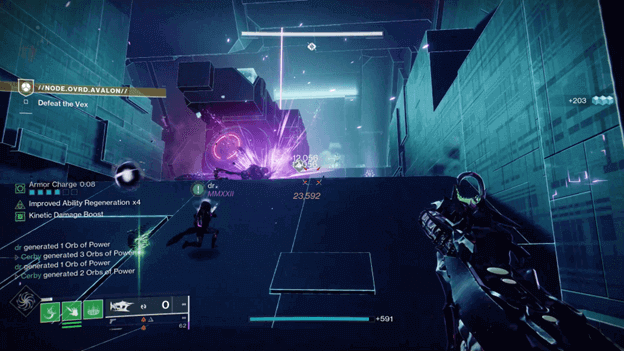
4) Defeat the Vex
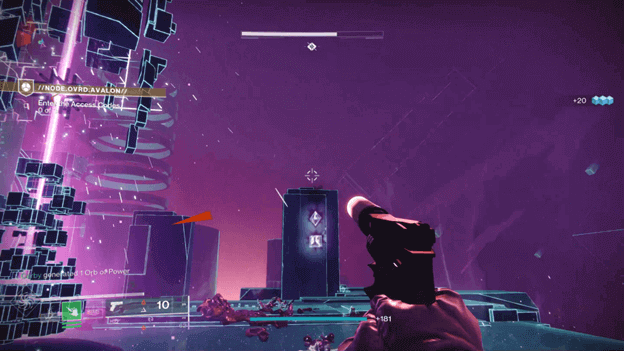
After all access codes have been accepted, you will need to continue moving forward to the area that has been unlocked at the end of the platform.
Vex enemies will begin to attack you, which requires you to clear them out as you push forward to the next Security Protocol.
A waypoint will be marking the location of the Security Protocol and once you approach it, you will need to start inputting access codes again.
5) Enter the Access Codes
Once again you will need to input 3 access codes, which can be done by looking around the area for the glowing shapes.
Once you know the patterns, you will need to shoot the ones that appear near the Security Protocol to input a code.
The glowing Vex shapes can be found at the end in different places, where you can see each one if you head to the side and later to the back of the platform.
6) Defeat the Vex
After you have inputted the correct codes, the path will be opened and more Vex will come to attack you as you proceed.
You do not have to fight all of the Vex and can simply head straight and follow the path to the side leading you away from the Security Protocol.
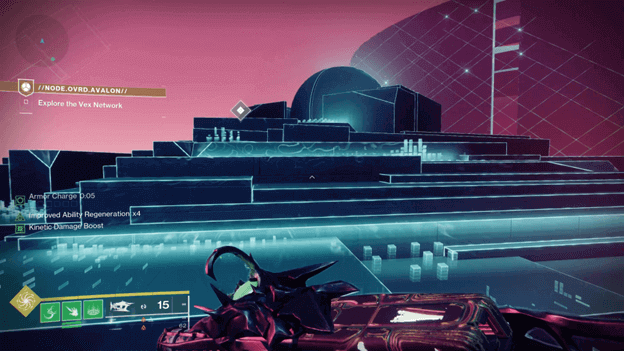
7) Explore the Vex Network
Continue by making your way across by jumping to the right in the next area, where there will be a surface that you can jump on and a doorway leading to the next area.
Continue making your way along the Vex river and jump down to the left where platforms will be appearing and disappearing.
Make your way across while avoiding getting pushed off until you reach a large gap with a platform at the end.
On the platform, there will be a sphere that will propel you to the next area, which is where you will need to fight a miniboss.
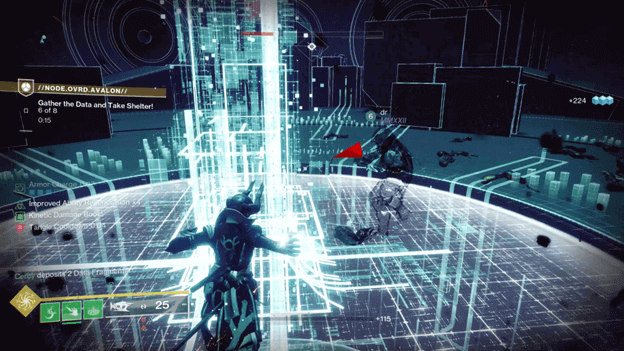
8) Gather the Data and Take Shelter
You will find yourself in a large arena-like platform and enemies will begin to spawn in the area but there will also be a timer that wipes everything out.
You will need to defeat the Dataholder enemies, who will drop Data that you need to collect (similar to Motes) until you have at least 8.
Once you have 8 or more Data, proceed to the center and interact so that you can go down, which is where you will be safe from deletion.
After everything above you has been deleted, you will fall through another teleporter which will bring you back to the top.
You will need to collect data once again but this time, you will need to collect 10 before depositing them and hiding them under.
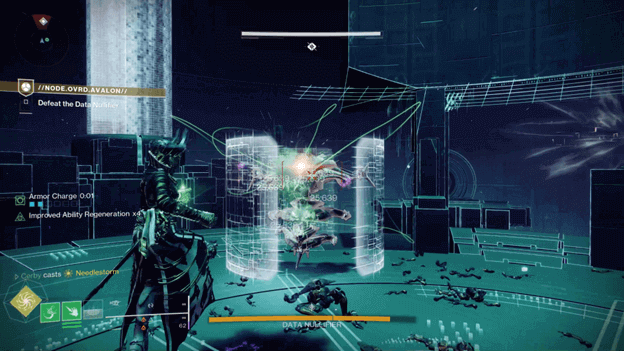
9) Defeat the Data Nullifier
A Data Nullifier (mini-boss) will appear and you will need to start fighting it but once its health has been reduced by 1 bar it will hide.
10) Defeat the Vex
Once the Data Nullifier hides, you will need to start clearing out the remaining Vex in the area as the next phase begins.
11) Gather the Data and Take Shelter
After clearing out the Vex you will need to begin the data-collecting process again to cause it to reappear and become vulnerable.
These steps need to be repeated twice for you to finally defeat the Data Nullifier and proceed to the next area.
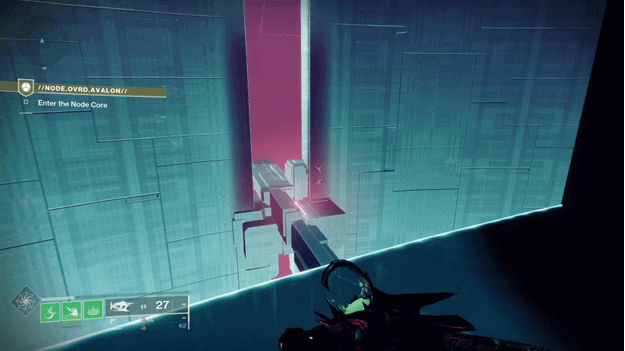
12) Enter the Node Core
After the fight, you can now proceed to the next area which is a drop-down from where the Data Nullifier originally was before the fight began.
Jump down and continue following the path going to the next area, which requires staying close to the wall to avoid dropping and jumping across platforms.
There will be a final jump to go to the Node Core, which can be done using your jump ability but you should first jump to the platform below.
In the large room, there will be a portal that you need to enter, which brings you to an area with multiple platforms, which is where another boss fight will occur.
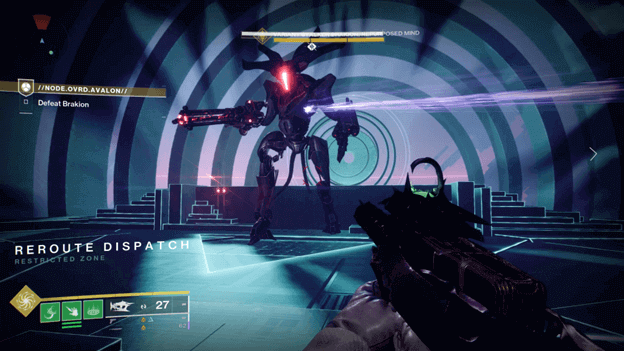
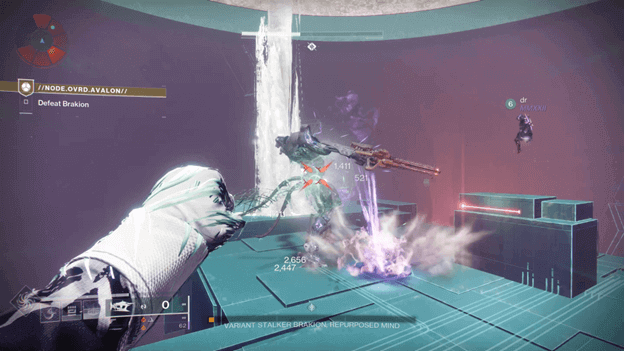
13) Defeat Brakion
Once you are on the platform, approach the end, and a boss named Variant Stalker Brakion, Repurposed Mind will appear.
Brakion will have 3 phases and will be fighting along Vex enemies but you must take caution as dying will cause you to restart the whole fight.
The first phase will have Brakion firing at you while teleporting to each of the corners until you completely deplete its health.
You should clear out the other enemies as you continuously deal damage to them to avoid taking enemy hits. (there will be places to take cover in certain areas)
After depleting Brakion’s health during the first phase, you can run past the remaining enemies and enter the portal at the end of the platform.
The second phase is a bit trickier and you will need to recall the steps you took when inputting codes into the security protocol.
14) Override Brakion’s Access Gate
Brakion will be behind a barrier and you will need to destroy the Encryption Daemon to cause a Security Protocol to appear.
There will be glowing shapes (access codes) that appear on the left or right of the arena that you need to check what to shoot for the access code.
Once you have inputted the code, the barrier will be taken down and you will be able to damage Barkion, which needs to be repeated until a health bar is depleted.
After you have depleted one of his health bars, you will need to proceed by heading into the portal behind where the barrier was.
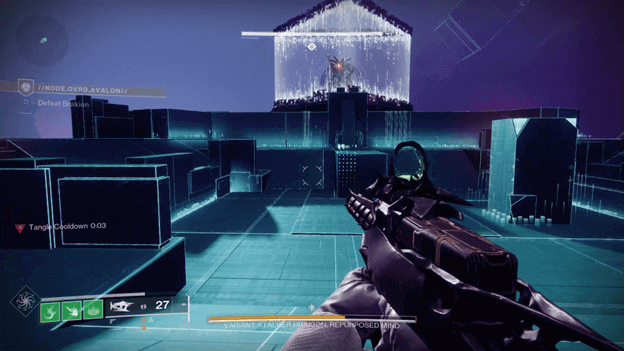
15) Defeat Brakion
Once you are in the third phase, it will be an open arena and you will have to fight Brakion in an open area while also surviving the attacks from the Vex accompanying him.
After you have defeated Brakion, the mission will be close to completion and you have a bit of time to collect any drops that you may have missed.
16) Prepare for Network Expulsion
A waypoint will point you to one of the exits, which you will need to approach and interact with the object marked, and after a short duration, the mission will end.
Node OVRD Avalon Rewards
Completing this mission will reward you with Season of Defiance gear as well as the chance to get a Defiant Engram.
Additionally, completing this mission will let you continue The Variable, a quest that will later reward you with the Vexcalibur Exotic Glaive.
Summary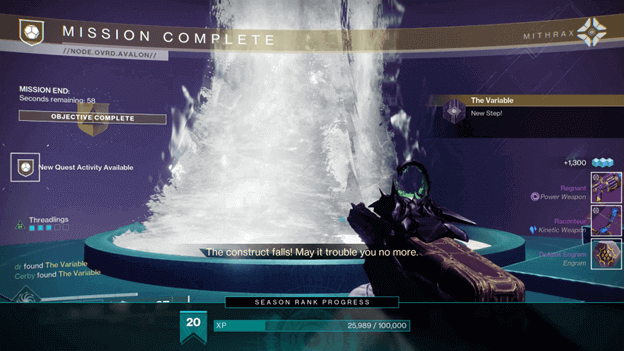
It looks like one of the biggest secrets hidden by the Vex was hidden away in the European Dead Zone and you have found it.
Now that you have gone through the trouble of exploring their network, you will be able to reap a certain exotic reward later.
This mission is one of the requirements for completing an exotic quest, which requires you to bring what you have found to the War Table.