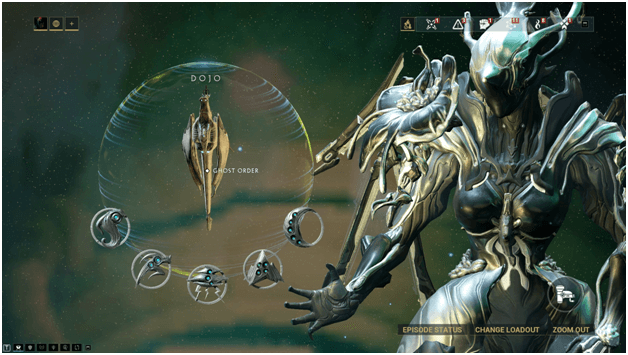
The Rising Tide is part of the main story and is a quest you will need to undertake to be able to use a Railjack in Empyrean.
This quest focuses on you creating your very own Railjack by going through a series of missions that will help you obtain parts to build it.
Upon completion of The Rising Tide, your Railjack will be available for doing Railjack Missions, which allow you to explore and collect different loot.
Prerequisites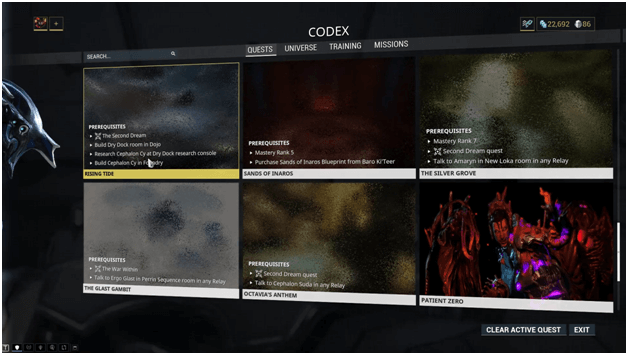

To begin the Rising Tide quest, you will need to have finished The Second Dream and will need to be in a clan that has built a Dry Dock room in their Dojo.
You will then need to acquire a blueprint after Cephalon Cy has been researched and craft it to start to quest.
The Rising Tide will eventually be unlocked as you continue to progress through the main story and should be available at some point later.
Rising Tide Walkthrough
The Rising Tide quest will require you to perform several tasks to build your Railjack which include searching for traces of the parts.
You will also find yourself defending locations as well as farming resources to craft the parts after scanning them.
1) Acquire Cephalon Cy Blueprint
To begin the Rising Tide quest, you will first need to craft Cephalon Cy which means you need to obtain the blueprint for him.
This can be purchased from the Dry Dock if your clan has already built one and researched Cephalon Cy previously.
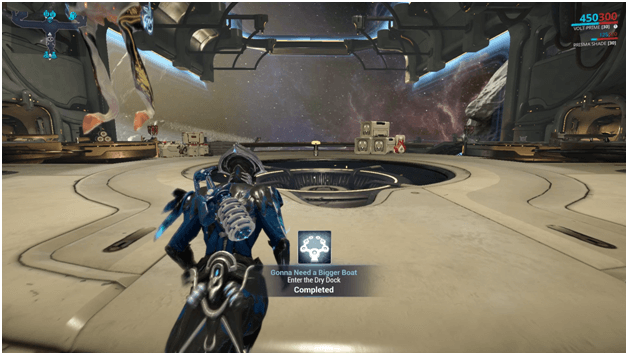
Heading into the Dry Dock for the first time will reward you with the “Gonna Need A Bigger Boat” achievement.
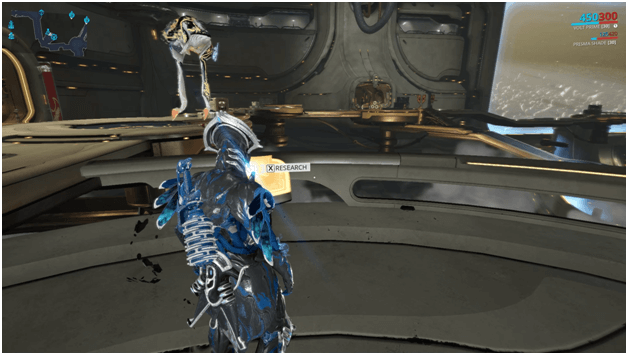
Once you are in the Dry Dock, head over to the right side and access the Railjack research console which will have Cephalon Cy available for purchase if it has already been researched.
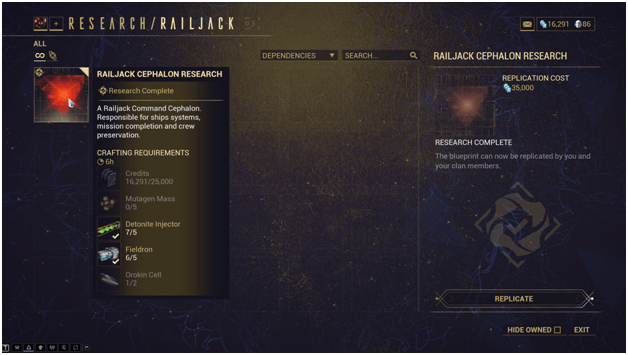
Before the Railjack Cephalon may be purchased (replicated), you will need to first complete its research, which requires the following resources:
After the research has been completed, you will be able to replicate the Railjack Cephalon at the cost of 35,000 Credits.
2) Crafting Cephalon Cy
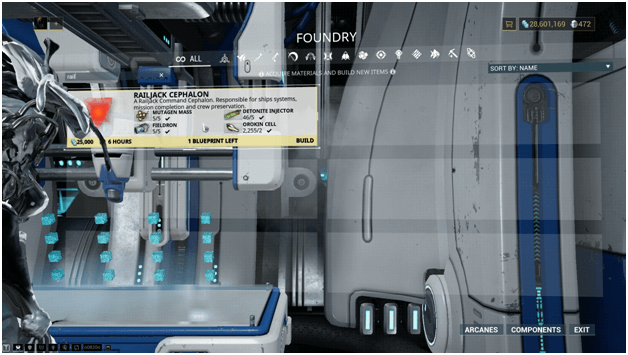
Once you have the blueprint to craft Cephalon Cy, head over to your foundry on your orbiter and craft it which will take about 6 hours.
This will require the following resources:
- 25,000 Credits
- 5 Mutagen Mass
- 5 Detonite Injector
- 5 Fieldron
- 2 Orokin Cell
Once Cephalon Cy has been crafted, a brief message will appear from it and it will tell you to install it in the Dry Dock console.
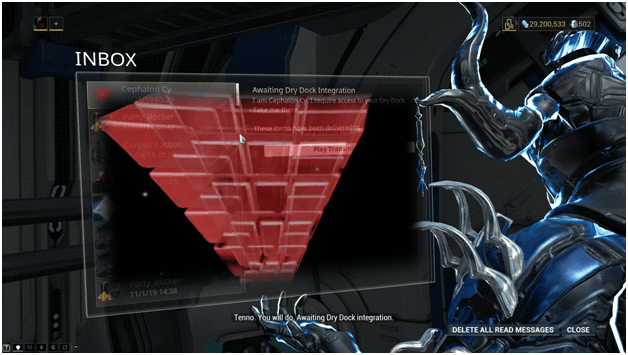
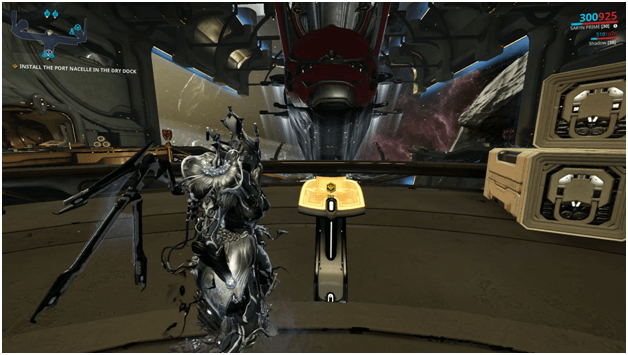
3) Install Cephalon Cy
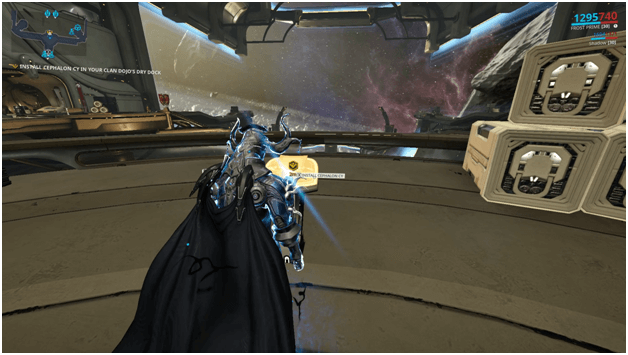
Head back to your Dry Dock and proceed to the console which you will interact with to install Cephalon Cy who will guide you in building your Railjack.
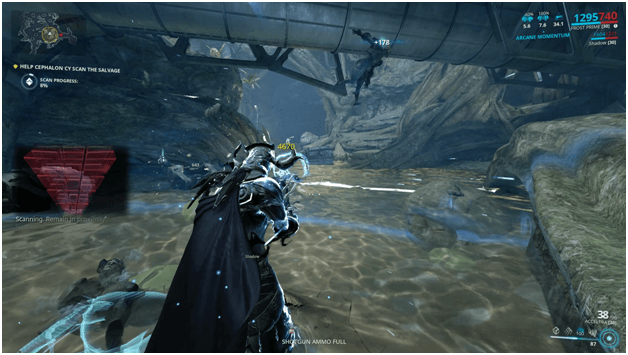
4) Scanning Salvage
The Rising Tide steps in the quest will require you to proceed to a certain mission in search of a component for the Railjack that needs to be scanned.
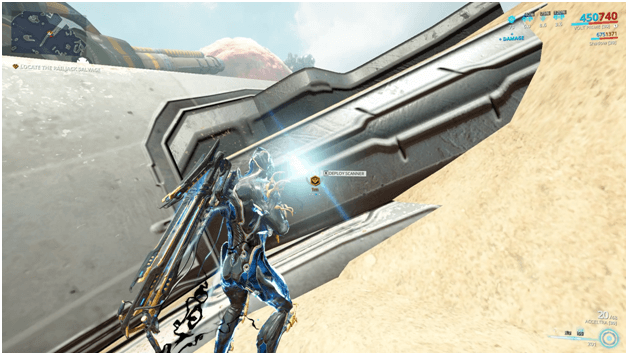
Once one of the missions begin, you will need to proceed to a waypoint which marks the location of a part of the Railjack and interact with it.
Interacting with the part will initiate a sequence where you need to stay in the area while scanning is performed.
For the scan to work, you will need to stay inside a ring, which will remain visible in the mission around the Railjack part.
When enemies enter the area or whenever you leave the circle, the scanning process will be halted until you clear them out or return to the circle.
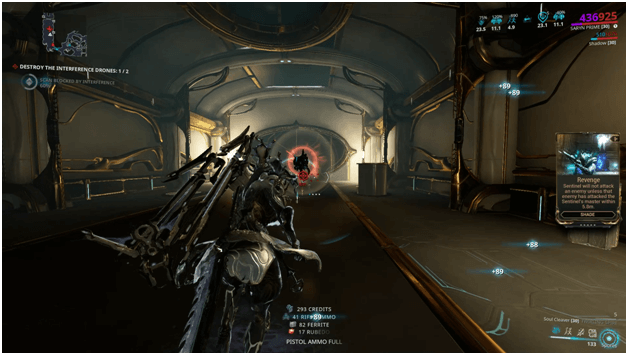
During the mission, Interference Drones will attempt to delay your scan and you will need to destroy them to continue the mission.
Interference Drones will be shown by a waypoint for you to track them down and destroy them once you reach their location.
5) Crafting The Railjack Part
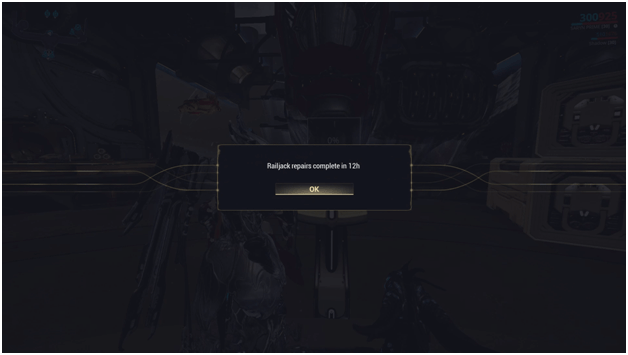
After the mission is complete, you will receive a part that will be used in the process of repairing/building your Railjack.
You will need to craft each part after acquiring it which will be doable by interacting with the console in the Dry Dock.
A certain amount of resources, including credits will be needed to complete each part and you will have to farm them or have them in stock in order to build the parts.
After each part has been crafted and installed, you will notice the Railjack slowly forming and will need to proceed to the next mission area in search of the next part until all parts have been completed.
6) Completing The Last Part

After crafting the last part of the Railjack, you will need to interact with the console once more which will end up with Cephalon Cy talking to you.
Cephalon Cy will explain more about the history of the events including itself and the Railjack, introducing more of the Railjack lore to you before asking you to integrate it into your Railjack system.
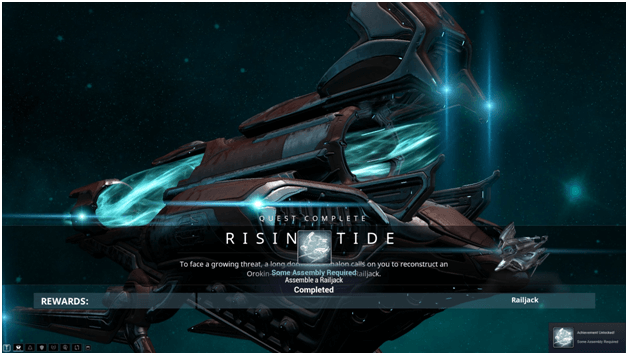
Once you have integrated Cephalon Cy, the Rising Tide mission will be completed and you will also get the “Some Assembly Required” achievement.
Completing your Railjack will be required for events involving Empyrean due to the fact that you will be needing a Railjack for such missions.
Railjack Parts and Locations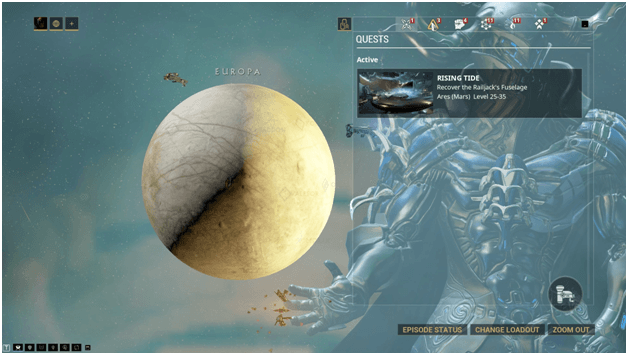
Each part will need to be scanned before you may craft it and can be found in different missions that are on different planets.
Enemies that you encounter will be either Corpus or Grineer and will be around level 25 – 35 in the missions.
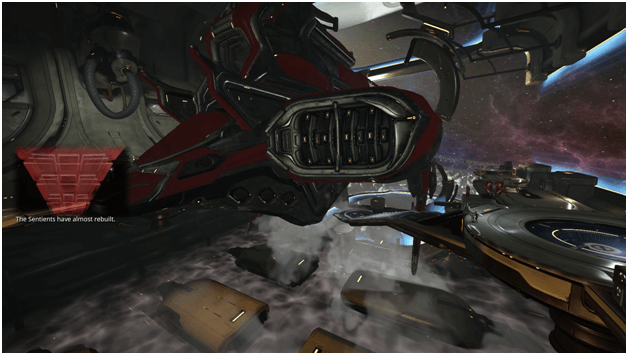
Take note that some missions will have sentient enemies in them that may provide to be a challenge for some.
1) Fuselage – Ares (Mars)

The first part is the Fuselage which will be located on Ares on Mars and the enemies will consist of Grineer forces.
2) Propulsion System – Cervantes (Earth)
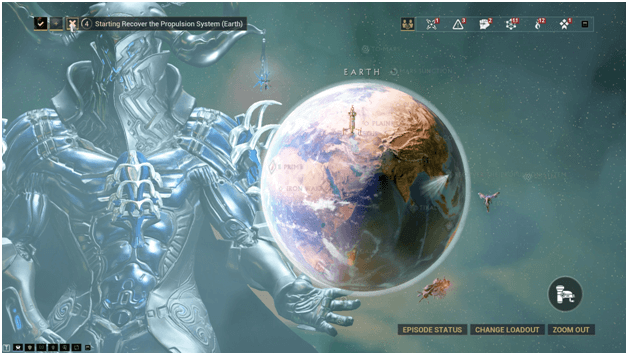
The Propulsion System will be the second part that you need to obtain which is located in the Cervantes mission on Earth where you will also be facing Grineer enemies.
3) Port Nacelle – Plato (Lua)
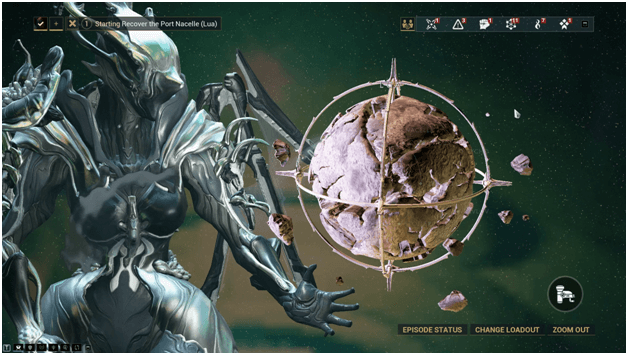
The third part that you need to scan will be the Port Nacelle, located in Plato on Lua where you will be facing the Corpus.
4) Starboard Nacelle – Tessera (Venus)
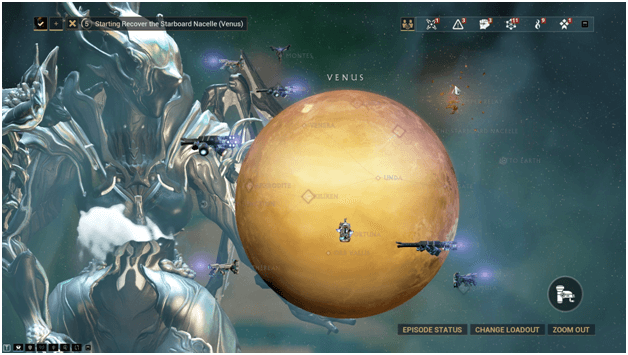
The Starboard Nacelle is the fourth part that you will need to craft which is found in Tessera on Venus, a mission that consists of Corpus enemies.
5) Tail Section – Berehydnia (Sedna)
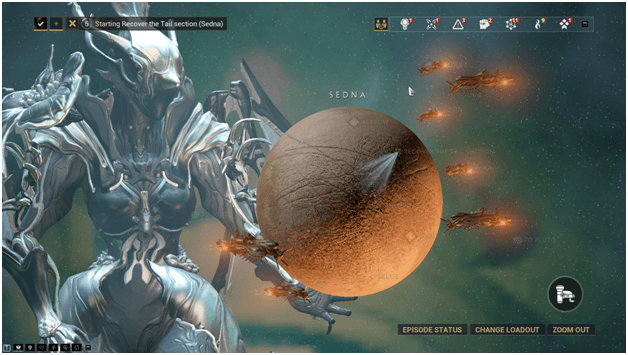
The Tail Section is the fifth part of the Railjack that you need to scan and can be located in Berehynia on Sedna where Grineer enemies will be lurking about.
6) Engine Cowling – Orias (Europa)
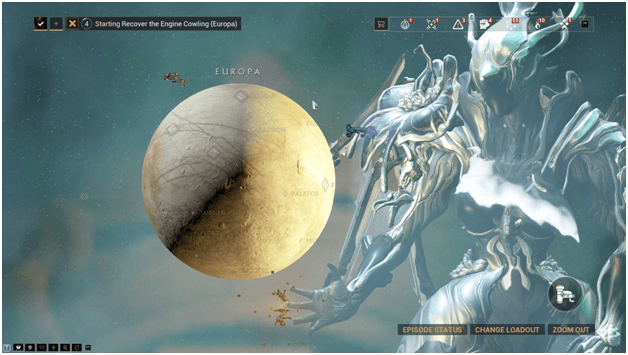
The sixth and final part of the Railjack is the Engine Cowling which you will find in the Orias mission on Europa which is inhabited by Corpus forces.
Railjack Unique Resources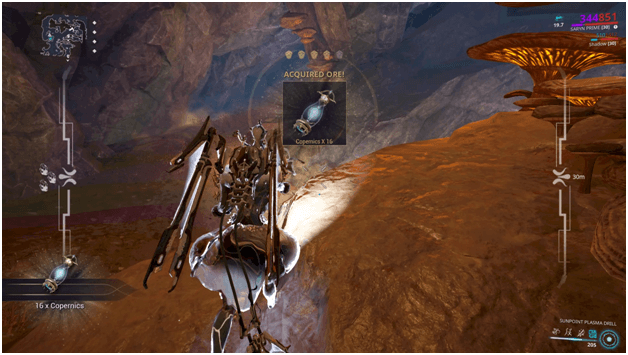
There will be certain resources that were only introduced in the Rising Tide update that will be needed when crafting certain parts of the Railjack.
1) Carbides
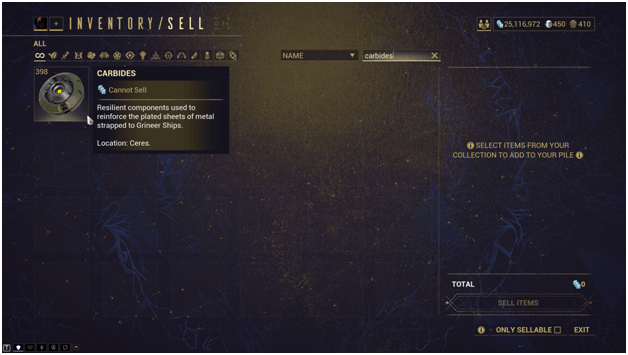
Carbides may be found in Grineer Shipyard tile sets such as Seimeni on Ceres and only drop from Eximus units.
For more information see Carbides Farming Guide.
2) Cubic Diodes
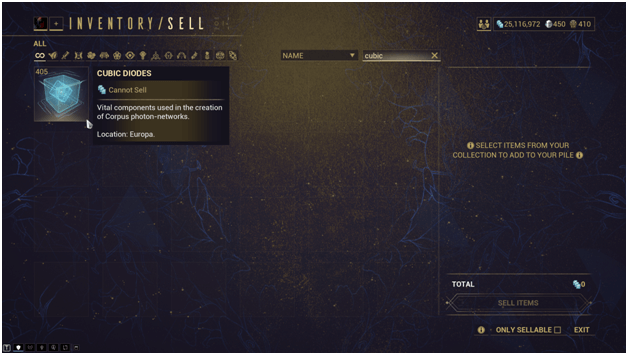
Cubic Diodes may be found in missions that take place on the Ice Planet tile set such as Larzac on Europa which may only drop from Eximus units
For more information see Cubic Diodes Farming.
Railjack Resource Costs
Once you have everything that is needed for your Railjack, you will require the following items to build it:
Fuselage
- 25,000 Credits
- 5 Cubic Diodes
- 250 Plastids
- 1,250 Rubedo
- 3 Neural Sensors
Propulsion Systems
- 25,000 Credits
- 5 Carbides
- 250 Cryotic
- 1 Orokin Cell
- 1,250 Nano Sppores
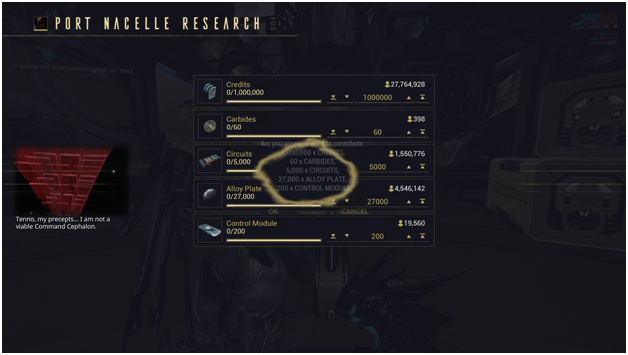
Port Nacelle Research
- 25,000 Credits
- 5 Carbides
- 400 Circuits
- 2,000 Alloy Plate
- 10 Control Module
Starboard Nacelle
- 25,000 Credits
- 5 Carbides
- 400 Circuits
- 2,000 Alloy Plate
- 10 Control Module
Tail Section
- 25,000 Credits
- 5 Cubic Diodes
- 750 Ferrite
- 300 Polymer Bundle
- 1 Argon Crystal
Engine Cowling
- 25,000 Credits
- 5 Cubic Diodes
- 10 Detonite Ampule
- 750 Ferrite
- 1,000 Salvage
Tips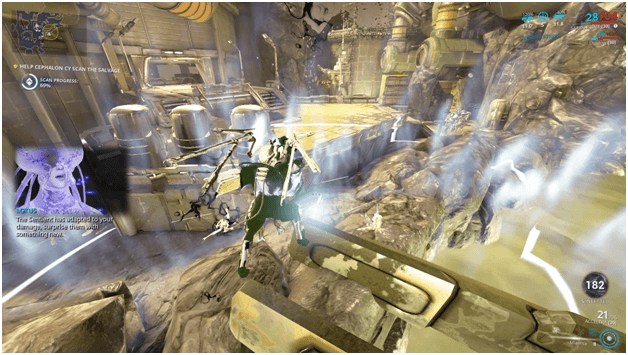
- It is a good idea to farm all of the other resources that you need so that once you are ready to craft each part, you will be able to proceed right away.
- Bringing Warframes with crowd control or that deal area damage can greatly help finish the scanning missions easily.
- When farming or mining resources that will be used for the Railjack, bringing a Smeeta Kavat can be a really big help, especially if you have a resource booster for an even bigger bonus.
Verdict
With a Railjack now complete and the ability to enter the different Proximas in the system, you will now be able to venture forth to face more challenges.
New rewards will be available and if you are just getting started with the game, there will be a lot out there for you to farm.
Having a Railjack is necessary to progress through the game and to obtain certain rewards that are not available elsewhere.