Anyone who remembers Diablo II’s second act will probably remember the long journey to assemble the Horadric Staff before finally entering the true Tomb of Tal Rasha.
That adventure took you through the Maggot Lair and Claw Viper Temple before the completed staff could reveal the burial chamber containing one particularly unpleasant surprise.
Season 15 condenses that memorable journey into one Waking Nightmare, bringing back the Horadric Staff, Fangskin, Coldworm the Burrower, and ultimately Duriel.
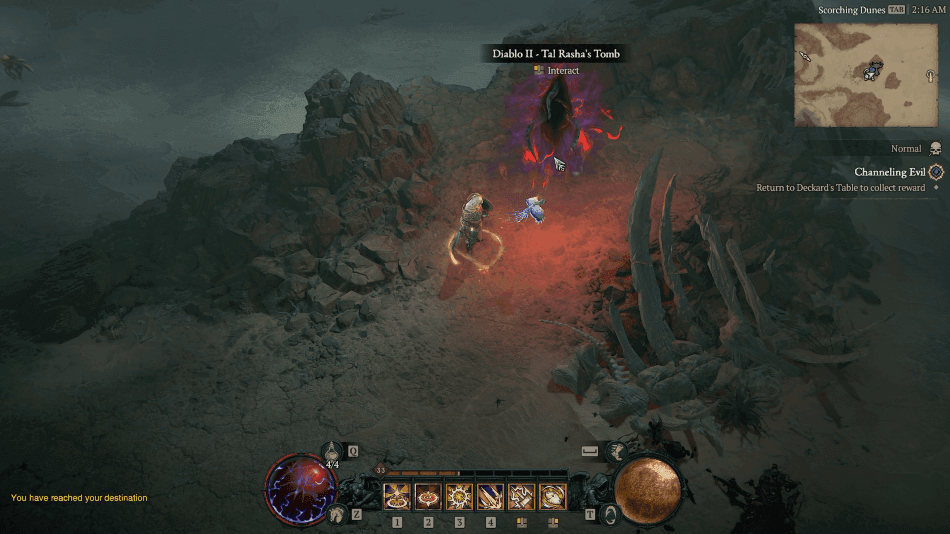
Tal Rasha’s Tomb Location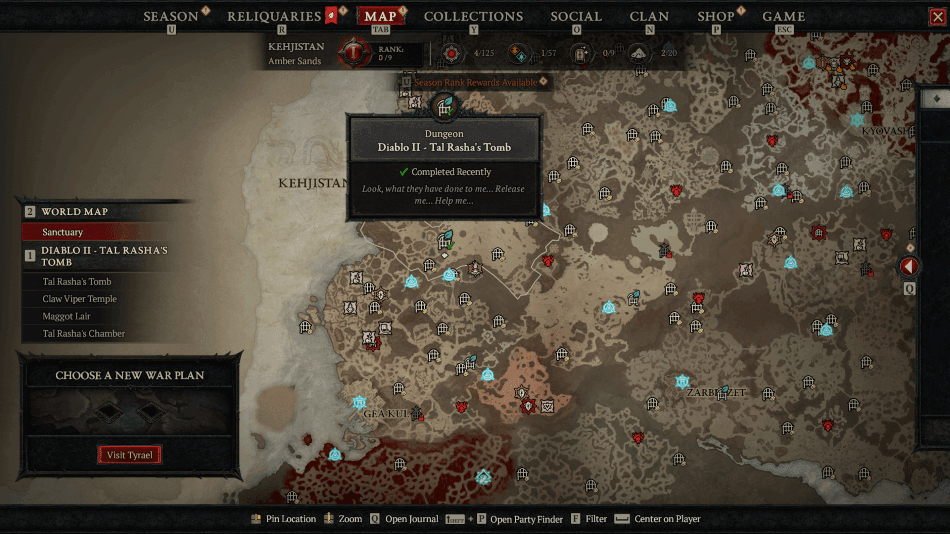

Tal Rasha’s Tomb Waking Nightmare is located in the Amber Sands area of Kehjistan, with its entrance permanently marked on the world map.
Entering the dungeon begins a recreation of several major Diablo II Act II encounters rather than immediately taking you to the battle with Duriel.
Tal Rasha’s Tomb Walkthrough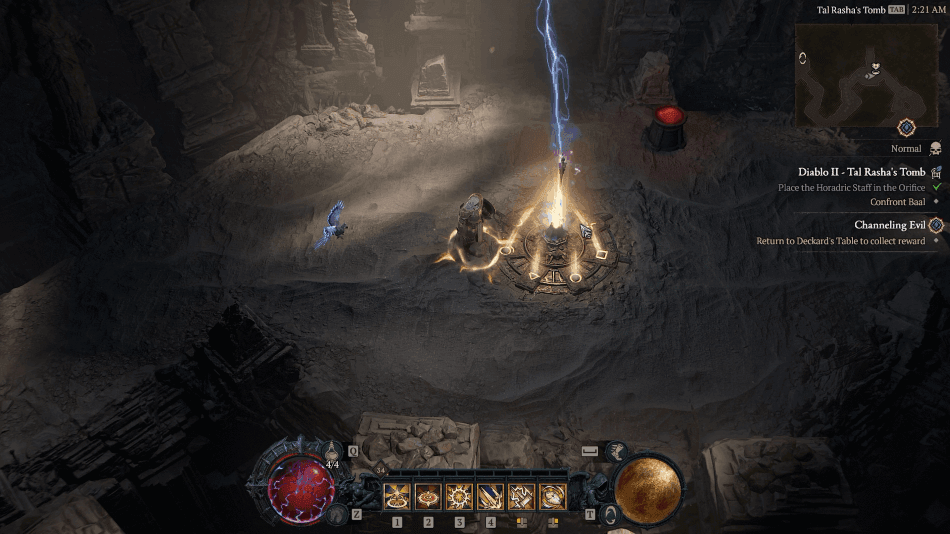
Enter Tal Rasha’s Tomb and continue past the Orifice for now, as you cannot open the way forward until you have assembled the Horadric Staff.
Further ahead are portals leading to the Claw Viper Temple and Maggot Lair, which contain the two pieces required to create the staff.
You can complete these areas in either order, so choose whichever portal you encounter first before returning to tackle the other objective.
Once you have the Amulet of the Viper and Staff of Kings, they will combine into the Horadric Staff, allowing you to return to the Orifice and open the path to Duriel.
How To Get The Amulet of the Viper?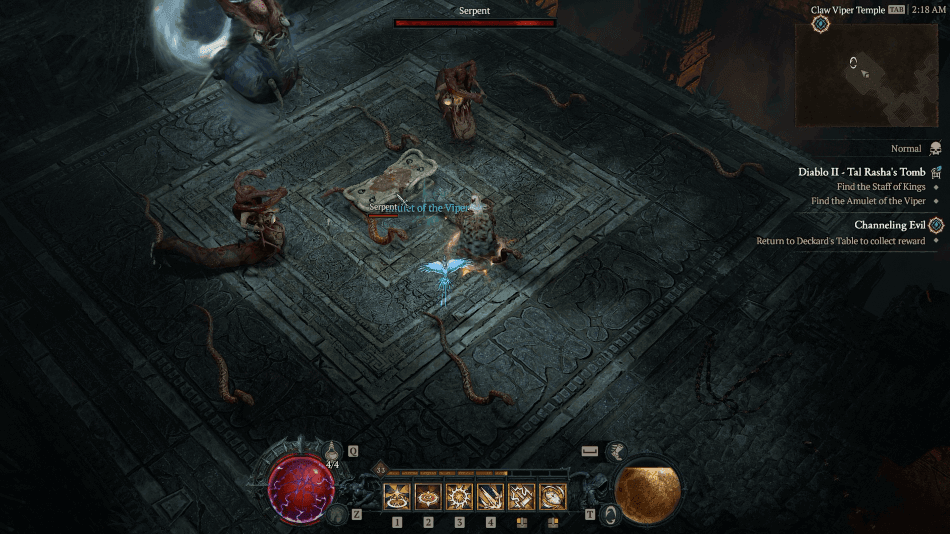
Enter the portal leading to the Claw Viper Temple and fight your way through the enemies inside until you reach the room containing the Tainted Sun Altar.
Interact with the altar to obtain the Amulet of the Viper, but prepare for an ambush from several Claw Vipers alongside the returning elite Fangskin.
Defeat Fangskin and the remaining enemies, collect the amulet, then use the nearby portal to return to the central area of Tal Rasha’s Tomb.
How To Get The Staff of Kings?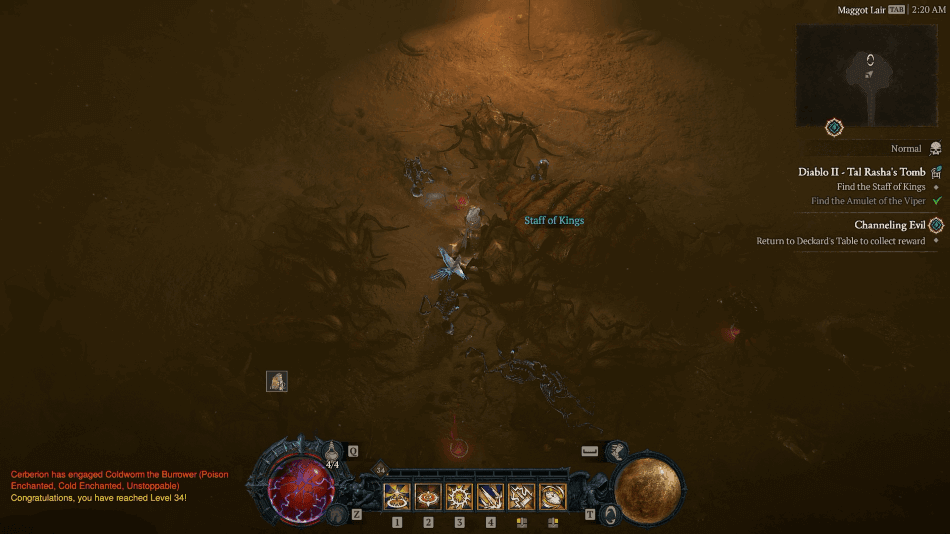
Take the other portal into the Maggot Lair and explore its tunnels while fighting through the creatures inhabiting the underground nest.
Continue deeper until you encounter Coldworm the Burrower, the enormous Sand Maggot Queen who also appeared during the original Horadric Staff quest in Diablo II.
Defeat Coldworm to obtain the Staff of Kings, then collect it and use the exit in the same room to return to the previous area.
How To Get The Horadric Staff?
You can collect the Amulet of the Viper and Staff of Kings in either order, so there is no need to complete the Claw Viper Temple before entering the Maggot Lair.
Once both pieces have been obtained, they are automatically combined and the completed Horadric Staff will drop for you to collect.
Pick up the staff and return to the Orifice you passed earlier, then interact with it to open the hidden passage leading toward Tal Rasha’s burial chamber.
How To Defeat Duriel?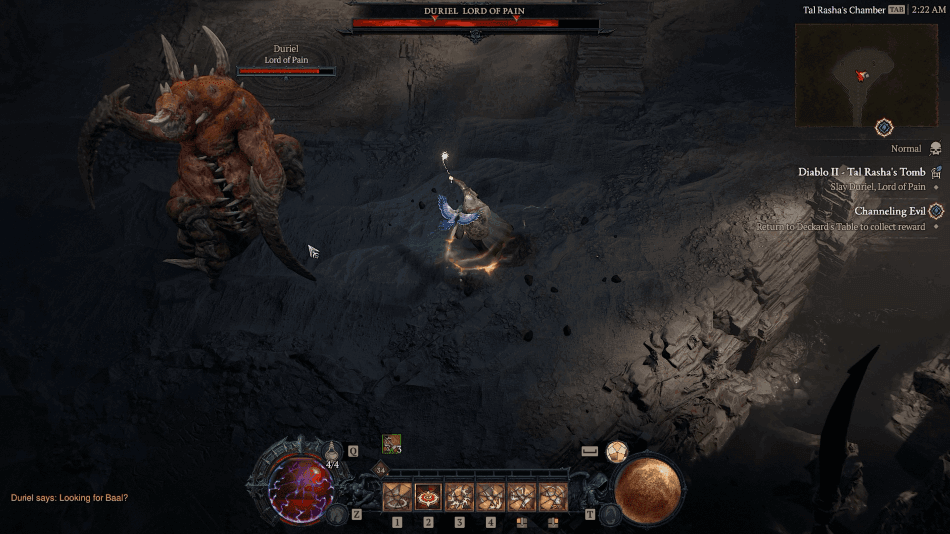
Enter the newly opened chamber to confront Duriel, who immediately puts pressure on you with relentless attacks and gives you little room to remain stationary.
Keep moving while dealing damage and avoiding his attacks until his health becomes low enough for him to burrow underground, beginning the second part of the encounter.
Watch for the quakes created while Duriel moves beneath the arena and deal with the minions attacking you until he eventually emerges from underground.
Resume attacking once he returns, finish Duriel off, and Tal Rasha’s Tomb Waking Nightmare will be cleansed and completed.
Tal Rasha’s Tomb Rewards
Tal Rasha’s Tomb provides plenty of opportunities for loot due to its longer structure, with Fangskin, Coldworm, Duriel, and numerous enemies encountered throughout the dungeon.
Completing the Waking Nightmare also contributes toward seasonal progression while providing another opportunity to earn Prime Evil reputation for the Splinter you currently bear.
Its connection to later Season Rank objectives gives you another reason to return, particularly once progression requires clearing Diablo II Waking Nightmares at higher difficulties.
How To Complete Tal Rasha’s Tomb Quickly?
Movement Speed can save considerable time here, especially while traveling through the Maggot Lair and Claw Viper Temple searching for their respective objectives.
Ignore unnecessary enemies whenever possible and prioritize reaching the Tainted Sun Altar and Coldworm, since both Horadric Staff pieces are required before you can proceed.
The order does not matter, so clear whichever portal is most convenient first, collect both pieces, then return directly to the Orifice and finish the run by defeating Duriel.
Verdict
Tal Rasha’s Tomb stands out because it recreates far more than Duriel’s famous ambush, compressing several memorable parts of Diablo II’s second act into one dungeon.
Fangskin, Coldworm, the Amulet of the Viper, Staff of Kings, Horadric Staff, and Orifice all return before you finally reach the burial chamber waiting at the end.
It is considerably longer than some Dungeon Waking Nightmares, but seeing that entire journey reconstructed makes Tal Rasha’s Tomb one of the most nostalgic encounters in Season 15.
