- Mission Type: Season of the Seraph
- Mission Location: Europa
While the efforts to restore Rasputin are still underway, everything will be meaningless if he cannot be uploaded to the Warsat network.
This now requires that you head over to Seraph Station to install a backdoor aboard the Seraph Station that the Warmind can use later.
You will need to fight your way through the facility and launch yourself to Seraph Station to complete this task.
How To Get Operation Seraph’s Shield?
Operation: Seraph’s Shield becomes available during quest step 23 of the Seasonal Quest called More Than A Weapon during Season of the Seraph.
Once you have completed the Operation: Seraph’s Shield mission, it will continue to be replayable to obtain further rewards.
Operation Seraphs Shield MissionWalkthrough

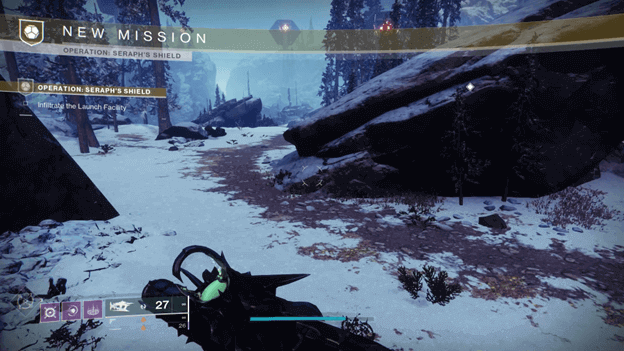
1) Infiltrate the Launch Facility
The mission starts by placing you outside of the facility and you will need to make your way toward its entrance while avoiding the defense system’s lasers.
Fight your way through the enemies and avoid letting the lasers from locking on to you for an accumulated 15 seconds until you reach the entrance.
There will be a Revenant Ogre in front of the entrance that you may need to defeat as you make your way there.
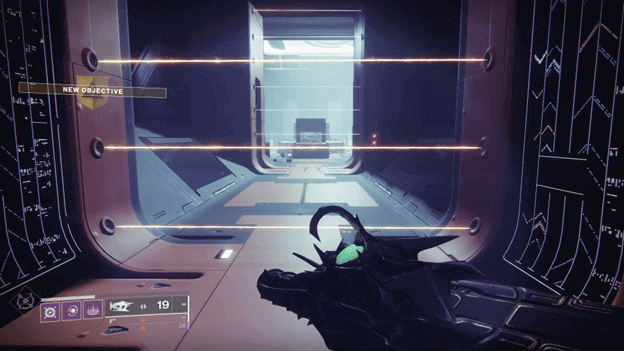
2) Infiltrate the Launch Facility
Continue making your way inside until you reach a set of lasers that you need to maneuver through to get to the next room.
Once you have gotten through the lasers, take a left and continue making your way past more lasers until you reach the Launch Center.
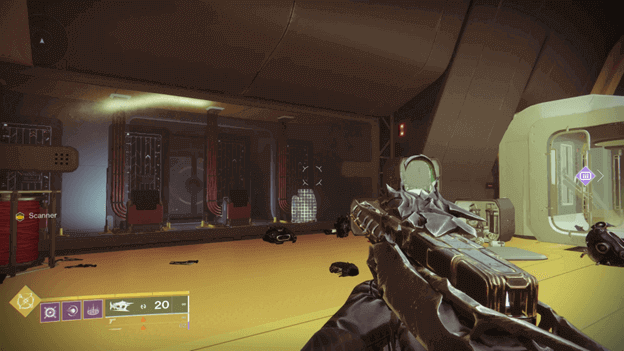
3) Use the Scanner Protocol to Activate the Escape Pods
There will be Fallen enemies in the room and you will need to defeat them, including a Scanner Splicer, who will drop a Scanner Augment.
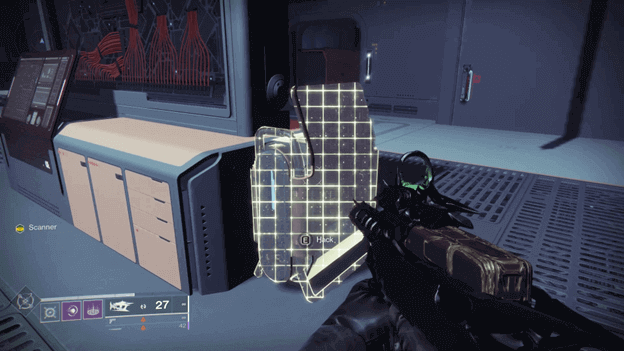
Once you have the Scanner Augment, you will need to search for the highlighted terminals and interact with them to hack them.
Each terminal you hack will cause another one to be highlighted and this area will have 3 in total that needs to be hacked.
Keep in mind that there will be other instances during the mission where you will need to do this step to get through areas.
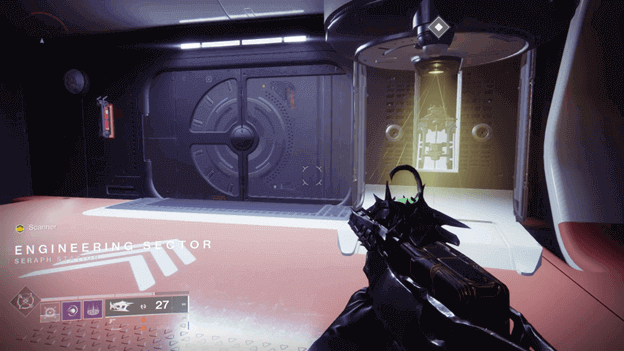
4) Board and Gain Access to Seraph Station
Once you have hacked the third terminal, enter one of the Launch Pods and interact with it to reach Seraph Station.
You will be brought to the Engineering Sector and will need to head to the Augmentation Terminal to open up a nearby door.
5) Use the Scanner Protocol to Access the Engineering Sector
Proceed into the next room and defeat the Scanner Splicer and he will drop a Scanner Augment that will require you to hack more terminals.
The first terminal that needs to be hacked will be near where you defeated the Scanner Splicer and the second one will be at the end of the one that you are currently inside of.
There will be a vent hidden behind a screen, which will allow you to access the third terminal that needs to be hacked behind the large glass window.
Once you have hacked the second terminal, you can head back to the room at the end and hack another terminal that opens a nearby door.
After hacking the third terminal, head through the door and jump over to the other side to access the Augmentation Terminal to open the door next to it.
6) Use the Scanner Protocol to Access the Decontamination Chamber
Head into the next room and it will be full of Fallen enemies that you need to defeat, including another Scanner Splicer.
Once you pick up their Scanner Augment, there will be a terminal that needs to be hacked behind one of the pillars near where you defeated the Scanner Splicer.
The second terminal will be above the door through a vent that has some lasers that you need to get passed.
The third terminal is a bit tricky and you will need to look for the right one among the four, which is shown through a window.
Head into the next room by interacting with the Augmentation Terminal and hack the console above the correct terminal.
7) Reach the Decontamination Chamber
A door will now be opened leading to a room full of turrets which you should carefully shoot as they can deal quite a lot of damage if you stay still.
Make your way going up and proceed to the room behind one of the turrets, where you will immediately see a Scanner Splicer.
8) Use the Scanner Protocol to Access the Security Sector
Take out the Scanner Splicer and the other enemies in the room and pick up the Scanner Augment as you will need to scan terminals once more.
The location where you defeated the Scanner Splicer will be in front of a window, at which you will see which terminals need to be scanned.
Below will be a room that has consoles that are connected to each of the terminals and you will need to hack the right one.
The room below has a defense system that will kill you if you step on the wrong tiles and you will need to check the path first by looking through a small window.
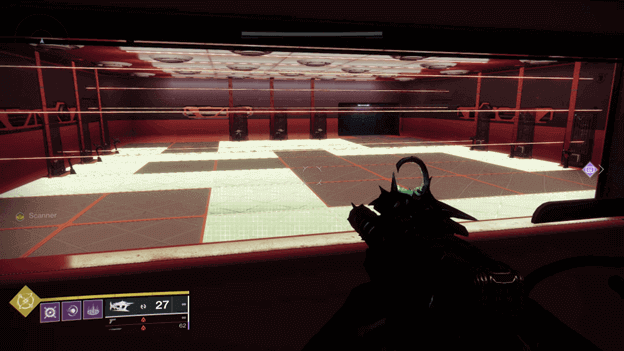
Make sure you stay on the path and do not attempt to glide or else the room will seal and you will be incinerated.
Proceed with hacking all the right consoles connected to each terminal to proceed through to the next room inside.
9) Use the Operator Protocol to Access the Officer’s Lounge
Once you head through the door, there will be Fallen enemies, which include an Operator Splicer, who will drop an Operator Augment.
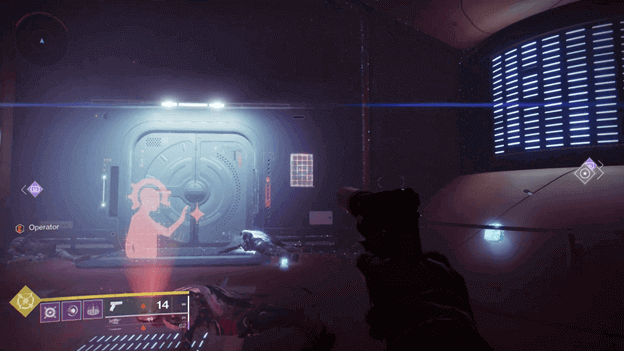
The Operator Augment is similar to the Scanner Augment in a way but this will require that you shoot control panels.
Shooting the control panels that are highlighted will reveal the next one and doing this will open up doors or other ways for you to progress.
The first control panel will be in the room where you obtained the Scanner Augment, the next one will be in the room with 2 entrances to the left of the next room.
After shooting the second control panel a door will open in the previous room and enemies will come out that you need to defeat.
Once you defeat them head to the right side of the rear part of the room and there will be a vent, which will allow you to find the next control panel.

While you are in the vents, there will be a section where you can see one of the control panels to shoot it.
After shooting the third panel, head back to the previous room and enter the vent that is at the side of the entrance.
This will lead you to a room that has another panel and once you shoot at it through a small gap, a door in the previous room will be opened.
10) West Quadrant Control Room Key Acquired (0 of 1)
Head further past the opened doors and make your way toward the room at the end where there will be more enemies that you need to defeat.
Among the enemies in the room, there will be a Fallen High Security Officer who will drop a Warsat Control Nexus Keycard.
11) Draw Attention to Your Location
Enemies will begin to appear and you will need to fight your way through them to get to a newly opened door.
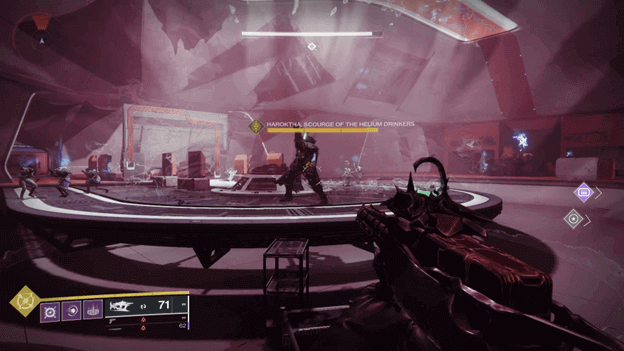
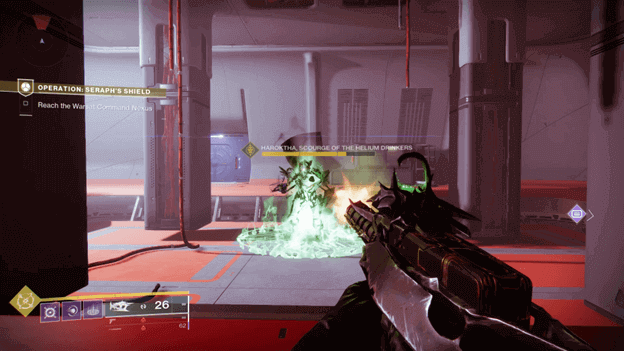
The next room will be large and has a lot of explosive objects that you can shoot to draw attention to your location.
This will cause Haroktha, Scourge of the Helium Drinkers to appear and you will need to fight him until you have reduced his health by one bar.
After reducing Haroktha’s health, he will become invulnerable and enemies will begin to spawn, including 3 Warbringer Brigs.
You will need to defeat all of the enemies and during the fight, Haroktha will escape to fight you once more later.
12) Get Captured
Once all of the enemies have been defeated, proceed through the door that has opened and you will reach an area where the Fallen will attempt to capture you.
Interact with the area to surrender your weapons and this will happen, which causes a Servitor to appear and capture you.
You will be transported to a holding cell and will need to interact once more to get your weapons while in the cell.
13) Escape the Ketch
Fight your way through the enemies and to make things easier, you can release some of the BrayTech Security Frame allies by interacting with a nearby panel.
Continue battling the enemies until you reach the door at the end where another panel can be used to open it.
The next room will have turrets that you will need to destroy to unlock a nearby door, which will allow you to head out into orbit.
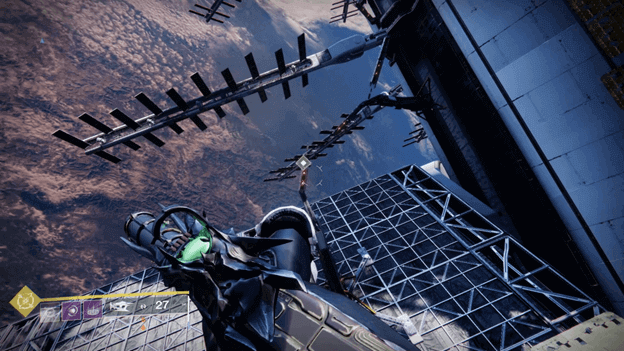
14) Jump to the Station’s Machinery Below!
While in orbit, you will need to jump down to the lower part of the station and will need to time your second jump or glide right to land safely.
Continue jumping across the station’s machinery to reach the end, where you will begin to encounter enemies.
15) Use the Operator Protocol to Access the Operations Sector
Once you reach the part where there are enemies, you will need to defeat an Operator Splicer and take their Operator Augment.
After obtaining the Operator Augment, jump to the next platform and go to the end to reveal the control panels that you need to shoot.
Shooting the control panels will cause platforms to come out, which you can then use to continue making your way to the station.
Once you are in the station, defeat the enemies in the large room and you will be able to proceed through a door that unlocks.
16) Reach the Warsat Command Nexus
Haroktha, Scourge of the Helium Drinkers will appear once more but this time you can finish him off without any interruptions.
17) Use the Scanner and Operator Protocols to Access the Warsat Command Nexus
Things will be a bit more tricky here as you will need to use the protocols in order or things can get a bit messy.
Head through the door that opened up after you have defeated Haroktha and defeated the enemies inside, including the Operator Splicer.
Shoot the control panels (there will be 2) to open the nearby rooms, where one of them will have a Scanner Splicer and an Augmentation Terminal.
Use the Augmentation Terminal to remove the Operator Augment so you can pick up the Scanner Augment.
Since both of the rooms have been opened, you will be able to scan the terminal in each of them, opening up another door.
Head into the next room and defeat the enemies, including another Operator Splicer and pick up the Operator Augment.
Shoot the control panels to open up a door that has a Scanner Splicer, and use it to scan the terminal located at the back of the room to activate a nearby Transit Platform.
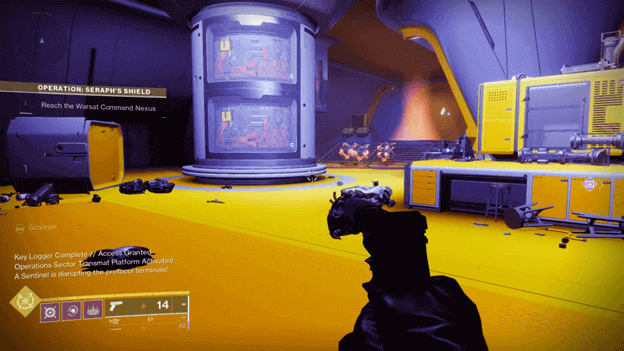
18) Reach the Warsat Command Nexus
As soon as the Transmit Platform is activated, Resilient homing Shanks will appear and you will need to avoid getting blown up. (Just shoot them)
Get on the Transit Platform and you will be teleported to the Operations Sector, where you will need to fight past more enemies in the area.
Use the Augmentation terminal to unlock the door next to it and go inside where there will be a Suppressor Splicer.
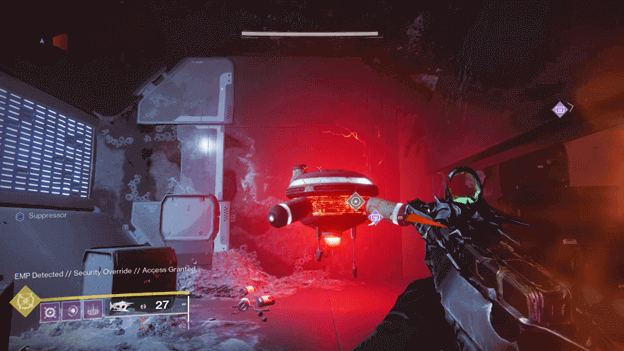
19) Create an EMP Glitch with Suppressor Rounds to Access the Bridge
Pick up the Suppressor Augment and stand below each of the drones and shoot the Sentinel (Servitor) that appears.
You will need to keep in mind that whenever you have picked up a Suppressor Augment, standing below one of the Clovis Drones will allow you to see what you need to shoot.
This will usually be an enemy and you will need to repeat this while standing under each of the drones in the area.
Once you have suppressed the drones, there will be a shield drone in a room that opens, which needs to be destroyed.
Once the shield drone is destroyed, you will be able to defeat the Sentinel from earlier and will then be able to enter the next area after using the Augmentation Terminal.
20) Reach the Warsat Command Nexus
Continue making your way to the large room and a boss named Praksis the Defiled will appear and begin to attack you.
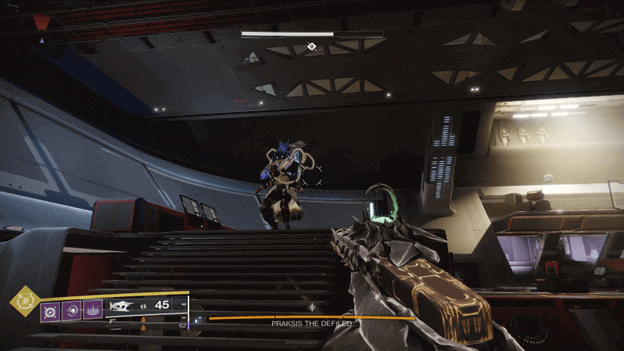
21) Defeat Praksis the Defiled
Praksis the Defiles will be fighting alongside other enemies and you will need to damage his health to drop it by one bar each time.
Every time one of his health bars is drained, he will become invulnerable and you will need to defeat a nearby Suppressor Splicer to get a Suppressor Augment.
Once you have the Suppressor Augment, you will need to stand under a Clovis Drone and shoot Praksis.
Each time you shoot Praksis while under a drone, a door will open up to reveal a shield drone and you will need to destroy it.
There will be 3 shield drones that need to be unliked every time Praksis becomes invulnerable, meaning you need to repeat the process twice.
Once you destroy the shield drones for the second time, you will be able to finally deplete all of his health.
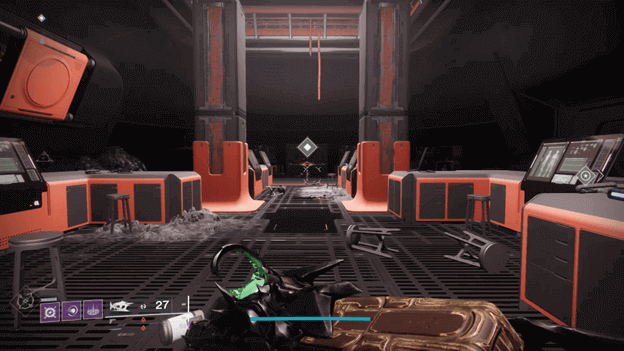
22) Upload The Virus
After you have defeated Praksis, you will need to head over to the next room where there will be a console, which can be used to upload the virus.
Once the virus has been uploaded, the quest will be complete and a backdoor will now be available when the Warmind is ready.
Operation Seraph’s Shield Rewards
Completing Operation Seraph’s Shield will provide you with Exo Frame Reputation and a chest will appear that has rewards.
Rewards will provide you with Glimmer, Resonate Stem, Legendary Gear, and more depending on the difficulty of the mission.
This will also allow you to later on receive the Revision Zero weapon when you talk to the Exo Frame during the Seasonal Quest, More Than A Weapon.
The Exo Frame will also give you an Exotic Quest called The Hidden Shape when you receive Revision Zero from it.
Summary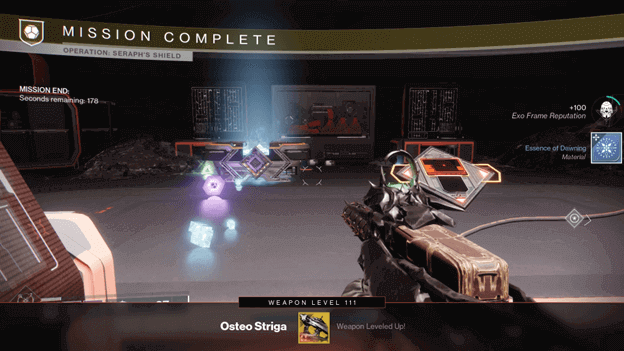
Infiltrating the station may have been a difficult task, especially since your foes had gotten to it before you could have but things ended up being successful.
After fighting your way through countless enemies and going through the station’s systems, you were finally able to upload the virus to give Rasputin a backdoor into the station.
With a backdoor now prepared, the Warmind will be able to access the station once he has been fully restored with everyone’s efforts.