- Mission Type: Expedition
- Mission Location: Nessus
- Recommended Level: 1520
The Expedition Nessus mission was added in Week 3 of the Season of Plunder, which involves digging up treasure and hauling it to an extraction point.
During this mission, you will fight against both Cabal and Fallen enemies as you are collecting treasure to be hauled.
You will encounter a Raiding Servitor while extracting and will need to defeat them to successfully bring back the treasure.
How To Get Expedition Nessus?
The Expedition Nessus mission became available during Week 3 of the Season of Plunder and remains to be a repeatable mission.
Expedition: Nessus Mission Objectives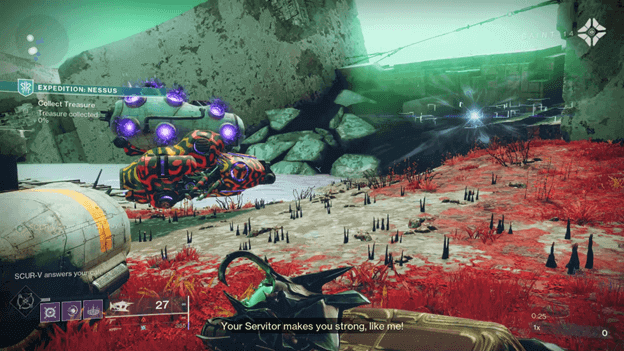

1) Search for Buried Treasure
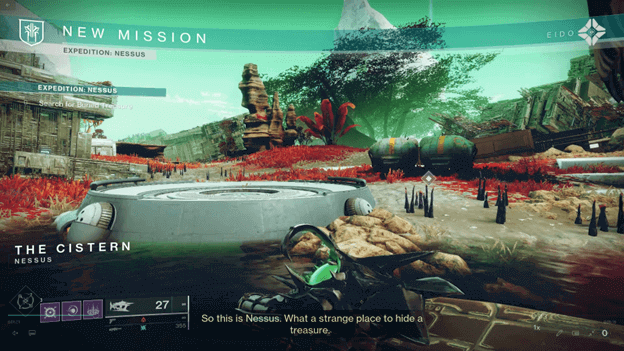
Once you arrive at The Cistern in Nessus, you will need to go to the dig site that is marked by a waypoint to start the treasure digging.
2) X Marks the Spot
When you reach the dig site, interact with the spot to begin drilling and the process will begin along with enemies spawning.
3) Collect Treasure
When the drilling process begins, you will need to fight the enemies that spawn and wait for treasure to come out of the dig site.
Once the treasure has started to come out, you will need to pick it up and deposit it into the treasure-hauling vehicle.
You will need to collect and deposit enough treasure until it reaches 100% before you can start hauling it to the extraction area.
During this objective enemies may deploy a jammer which can stop the drilling process and you will need to destroy it to proceed. (See Expedition Interruptions section)
4) Escort the Treasure Haul
After you have reached 100% with the treasure collecting, you will now haul the vehicle to the next dig site and enemies will try to stop you.
In order to make the treasure haul move, you will need to stay close to it or else it will not move.
As you haul the treasure to the next area, it is possible that enemies will try to stop you by sending Saboteurs. (See Expedition Interruptions section)
5) X Marks the Spot
Once you reach the next dig site, you will have to interact with the marked spot again to start the drilling process to collect treasure again.
6) Collect Treasure
After starting the digging process, you will once again need to start fighting enemies and collecting treasure until it reaches 100%
7) Escort the Treasure Haul
After collecting treasure up to 100%, you will need to escort the treasure haul to the extraction zone and fight off enemies along the way.
8) Defend Your Plunder
Upon arrival at the extraction area, you will need to defend the treasure that you collected and clear out all the enemies that spawn.
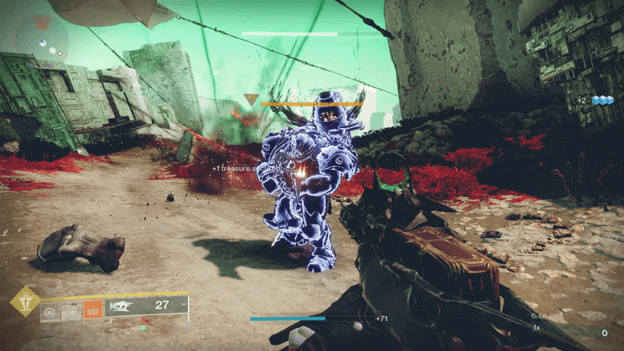
During this part, a Raiding Servitor will attack you alongside other enemies and you will need to defeat all of them to proceed.
9) Grab Your Booty
After defeating the Raiding Servitor and the other enemies in the area have been cleared, you will now be able to open the chest at the end.
Interact with the chest to open it using your Skeleton Key and you will get rewards as the mission comes to an end.
Expedition Interruptions
There are possible interruptions that may occur as you are completing some of the objectives which you may have to deal with during an expedition.
1) Destroy the Jammer
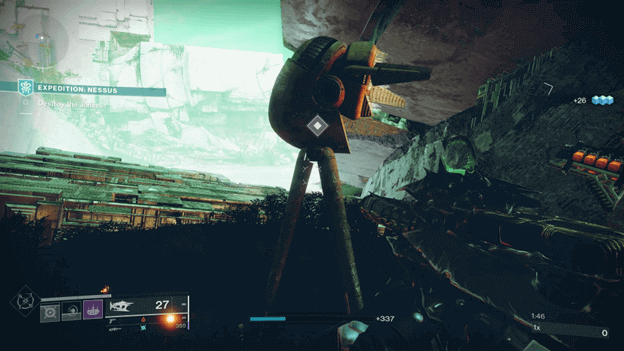
Enemies may deploy a jammer and the location where it is will be marked by a waypoint, showing you where you need to go to take it down.
Once you reach the jammer’s location, you will need to first clear out the enemies to take down a barrier protecting it.
After taking down the barrier you can now destroy the jammer and head back to the dig site.
2) Defeat the Saboteurs
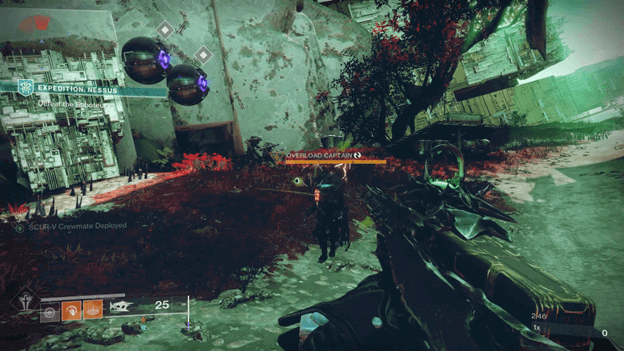
As you are escorting the hauling vehicle, enemies may send saboteurs to hinder the vehicle and you will need to defeat them to proceed.
The saboteurs include an Overload Captain and 2 Unyielding Servitors, which will be fighting alongside other enemies.
3) Secure Cabal Ruffian (Optional)
During the treasure collecting process, a Ruffian may appear who carries treasure that you can get if you defeat him.
Although this is not required, it will help with the treasure collecting process since he drops treasure as well.
The Expedition: Nessus Rewards
Once you have defeated the Raiding Servitor, you will be able to collect the chest at the end which rewards you with Glimmer and a Legendary piece of gear. Additionally, if you have a Treasure Map equipped, you may dig up buried treasure to get more rewards which include gear.
Tips
- Be sure to pick up the treasure as it spews from the dig site as they have timers that will make them expire.
- Stick close to the treasure haul when you are escorting it to keep it going and speed up the mission’s progress.
- You can deal more damage to the Raiding Servitor by shooting it in the center of its eye, dealing precision damage.
Summary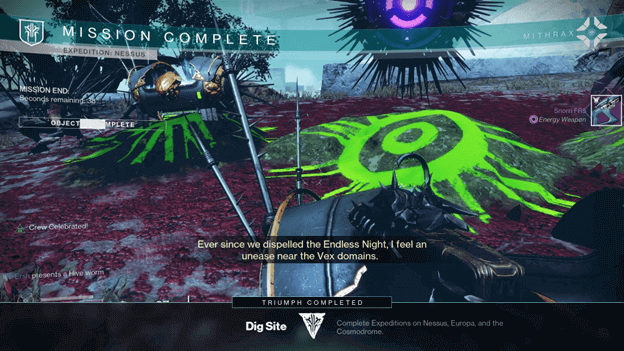
You have successfully dug up the treasure and hauled it back to the extraction area, reaping the rewards in the process.
This mission can be repeated as many times as you want and it is best that you always equip a Treasure Map in the Captain’s Atlas for more rewards.
The Expedition Nessus mission is permanently now a part of the Expedition Playlist and will be among the random variants that you will be able to play.