- Mission Type: Lightfall
- Mission Location: Strider’s Gate, Neomuna
The time has come to put up one last stand against Calus and the Shadow Legion as they have begun an assault on the Veil.
Defenses have been set up and forces have rallied to defend the Veil at all costs, which requires you to be present to fight alongside them.
You will need to muster all the strength you can to fight back the Shadow Legion and prevent them from securing the Veil.
How To Get Desperate Measures?
You will be able to do the Desperate Measures mission once you have completed the Headlong Mission, which is part of the Lightfall main quest.
Desperate Measures needs to be completed as quest step 16 in the Lightfall quest to continue progressing through the story.
Desperate Measures Mission Objectives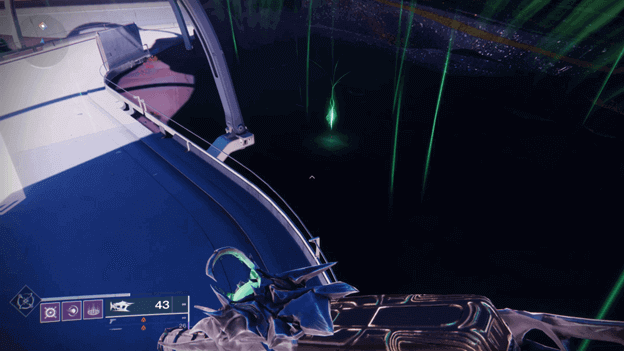

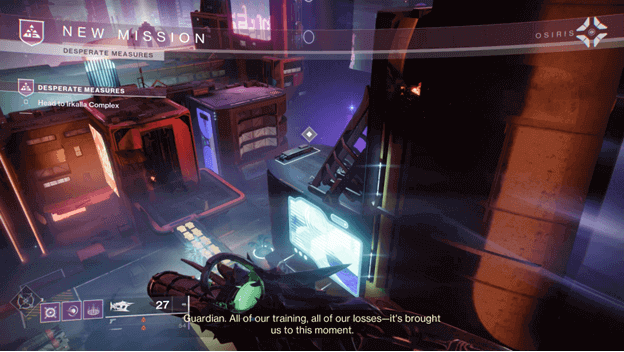
1) Head to Irkalla Complex
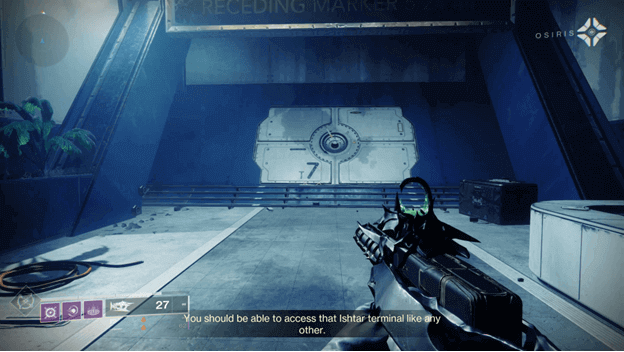
The mission begins with you starting at Strider’s Gate and from here you will need to make your way toward the waypoint where the siege will begin.
You will need to fight your way through the Shadow Legion as you make your way to the complex and can reach it faster by using a Sparrow.
2) Disable the Barrier
You will arrive at a barrier and will need to defeat and disable it by shooting the explosive barrels, which will take it down.
Once the barrier is down, continue making your way to the next waypoint, which requires you to jump across buildings and interact with Strand Energy.
After becoming empowered with Strand Energy, you will need to continue jumping across the other buildings as you head toward the waypoint.
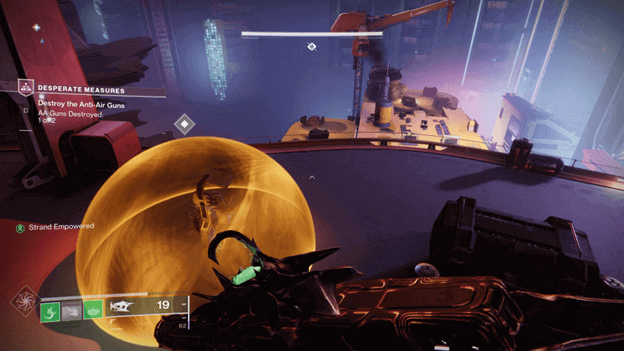
3) Destroy the Anti-Air Guns
The Shadow Legion will have set up anti-air guns in the area and you will need to destroy them by defeating the enemies to disable their terminal barriers.
Once a terminal barrier is down, you use it to remove a nearby barrier from the anti-air guns power source, which will destroy it.
This needs to be done for 2 of the anti-air guns and during this objective, you will be fighting multiple enemies, including a Tormentor.
4) Head to Irkalla Complex
After you have destroyed the anti-air guns, continue making your way to the Irkalla Complex by following the waypoint.
5) Secure Turrets
You can change your subclass to Strand in this area by interacting with a nearby Strand anomaly, allowing you to use it during the battle.
Once you arrive at the complex, you will need to clear out the enemies in the area to secure the turrets which will later cause them to go online.

6) Destroy Adversarial Tank
After you have secured the turrets, two Goliath Tanks will arrive and to easily destroy them, you can pick up the nearby Relics, which Nimbus refers to as untested Ishtar weapons.
You can pick up these Relics and use them to target a location (aim for the tanks) and after a while, an orbital strike will occur in the area.
7) Defend the Vault Entrance
After both of the tanks have been destroyed, enemies will start flooding into the area and you will have to fight them off.
The turrets will be fighting enemies alongside you and once most of the enemies have been cleared out, more Goliath Tanks will arrive.
8) Join Caitl
After you have destroyed the Goliath Tanks, Caitl will arrive and you will need to head over to her location.
9) Defend the Vault Entrance
Now that you have been joined by Caitl, you will need to continue defending the vault entrance and will be accompanied by other Cabal allies.
During the fight, more Goliath Tanks will appear and you will need to destroy them, while other Shadow Legion enemies continue to pour in.
10) Prepare for the Last Stand
The turrets will no longer work and you will need to fight without them but you will have a bit of time to prepare for the fight.
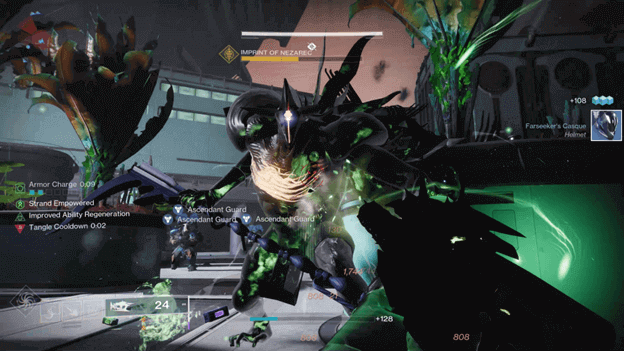
11) Defend the Vault Entrance
Without help from the towers, you will need to fight off the enemies that arrive in the area and this will later include 2 Imprints of Nezarec enemies, a variant of Tormentor.
After defeating the Imprints of Nezarec, Caitl will call you over to the vault and you will need to defend it as a last stand by clearing out the oncoming enemies.
12) Head to the Veil
The door to the vault will be destroyed and a path going under will be below it, which you will need to follow as Caitl stays behind to buy you time.
As you make your way through the tunnel, you will need to jump down several floors until you reach the very bottom.
Continue making your way deeper into what appears to be an abandoned facility by following the waypoint to the vault.
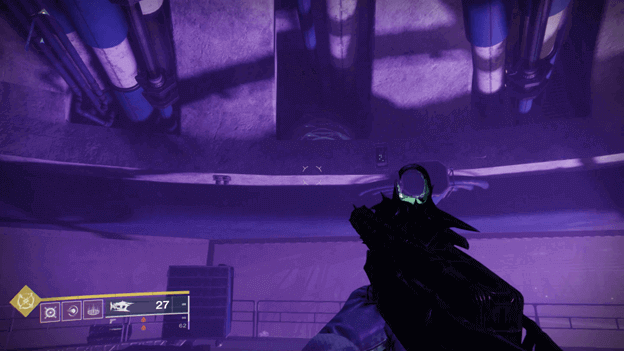
Once you head through the vault door you will be near the Veil and will need to jump into a small tunnel that has a destroyable vent at the end.
Go into the vent and continue to destroy another one that allows you to go down, which will allow you to proceed heading toward the Veil.
Continue making your way to the waypoint and proceed by dropping down more levels, which eventually prompts Caitl to let you know Calus is on his way.
You will arrive at an observation area and will need to drop down to another lower section to find a way toward the Veil.
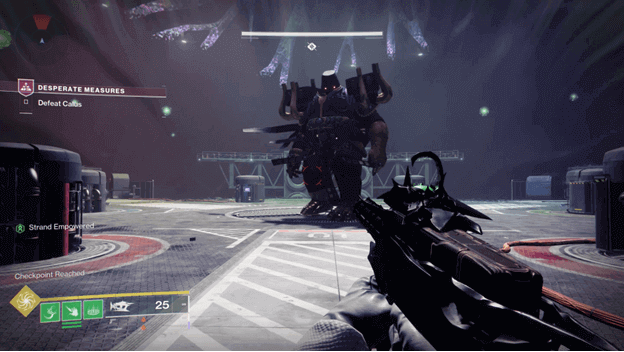
13) Defeat Calus
Calus will already be waiting for you in a large room and will begin to attack you once you reach where he is standing.
You will need to defeat Calus here but during the fight, he will be empowered by The Witness and change from ranged to melee after you deplete his health.
Enemies, which include Tormentors will spawn when his health has been reduced and it’s best to target them first.
During the first phase where Calus attacks you with his ranged weapon, you will need to deal damage while avoiding getting killed by him or the Shadow Legion.
During the second phase, the area will be blocked in a smaller dome and you will be forced to fight Calus when he charges at you repeatedly.
You can make use of the Strand abilities to get around the area and targeting the floating Strand orbs with your grapple ability will allow you to continuously move around fast.
Continue fighting Calus until his health is completely depleted and a cutscene will begin following his death, which later ends the mission.
Desperate Measures Rewards
Completing, Desperate Measures will reward you with Glimmer, gear, and Neomuna Reputations once the cutscene plays.
Once this mission has been finished, you will be able to continue with the Lightfall quest, which later completes after a few steps.
Summary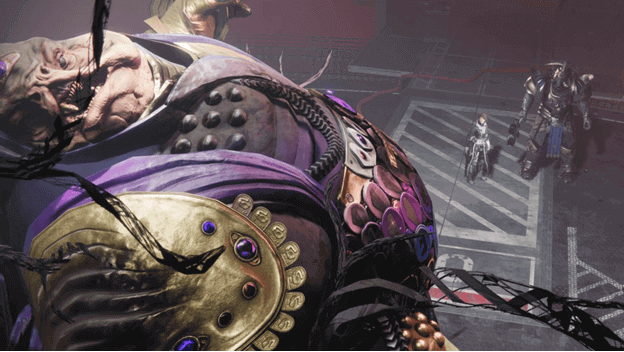
Calus has finally been defeated but this has cost the lives of so many thanks, his reign of terror has now been stopped.
While you were busy protecting the Veil, it looks like The Witness had plans of his own and was able to use Ghost to create a link and has now accessed the Traveler.
The Traveler has now been taken over by The Witness and everyone is in disarray but the Vanguard will still fight onward, despite what has happened.