- Mission Type: Strike (Cooperative Matchmaking)
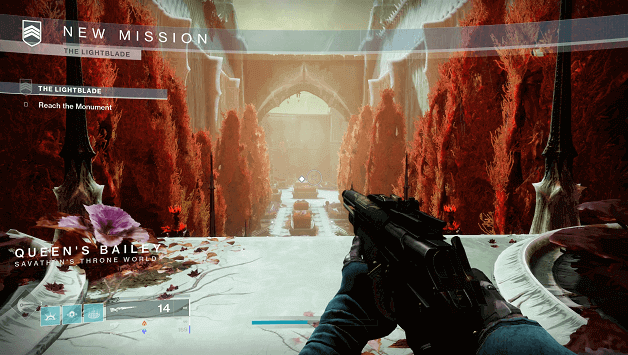
- Location: Queen’s Bailey, Savathun’s Throne World
- Strike Duration: 10-15 Minutes
- Fireteam Size: 1-3 Players
- Recommended Power: 1350
Fynch speaks about an object that may be used similar to Sagira’s shell and has sent you into Queen’s Bailey to look for it.
You will be making your way into the temple to Oryx which will be protected by Savathun’s toughest warriors.
The difficult part is that you will need to travel through some canals, requiring you to find a boat to ferry you through.
The Lightblade Strike Objectives

1) Reach The Monument (Part 1)
You will first need to make your way towards the monument and head for the gate which will be guarded by Alak-Hul, The Lightblade.
Once you reach the gate, it will be closed and you will have to damage Alak-Hul to force him to retreat and leave an opening for you.
Continue making your way to the next waypoint (can ignore the rest of the enemies) until you reach a hall filled with Lucent Hive.
2) Defeat Lucent Hive (Part 1)
You will have to clear out all of the Lucent Hive enemies in the area before you can proceed to make your way to the next area.
3) Reach The Monument (Part 2)
After clearing out the enemies, continue making your way until you reach a path going down and continue until you reach the Ferry.
4) Ride the Ferry (Part 1)
Use your jump ability to get on the ferry and ride it until it heads for the first stop but be careful as enemies will be on the sides shooting at you.
5) Lower the Barrier
A Barrier with two seals will be blocking the way and you will need to fight your way past enemies to grab Void Charges to deposit to deactivate them.
There will be 2 barriers in total and each side of the area will have a charge and deposit for them which you need to take care of.
6) Ride the Ferry (Part 2)
Once the barrier is down, hop on the Ferry and ride it again until it reaches its final destination behind a waterfall.
7) Defend the Ferry
The Ferry will stop and enemies will begin attacking, which requires that you will defend it while Fynch tries to get it going again.
8) Reach The Monument (Part 3)
You will need to jump down (you eventually fall off the Ferry) and make your way towards the monument, following the path set by waypoints.
In this area you will not be able to use jump abilities, so be careful as there will be several Screebs that will attempt to blow you up.
9) Defeat the Lucent Hive (Part 2)
Continue making your way towards the waypoint until you reach an open area with more Lucent Hive enemies. (Alak-Hul will also be present but disappears after taking damage)
10) Enter the Monument
After defeating the Lucent Hive enter the entrance of the temple and jump down the hole (be careful of the fall) and Alak-Hul will appear.
Fighting Alak-Hul will require you to damage him and fight minions every time a portion of his health has been reduced.
You will first need to damage his health and he will return to the center and become shielded, requiring you to defeat the other enemies before Alak-Hul attacks again.
This must be repeated 3 times to defeat Alak-Hul and afterward, the Strike will be complete and a chest will appear where Alak-Hul spawned.
Tips
- Falling off the Ferry can get you killed, so watch your step, especially when fighting enemies or playing with troll players.
- When reaching the open area where you need to kill Lucent Hive enemies, you can take advantage of the high ground and deal damage from afar.
- Alak-Hul can easily be defeated by kiting him, he also takes additional damage when shot in the face/head.
- When fighting Alak-Hul, it’s best to avoid staying on the lower floor to avoid getting blown up by Cursed Thralls.
Summary
It appears that Fynch was right and after defeating The Lightblade (Alak-Hun), you have obtained a piece of the Tablets of Ruin, which Oryx used to create the Taken.
Although Alak-Hul was defeated, his ghost escaped and it seems that there might be a contingency plan, meaning there’s more to do.
Despite the current events, obtaining the tablet gets you one step closer to taking down the Witch Queen, which is still a good trade.