With The Witch Queen defeated, another enemy stands in line to face the Vanguard and it is up to the Guardian to help prepare for the worst.
Mara Sov has arrived and will aid in acquiring knowledge that may help the Vanguard in the preparation for the coming of The Witness.
The Guardian will seek out knowledge that is only known by Savathun’s Worm, which was with The Witch Queen during her travels.
How to Get Of Queens and Worms Quest?
The Of Queens and Worms quest is obtained after you have finished The Witch Queen campaign, ending with the last mission called The Ritual. You will need to speak to Ikora Rey to accept the Of Queen and Worms Quest.
Of Queens and Worms Quest Steps

Step 1: Meet with Mara Sov in the Enclave on Mars
After taking care of Savathun, Mara Sov has arrived on Mars to assist in learning more about The Witness, who appears to be the next threat to the Vanguard.
You will need to make your way back to Mars and speak with Mara Sov to learn more.
Step 2: Complete the “Birthplace of the Vile” Strike
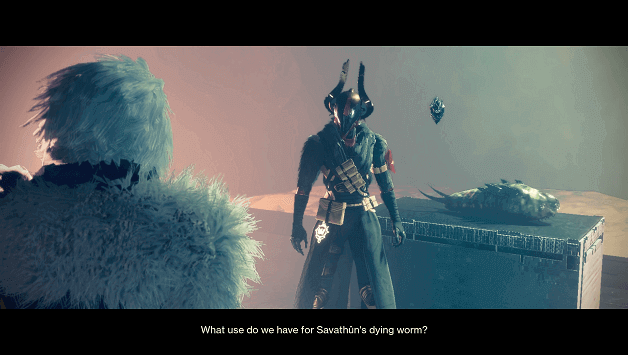
Savathun’s Worm is dying and there will be no way to get the information that is needed if it cannot be saved, leaving this task in your hands.
The Guardian will have to find a way to revitalize it to give it the right strength it needs and hopefully, in return it can be convinced to give information.
You will need to complete the Birthplace of the Vile strike which can be found on Savathun’s Throne World in the destinations tab.
Step 3: Visit Fynch
You have acquired a Cryptoglyph which is the key to fully revitalizing Savathun’s Worm but first, you will need to energize it.
Head over to the Fynch on Savathun’s Throne World to get more information.
Step 4: Locate a Cryptoglyph rune in the Temple of the Cunning
Fynch has located a Cryptoglyph rune and has transmitted the details so that you can track it down to energize the Cryptoglyph.
You will need to go to the Temple of the Cunning to find the Cryptoglyph rune and will be guided by a waypoint along the way.
Step 5: Defeat Scorn in the Throne World to Charge the Depleted Rune
The rune that you have obtained will be completely drained and out of power, which requires that you recharge it in the Throne World.
You will need to find and defeat 100 Scorn enemies to provide the depleted rune with power.
Step 6: Find the Entrance to the Sepulcher Lost Sector in the Florescent Canal
Now that there is enough power, you will need to locate a Larvae Incubator to help revitalize Savathun’s Worm.
Head over to the Florescent Canal and search for the Sepulcher Lost Sector, which can easily be seen on your map.
You will need to complete the Sepulcher Lost Sector once to proceed.
Step 7: Locate a Larvae Incubator at the end of the Sepulcher Lost Sector in the Florescent Canal
After completing the Sepulcher Lost Sector, you will need to search for the Larva Incubator within the area to place and revitalize Savathun’s Worm.
You will need to use Deepsight to open a path at the end after defeating the enemies and jump inside to use the Larvae Incubator.
Step 8: Gather Leads by Completing Three Patrols in the Florescent Canal
Fynch has pointed you in the general direction of another rune that you need to collect, and you will need to canvas the area first to gather leads.
To gather leads, you will need to complete three patrols around the Florescent Canal.
Step 9: Locate a Cryptoglyph Rune in the Queen’s Bailey
Another Cryptoglyph rune location has been found and you will need to track it down to once more energize the Cryptoglyph.
Track down the next Cryptoglyph Rune by heading to Queen’s Bailey and following the waypoint.
Step 10: Find the entrance to the Metamorphosis Lost Sector in Miasma
The Metamorphosis Lost Sector will need to be found and completed for you to locate another Larvae Incubator.
Head over to the Metamorphosis Lost Sector, which can be seen on your map.
Step 11: Locate a Larvae Incubator at the end of The Metamorphosis Lost Sector in Miasma
Once you have reached the Metamorphosis Lost Sector, you will need to complete it to search for a hidden room that leads to the Larvae Incubator.
Clear out the Metamorphosis Lost Sector and use Deepsight at the end to find the next Larvae Incubator.
Use the Larvae Incubator to revitalize Savathun’s Worm.
Step 12: Locate a Cryptoglyph Rune in the Alluring Curtain
One last Cryptoglyph Rune has been located and the worm is nearly fully revitalized, but you will need to keep searching it before time is out.
Head to the Alluring Curtain and follow the waypoint to find the Cryptoglyph Rune.
Step 13: Find the Nearby Deepsight Cache in the Alluring Curtain
The Alluring Curtain has a rune stashed away in a hidden Deepsight cache which you must locate to recover.
You will need to continue to the Alluring Curtain and activate your Deepsight where the waypoint has led you.
Once you have revealed the platforms, you will need to shoot at all the torches to make the Deepsight Cache appear.
Step 14: Find the Entrance to the Extraction Lost Sector in Quagmire
With another Cryptoglyph Rune on hand, you will need to once again find another Larvae Incubator which will be in the Extraction Lost Sector.
You will need to head over to the Lost Sector to clear it out to push further inside to find the Larvae Incubator.
Step 15: Locate the Larvae Incubator at the end of the Extraction Lost Sector in the Quagmire
With Savathun’s Worm still weak and dying, you will need to hurry up to reach the third Larvae Incubator at the end of the Extraction Lost Sector.
Continue making your way to the end of the Lost Sector and use Deepsight to find a hidden entrance after clearing out the enemies.
Use the Larvae Incubator to revitalize Savathun’s Worm.
Step 16: Visit Fynch and See If He Can Help Savathun’s Worm
Savathun’s dormant curse is now killing her worm and you will need to act quickly to prevent it from dying.
Fynch may have a way to preserve Savathun’s Worm long enough while you search for Mara Sov.
You will need to head over to Fynch on Savathun’s Throne World and speak with him to take the Hive Casing for Savathun’s Worm.
Step 17: Complete the “Parasitic Pilgrimage” Mission
While the Hive Casing provided by Fynch may save Savathun’s Worm, you will need to find a way to combine the two.
Head over to the Parasitic Pilgrimage mission which is marked by a waypoint and complete it.
The Of Queens and Worms quest will become complete after you finish the Parasitic Pilgrimage mission.
Of Queens and Worms Rewards
Completing the Of Queens and Worms quest (Parasitic Pilgrimage mission) will reward you with the Parasite Exotic Grenade Launcher.
Summary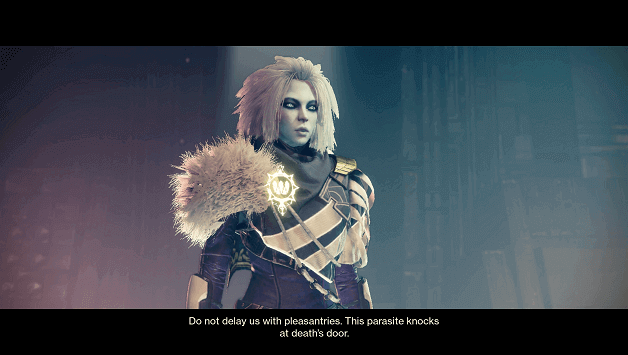
It seems that Mara Sov was able to deceive Savathun’s Worm who initially thought she would be its new host, but she had other things in mind.
In the end, Mara Sov imprisoned Savathun’s Worm within the Hive Casing to turn it into a weapon instead of allowing it to use her as a host.
While this was a deception, Mara Sov in a way kept her word and Savathun’s Worm agreed to give information one last time.