- Mission Type: Strike (Cooperative Matchmaking)
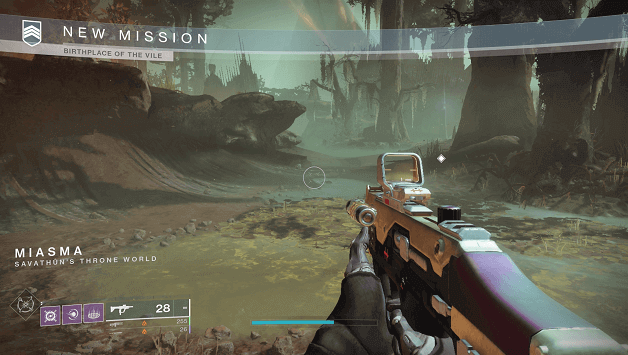
- Location: Miasma, Savathun’s Throne World
- Strike Duration: 10-15 Minutes
- Fireteam Size: 1-3 Players
- Recommended Power: 1510
Savathun’s Worm seems to have no life in it and to breathe life once more into it, you will need to find the solution with the Dark City.
Mara Sov believes that using an incubator within the Dark City will allow the Parasite to be revitalized to later gain information from it.
While it is unsure how things may go during the mission, this may be your best chance in finding out information about a new threat, The Witness.
Birthplace of the Vile Strike Objectives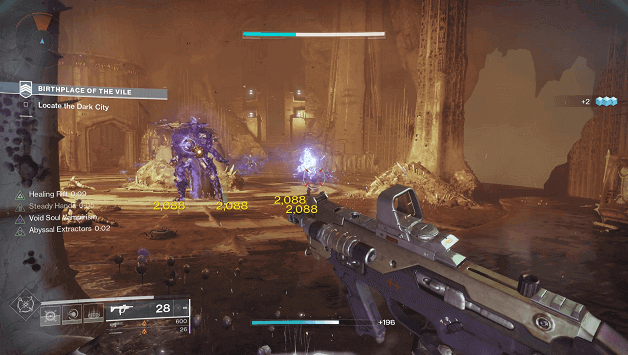

1) Locate the Dark City
You will need to follow the waypoint which will take you to the Dark City and will have to fight your way past the enemies.
Once you make your way near the entrance to the Dark City, you will need to clear out the enemies, including Lillix, Lightscourge to proceed.
Make your way inside and you will find yourself in Witch’s Echo and will have to activate (by standing on it) a Resonance Slab (yellow/golden glowing circle) while also defending yourself.
Enemies will spawn when you are standing on the Resonance Slap and you will need to defeat them until the barrier nearby is removed.
Once the barrier is down, make your way into the next room and you will then need to traverse to the end as you fight through enemies.
In the end, the doorway will be blocked by a barrier and you will need to clear out enemies, including a Lacerated Abomination to make it disappear.
Continue making your way towards the waypoint and you will eventually find a couple of doors that lead into the Dark City.
2) Traverse the Dark City
Continue making your way along the path and you will find another doorway after a bridge blocked by a barrier and will have to clear out enemies before it is taken down.
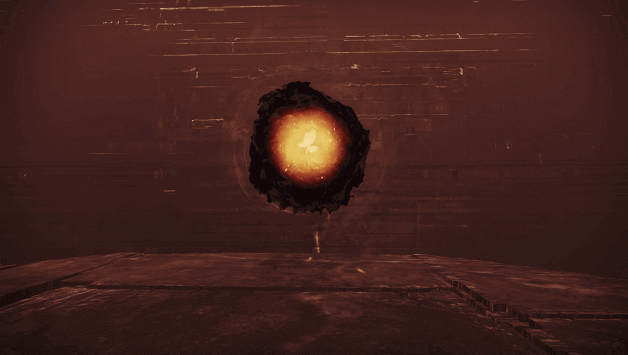
Once the barrier is down, make your way inside and continue following the waypoint which will lead you to a Resonance.
Interact with the Resonance to clear the corruption, which will open up a portal that you will now need to enter.
You will find yourself in a long hall and will have to fight your way to the end, including going through several Screebs along the way.
Continue fighting your way across the long paths and fighting through enemies until you reach the end where you must kill a Portal Warden to open a portal to the next area.
Proceed into the portal and make your way towards the checkpoint which takes you into a large area where several Scorn enemies will appear.
There will be 2 Resonance Slabs on each side which you need to activate by standing on them while defending yourself.
After activating both Resonance Slabs, there will be platforms that appear that you may use to reach the next area.
The Cryptoglyph will be in the area and you will need to interact with it to take it before entering a portal that opens up to the path to the incubator.
3) Locate the Incubation Chamber
You will be teleported into a large room and will need to fight and jump your way towards the Portal Warden at the end which opens up another portal, leading to a large hall.
Once again you need to fight your way through several enemies as you make your way towards the Incubation Chamber.
As you cross a large bridge, you will find yourself face to face with several Scorn enemies including Nakoix, Lightscourge which you need to remove barriers from two entrances.
Once entrances are no longer blocked (by a barrier) make your way inside one of the two and continue forwards to proceed to the boss fight area.
You will need to interact with the Resonance in the room and clear it of corruption, which causes enemies to spawn in the area.
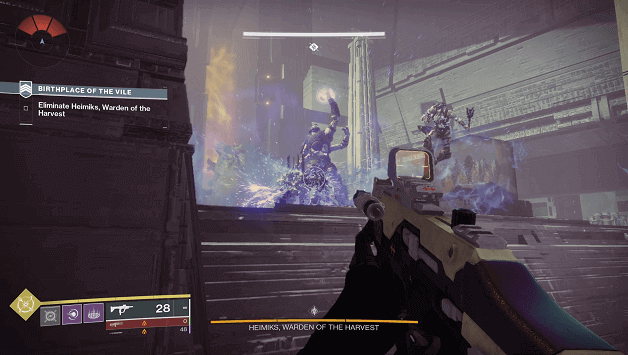
4) Eliminate Heimiks, Warden of the Harvest
Heimiks, Warden of the Harvest will appear with them and you will need to defeat him while fighting off the other enemies.
Keep in mind that this fight will be a no respawn area and dying means that you will have to start the fight all over again.
After losing a portion of his health, Heimiks will teleport you into halls filled with enemies, which include Screebs that can easily kill you if they get close. (defeat portal warden to return)
Losing the second portion of his health will cause Heimiks to teleport you into another area similar to the one where you were making your way to the incubation room. (defeat portal warden to return)
Once you return after being teleported back you can now kill Heimiks by depleting the last bit of his health.
5) Locate the Incubator
After the area has been cleared, you will need to use Deepsight to find the Incubator and place Savathun’s Worm on it.
6) Revitalize Savathun’s Worm
Interact with the incubator to place Savathun’s Worm and it will begin to speak, after a short dialogue the mission will come to an end.
Tips
- Try to stay on the Resonance Slabs as long as you can or else progress will stop until you get back on them.
- Watch out for Screebs as there are many tight spaces and they spawn in large amounts during the mission.
- The rooms you are teleported to by the final boss are those you have already traversed and you can easily skip the other enemies and head straight for the Portal Warden.
Summary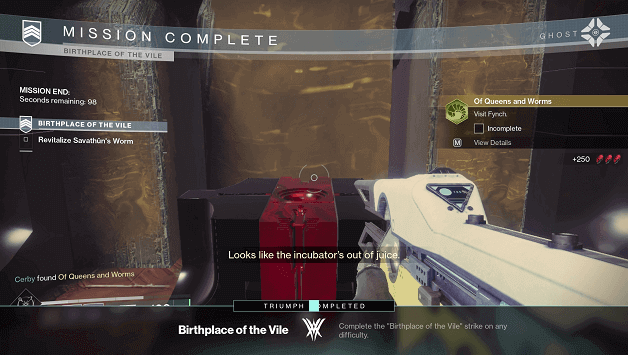
It appears that Savathun’s Work has been revived by the incubator but now that it is out of power, you will need to find other ones that can keep it alive.
Mara Sov believes that with enough incubators used, Savathuns Worm may be brought to good health as this is only partial success.
You have been tasked to keep the parasite safe until Mara Sov figures out more ways for you to revitalize Savathun’s Worm.