- Mission Type: Expedition
- Mission Location: Cosmodrome
- Recommended Level: 1520
Another treasure hunt awaits and it’s time to head to the Cosmodrome with a Treasure Map equipped into your Captain’s Atlas to reap more rewards.
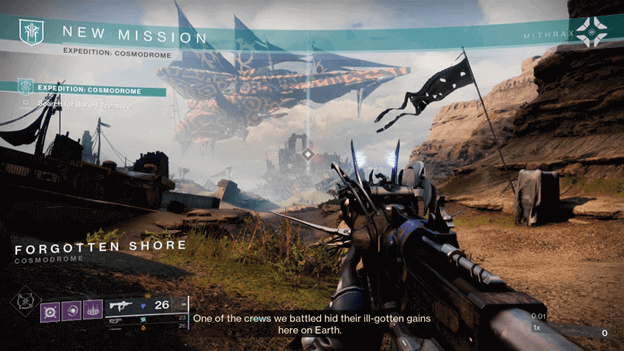
The Expedition Cosmodrome mission takes you to the Forgotten Shore and you will be searching for treasure hidden by one of the crew you battled in the past.
You and your fireteam will need to make a move toward the dig sites and uncover the hidden treasure while fighting enemies who try to get in your way.
How To Get Expedition Cosmodrome?
The Expedition Cosmodrome mission was introduced in Week 2 of Season of Plunder and is now a part of the Expedition Playlist.
Expedition: Cosmodrome Mission Objectives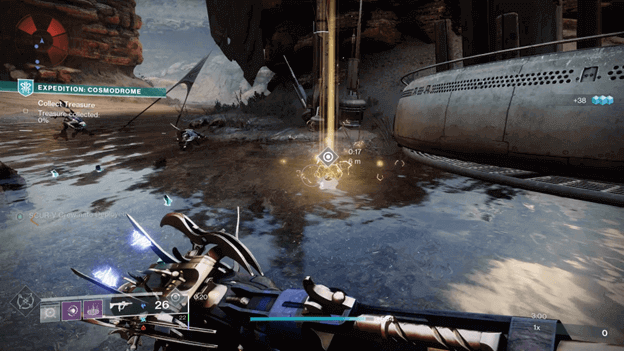

1) Search for Buried Treasure
Starting in the Fallen Shore, you will need to make your way toward the first dig site where you will begin the drilling.
2) X Marks the Spot
Once near the drill spot, interact with the bright vertical beam to begin the drilling process and get ready to fight off enemies.
3) Collect Treasure
After interacting with the drill spot, enemies will begin to spawn in the area, and you will need to defeat them while waiting for the drilling process.
As you fight enemies, the treasure will spew from the drill spot, and you will need to pick these up to deposit in the treasure-hauling vehicle.
You can deposit the treasure in the treasure haul vehicle by tossing it, which does not require you to be very close.
During this objective, enemies may deploy a jammer that stops the drilling process and you will have to stop it to proceed (see Expedition Interruptions section)
4) Escort the Treasure Haul
You will need to deposit enough treasure to reach 100% and afterward you can start escorting the treasure haul to the next dig site.
Enemies will try to stop you and you will need to fight your way through them as well as stay close to the treasure haul vehicle. (Required for it to move)
5) X Marks the Spot
After reaching the second dig site, interact with the beam marking the spot and the drilling process will begin, once again enemies will start to spawn.
6) Collect Treasure
Treasure will begin to spew out from the dig site, and you will need to collect them again, depositing them into the treasure hauling vehicle once more.
7) Escort the Treasure Haul
After collecting treasure up to 100%, you will need to escort the treasure haul to the extraction zone and fight off enemies along the way.
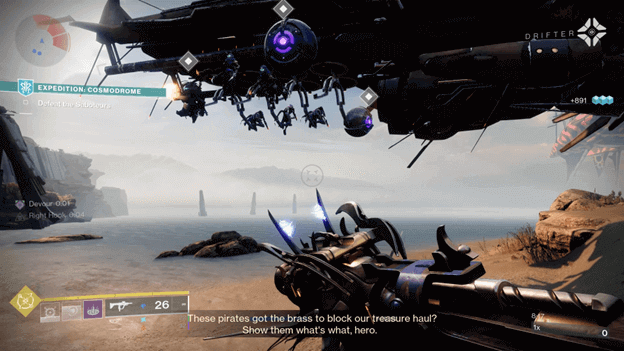
8) Defend Your Plunder
Upon reaching the extraction area, enemies will spawn, including Cutlaaks, Privateer, who you will need to defeat along with any remaining enemies.
9) Grab Your Booty
Once you have defeated Cutlaaks, Privateer, and the remaining enemies, the treasure will appear, and you can now open it with your Skeleton Key.
Additionally, you may dig up buried treasure if you have a Treasure Map equipped in your Captain’s Atlas for more rewards.
You can emote at the end to do a Crew Celebration. (Provides rewards if you hired the Skiffblades crew)
Expedition Interruptions
There are possible interruptions that may occur as you are completing some of the objectives which you may have to deal with during an expedition.
1) Destroy the Jammer
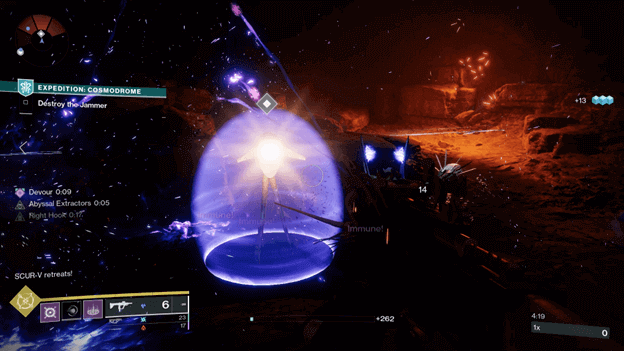
While you are collecting treasure, enemies may deploy a jammer that will stop the drilling process, which requires that you find it and destroy it.
The drill will be invulnerable until you have cleared out the enemies that are guarding it, preventing you from dealing any damage to it.
Once you have cleared out the enemies in the area, the jammer will be vulnerable, and you can destroy it with your attacks.
2) Defeat the Saboteurs
As you escort the treasure haul, enemies may attempt to interfere by sending saboteurs to attack you while you are on the move.
You will need to defeat the saboteurs, which consist of 1 Saboteur and 2 Unyielding Servitors who are accompanied by other Fallen enemies.
Once the saboteurs have been dealt with, you may continue escorting the treasure haul to the next dig site or to the extraction area depending on which phase you are on.
3) Secure Cabal Ruffian (Optional)
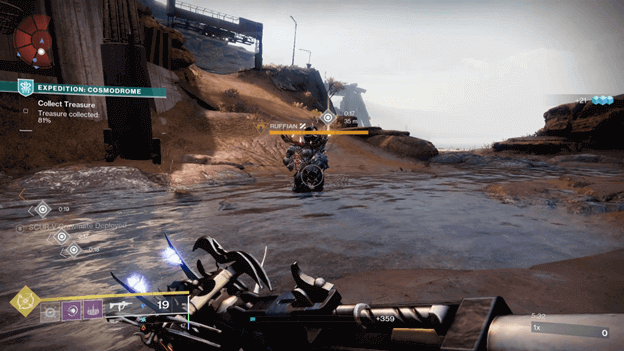
There are occasions where a Cabal Ruffian may appear, and The Drifter will inform you when they enter the area.
You can take this opportunity to defeat them and pick up the treasure that they have collected to deposit it into the hauling vehicle.
Cabal Ruffians drop a couple of treasures that you can pick up to greatly increase the percentage as you collect treasure.
The Expedition: Cosmodrome Rewards
After defeating Cutlaaks, Privateer you can collect the treasure which will reward you with gear from Season of Plunder. Additionally, if you have a Treasure Map equipped, you may dig up buried treasure to get more rewards which include gear.
Tips
- Enemies will begin to spawn once you start the digging process, which allows you to start collecting treasure.
- The faster you deposit treasure, the sooner the treasure haul can be escorted to the next location or extraction.
- Cutlaaks, Privateer often teleports around and will usually head to the upper platform to attack you from a distance.
Summary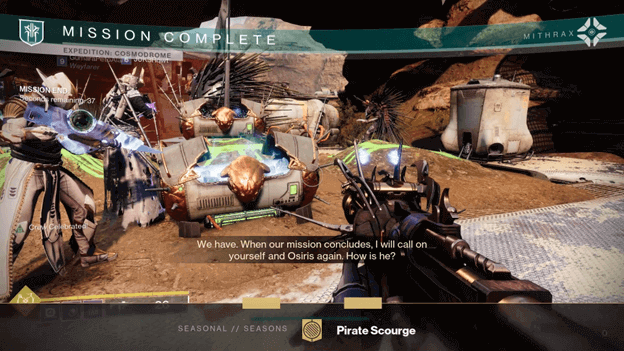
After a successful haul, you were able to bring back the treasure from the dig sites to the extraction and get a little extra for yourself as well.
More treasure awaits though and there will always be hidden goods for you to uncover in future expeditions.
The Expedition Cosmodrome mission can be repeatedly played to get more rewards as well as to increase your Savvy.