Several quests in Diablo 4’s Lord of Hatred expansion feature puzzles created by Rathma, requiring players to solve clues to continue progressing.
These puzzles often involve interpreting inscriptions, activating objects in specific orders, or navigating through areas using environmental hints and mechanics.
While most of Rathma’s puzzles are straightforward once understood, some can be confusing due to unclear clues or misleading interactions nearby.
Missions With Puzzles
There are currently two major campaign quests featuring Rathma-related puzzles during the Lord of Hatred expansion storyline progression.
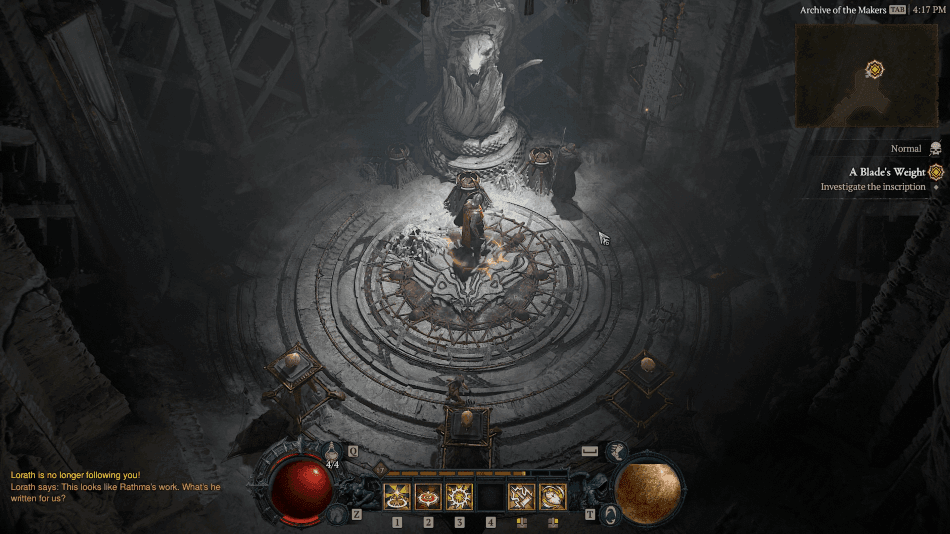
A Blade’s Weight Puzzle Solution
During the “A Blade’s Weight” quest, you will reach a chamber containing three skull altars inside the Archive of the Makers area.
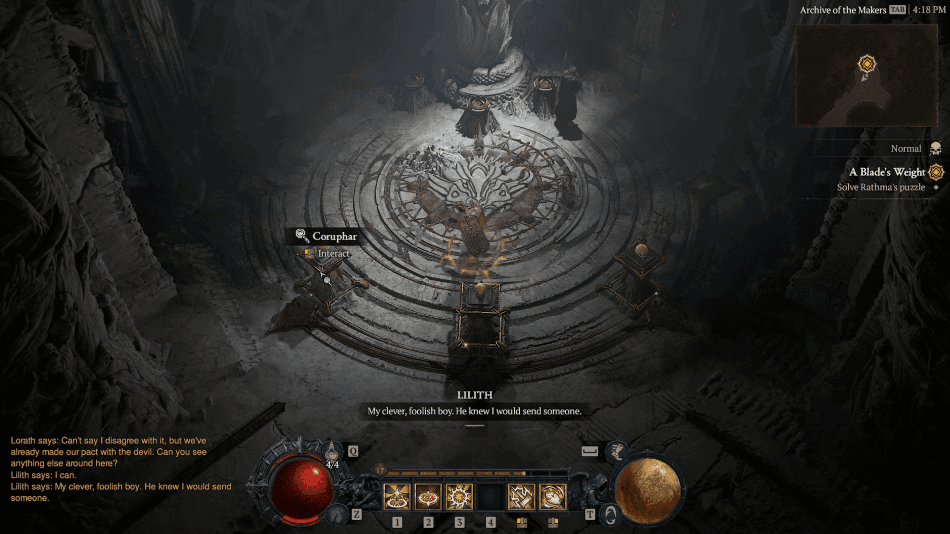
Interact with the skulls in this exact order: Dunaxys first, Abythos second, and Coruphar last to solve the puzzle successfully.
Choosing the wrong skull resets the sequence, requiring you to restart the puzzle before the sealed pathway opens and progression continues.
The nearby inscription states “Power born of Hell begets Corruption,” which corresponds to Dunaxys, Abythos, and Coruphar.
The Path of Riddles Portal Puzzle

During “The Path of Riddles,” you must solve multiple brazier riddles that determine which magical portals allow progression through the Labyrinthine Grove.
At the first brazier puzzle, choose the “Flame of the Mother” option to reveal the correct portal leading deeper into the forest pathway.
Entering the wrong portal will return you to an earlier section, forcing you to repeat the brazier interaction before attempting again afterward.
The second brazier puzzle requires selecting the “Flame of Both” option, which opens the correct Rift in the Woods portal nearby.
Later in the area, only the “Flame of Fate” brazier remains available, and activating it opens the final progression portal automatically afterward.
The final chamber repeats Rathma’s skull altar puzzle, requiring Dunaxys first, Abythos second, and Coruphar last to unlock the sealed exit.
Common Rathma Puzzle Mistakes
Many players accidentally reset puzzle progress by interacting with objects randomly instead of following the nearby inscriptions and environmental clues carefully.
Entering incorrect portals during “The Path of Riddles” usually sends you backward, forcing repeated interactions with previously completed brazier puzzles afterward.
For the skull altar puzzles, selecting the wrong sequence immediately resets progression, requiring the entire order to be entered correctly again.
Verdict
Rathma’s puzzles add a slower and more thoughtful pace to Diablo 4’s Lord of Hatred campaign by emphasizing clue-solving and exploration mechanics.
Although some puzzle solutions can initially feel unclear, most become simple once you understand the nearby inscriptions and environmental hints provided.
Players who carefully follow dialogue, symbols, and object interactions should have little trouble solving Rathma’s puzzle sequences throughout the expansion campaign.